Making Long Bolts

When you need a very long bolt in a specific size, you might become frustrated with the limitations in supply. This whole process came to be when I was installing the Monitor on the back of the sailboat and needed an exceedingly long bolt to attach it to the deck. The bolt needed to be at least 7 inches long, while 8 inches would be preferable. The problem is the bolt had to be 5/16" in diameter.

They do not readily manufacture 5/16" bolts in excess of 6 inches because the forces on these bolts are so great that they could break if used in the wrong situation. Mounting the Monitor was not one of these "wrong situations", so I would be fine with this thin long bolt; as long as I could get one!

My choices were to search specialty stores for this extra long bolt and pay a premium for each or make my own! I chose to do the latter. 

I ordered a 5/16" threaded rod from Jamestown Distributors and proceeded to make my bolts from this. The rod itself was only $4, but shipping was $12. This means that a set of 4 bolts would cost $4 each. Luckily, my dad also wanted to order some things from Jamestown Distributors so we split the shipping charges. Now the threaded rod was $4 and the shipping was only $6! At a total cost of $2.50 per bolt, I was well on my way toward saving money with these fittings.

The plan was simple, cut the 36 inch threaded rod into 8 inch sections and turn them into bolts! One important point with cutting threaded rod that you plan to use as a bolt later, the cut threads will usually get mangled, prohibiting any nuts from threading on. What you need to do is "refresh" the threads after you make the cut. 

Refreshing the threads is simply the act of unscrewing a nut over the freshly cut threads. This is simple to do and only requires the forethought to put a nut on the rod before you make your cut. With the nut present, all you need to do is unthread it and the threads will be refreshed.
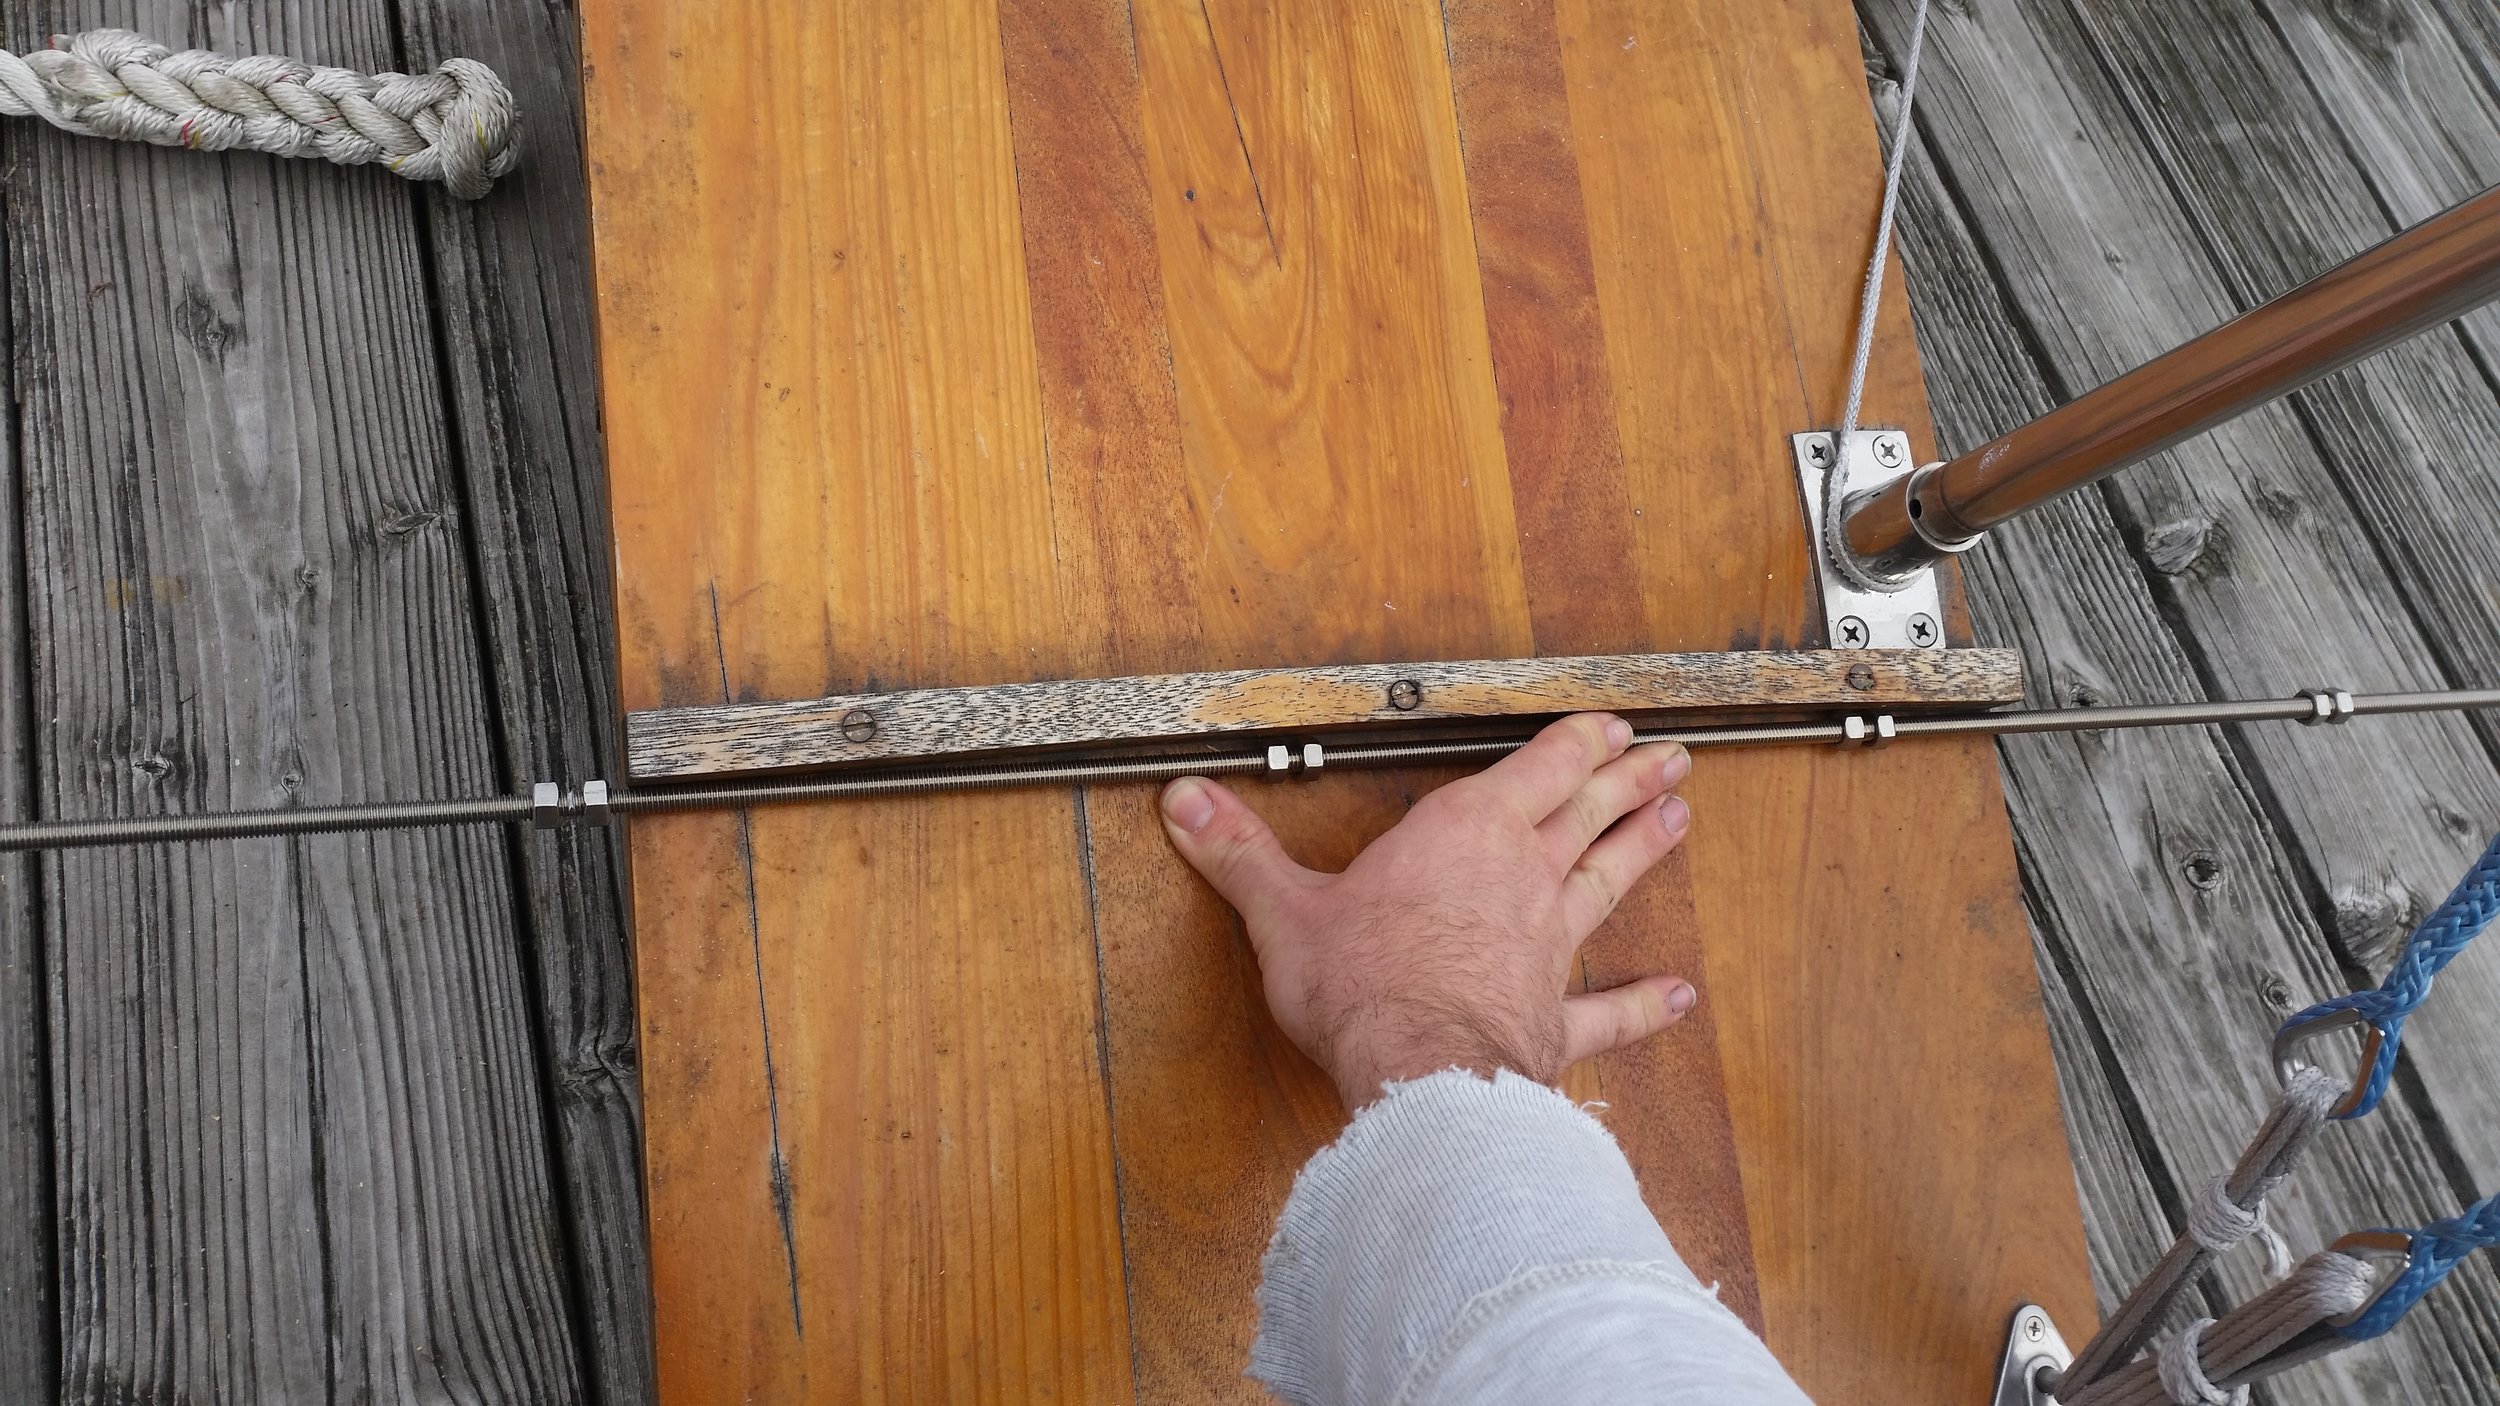
The 8 inch sections were demarcated by a set of nuts, all I had to do was cut between the two nuts and I would produce four 8 inch sections with nuts ready to refresh the threads.
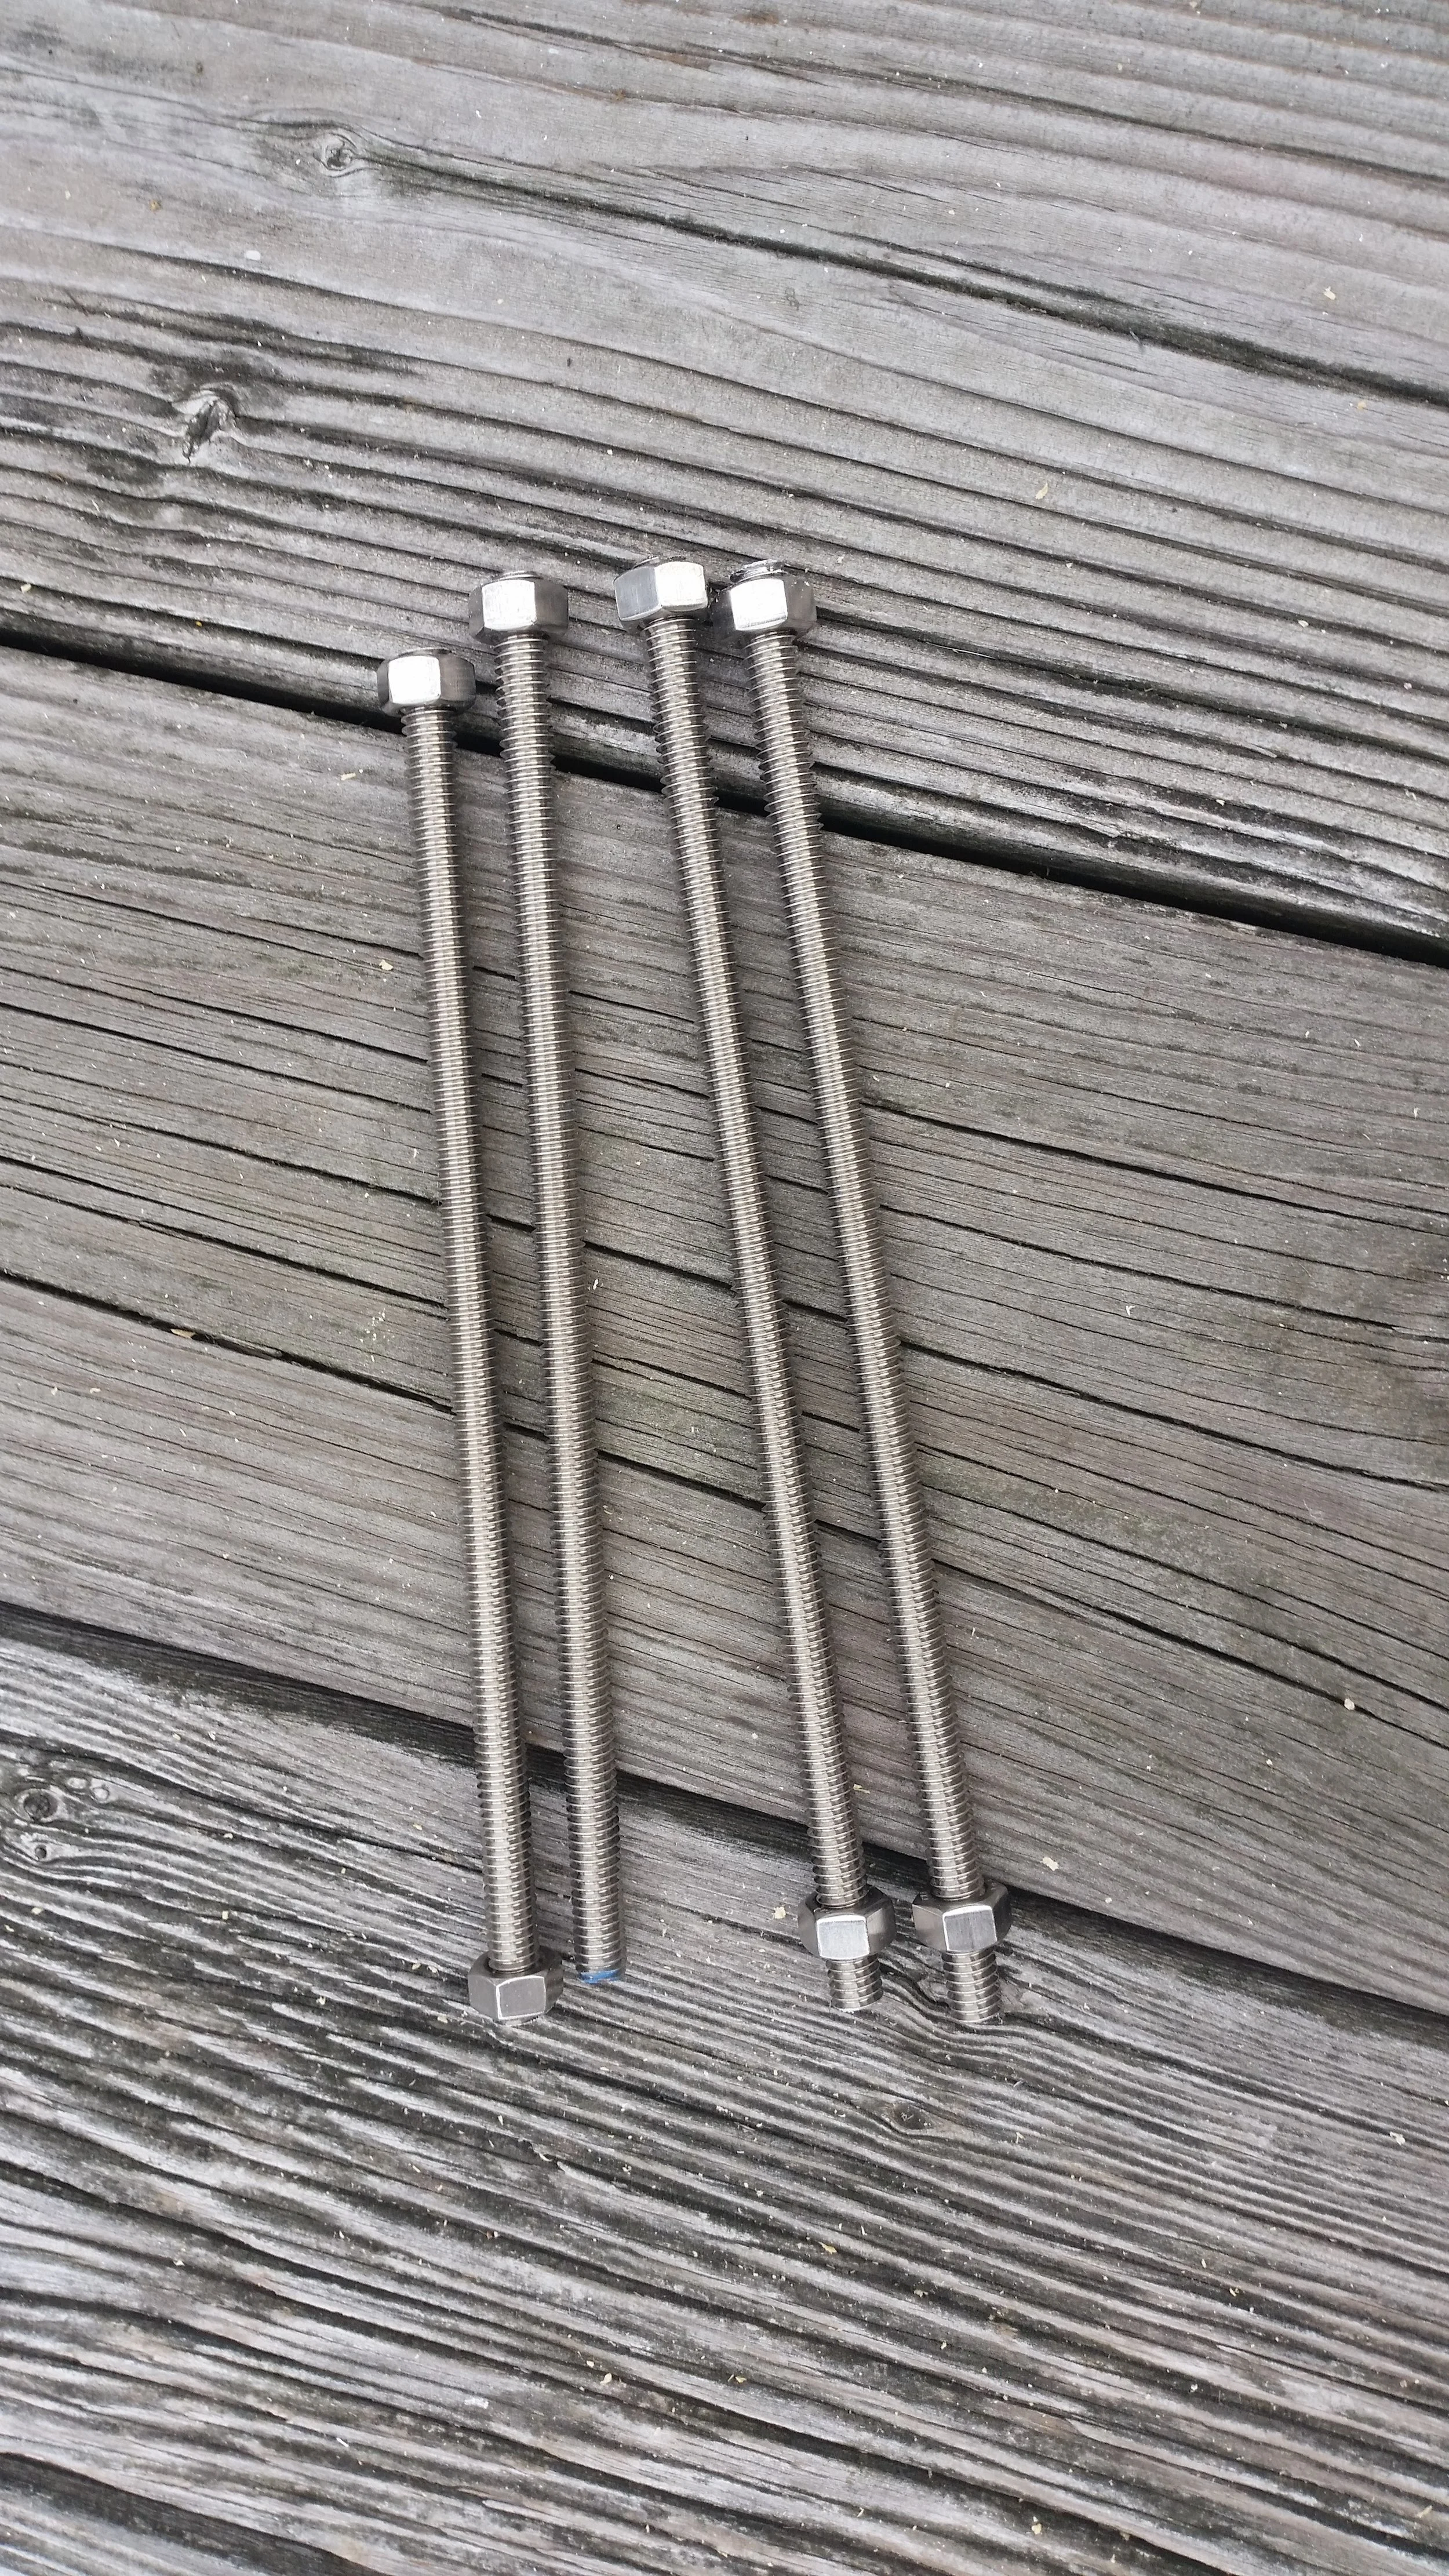
A hacksaw made quick work of the threaded rod with little effort on my part. A hand file took down must of the irregularities before I proceeded to unthreading the nuts to refresh the threads.

To turn threaded rod into a "bolt" all you need to do is firmly attach an acorn nut to one end. This nut will lock onto the threads and never let go if tightened down properly. 

To tighten the acorn nut onto the rod, you will need two nuts on the other side. The two nuts can be tightened by hand against each other until they gall and bind onto the stainless steel rod. With one wrench on a nut and another wrench on the acorn nut, you will be able to tighten the acorn nut onto the threaded rod to a degree much higher than could ever be achieved without the locked nuts on the other end. It is not uncommon to hear a grating sound as the acorn nut galls into the threads, locking it on forever!

With two wrenches working opposite each other, the two nuts can easily be freed and removed. 

Using these simple steps, you can create a very long bolt for much less money than a regular custom made bolt would cost. Best of all, it will have threads on the entire unit, as opposed to typical long bolts with only the last inch having threads.

Cutting the Rabbet

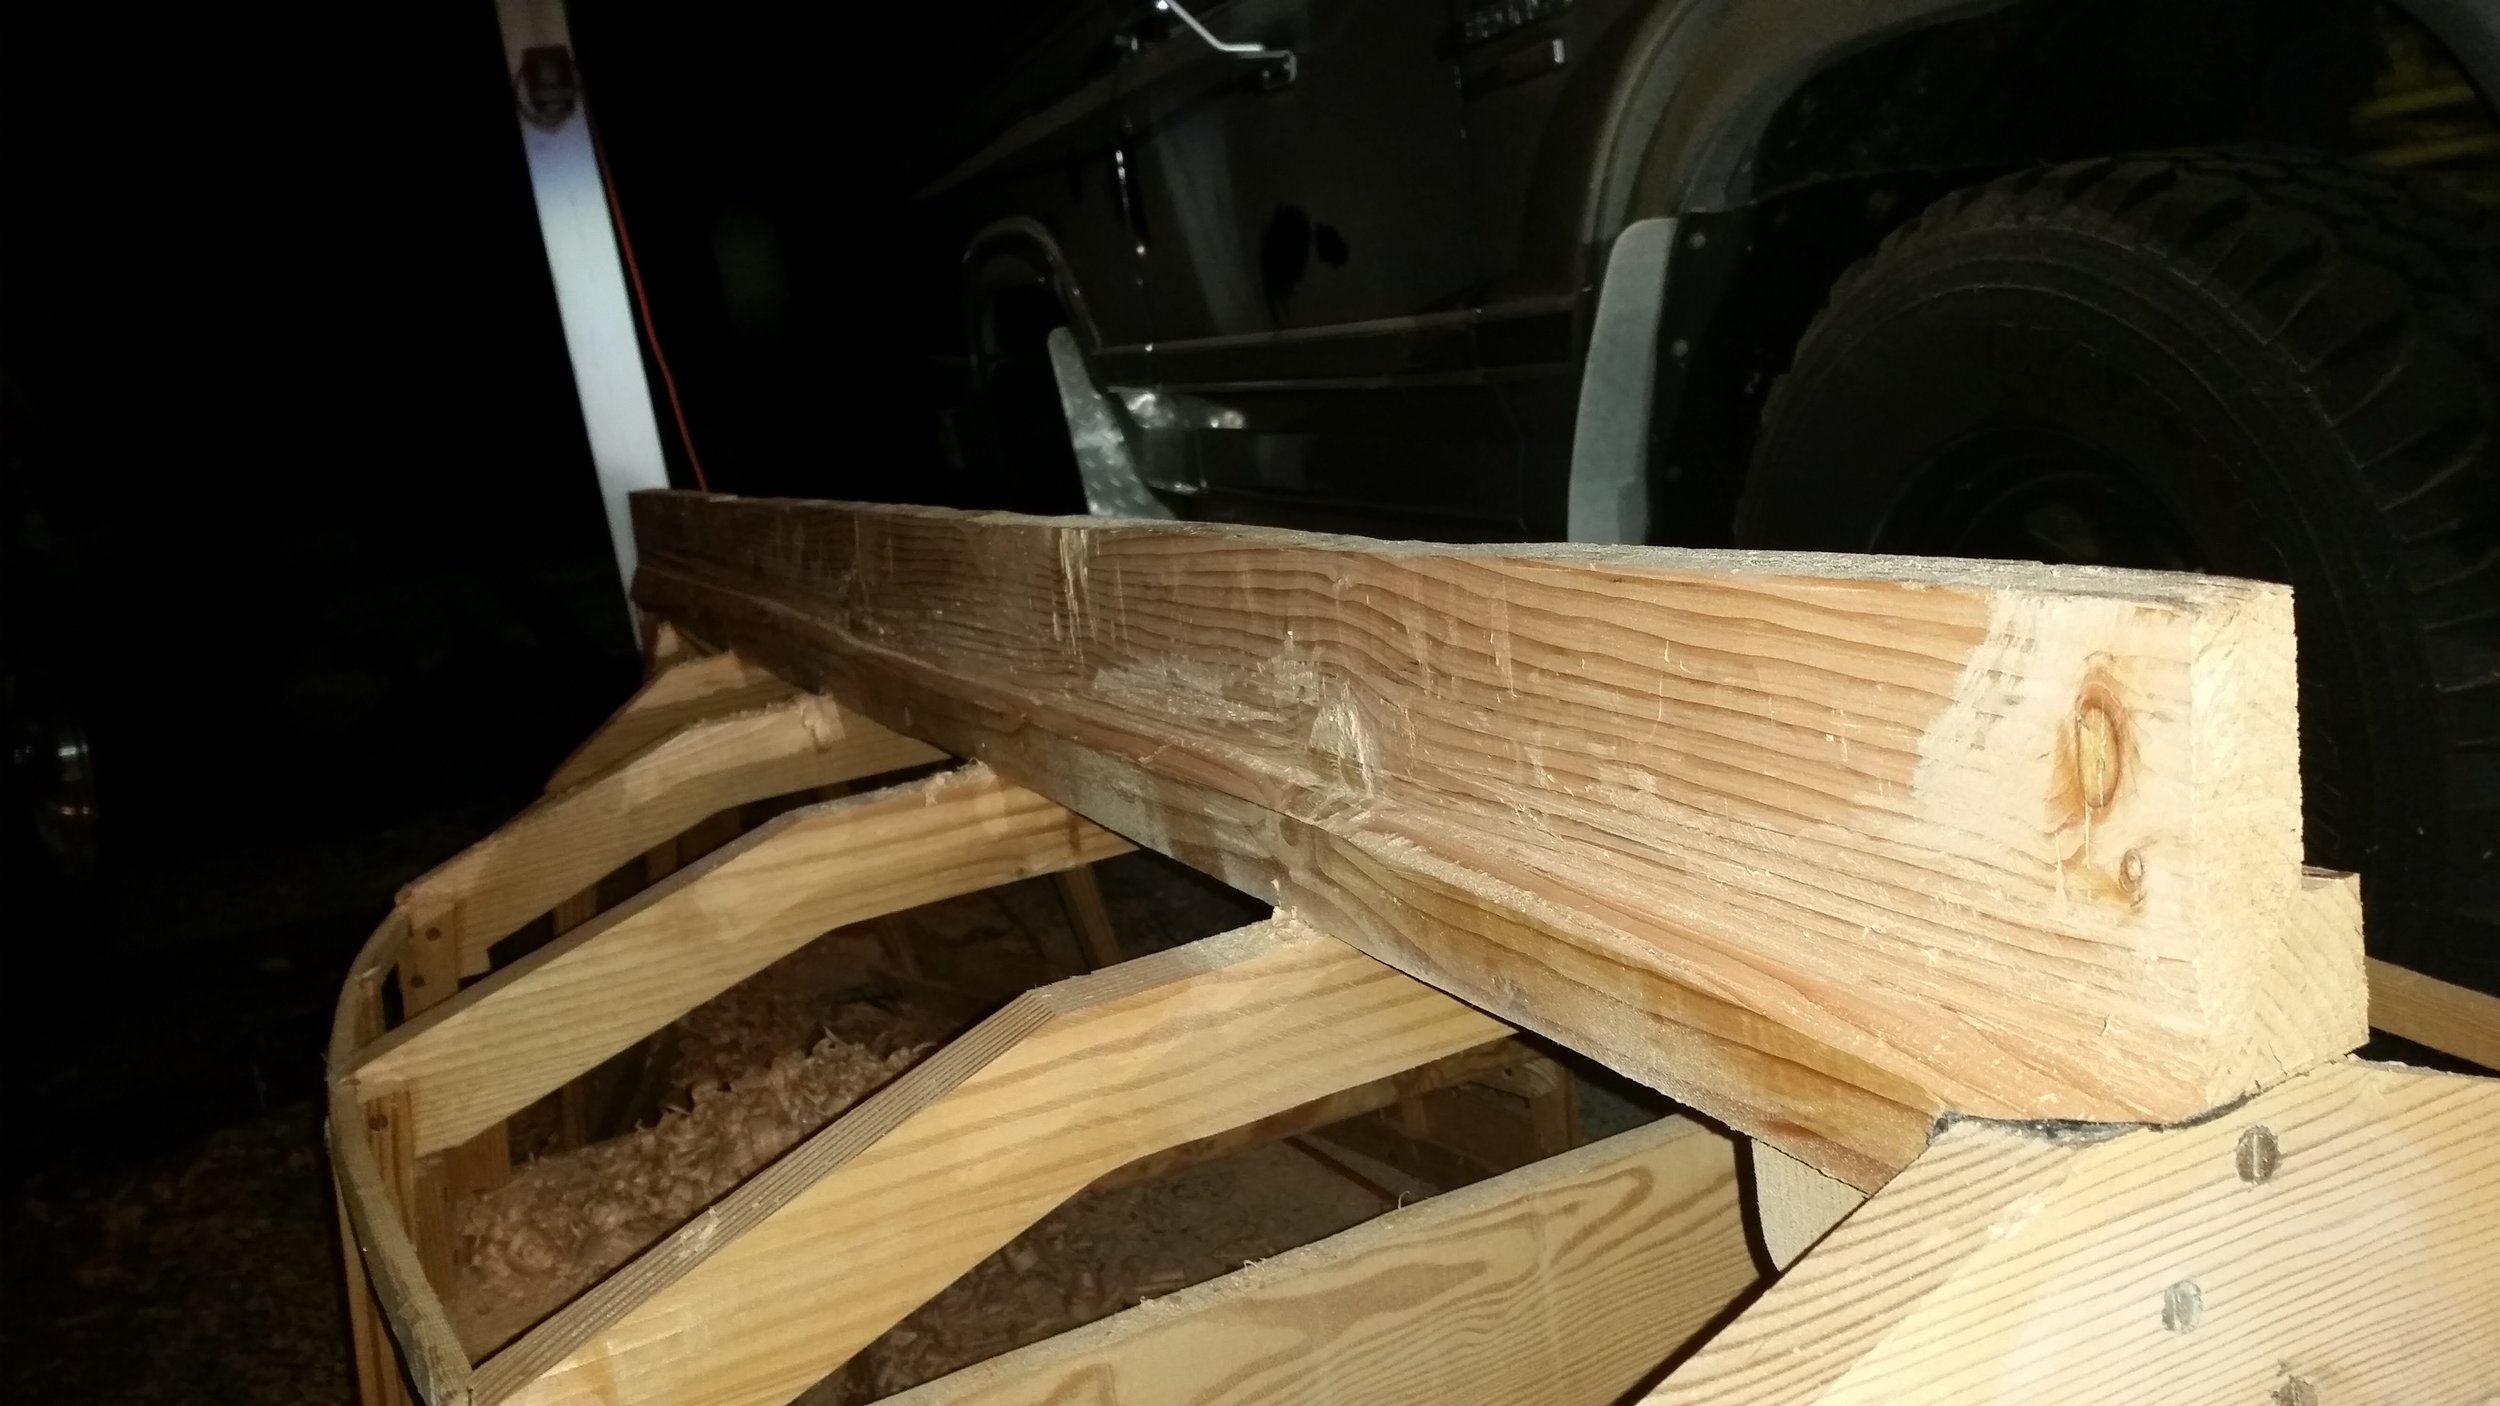
The dinghy is taking shape and it is time to flip it over and cut the rabbet into the keel. The rabbet is simply a notch in the keel where the garboard, the first plank, will connect to the keel. Most leaks occur from a poorly cut rabbet that was not wide enough, allowing water to slip by the plank and get into the bilge. It is best to think of the rabbet, not as a feature in the wood, but as a surface for a gasket that will keep water at bay. If you make a really small gasket, water might get through. If you make a larger gasket, water will have a harder time getting through. 

The first step is to determine what size the keel needs to be. In our case, the keel timber is 2 3/4 inches wide and I want the keel to be 1 inch wide. This means that 7/8 of an inch need to come off of each side to place the 1 inch keel in the center of the boat.  

FullSizeRender.jpg

The keel was marked at 7/8 and 1 7/8 and lines were drawn the length of the keel. Following these lines, I made the first cut proud of the line with my skill saw. The deepest I can cut is 2 3/8 inches, so my cuts were precisely that depth. 

FullSizeRender.jpg

A proud rabbet was cut into the side of the keel to meet with the first cuts I had made. This allowed me to remove the piece of wood from each side of the keel timber to begin the actual trimming process where I refine the keel into its desired shape. 

FullSizeRender.jpg

With the wood removed, I then began cleaning everything up with a No. 4 Stanley plane. This let me carefully bring the proud cuts right to the line without any risk of going past the line. The rabbet line was drawn a full 1/2 inch higher than where it is going to end up that way I don't go past the point. I cut down to the rabbet with no bevel just to get it down to the right location.

FullSizeRender.jpg

Once at this point I set a batten on the frames and looked at the bevel it needs to lay flush against the rabbet.  This work was much more tedious as each frame has a slightly different bevel. The bevels between frames was recorded based on the chine log. 

FullSizeRender.jpg

The end is a sloping curve where the rabbet is beveled in such a way that all the planks will run flush along the keel and frames. The middle of the dinghy is more flat while the ends are rather extreme. The bow was very radical as the planks come down at a very sharp angle. 

FullSizeRender.jpg

After the bevel was set on the keel, the rabbet plane was set using this side as the reference and the rabbet line was cut into the keel. This worked well everywhere except the forefoot where the plane didn't fit and had to be cut using a chisel.  

FullSizeRender.jpg

Hull Repair

Whatever hull material you choose for your cruising boat, you should be capable of repairing a holed hull in a remote location. This may sound rather extreme, being how boat yards are available in every major port of call.  The problem is if you find yourself stuck with a problem in a non-major port of call.

Say you have a carbon fiber yacht, and find yourself on an island with a small fishing village and you bumped into a coral head. Now you have a hole and you can't get your yacht to a major port of call where skilled labor to repair your problem can be fixed. This is why you should be skilled in repairing your own hull and carry the materials and tools you need to repair a holed hull.

If you choose a wooden boat, you will need to carry along the minimum tools you need to repair a hole. You should have the tools needed to scarf in a repair plank and enough wood to carry out a repair to the bottom planking. This is where the biggest problem comes into to play for wooden boats: Where can you store enough wood for a planking repair in a small cruising boat where the wood won't get moist and rot?

The space and rot problems are severe enough that most choose to only carry the tools they need and plan to simply purchase the wood wherever they find themselves should the problem arise. This is fine as long as you have a hull made from woods commonly found in the area you will be cruising. If your hull is made form an exotic wood, you will be faced with two choices should the problem arise:

  • Use a different wood that is readily available where you find yourself.
  • Have your specialty wood shipped in to where you find yourself.

Wood is wood, what difference does it make if you mix and match? A lot! Each wood will shrink and swell at its own rate. If you mix species, you can create problems when the woods begin to swell at different rates and this can create irregular stresses on the fasteners and frames.

Shipping your specialty wood in can prove to be very difficult. Not only will you be unable to hand select the quality of wood that you want in person because you are stuck on an island and nowhere near the lumber yard you are ordering from, but you will also have to pay for shipping and then wait for its arrival.

This is where FRP hulls shine! FRP stands for Fiber Reinforced Plastic, and this means that the hull is made of plastic and reinforced by fibers. Glass fibers (fiberglass) are the most common at the moment, but newer fibers are coming into the market all the time. Kevlar and Carbon fibers are becoming very common on high level racing/cruising yachts because they offer greater strength to weight, allowing the hulls to be built lighter while still being just as strong.

If you find yourself stranded on an island with a holed hull, finding the exact fibers that your hull needs may be a challenge. Luckily, you can carry your fibers folded up in a bag stored in the bottom of a locker. The fibers won't rot and they won't take up much space at all! Looking at your hull, I'm sure you know that your yacht is not made of a giant woven tapestry, there is a hard shell that holds it all in place. This hard shell can easily be carried in metal cans in their liquid form. Should a problem arise, all you need to do is mix up the liquid and wet the cloth to fix the hole in your hull. 

This might sound so much easier than working with a wooden hull, but there is a caveat. The liquids in the can are very toxic to the environment and old cans can rust out and leak. If a chemical leaks out of the can, you now have a mess in your hull and a lack of a required component in your hull repair plan. This is why it is a very good idea to store your cans individually inside a plastic container. Should the can leak out, it will still be contained inside the plastic container and can still be used with no mess to the inside of your locker.

Each hull material has its pros and cons for stranded island repairs, but the most important thing is that you know how to work with the material of your hull. If you don't know how to work with your hull material, no tools will help you complete the repairs. If your yacht is new, simply practice working with the materials on a different project (or create a new project that uses the materials). If you have an old boat, you have had plenty of experience with fixing everything as you rebuild the boat to get ready for cruising. Either way, make sure that you are proficient in repairing your own hull that way you can always fix your boat with the materials you carry, anywhere in the world.

Monitor Wind Vane Installation: Part 6, Clearing the Transom

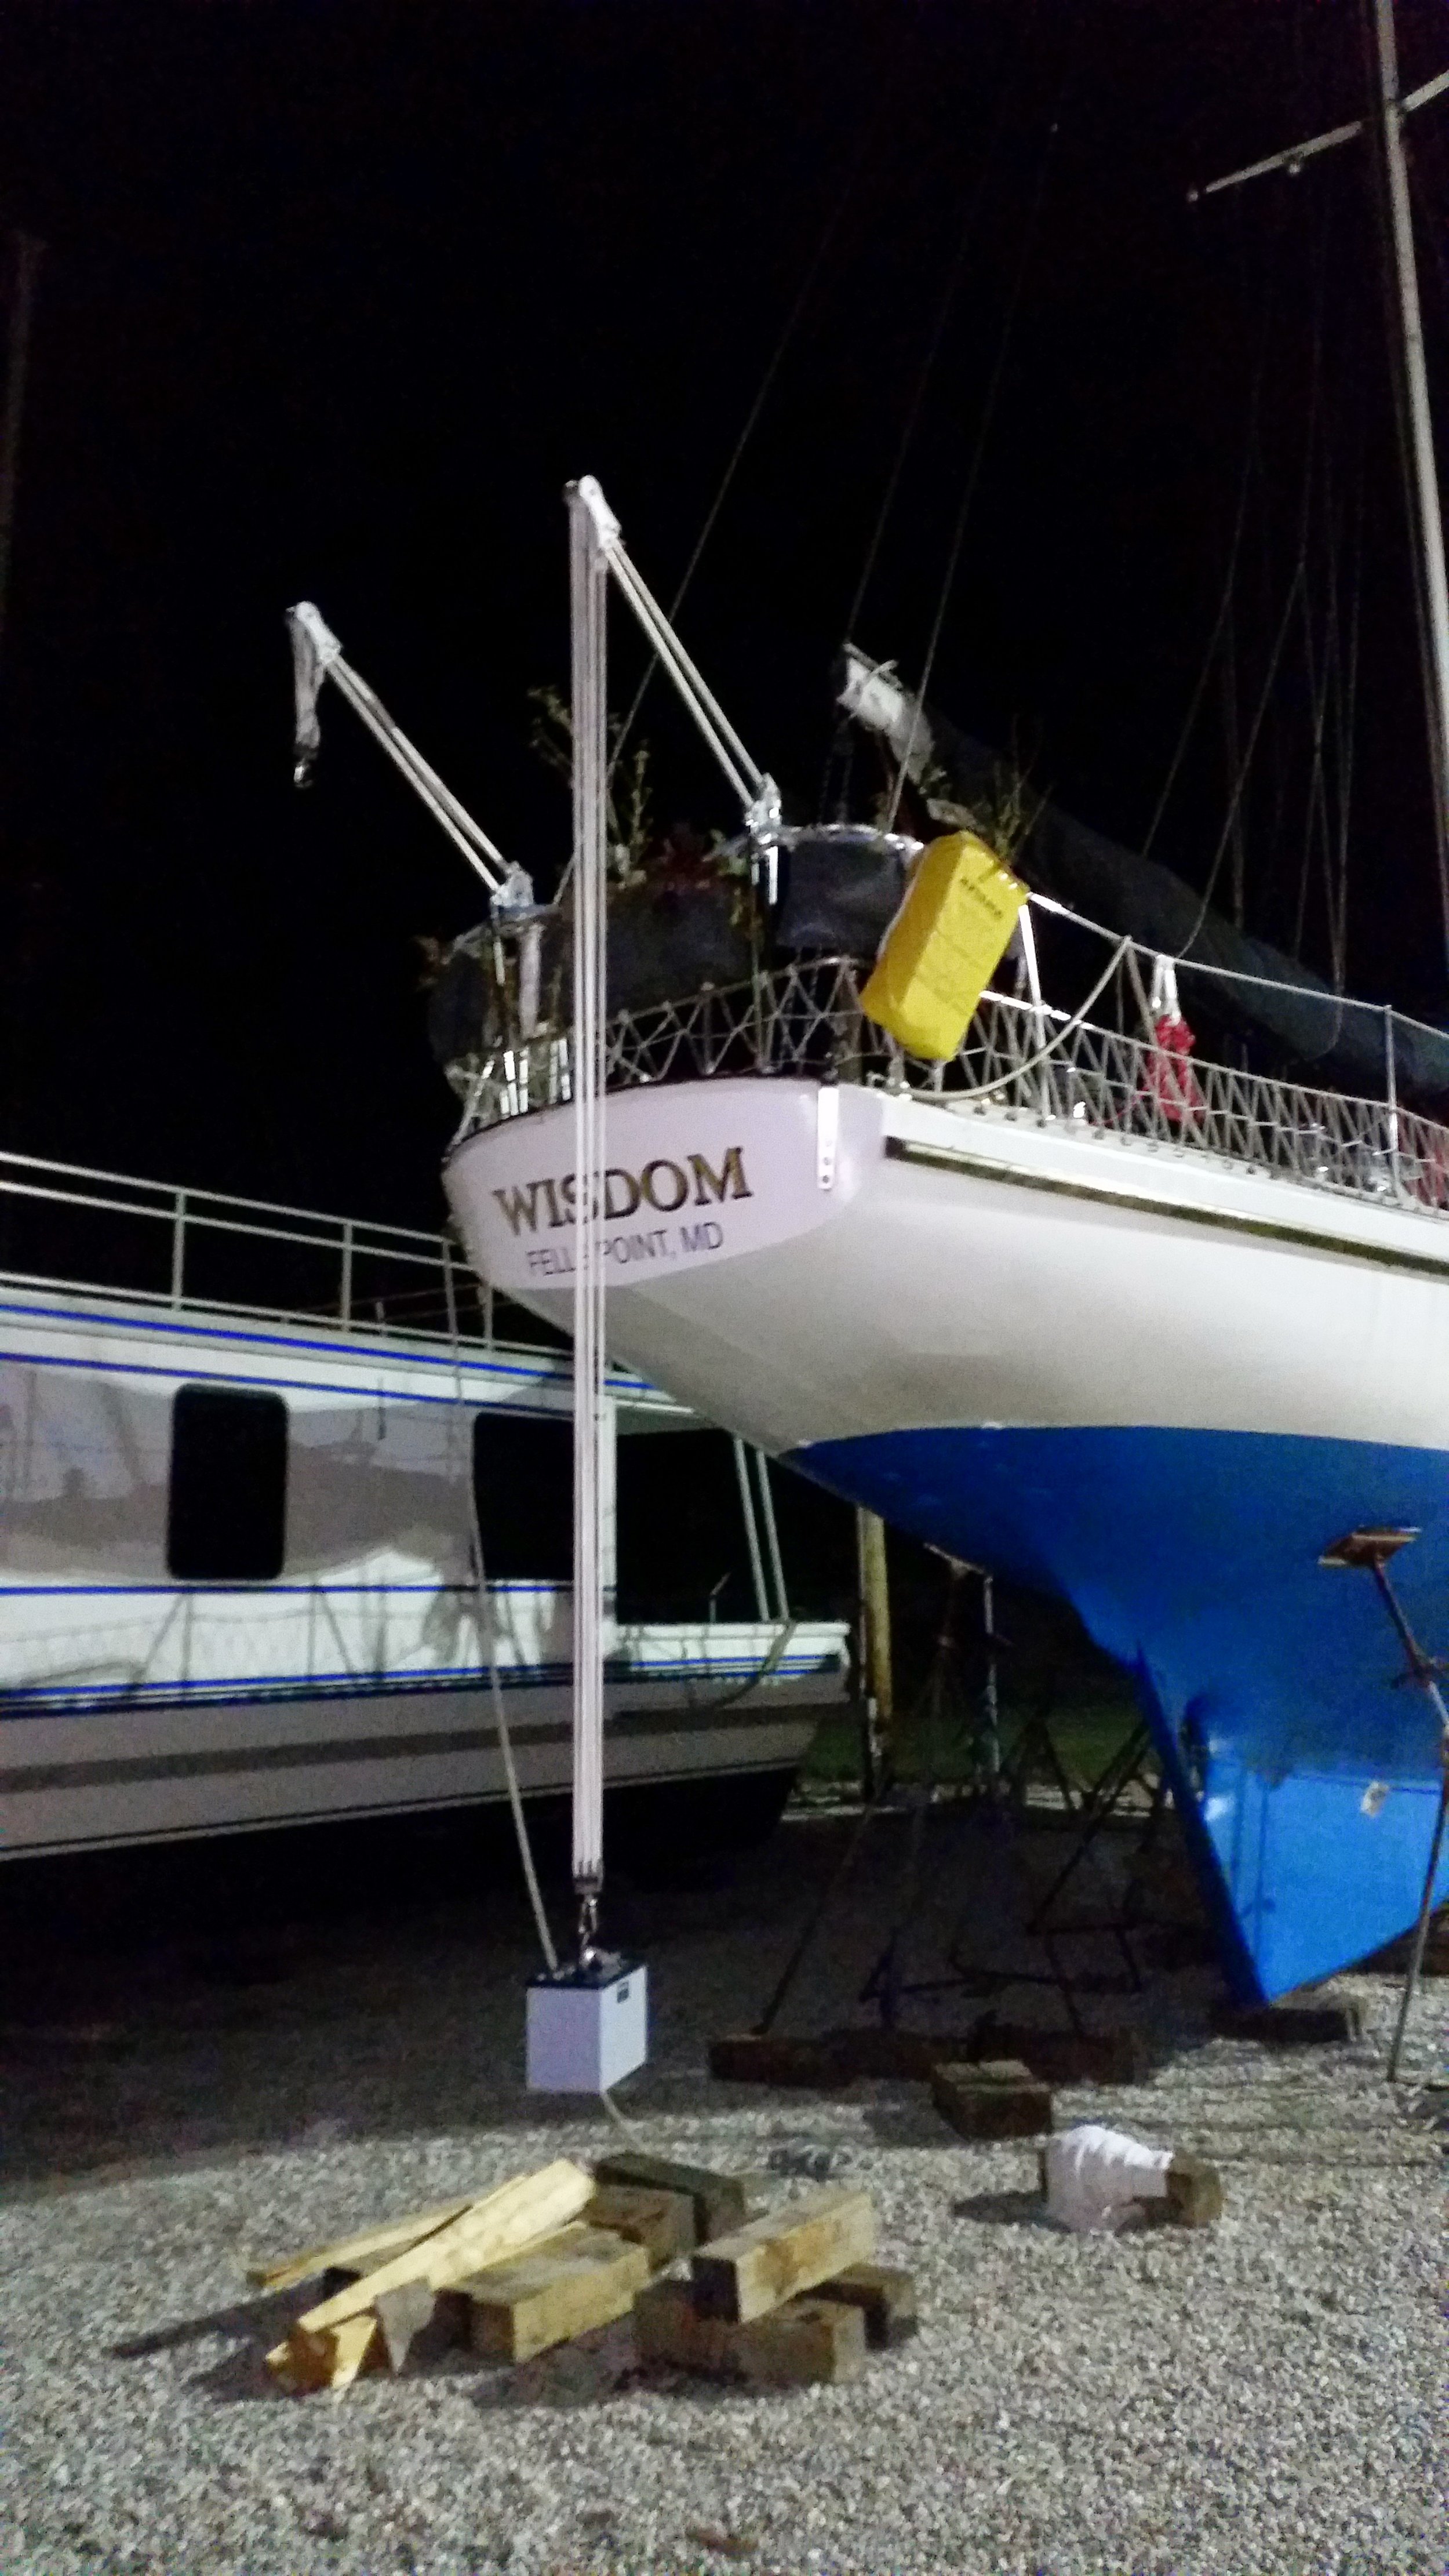
The wind vane needs to have access to swing and move without obstruction. This means that all our clutter and gear needs to be relocated and moved away from the transom. The big things that need to go are the stern anchor, davits, and wind sensor pole. 

I cleared off the large components, but left the stern light mounted below the rail. This too had to be removed as it interfered with the counterweight movement. If the Monitor were set on a starboard tack and close reach, the lead weight would bump into the stern light and make the unit get stuck.

The stern light was not that major of a problem since the Monitor has a stern light built into the frame. The other equipment was more of an ordeal to remove and relocate. The stern anchor for instance is frequently used to position our yacht with an East/West orientation. This orientation keeps the cockpit shaded and the solar panels in full sun all day long. 

The davits on the transom were of a different use. They were a royal pain in the stern to use, so I rarely every used them for their intended purpose. I purchased them to hoist the dinghy up and bring it along as we sailed, but it was very inconvenient. The dinghy needed to be tied up well to avoid it from sloshing side to side as we heeled over. It also required a bunch of fenders to avoid damage to the lettering on the stern. This was the first and last time I ever raised the dinghy on the davits!

From then on, the davits served other purposes, like storing our spare lines or raising batteries into the boat while on the hard. 

The davits were removed and disassembled, but they will be stored in a locker. Should we find ourselves on the hard and in need of lifting many heavy items into the boat, we can always assemble and install the davits temporarily. Rope storage will be relocated to another location on the boat, possibly a lazarette organization system for the ropes. Storing the ropes inside a locker fulfills a few tasks: it keeps the ropes away from salt, it keeps the ropes out of the sun, it keeps the rope out of sight.

Salt makes the ropes stiff and harder to use when you need them. The sun eats up the ropes via UV degradation. Keeping the ropes out of sight makes the boat look neater and also reduces the risk of someone else using the rope for their projects on their boat.

The Monitor Wind Vane is the most important piece of equipment on the transom, so its mounting requirements take top priority. If anything impairs its ability to function, that thing must be removed and relocated. Storing ropes or lifting batteries is not the priority while sailing across an ocean! Keeping these priorities in line allows us to maintain the yacht in the most functional of methods and will allow us to sail in the safest method possible.

Twin Headstays

Source: http://www.setsail.com/twin-headstays-like-we-did-it-in-the-olden-days/

Source: http://www.setsail.com/twin-headstays-like-we-did-it-in-the-olden-days/

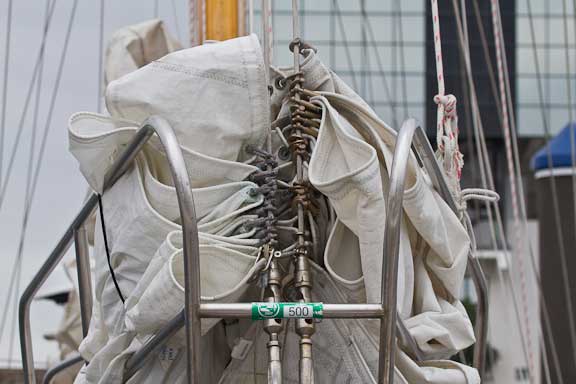
Why don't you see any yachts with twin headstays? They seem like a great idea.

When sailing downwind, you can easily set two headsails poled out on each side giving you a giant balloon of a headsail with optimum control. Each sail will ride on its own stay, so there is no issue with lowering one of the sails should you decide to change course from a run.

You can also carry two headsails rigged on the stays for varying conditions. Imagine the wonders of having a 150% genoa on the port headstay and an 80% jib on the starboard headstay. If the winds are light, you can hoist the genoa. Should the weather change during your voyage for the worse, all you need to do is lower the genoa and hoist the jib. There are no sailbags to lug around or hanks to mess with, as the sails live on deck attached to their own stay.

From a security and redundancy perspective, twin headstays will be perfect! Imagine if you are sailing along with a single headstay and the headstay parts, the mast will become unsupported and risks falling aft and over. Some yachts have two backstays so that if one breaks, the other one will hold the mast up; why not have two headstays as well? If one headstay breaks, the other headstay will take up the slack and keep the mast up in the air where it belongs.

You might be wondering why twin headstays never really caught on, being how they make downwind sailing a breeze and offer the added security of a redundant headstay. The reason is because yachts do more than just sail downwind and twin headstays have some fundamental problems that led to their demise.

When it comes to sailing on a run, there is nothing better than headsails set wing on wing. They will create so much lee helm that the yacht will sail itself as you ride on a downwind sleigh ride. The moment you turn to windward, the twin headstays will work against you. Proper headstay tension is needed to keep the luff tight so that the yacht can point to windward efficiently.

Sailors quickly noted that the headsails would work on one tack but not the other, meaning that sometimes they could work to windward and othertimes, the headstay in use would be slack while the other headstay had all the tension. This problem is due to the geometric setup of the twin headstays. 

The headstays were setup side by side, sitting next to the stem. When the mast is loaded by wind pressure on the sails, it will bend to leeward slightly. As it bends to leeward, the leeward headstay will go slack as the masthead moves to leeward and falls right behind the leeward headstay. At the same time, the masthead will fall away from the windward headstay which will increase the tension on the windward headstay as it takes all the force.

A twin headstay setup would work properly if you switched headsails as you tack, always using the headsail on the windward stay. This adds a lot of work, which will not be done because sailors went through the trouble of rigging twin headstays for the convenience, not for extra labor!

Since the leeward headstay goes slack, this must mean that the leeward headstay doesn't have enough tension. This led sailors to increase their headstay tensions to attempt to rectify this problem. Two really tight headstays made matters worse as the twin backstays were opposing this force and led to unnecessarily high compression forces on the mast. 

The other problem with twin headstays is the hanks can get hooked on the other stay if the headstays are mounted too close to each other. They typically need 6 to 8 inches of clearance to avoid any interaction between the hanks on a sagging headstay and the other headstay. Aside from the hanks interfering with each other, you run the issues of the added windage from the extra stay. This problem is compounded should the owner try to rig twin furling headsails. The furled up massive headsail will cause so much wind resistance and turbulance that it will rob the working sail of its wind and efficiency.

If you ignore the downfalls of a twin headstay setup simply for the benefit of the structural redundancy, you will still be disheartened. Having two headstays for the sake of redundancy means that you assume that the headstay is going to break. If you feel this way, you should also have two backstays, and multiple shrouds, just in case the other stays break as well. Soon enough, your mast will look like a Christmas Tree with all the shrouds surrounding it.

Having one well maintained and properly sized headstay will provide you all the tension you need on any tack without all the problems associated with having side by side headstays. If you want to have the ability to setup two headsails with ease, you should consider a cutter rig, or setting up a solent instead.

Cutters and solent rigs have two headstays set in a line, where the stays still attach at the centerline of the stem and will not rob each other of tension, nor interfere with the performance of one another. The only problem with this setup is the small slot between the two stays will make tacking a large headsail troublesome. 

With everything on a sailboat, there is always a give and take. If you plan to only sail downwind, a twin headstay setup would work well for you. If you plan on sailing at any other point of sail and still want multiple headsails permanently rigged, do consider a cutter or a solent setup.