Stretching Your Dollar

When your funds are limited, you will make every effort to stretch out how far your money can go. Maddie and I have a few major items to purchase to finish outfitting Wisdom for our trip, and we have found ways to make minimize the expense of these items.

I worked at the Annapolis Sailboat Show in October and took great advantage of the discounts involved. Boat shows are excellent places to make large purchases as the vendors are all trying to get you to buy their product and the prices can become negotiable. Add to this that the prices start off at a discounted level and you have a recipe for savings!

We picked up the Monitor Windvane at the 2016 Sailboat Show for a significant discount. I purchased the unit over the phone while I was in Maryland and the company was in California. This purchase happened across state lines so no sales taxes were needed. Then, my unit was used as the display model which I picked up at the end of the show, saving me the cost of shipping! Since I technically purchased the unit at the boat show, they extended the boat show discount to me as well!

Aside from this much anticipated purchase, we also picked up some other needed items. On the shopping list was a 65 pound Mantus anchor, four person life raft, a sea anchor,  a very small inflatable raft, and a 2.5hp propane outboard.

While I personally don't want the inflatable or outboard, Maddie does. Almost everyone we encounter has told us that we need to have an inflatable raft and outboard if we want to go to the Caribbean. Then they begin to tell us about all the issues they have had with their inflatable and outboard. 

I think this is the worst idea for the tropics where the sun is strong and the sand is abrasive on the inflatable. The salt air will also wreck havoc on any engine parts made of cheap pot metals. We have agreed that the engine and inflatable will remain in the lazarette unless absolutely needed, out of sight of thrives and the sun.

The reason we are going with a propane outboard is it runs on the same fuel source we use for our grill. I don't want to carry gasoline on Wisdom because I feel that is an absolute hazard. If we had a small gas outboard, we would then need to carry a can of gas. By using a propane outboard, we we can carry cans of propane as our cooking fuel knowing that it can also be used to power our outboard if we so desire.

Cruising and marriage are a series of compromise, and if having an inflatable and outboard makes Maddie happy, we will carry just that and go cruising!

Siding Around The Fenders

Construction of the tiny house is proceeding smoothly, everything is square and all the edges are straight. Then you come to the fenders, which have curves and rounded edges that do not readily accept the siding.

To make life easier, the perimeter of the siding will have a splash of trim. This trim allows me to put off the fine fitment of the finished product until later, and lets me work with much smaller pieces as I fit everything. Lets face it, fitting a small cover board to the fender is much easier than manhandling a 6 foot board!

The front of the fender on the door side of the tiny house needs a very small section of siding placed, but it took a lot of measuring to get it all lined up perfectly. The siding on both sides of the door will meet above the door and if there is any discrepancy between the heights of the siding, it will be notable above the door when they don't meet properly. Careful measurements using the trailer as a reference point made everything line up and look even.

It all starts by removing the lower section of the batten off to make room for the new siding. Then install the starter strip at the bottom. This strip simply gives the bottom plank the right amount of flare to allow water to drip off the lowest strake without pooling and rotting out the plywood sheathing.

Be sure that the bottom of the board doesn't contact the fender as this will cause the water to pool and rot will set in promptly. A slight gap allows water to drip and drain off while also allowing air to flow under it and dry the area out, further preventing mildew and mold growth.

With the first board in place, not contacting the fender and properly flared to promote dripping, the rest of the siding proceeds quickly. The second board simply goes right over the nail line of the first board and the siding installation proceeds quickly and effortlessly.

The second strake is the last strake that needs to be beveled around the fender. The three inch gap is maintained as it runs up the side of the fender, but from there on, the edges are once again square and work proceeds much quicker.

In no time, the rest of that section of wall will be sided and the tiny house will look much more like a house and much less like a Halloween decoration!

Removing the Excess

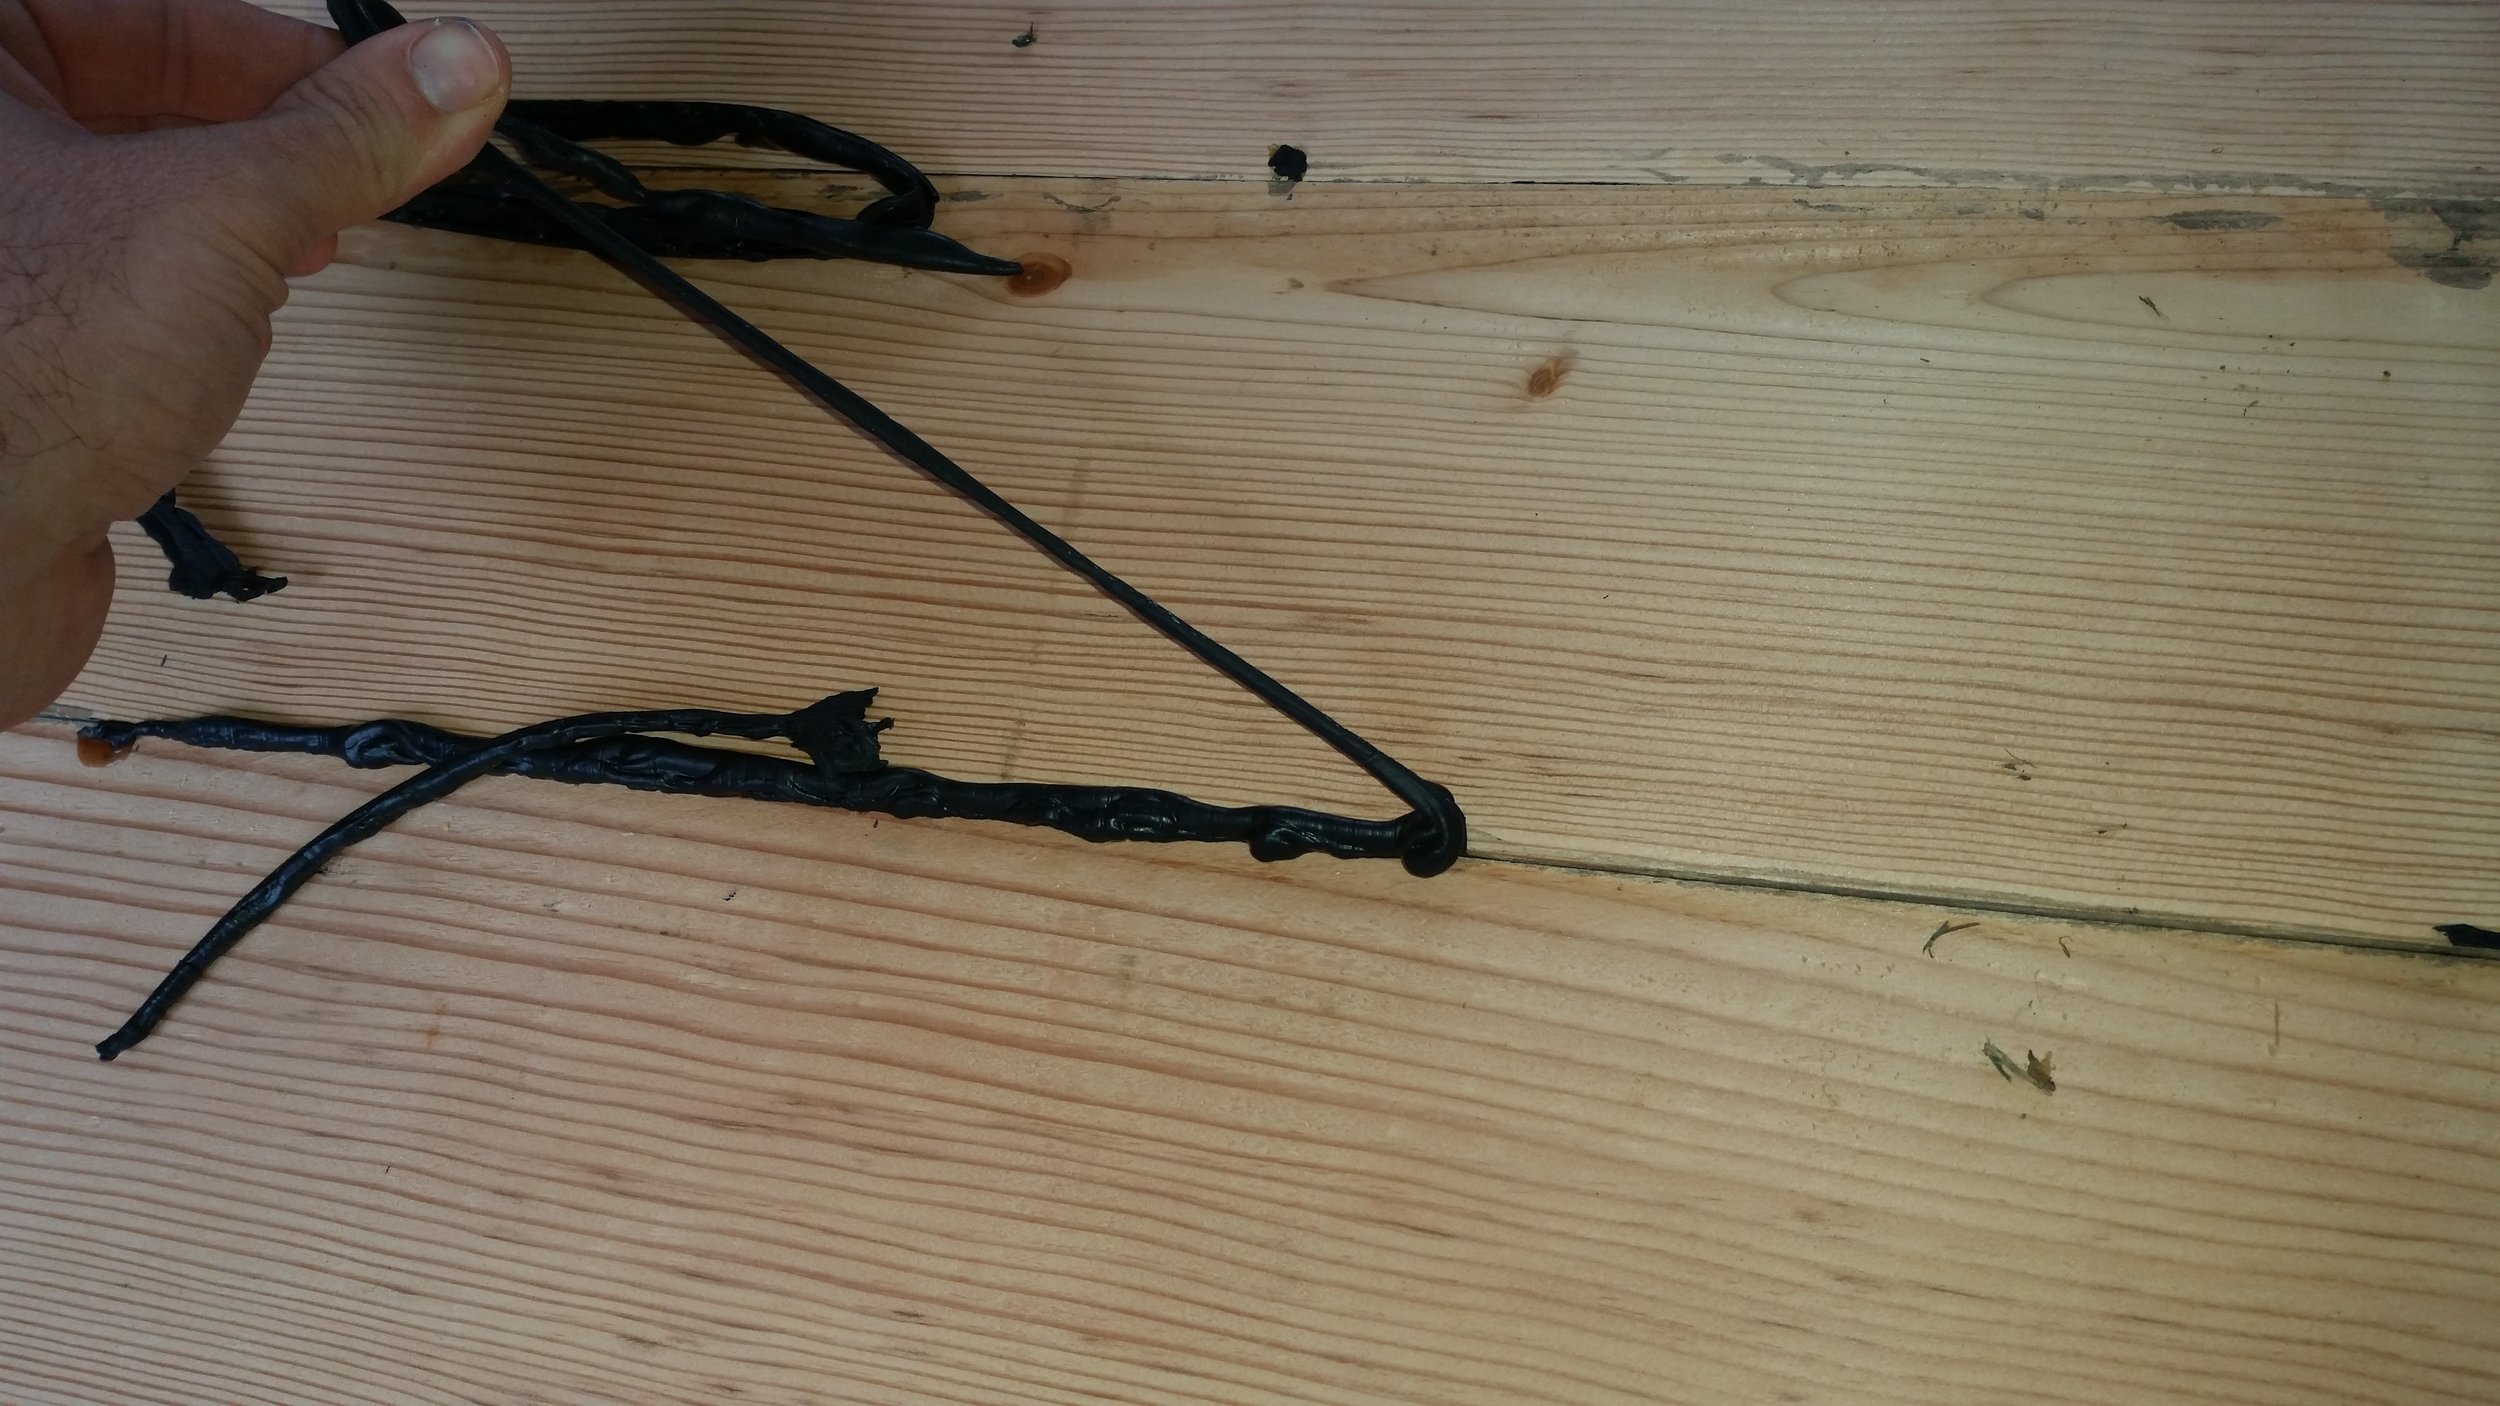
The transom planking has been allowed to cure for several days until the extruded material became hard and rubbery.

The excess material is easily removed without any tools or special skills, all you need are your hands! Simply grab the blob of rubber and pull upward at a sharp angle, the material will pull off cleanly and leave almost no residue behind.

What you have left is a simple clean black line as wide as the slim jointed surface! No mess, no crazy clean up, just squish the planks together and let the excess ooze out and cure, then peel it off!

Progress

As the tarp on the roof turns to shreds, the siding slowly comes to life on the tiny house. The top may look like Hell, but the sides are receiving new life as the work progresses from the bottom up. 

Once all the siding is finished and the trim work installed, the roof will go on and the tiny house will be transformed from a dilapidated shamble into a tiny home! 

Winter Laziness

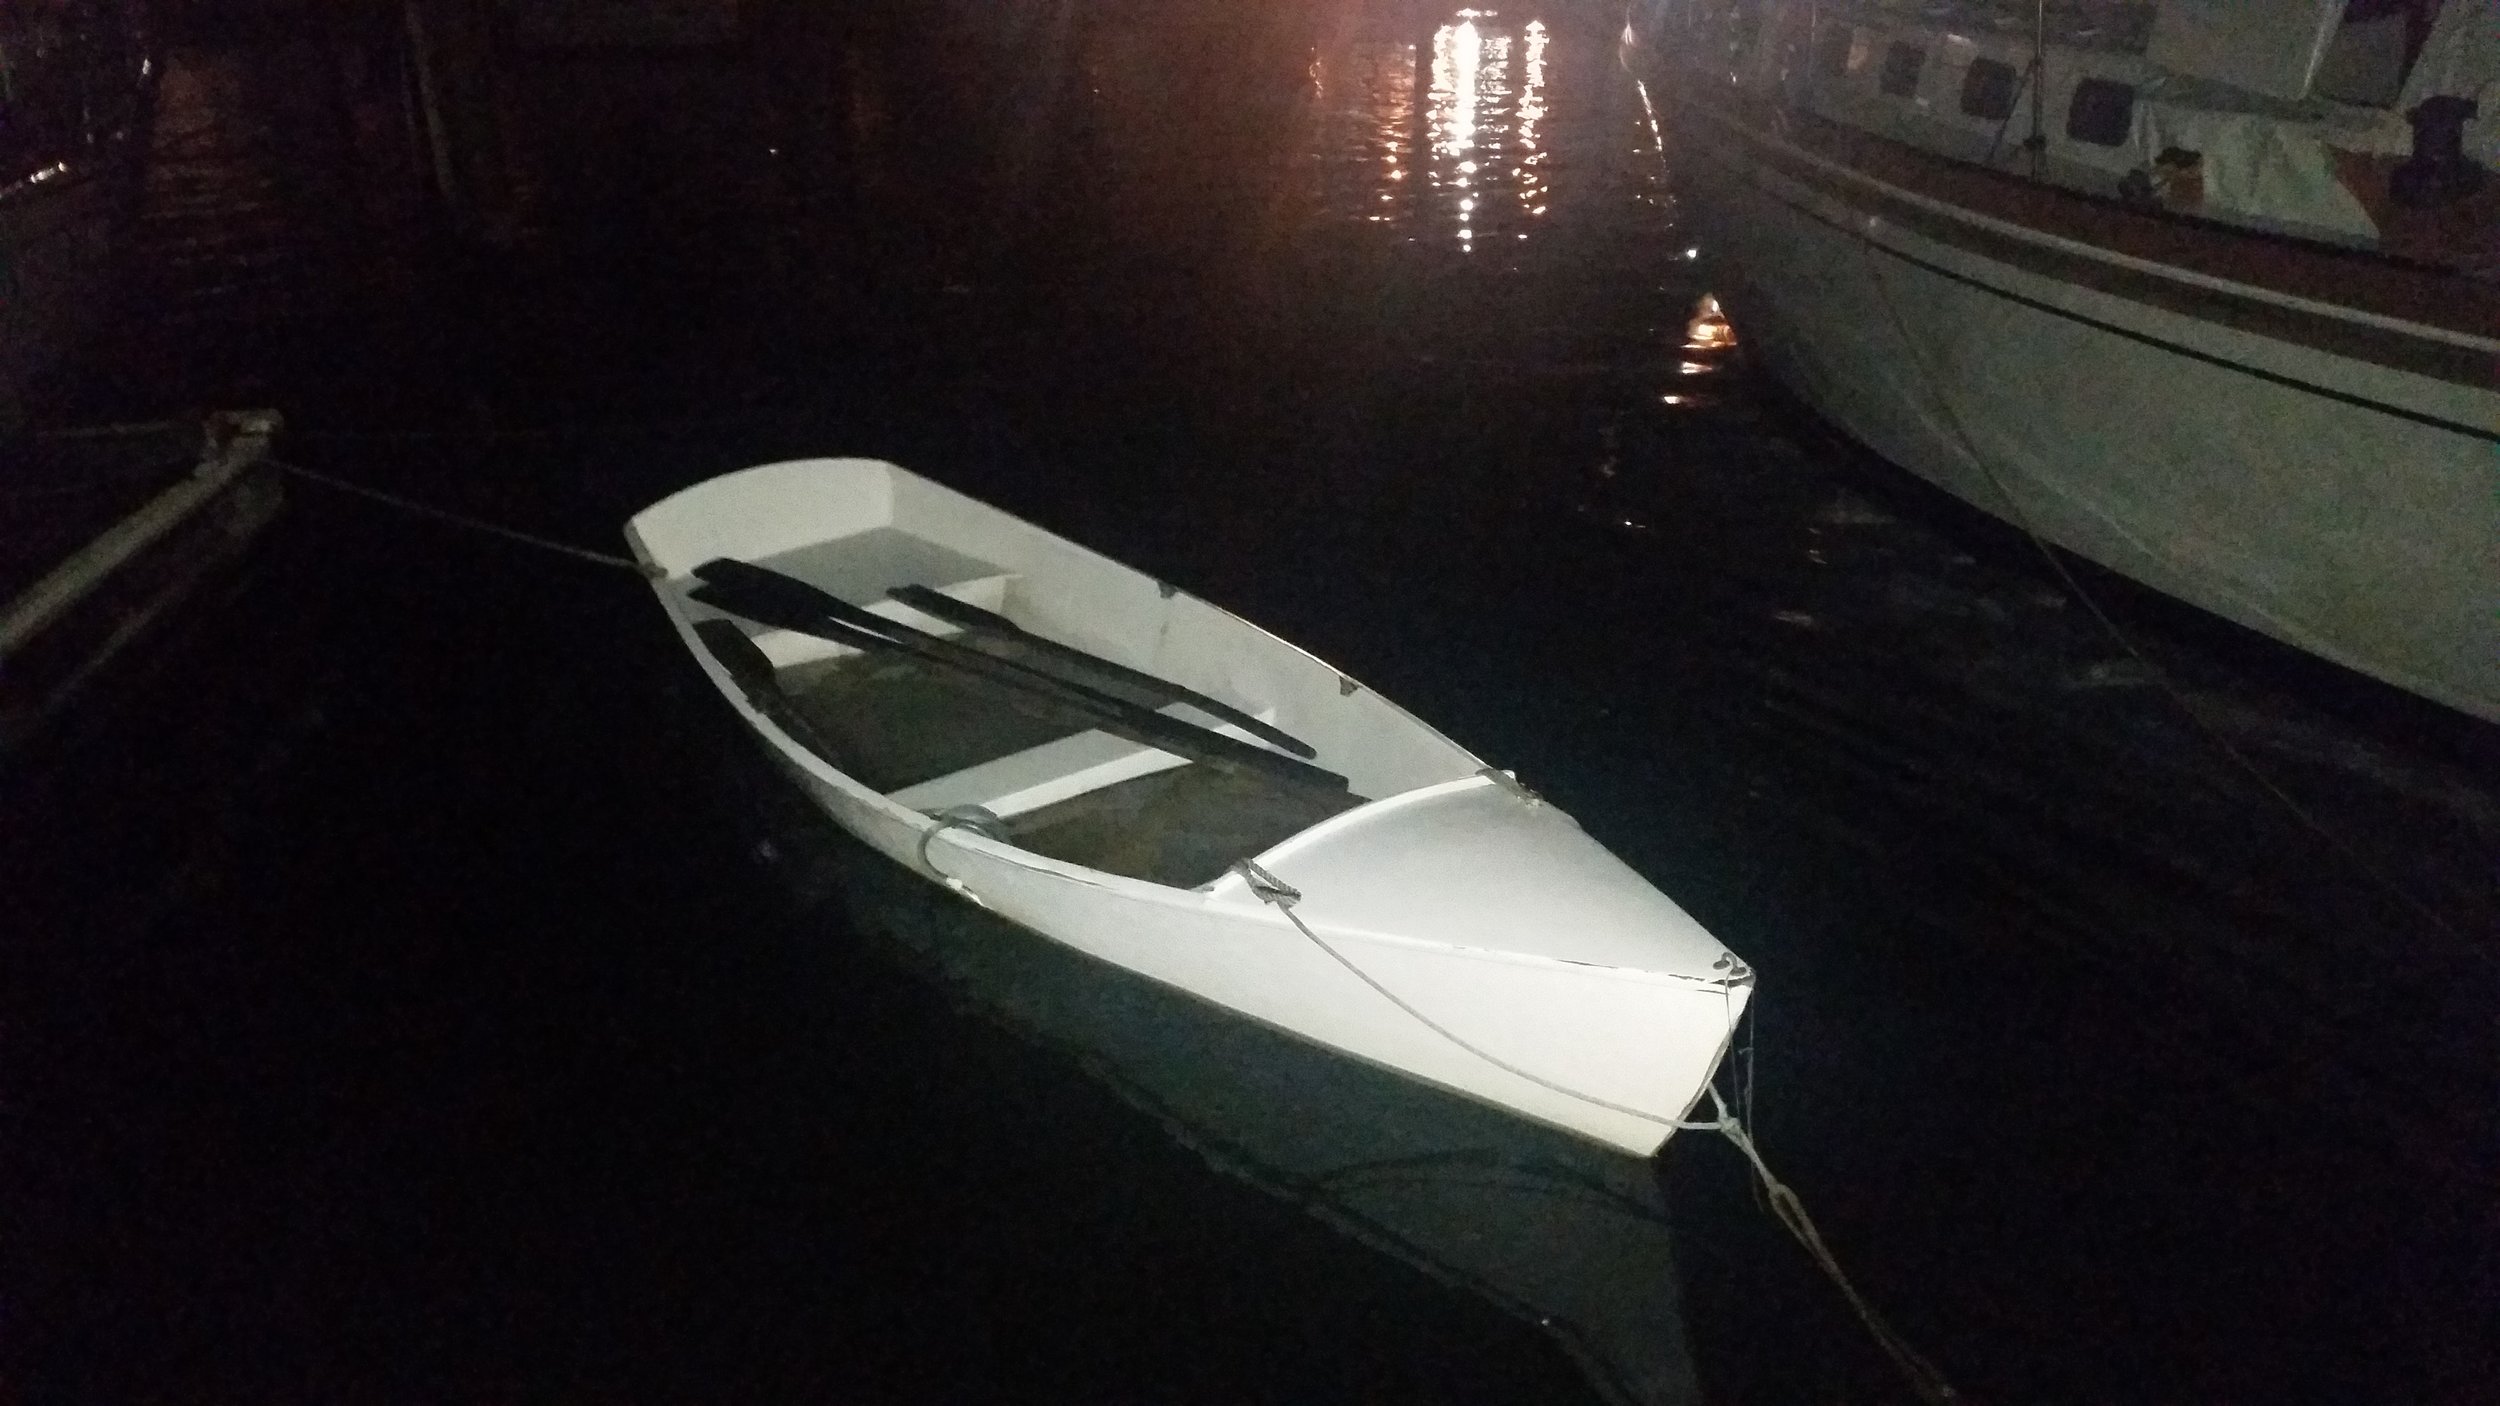
It's cold, and I don't feel like spending any more time than necessary outside. In the meantime, it has been raining, sleeting, and snowing for the past few days and Tooth has slowly been filling up with water.

As Tooth fills, he sinks into the water and has less freeboard keeping him afloat. The problem with decreased freeboard is if a winter storm strikes and kicks up some waves in the marina, Tooth could easily be swamped and sink. 

As mentioned, I do not want to spend any extra time outside in the freezing wet world that exists outside of the cabin, so the thought of trying to float our sunken dinghy would be less than pleasant.

A front was rolling in and we were expecting a lot of rain, possibly enough to sink Tooth. This served as enough motivation to get outside and pump the water out of Tooth!

While I did have to go outside to setup the pump, I didn't have to stay out there for very long. I hooked the pump over the sheer and pinched the pump under a block of ice that was floating around inside the hull. The pump runs on three D batteries, avoiding any manual labor on my behalf to remove the water. 

Setting up the pump was not much work, after which my presence was not necessary. I was able to return to the warmth of the cabin while I awaited the water removal to be completed. After 20 minutes, the dinghy was almost completely dry!

With Tooth emptied out, he would be ready to receive the coming rain, ready to be filled up again by the next heavy rainstorm.