
Jellyfish, Salinity Indicators

We keep our boat in Fells Point most of the year, where the water changes with the seasons. I'm not just talking about freezing and thawing, the type of water changes drastically throughout the year. We are located quite a ways of the river, and the water will fluctuate its salinity with the seasons. 

Typically, the water will go fresh in the winter and salty in the summer, with periods of brackish in the transitional months. While a hydrometer is a cheap instrument that can be used to measure the salinity of the water, simply observing the aquatic life will also provide a rough estimate of the waters salinity.

Sea Nettles like water with a salinity around 10 to 16 PSU. In the winter, the salinity goes very low, and in the peak of summer, the salinity is very high. When we see the sea nettle populations boom in the early summer, we know that the water is becoming saltier, and is in their happy range of 10 to 16 PSU. Once the sea nettles disappear, we know that the salinity has exceeded their happy range and is much saltier. In the fall, the sea nettles return as the water is once again passing through their happy range of salinity. When the sea nettles disappear once more in the winter, we know that the water has now become fresh again.

It isn't the most scientific of methods, but it does help quench the quick curiosity of "Is the water fresh or salty?"

All it takes is a quick glance at the water as you walk along the pier!

Return of an Old Favorite

One of our favorite parts of living on a sailboat in the city is going to the local eateries for breakfast. One of our favorites, Sofies Crepes closed last year and we were quite saddened by the loss of these delicious crepes! 

We used to go to the farmers market on Saturday mornings with Morty and then get a delicious crepe there before returning to the boat. Since they closed, going all the way to the farmers market began to feel more like a chore without that sweet or savory treat that used to go with it. 

As is the city, everything is always changing and Sofies closed. It had been almost a year since we had ventured in that direction. Last night while walking back from an ice cream shop, we decided to see what had filled that vacancy. 

upload.jpg

We can't wait! 

Making Battens

Battens are simply long strips of wood. They are easy to make and handy to use during construction. Battens used in construction are similar to the battens used in sails, but the ones in sails are made out of much higher quality wood!

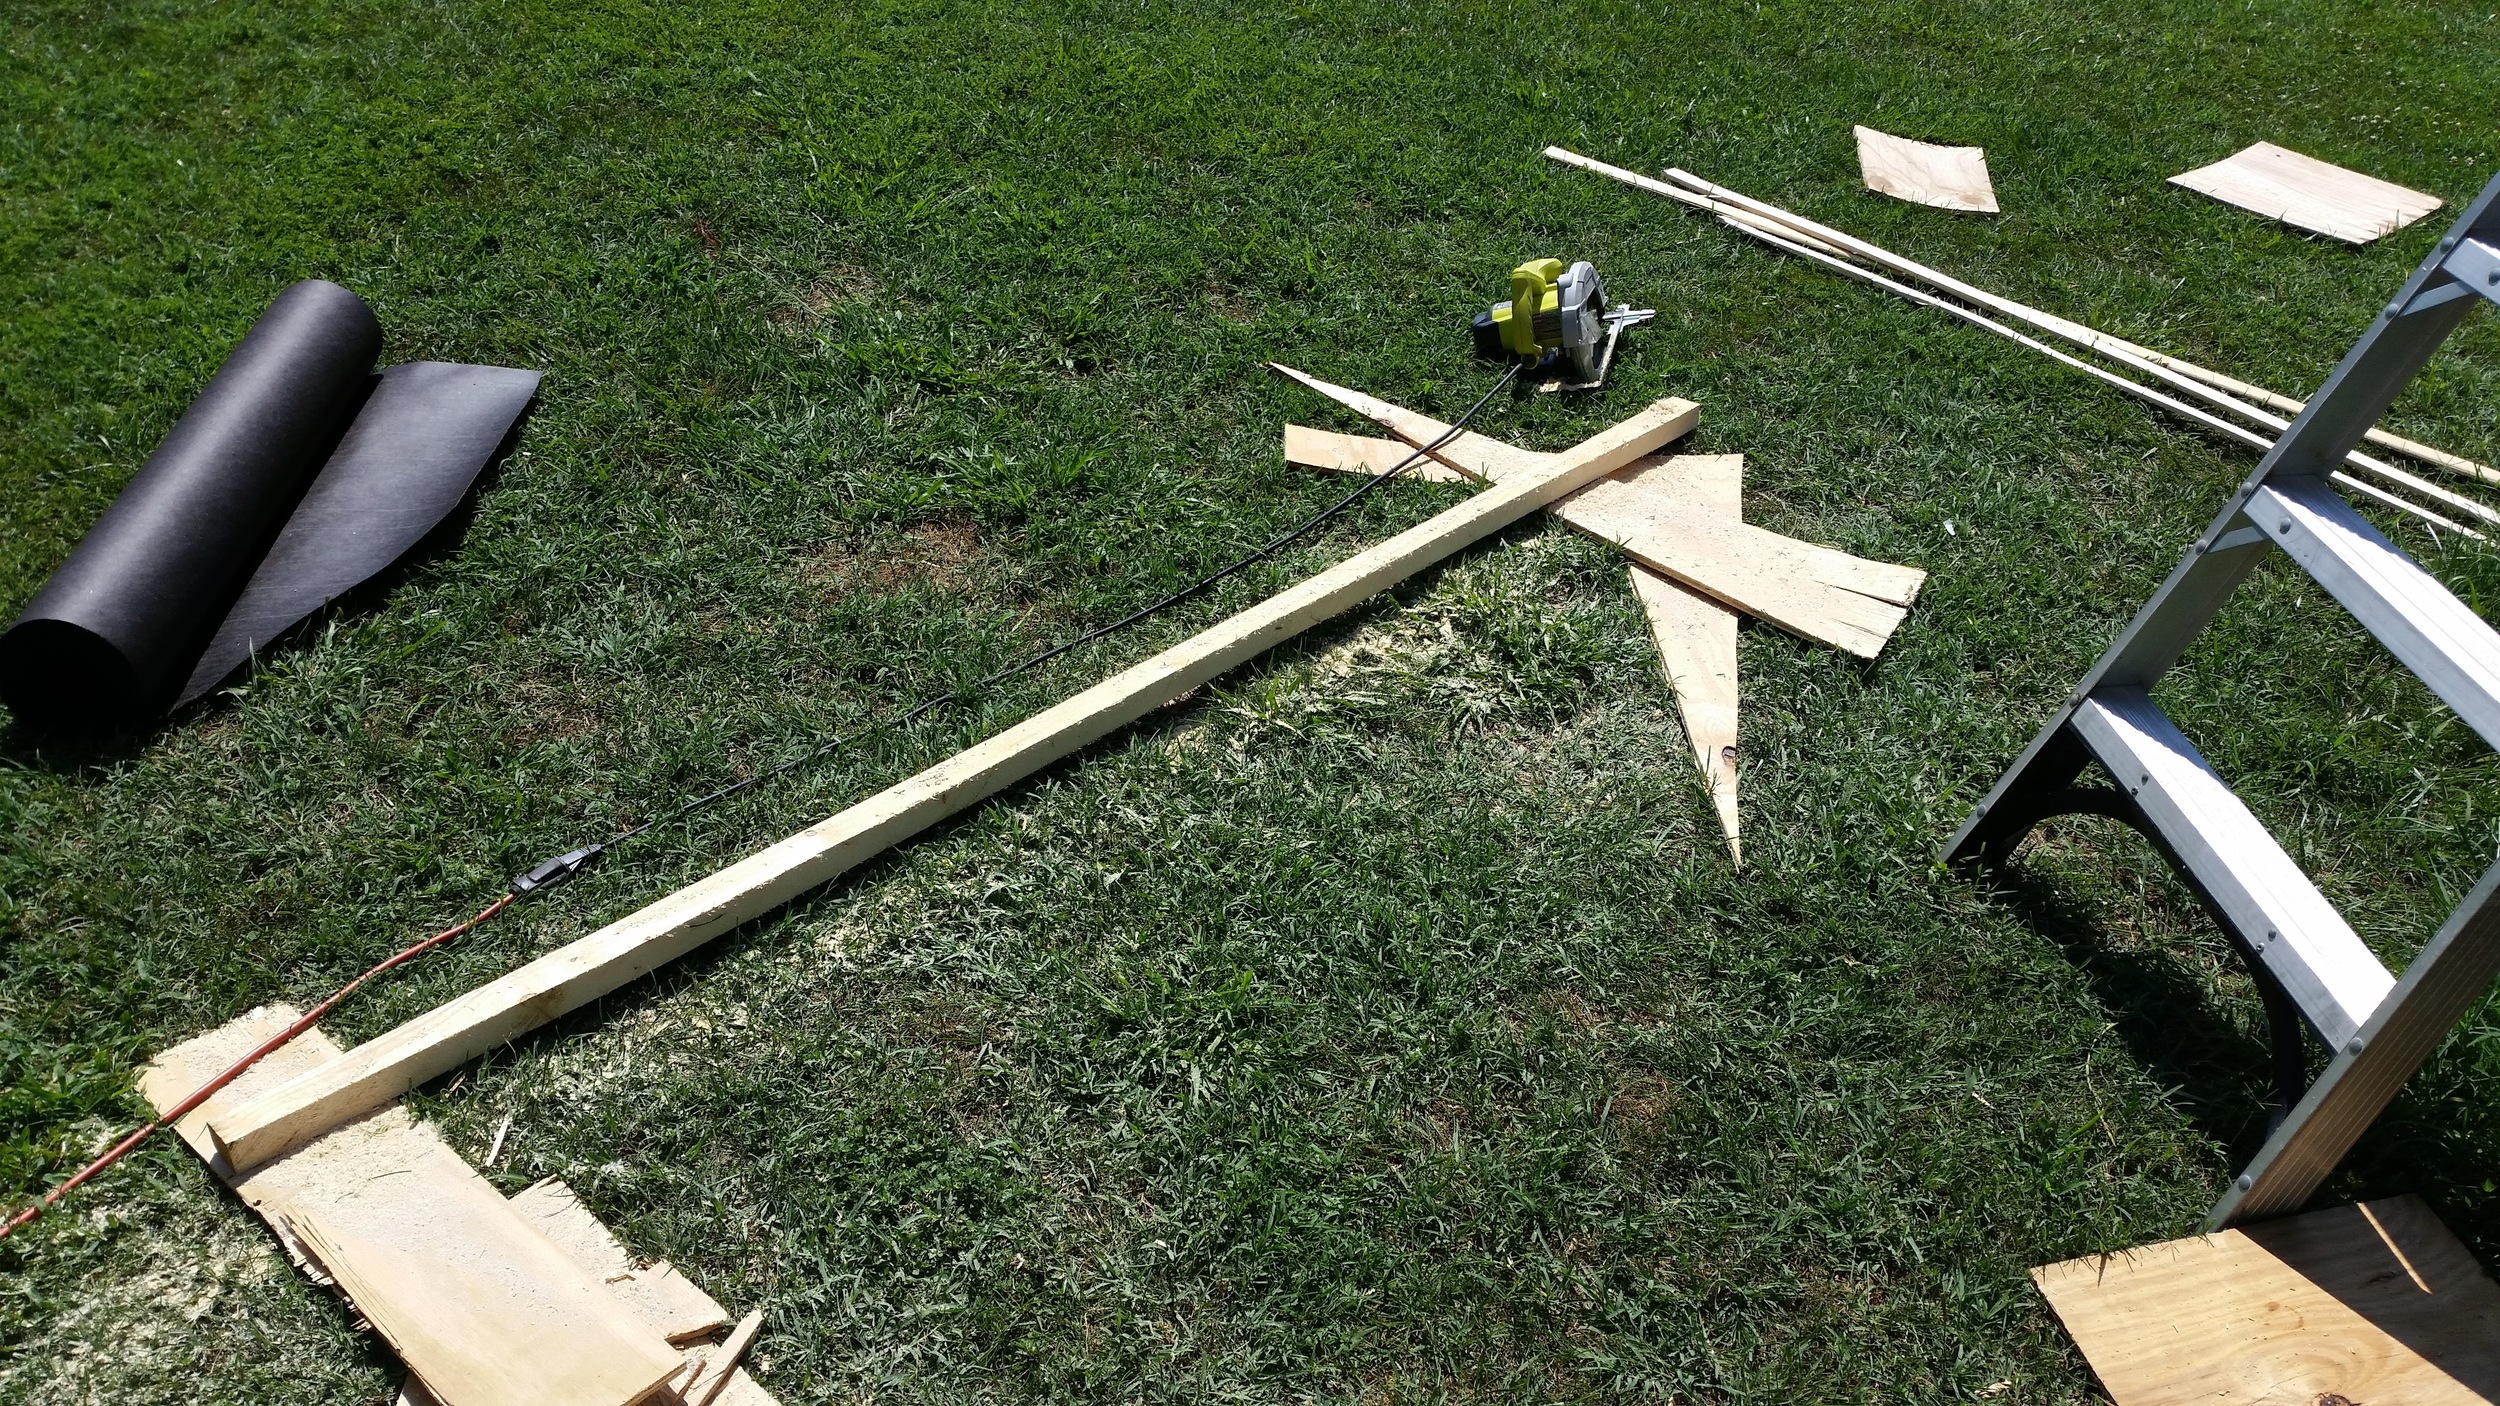
The battens used to hold the tar paper in place on the tiny house are made out of cheap pine 2x4s from Home Depot. A 2x4 is placed on a raised platform (scrap pieces of wood) and then ripped with a skillsaw.

A rip fence is installed in the front of the skillsaw, allowing you to control how wide you wish to make your cut (how thick the batten will be). I cut mine to 1/4" thickness. To cut the batten, the rip fence is placed on the side of the 2x4 and held firmly onto the wood as the cut progresses. The rip fence lets you take your focus away from how thick you are cutting and instead focus on holding the saw onto the wood. Cutting the battens is as simple as holding the saw and pushing it along the plank! Instead of buying pricey battens, buy a 2x4 for less than $2 and rip several battens out of it; because of losses by the kerf of the saw, I was only able to get 6 battens out of the 2x4. This would equate to $0.33 per batten, much cheaper than buying battens from the store.

Wrapping the Tiny House

Plywood will not last long exposed to the elements. While the plywood sheathing will be protected by the siding, leaks will still occur unannounced to us which will rot out the plywood sheathing. To protect the plywood, tar paper is placed around the tiny house!

Since I'm working alone, tar paper was installed in smaller (more manageable) pieces. I started at the bottom and worked my way up to the roof. The bottom of the next row overlaps the top of the lower row to provide a shingle effect, effectively keeping the water from entering the tiny house sheathing plywood. 

I wrapped the tar paper around the corner. When I wrap the sides of the house, those sheets will overlay these sheets. It is important to work on one wall at a time, covering it from bottom to roof with overlapping layers. 

Battens were cut and screwed to the the outside, tacking down and supporting the tar paper. If battens were not used, the tar paper would probably rip off the nails that hold it and blow away in the wind. Battens help hold everything in place and keep the tar paper installed on the tiny house until the siding is ready to go on.

The windows are left covered at this time as the tar paper will keep out any water that might come in. After everything is wrapped, the windows will be cut out in the tar paper and the glass windows installed. Until then, the holes will be protected from rain as construction progresses.

Cutting Out the Windows

The tiny house has been sheathed and screwed completely! The windows are now covered by plywood and only visible from the inside by the outlining frames. In order to cut them out without missing the mark (and cutting random holes in the side of the house) I will need some guidance.

From the inside, I drilled a series of holes outlining the window. From the outside I connected the dots with the help of a straight edge. This gave me a scribe line indicating where to cut with the skillsaw. 

The depth of cut was set to 1/2" which is slightly deeper than the sheathing we used (15/32"). This will let me cut out the window hole without damaging the framework of the walls.

Once the line is cut, sheathing screws are set around the frame of the window. I waited to put these screws in because the saw would be damaged if it hit a metal screw along the cut! Now that the sheathing is scribed, cut, and screwed; it is time to remove the window panel and open up the window opening.

A three pound sledge hammer works wonders! I simply bash the cut wood from the inside and from the outside along the edge next to the cut. After a few hits, the panel will fly out of the hole and come crashing into the ground (make sure no one is standing around when you do this!)

The rough edges can be smoothed off by hitting it with the hammer again!

This works well on windows with no obstructions, but what about the windows near the rafters?

The skillsaw didn't fit under the rafter. This section of the cut was skipped while all the other areas were cut free.

A series of holes was drilled to weaken the wood in this area, then the panel was bashed out of the hole with the sledge hammer!

Using these techniques, all the windows were opened up. All this natural light transformed the tiny house from a wooden box to a home!