Wrapping the Tiny House

Plywood will not last long exposed to the elements. While the plywood sheathing will be protected by the siding, leaks will still occur unannounced to us which will rot out the plywood sheathing. To protect the plywood, tar paper is placed around the tiny house!

Since I'm working alone, tar paper was installed in smaller (more manageable) pieces. I started at the bottom and worked my way up to the roof. The bottom of the next row overlaps the top of the lower row to provide a shingle effect, effectively keeping the water from entering the tiny house sheathing plywood. 

I wrapped the tar paper around the corner. When I wrap the sides of the house, those sheets will overlay these sheets. It is important to work on one wall at a time, covering it from bottom to roof with overlapping layers. 

Battens were cut and screwed to the the outside, tacking down and supporting the tar paper. If battens were not used, the tar paper would probably rip off the nails that hold it and blow away in the wind. Battens help hold everything in place and keep the tar paper installed on the tiny house until the siding is ready to go on.

The windows are left covered at this time as the tar paper will keep out any water that might come in. After everything is wrapped, the windows will be cut out in the tar paper and the glass windows installed. Until then, the holes will be protected from rain as construction progresses.

Cutting Out the Windows

The tiny house has been sheathed and screwed completely! The windows are now covered by plywood and only visible from the inside by the outlining frames. In order to cut them out without missing the mark (and cutting random holes in the side of the house) I will need some guidance.

From the inside, I drilled a series of holes outlining the window. From the outside I connected the dots with the help of a straight edge. This gave me a scribe line indicating where to cut with the skillsaw. 

The depth of cut was set to 1/2" which is slightly deeper than the sheathing we used (15/32"). This will let me cut out the window hole without damaging the framework of the walls.

Once the line is cut, sheathing screws are set around the frame of the window. I waited to put these screws in because the saw would be damaged if it hit a metal screw along the cut! Now that the sheathing is scribed, cut, and screwed; it is time to remove the window panel and open up the window opening.

A three pound sledge hammer works wonders! I simply bash the cut wood from the inside and from the outside along the edge next to the cut. After a few hits, the panel will fly out of the hole and come crashing into the ground (make sure no one is standing around when you do this!)

The rough edges can be smoothed off by hitting it with the hammer again!

This works well on windows with no obstructions, but what about the windows near the rafters?

The skillsaw didn't fit under the rafter. This section of the cut was skipped while all the other areas were cut free.

A series of holes was drilled to weaken the wood in this area, then the panel was bashed out of the hole with the sledge hammer!

Using these techniques, all the windows were opened up. All this natural light transformed the tiny house from a wooden box to a home!

Dealing with the Heat

This summer has been very hot in Maryland. The outside air is incredibly hot and humid, making any desire to go sailing on the weekends wither and die. Our top priority is to keep cool and stay comfortable while this heat wave blows by.

We have air conditioning installed in the boat, which cools and recirculates the air presently in the boat and an active and passive air circulation system which keeps the boat filled with fresh outside air.

We keep the air conditioning set to 68 during the summer and the unit is able to keep the boat around 70 to 72 degrees Fahrenheit. During this heat wave, the air conditioner was struggling to keep the boat cool as the interior temperature reached 84 degrees! We need to take some steps to help it out.

Our first step is to tackle the air circulation system. The active air circulation is powered by solar fans which draw the interior air out. As the air is drawn out of the boat, the passive air circulation lets fresh air enter the boat via a series of vents.

We decided to leave the head's air circulation intact. This consists of a dorade vent to let air in and a solar fan to draw air out. Our composting toilet likes the air to turn over and circulate, so this setup can be left alone as long as we keep the door closed so the heat doesn't enter the rest of the boat.

The other dorade is in the hallway that connects the forward berth and salon. It also lies right over the air conditioner intake. Air from this dorade makes its way through the boat and then exits via a fan above the galley, also keeping a fresh turnover of air inside the boat. During colder months, this constant turnover of air helps keep condensation issues under control, but we don't have to worry about that with the summer heat. 

Maddie and I noticed that the hallway was significantly hotter than the rest of the boat. The heat also became more intense as you moved your hand closer to the vent in the deck where the dorade feeds. 

Dorade vents are typically screwed into the dorade box and held in place with a set screw. Simply loosen the set screw and unscrew the dorade vent to remove it from the box.

We then covered the dorade vent hole with a cover plate that screws into the same threads which hold the air scoop on. These covers are meant for heavy weather use, when raging seas are expected to swamp the deck and fill up the dorade box. Dorade boxes allow air to enter the boat while separating out any water, letting it drain out through the weep hole visible in the bottom right corner. If a huge wave were to fill the box faster than the hole could drain the water, water will then pour into the boat and soak the interior in salt water. In these situations, replacing the vent with a cover plate will prevent the ingress of water and keep your interior dry and clean. 

We have never needed to use these cover plates before, since we heave to in heavy weather and don't take waves over the deck, but we had them in a locker and I knew right where they were. 

As soon as I installed the cover plates, the heat in the hallway vanished and the interior temperature in the boat started to drop. In a few hours, the temperature was 71F and the air conditioner doesn't need to run as often either. 

During these hot times, keeping cool takes priority over sailing. It certainly is nice to be plugged into shore power in a marina while living aboard!

Hot Showers Without Electricity

Showers are nice, and what's even better is a hot shower! When you are plugged in at a marina, the water heater makes the shower on the boat as comfortable as a shower on shore, but what about when you are anchored out and not plugged in to shore power?

Some people will crank up their generator to power the water heater, others heat their water with the diesel motors coolant. On Wisdom, we don't have either option since we never had a generator and have replaced our water cooled diesel with an air cooled electric motor. Living with an electric motor should not condemn you to a life of cold showers!

We use the power of the sun to heat our shower water in a way that uses no electricity or fancy complicated systems. 

We call it the BatShower!

We call it the BatShower!

This contraption is simply an insecticide sprayer (new and never filled with pesticide) wrapped in black tape with a kitchen sprayer hose connected to the container. 

The black tape helps collect more radiation from the sun, heating up the water inside all the faster! Black paint could also work but we worried that the paint would chip off and make a mess on the boat. The black tape has developed some scrapes and nicks over the years, but there has yet to be any flaking or mess caused by this setup.

The kitchen sprayer nozzle has been a wonderful addition to the shower. We felt weird spaying ourselves with the pesticide nozzle, and the nozzle took up a lot of space. The kitchen sink nozzle is small, compact, and works just like a regular shower nozzle. The button on the handle lets you control the flow of water as well, depress the button to flow water, release the button and the flow stops completely! Thanks to this shower nozzle, we waste almost no water during our showers.

To operate the shower, simply pump the handle a few times to build up pressure, then wet yourself, lather up, and rinse yourself off. Maddie and I can both shower with the volume of water stored in this shower, and still have some left over! Having the very limited quantity of hot water also reduces the risk of a long shower depleting our water tanks. Long showers with the sprayer are interrupted by the need to re-pump the tank! This helps keep showers short and water use to a minimum while still getting you clean and making sure you smell nice.

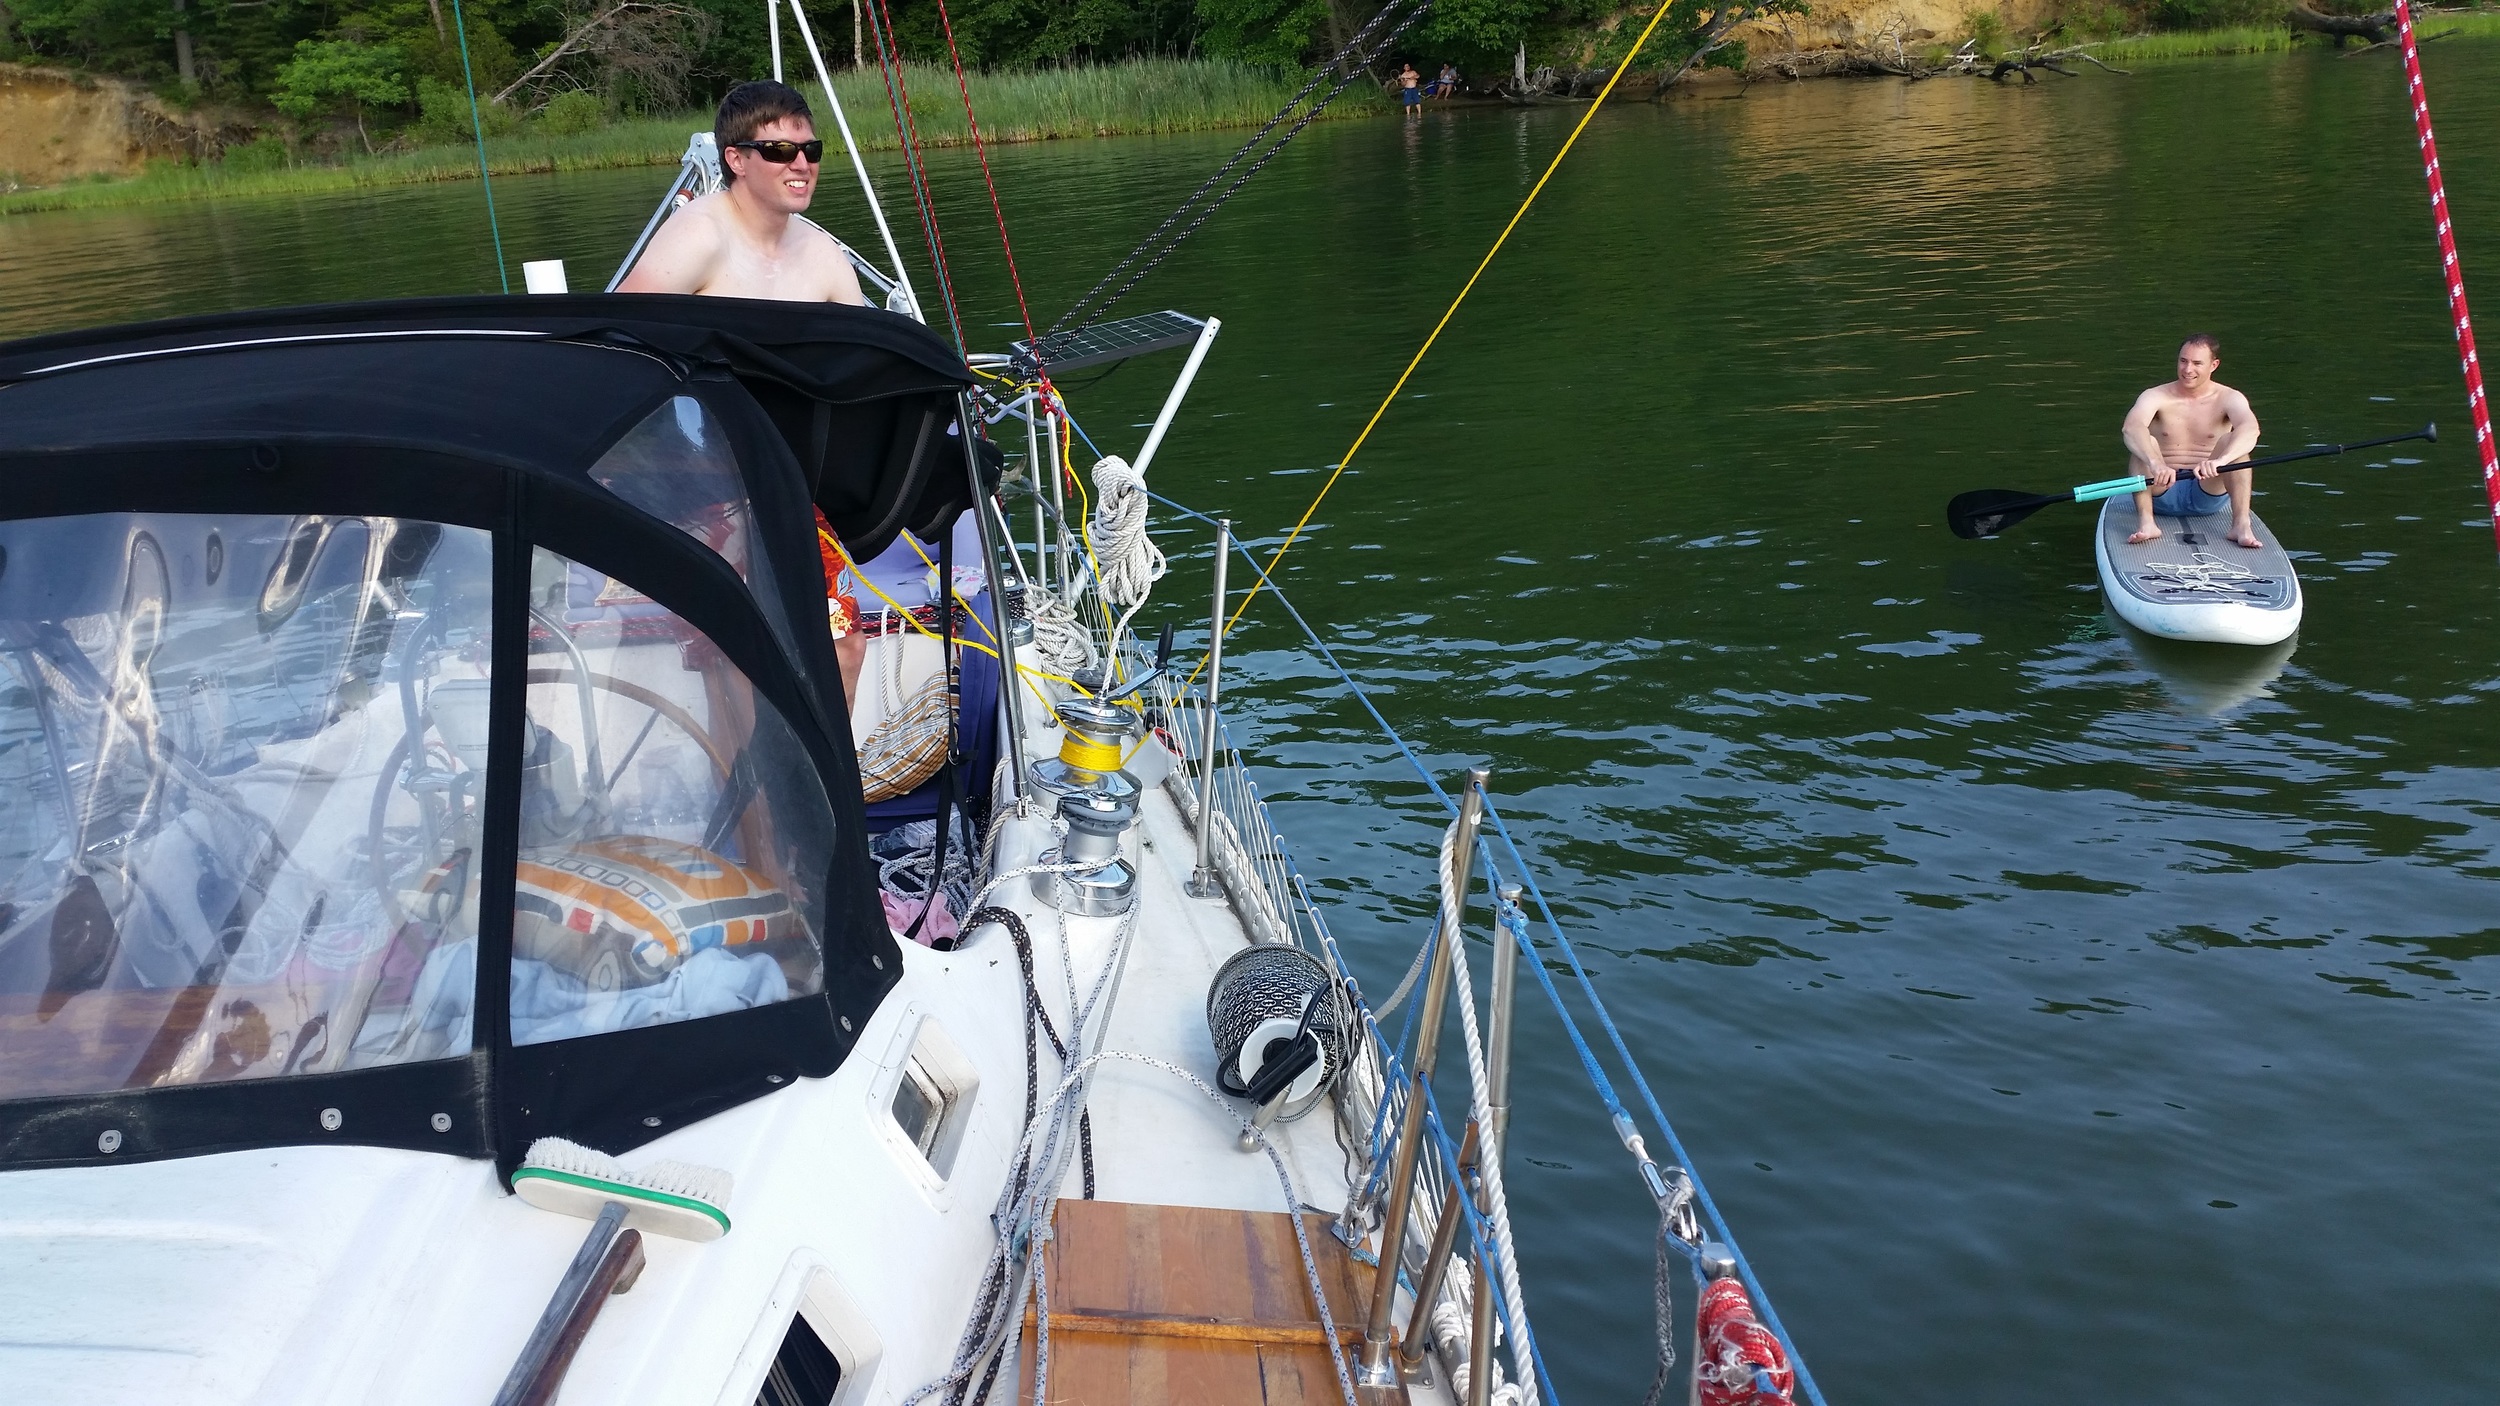
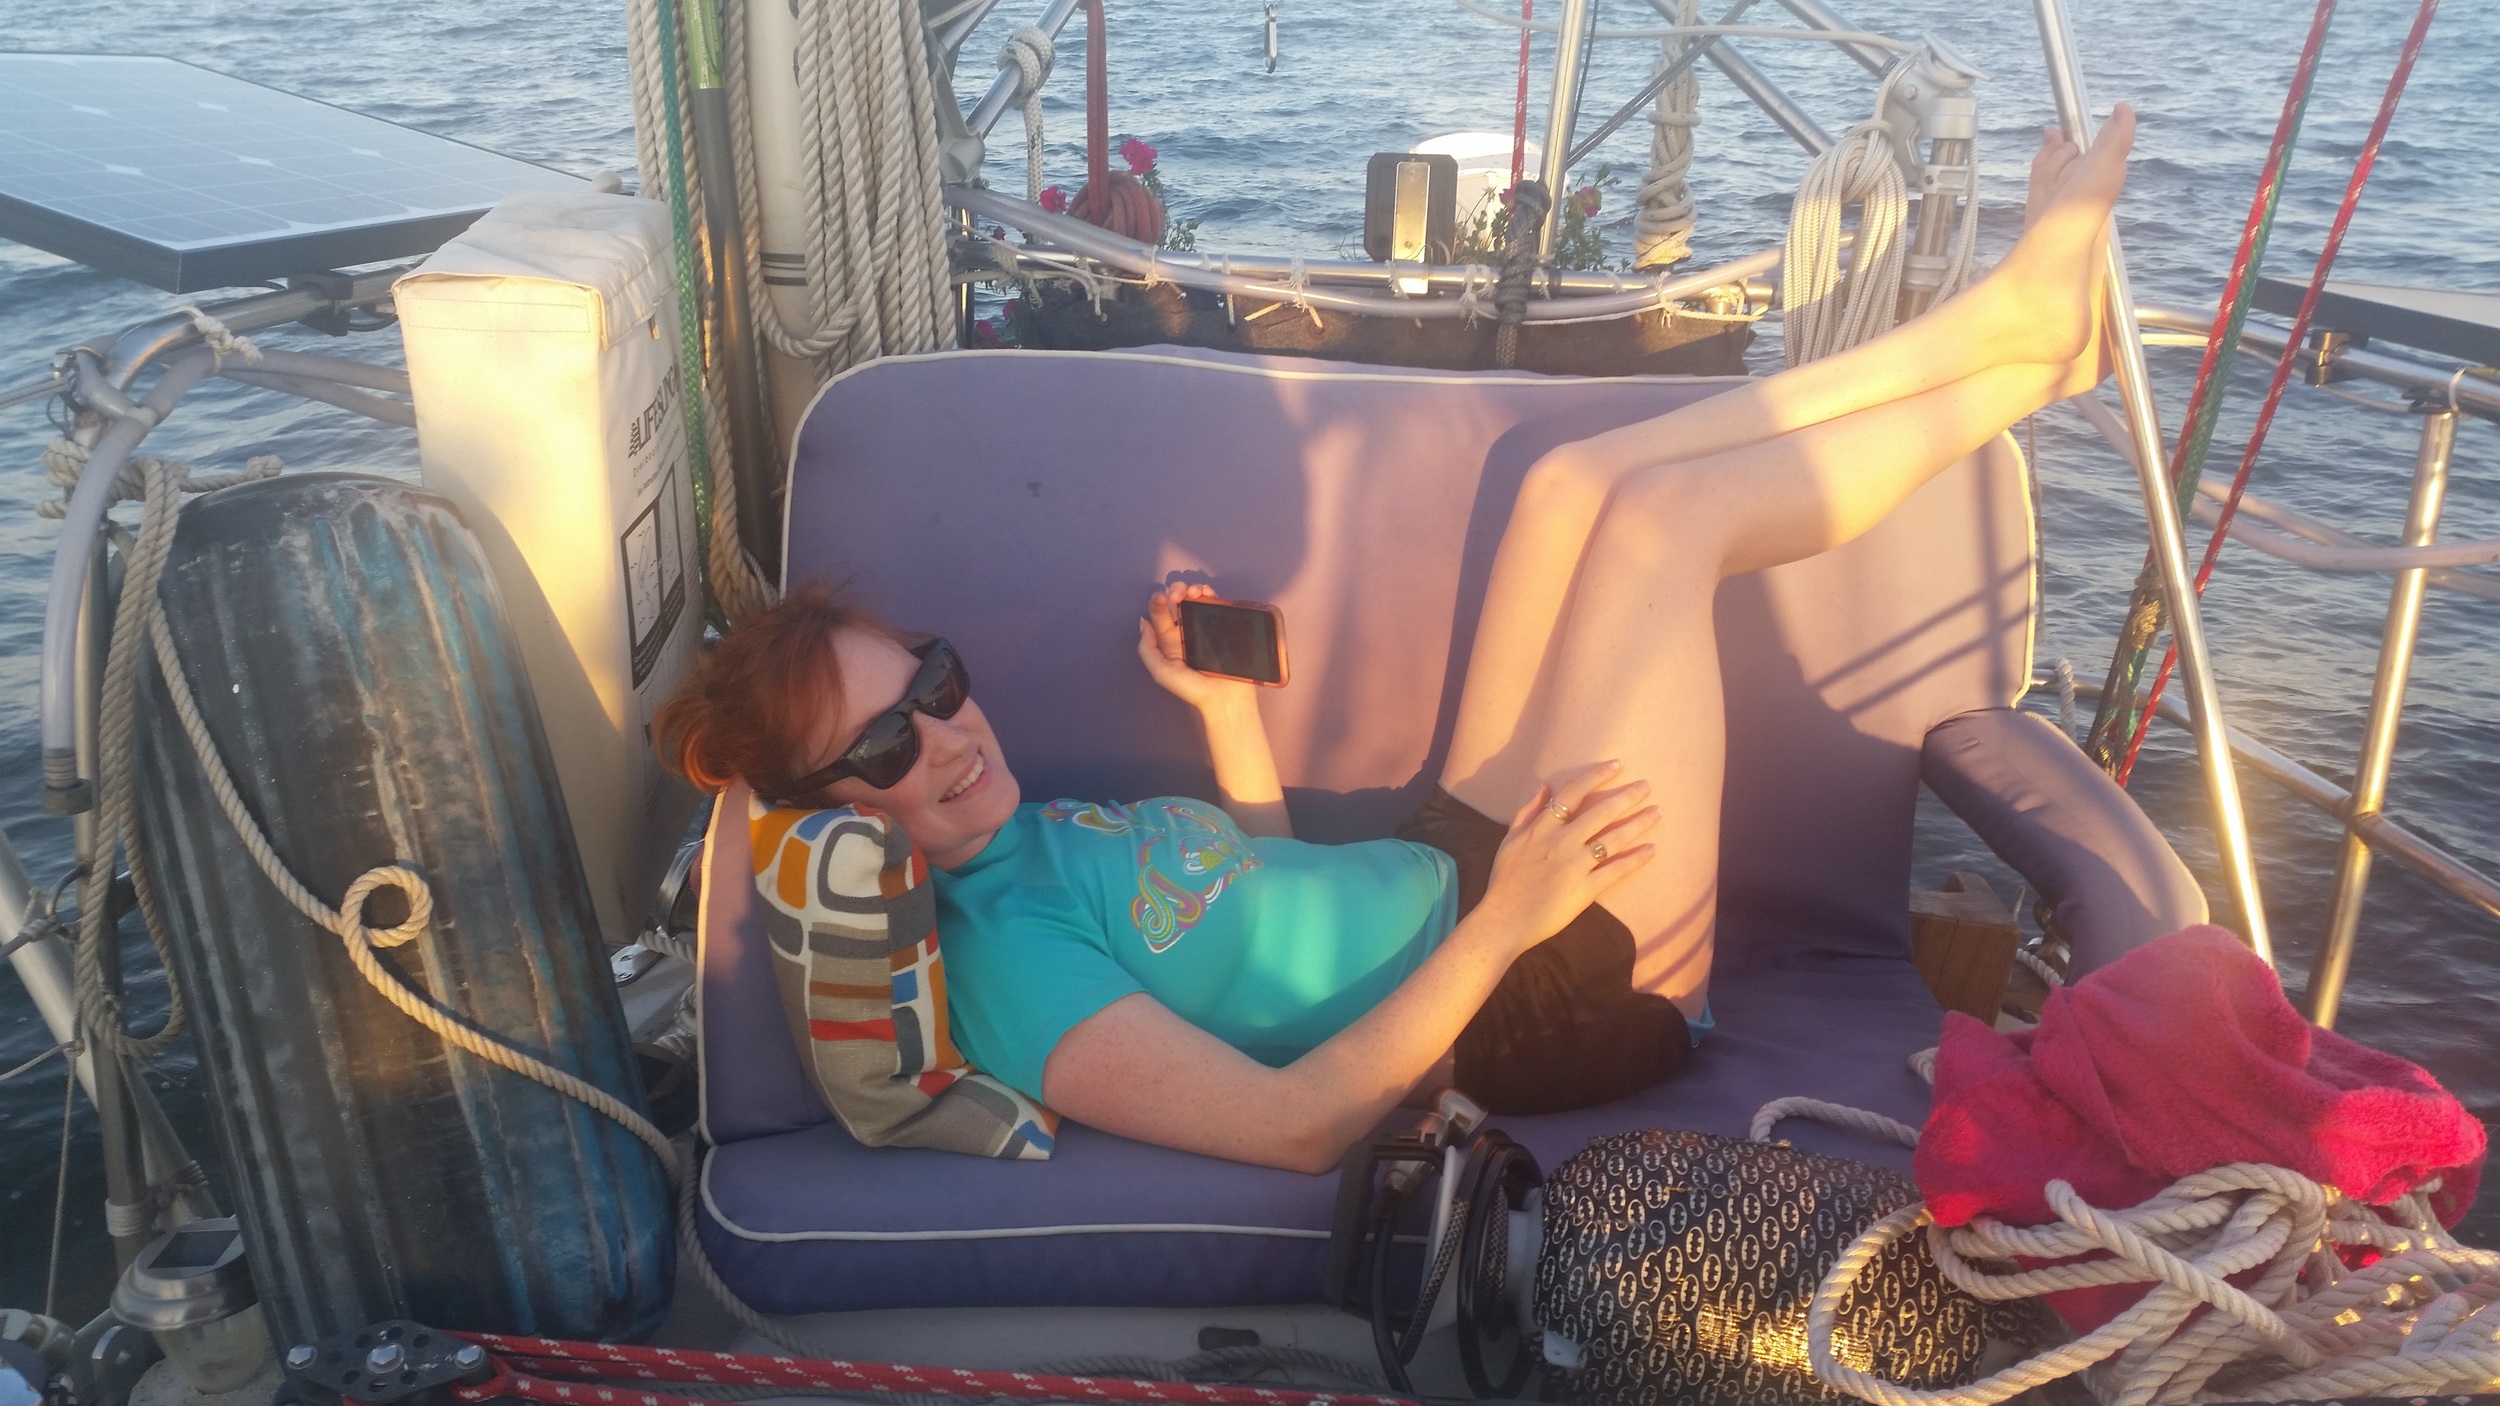
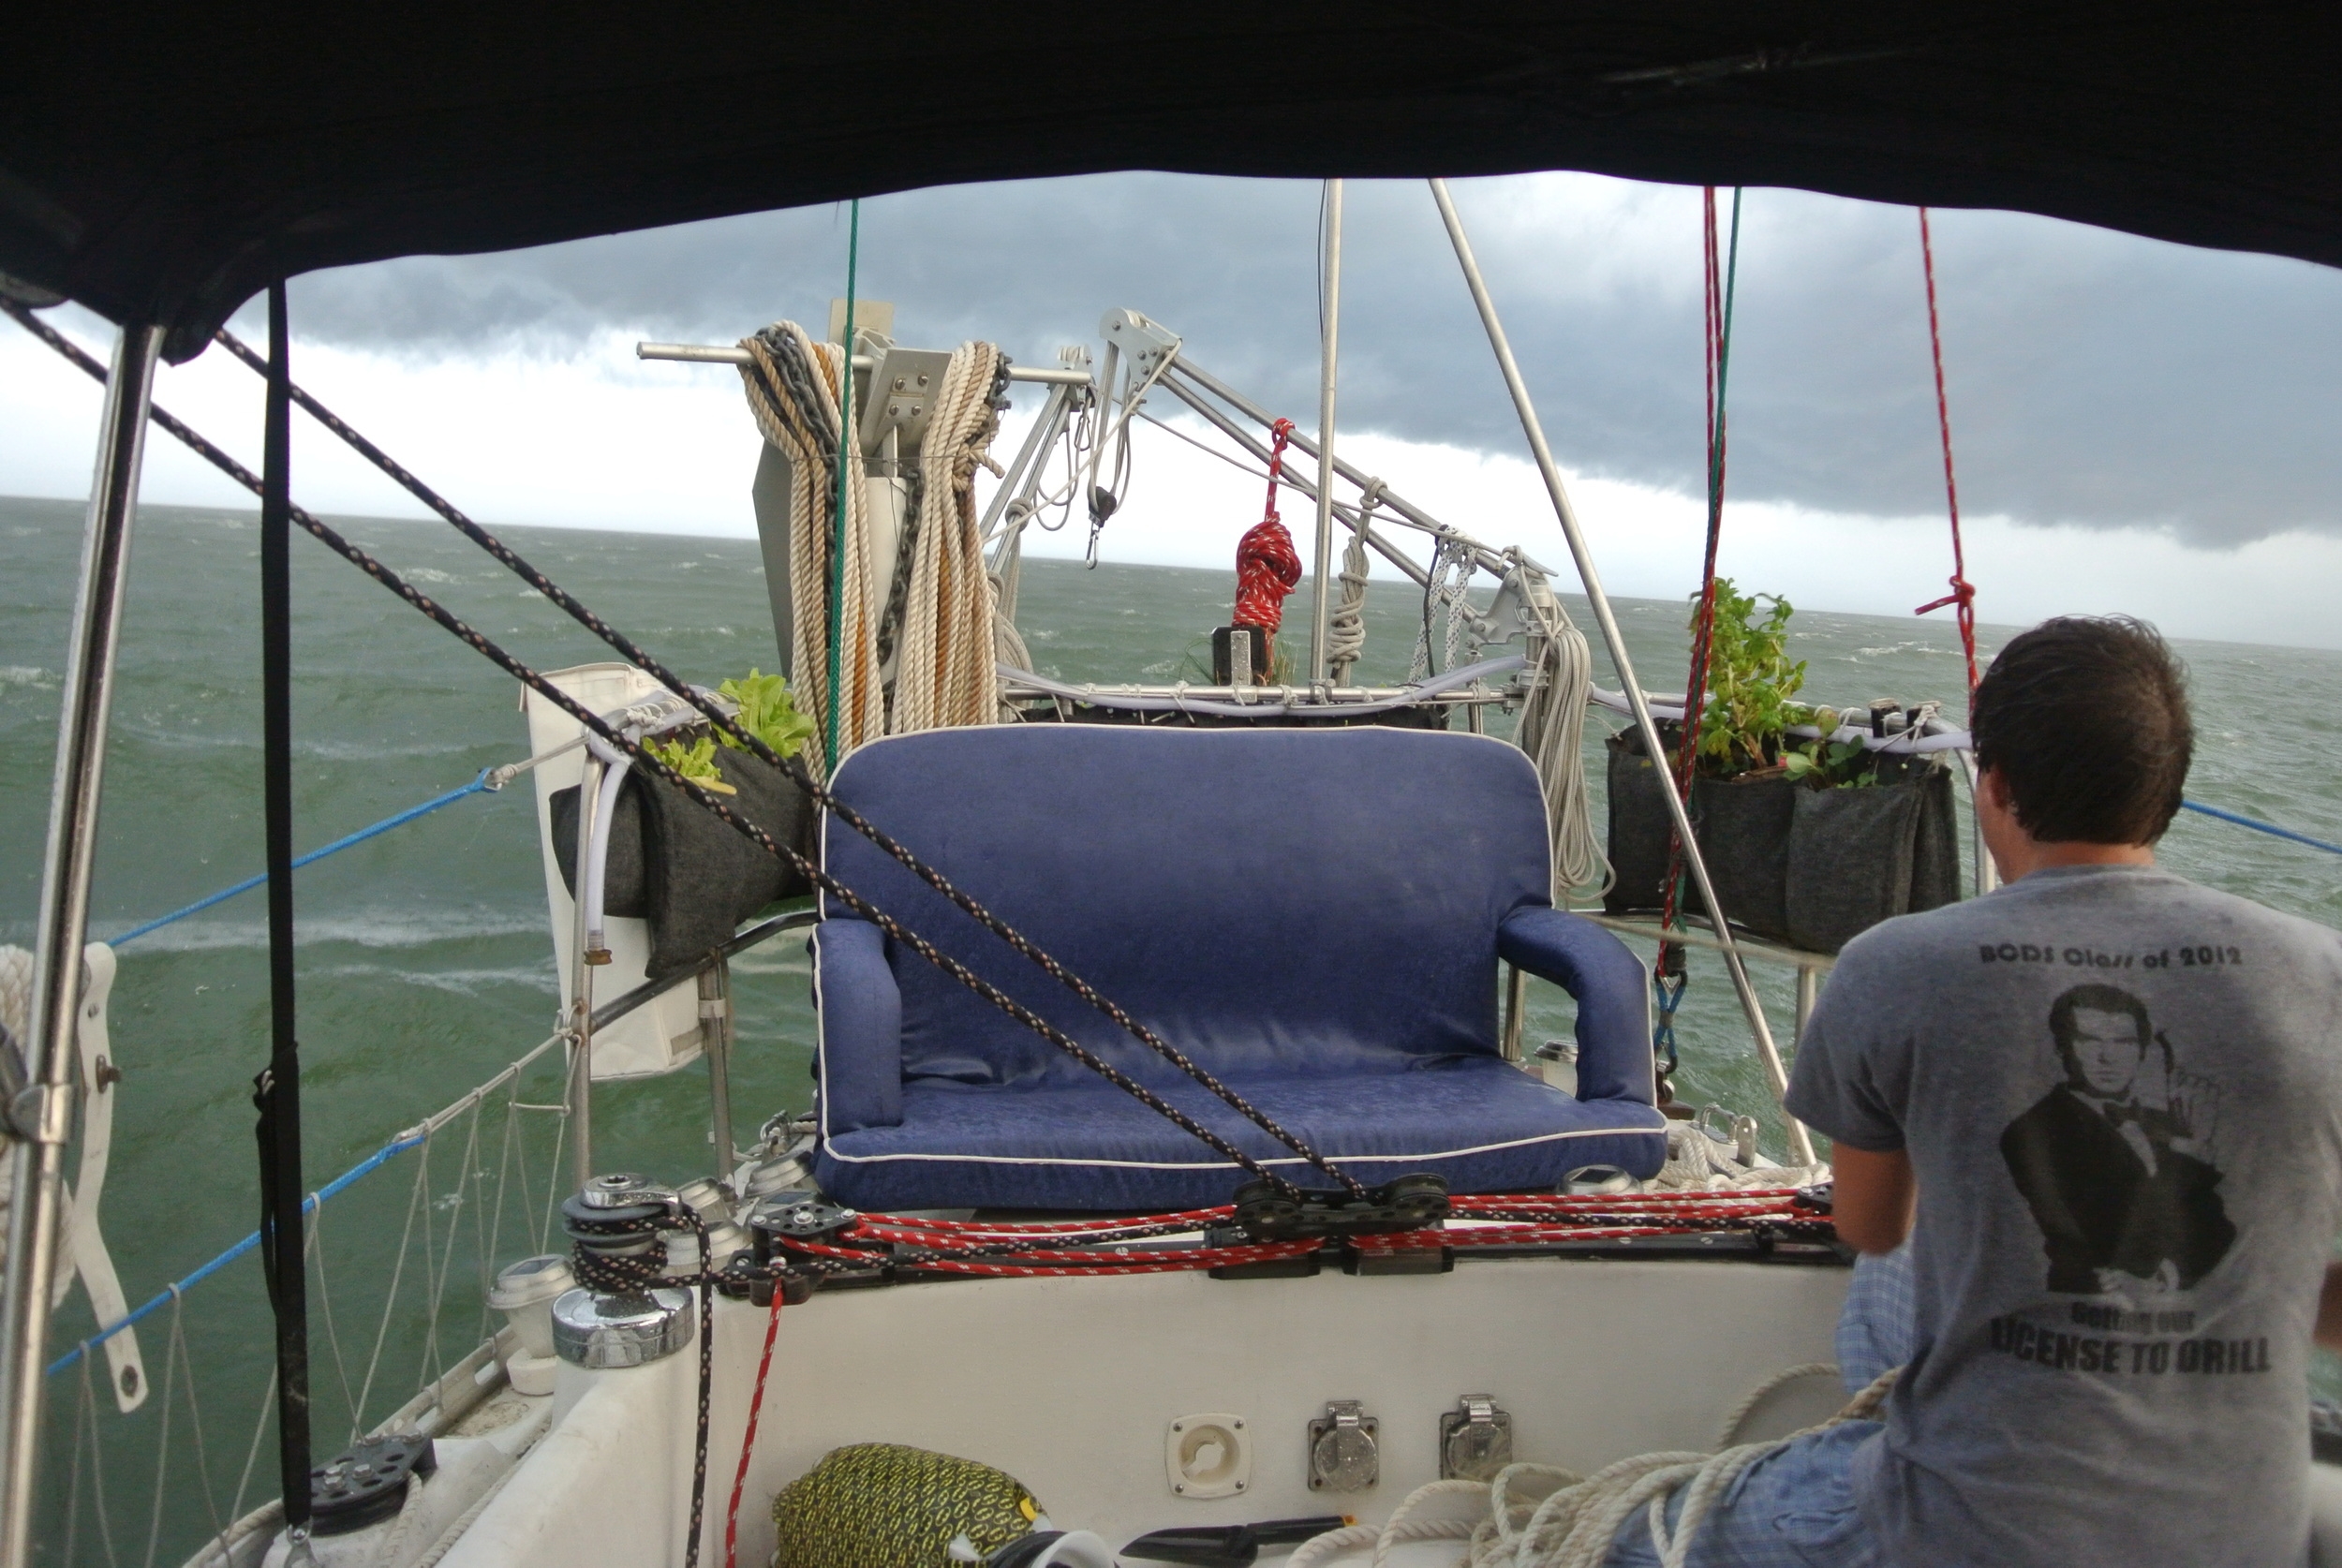
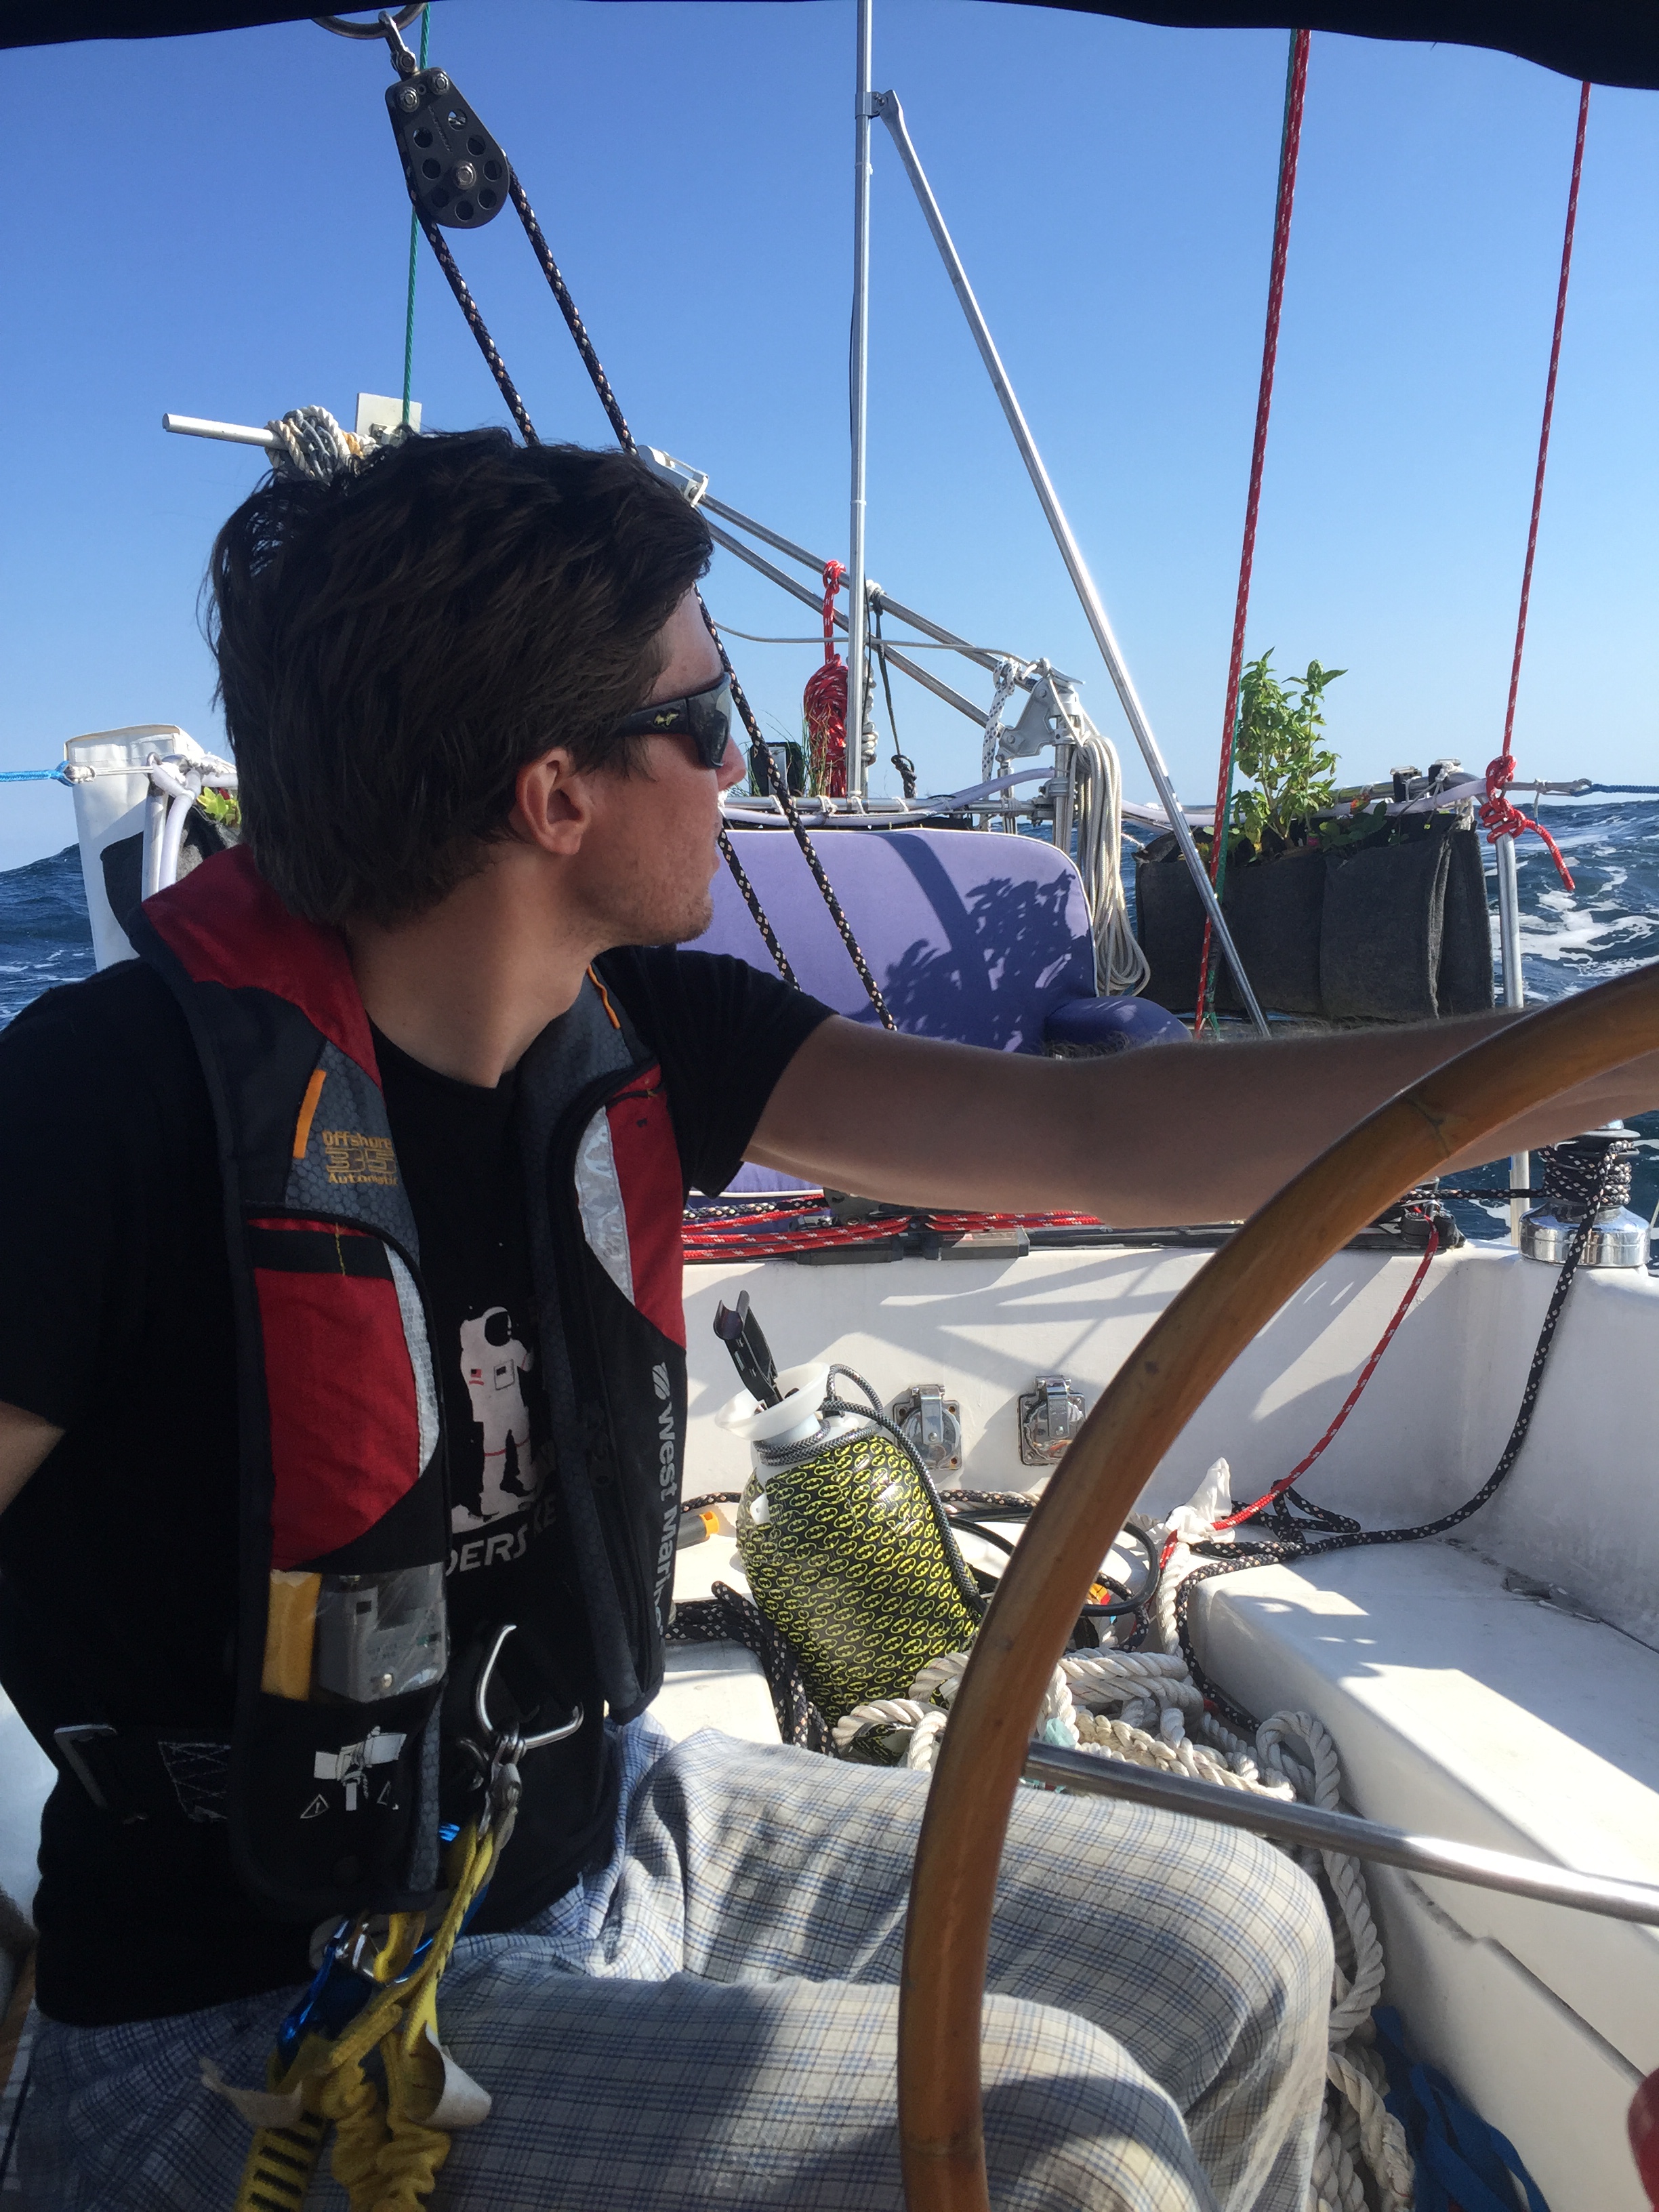
To warm the tank, we simply leave it laying in the sun all day. You can actually see it in most of the pictures, it's left resting in one area or another while we sail or at anchor; passively collecting sun and heating up our shower water.

By the end of the day, when we are ready for our shower, we have plenty of hot water for us! If no one is around, we shower on the deck or in the cockpit; if we are in a crowded anchorage, we shower inside in the head by placing the shower on the composting toilet and standing in the shower stall area.

It takes up a lot less space than a regular shower, requires no plumbing, and only relies on sunlight to generate our heated shower water! If we have a cloudy or cold day and the shower is unable to warm up, we simply boil some of the water on the stove and pour it back into the container. That will give us plenty of hot water in a hurry!

Air Circulation

Air circulation is very important on a boat, it keeps the air fresh, fights mildew growth, and helps control condensation. There are many ways to achieve air flow in a boat and we will look at some of the options.

There are two main types of vents on a yacht, passive and active. Passive means that air can flow through them if it should desire but there is nothing pushing it to do so. Active air flow is achieved when a fan pushes the air through the vent. By using a combination of active and passive vents, proper circulation can be easily achieved.

Active air flow utilizes fans to push the air through. This can range from your engine room blower to solar vent fans. These systems actively push the air in our out of an area. 

Passive air flow typically utilizes dorade vents, grates, hatches, and port holes. These openings can be directed to draw air in without the use of a fan. 

Active air flow alone is not as effective as the combination of active and passive. When used alone, they will either create a change in pressure that will work against them. Imagine a sealed engine room with a blower trying to suck all the air out as quickly as possible. It won't be able to! As much as it draws, there needs to be new air to replace the extracted air. The same with a boat riddled with solar fans all drawing air into the cabin: if there is no place for the current air to go, no new air can come in.

When used in conjunction with one another, the blower can draw the engine room air out while vents feed fresh air in; turning over the engine room air and ensuring an explosion free engine start! The same goes for a vessel with a bunch of solar fans pushing air into the cabin, a few vents to let the current air out will greatly increase air flow.

While vents and fans are useful when there is little breeze, hatches and dorades shine when the wind pipes up! Hatches can be angled into or away from the wind, the same with dorades. When angled into the wind, they will draw in great volumes of fresh air. When they are angled away from the wind, they will create a low pressure behind them that will draw out the cabin air. This is why if all the vents aim into the wind and you close the companionway, the draft will stop; the air needs someplace to go.

When it's cold out, no one wants to be opening hatches to keep down moisture levels, but you still need that air turnover to combat condensation. This is where passive vents shine. They will let in and out just enough fresh air to keep the boat much drier. 

I typically keep my two dorade vents aimed in opposite directions. This way one is always drawing in air while the other is expelling air. 

Vent position is also very important. If all the vents are in the same area, the rest of the boat will suffer from still air. Vents should be laid out in such a way that air will flow through the whole boat. Placing dorade vents near midship will draw air in, and having vents for it to escape forward and aft will draw the air through the whole vessel.

Another place that is often overlooked but greatly appreciates the airflow is the bilge. Airflow helps fight wood rot. If the wood is sealed up with still air and high moisture, spores will begin to activate and eat away at your timbers. Having a grate in the floor is a minimally invasive addition that can help promote bilge airflow. Feeding a large air hose down into the bilge connected to a dorade vent will further promote airflow into the bilge. 

If you find that your boat is stuffy inside, think about adding a combination of active and passive vents to help circulate the air inside to make it just as fresh as the air outside!