Turnbuckle Pin

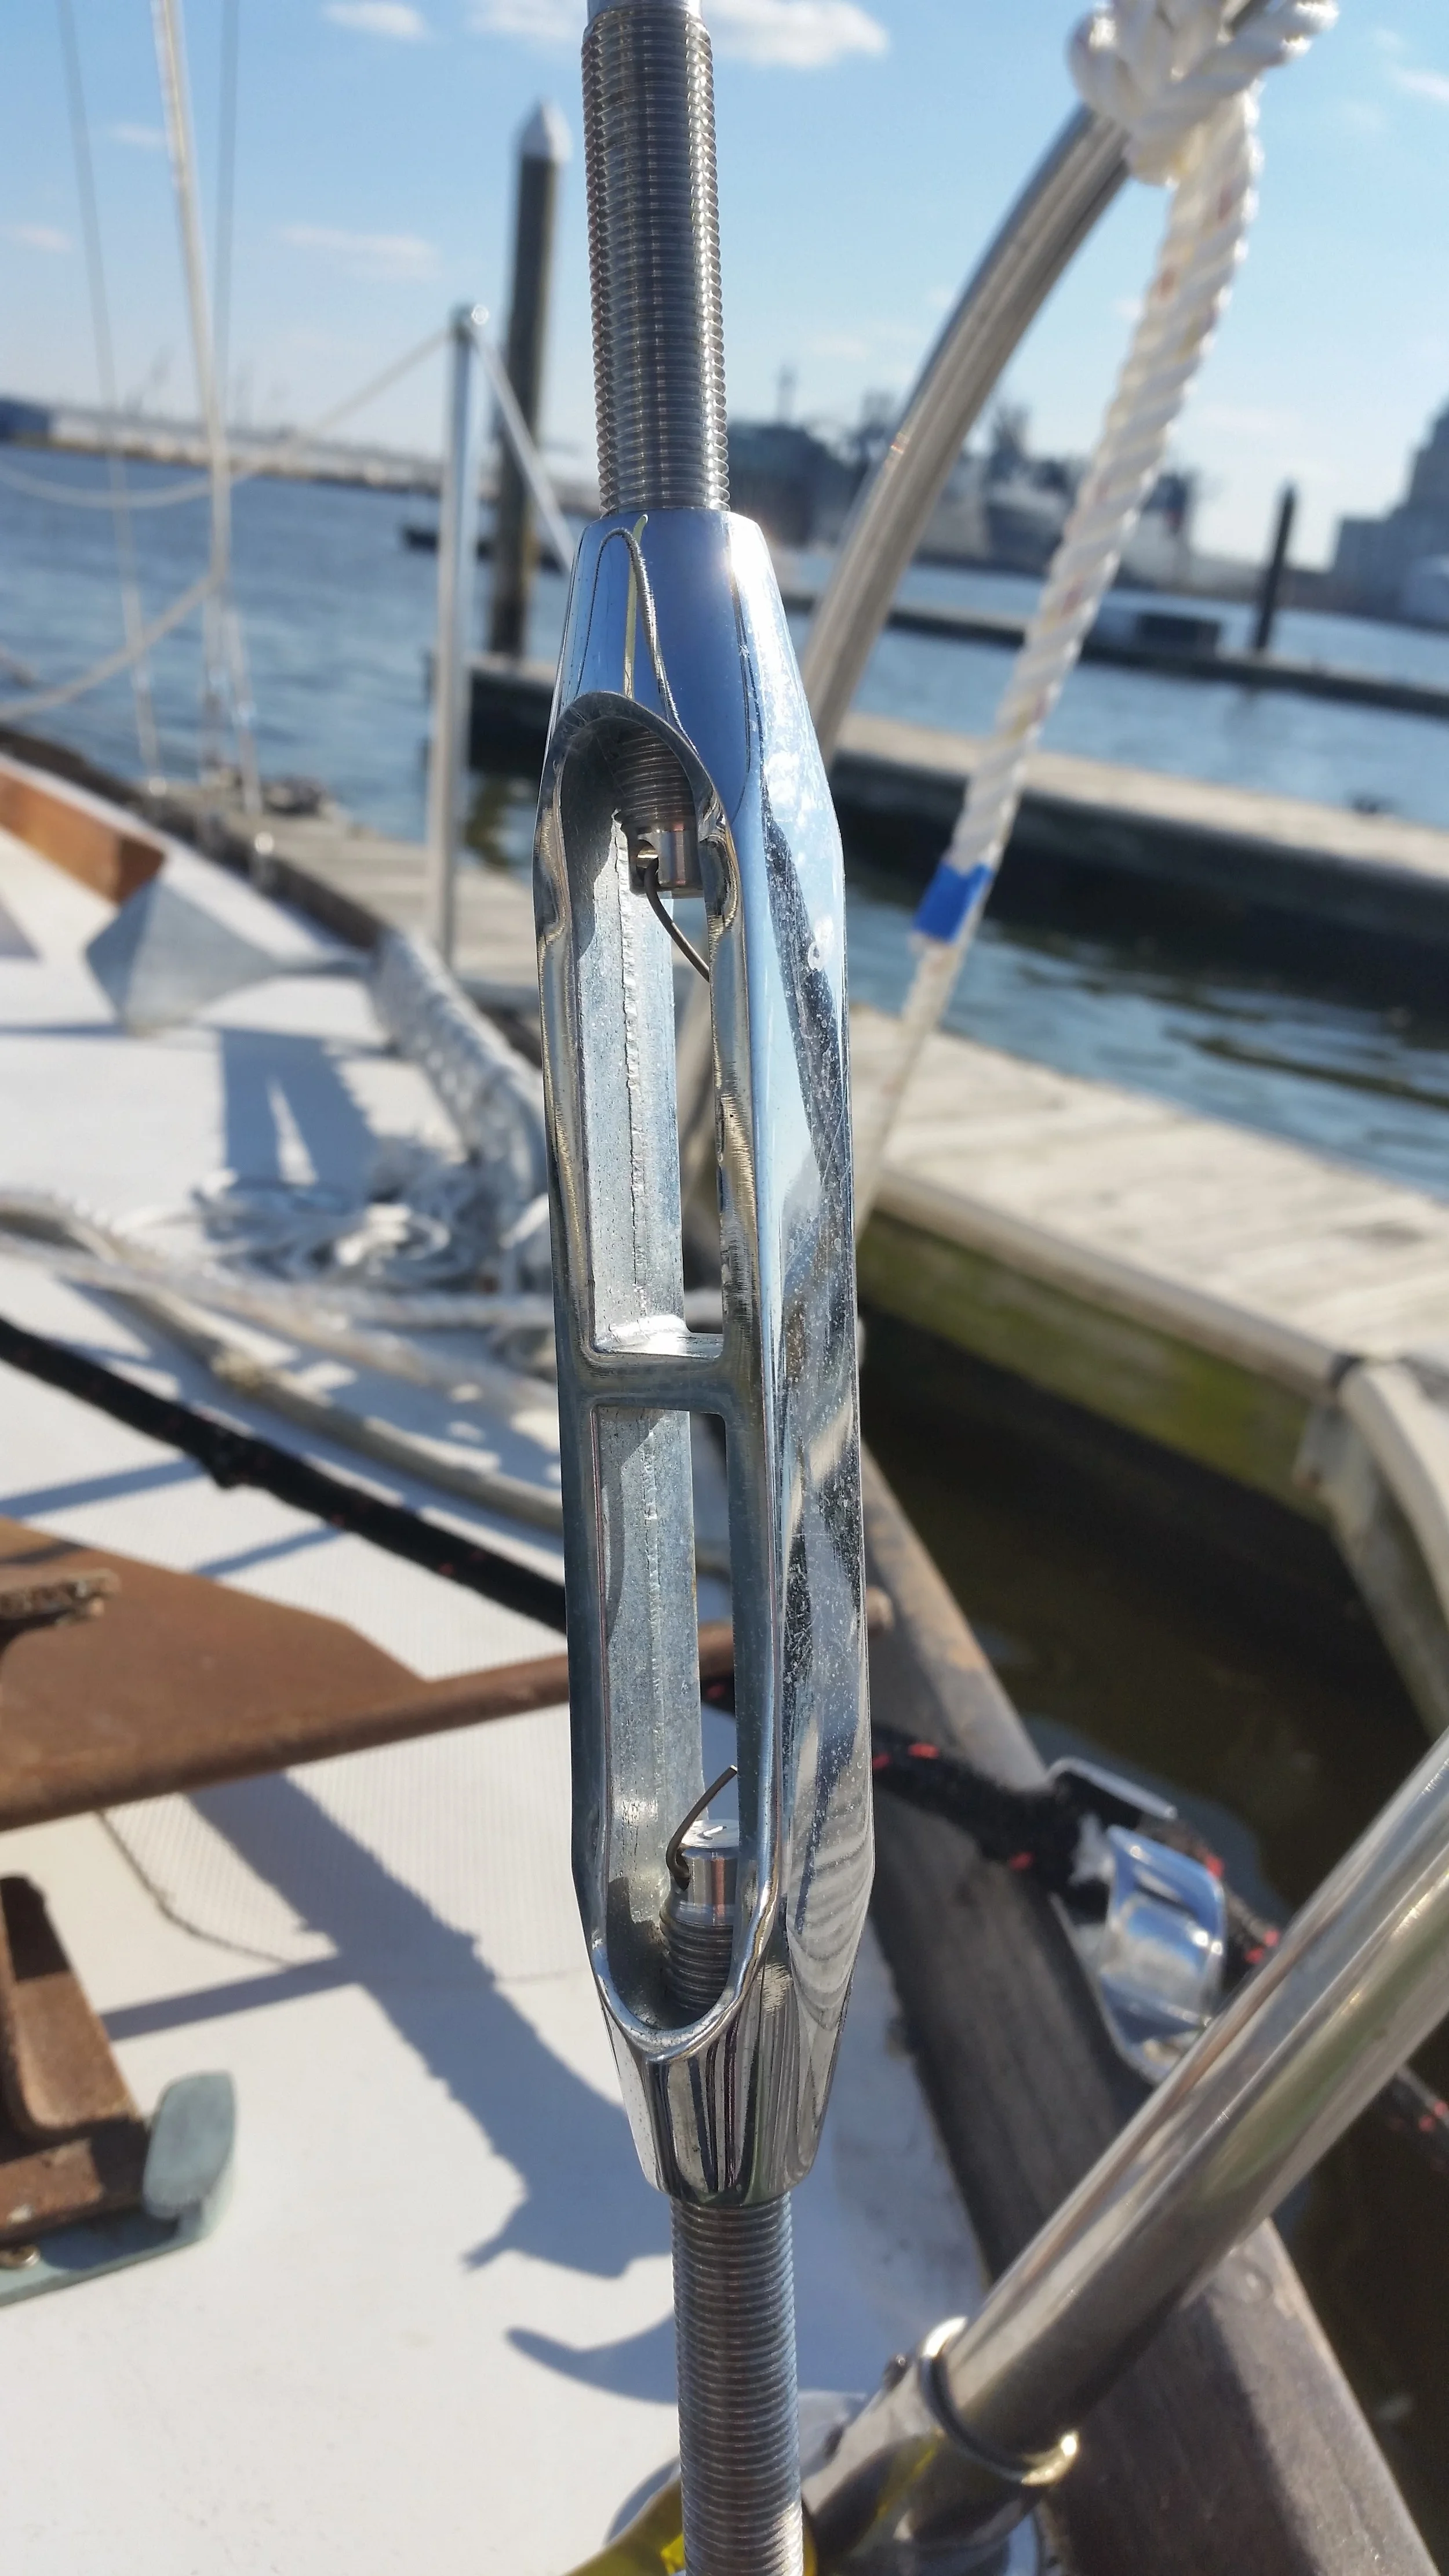
Turnbuckles are typically secured with with two cotter pins to prevent the turnbuckle from rotating and loosening the stay. The problem with cotter pins is the legs can get caught on lines and flesh of passer byes. 

Some riggers will turn the legs around, bent so far that they point into the turnbuckle. This works well and when covered with rigging tape, provides a safe, snag-free, secured turnbuckle. The problem comes when you try to remove the cotter pin. 

The legs have been bent so far that they are hard to bend back to remove the pin. Since the legs were bent so far, they are mangled and will not be easily reused. The excessive bending also runs the risk of breaking the legs, which would make the pins worthless. 

The alternative to cotter pins on small day sailors is to use a single piece of stainless steel welding wire. The wire is bent to look like a "[". The horizontal parts slide through the turnbuckle screw holes and are then bent over to hold the wire in place. 

This single welding wire will hold the turnbuckle in place, while offering no risk of snags. I don't cover the wire in rigging tape because I like to visually inspect the wire frequently. Since it is snag free, the tape is not required!

To remove the wire, simply straighten the legs and slide the wire out of the pins. It can easily be reused over and over. If the legs break from use, another piece of wire can be fabricated to replace it.
Zeno Paradox and Boat Projects

Zeno Paradox 1.png

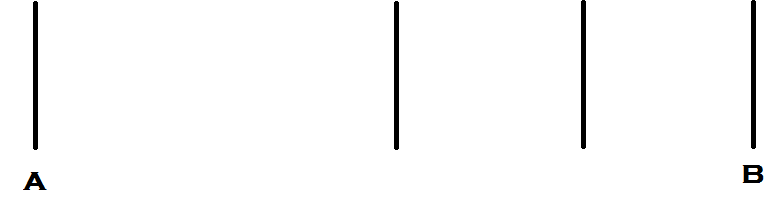
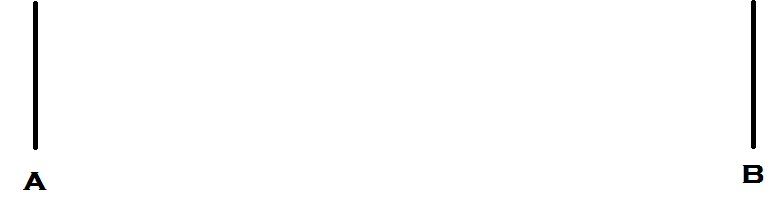
Zeno's Paradox of the Dichotomy proposes a situation where you are going to travel from A to B.

Each step you take will be halfway between where you are and B. The first step will take you half the distance, which is the midpoint.

Your next step will take you half of the remaining distance.

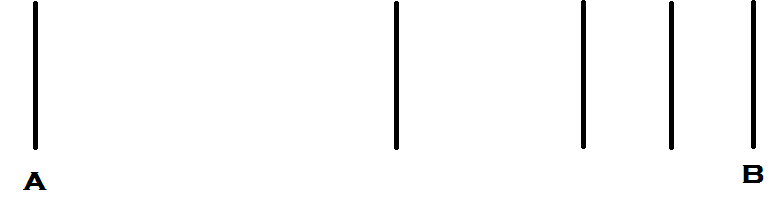
The next step after that will be half of the remaining distance again.

The next step after that will be half of the remaining distance again.

The next step after that will be half of the remaining distance again!

As you approach B, there is still a remaining distance left to cover and each step will again only advance you half the remaining distance. The process of taking steps that only cover half the remaining distance will continue on forever, as there will always be a next step and you will never reach B.

What started out as a quick trip from A to B has become an unending ordeal where progress has slowed and you will never reach the end! 

Boat projects are the same way. What starts out as a quick and easy project becomes more and more complicated as there is always one more thing that can be done to make it more perfect.

When I was building the sculling oar, I could have faired the junction of the laminated handle a bit more. I could have sanded it a bit more. I could have put plugs in the screw holes. I could have polished the wood to really bring the grain out. I could have done engravings on the handle. I could have done mother of pearl inlays on the blades. There is always another thing that could be done to make them more perfect, but instead I went sailing.

The purpose of all this work is to grant you the ability to go out on the water and enjoy the wind in your face as you cut through the seas! Boat projects are to enable you to take your yacht out sailing, not to work infinite hours on minute details that keep you from sailing.

Next time you find yourself sweating about minuscule details, step back and look at the big picture. Remember what the goal is and know when to stop the project before you begin to obsess about the unimportant details that are keeping you from enjoying your boat.

Plastic Trellis for Mildew

The use of battens has been previously touched on to promote airflow under mattresses to avoid condensation and mildew in an earlier post. That was on a much thicker mattress which absorbed the lumps of the battens and still allows a comfortable nights sleep. On thinner mattresses, the battens would be horrible lumps in your back that would lead to a horrible nights sleep.

The use of a plastic trellis will help distribute the force and keep the mattress elevated to promote proper airflow while keeping the mattress elevated yet flat, allowing comfort without moisture under the mattress. 

If you find yourself with moisture under your cushions, this trellis and batten system will be an economical solution to your mildew problems.

How to Start a Diesel Heater

Dickinson Heaters have a bad reputation for being hard to light. If you read their instructions, you will also find them hard to light. If you don't follow their instructions, you will find them very easy to light and operate!

The instructions from Dickinson run along these lines:

Turn on the fuel metering valve
Flow 2 tablespoons of fuel into the burning chamber
Turn off the fuel metering valve
Twist a piece of paper like a wick and place it in the puddle of fuel
Light the paper
Once the oil has lighted, close the door
Set the fan to medium speed
Slow the fan down to low speed
Watch the flames rise above the burner ring
Watch the flames begin to fall below the burner ring
Turn the fuel metering valve on again
Set the metering valve to 2.5 and turn off the fan
Wait 20 min to begin adjusting the fuel metering valve

The other option is to not follow their instructions:

Turn on the fuel valve (set it to 1)
Wait a minute while fuel flows into the burner pot
Light the fuel with a BBQ lighter
Close the door and enjoy the heat

20160205_071844.jpg

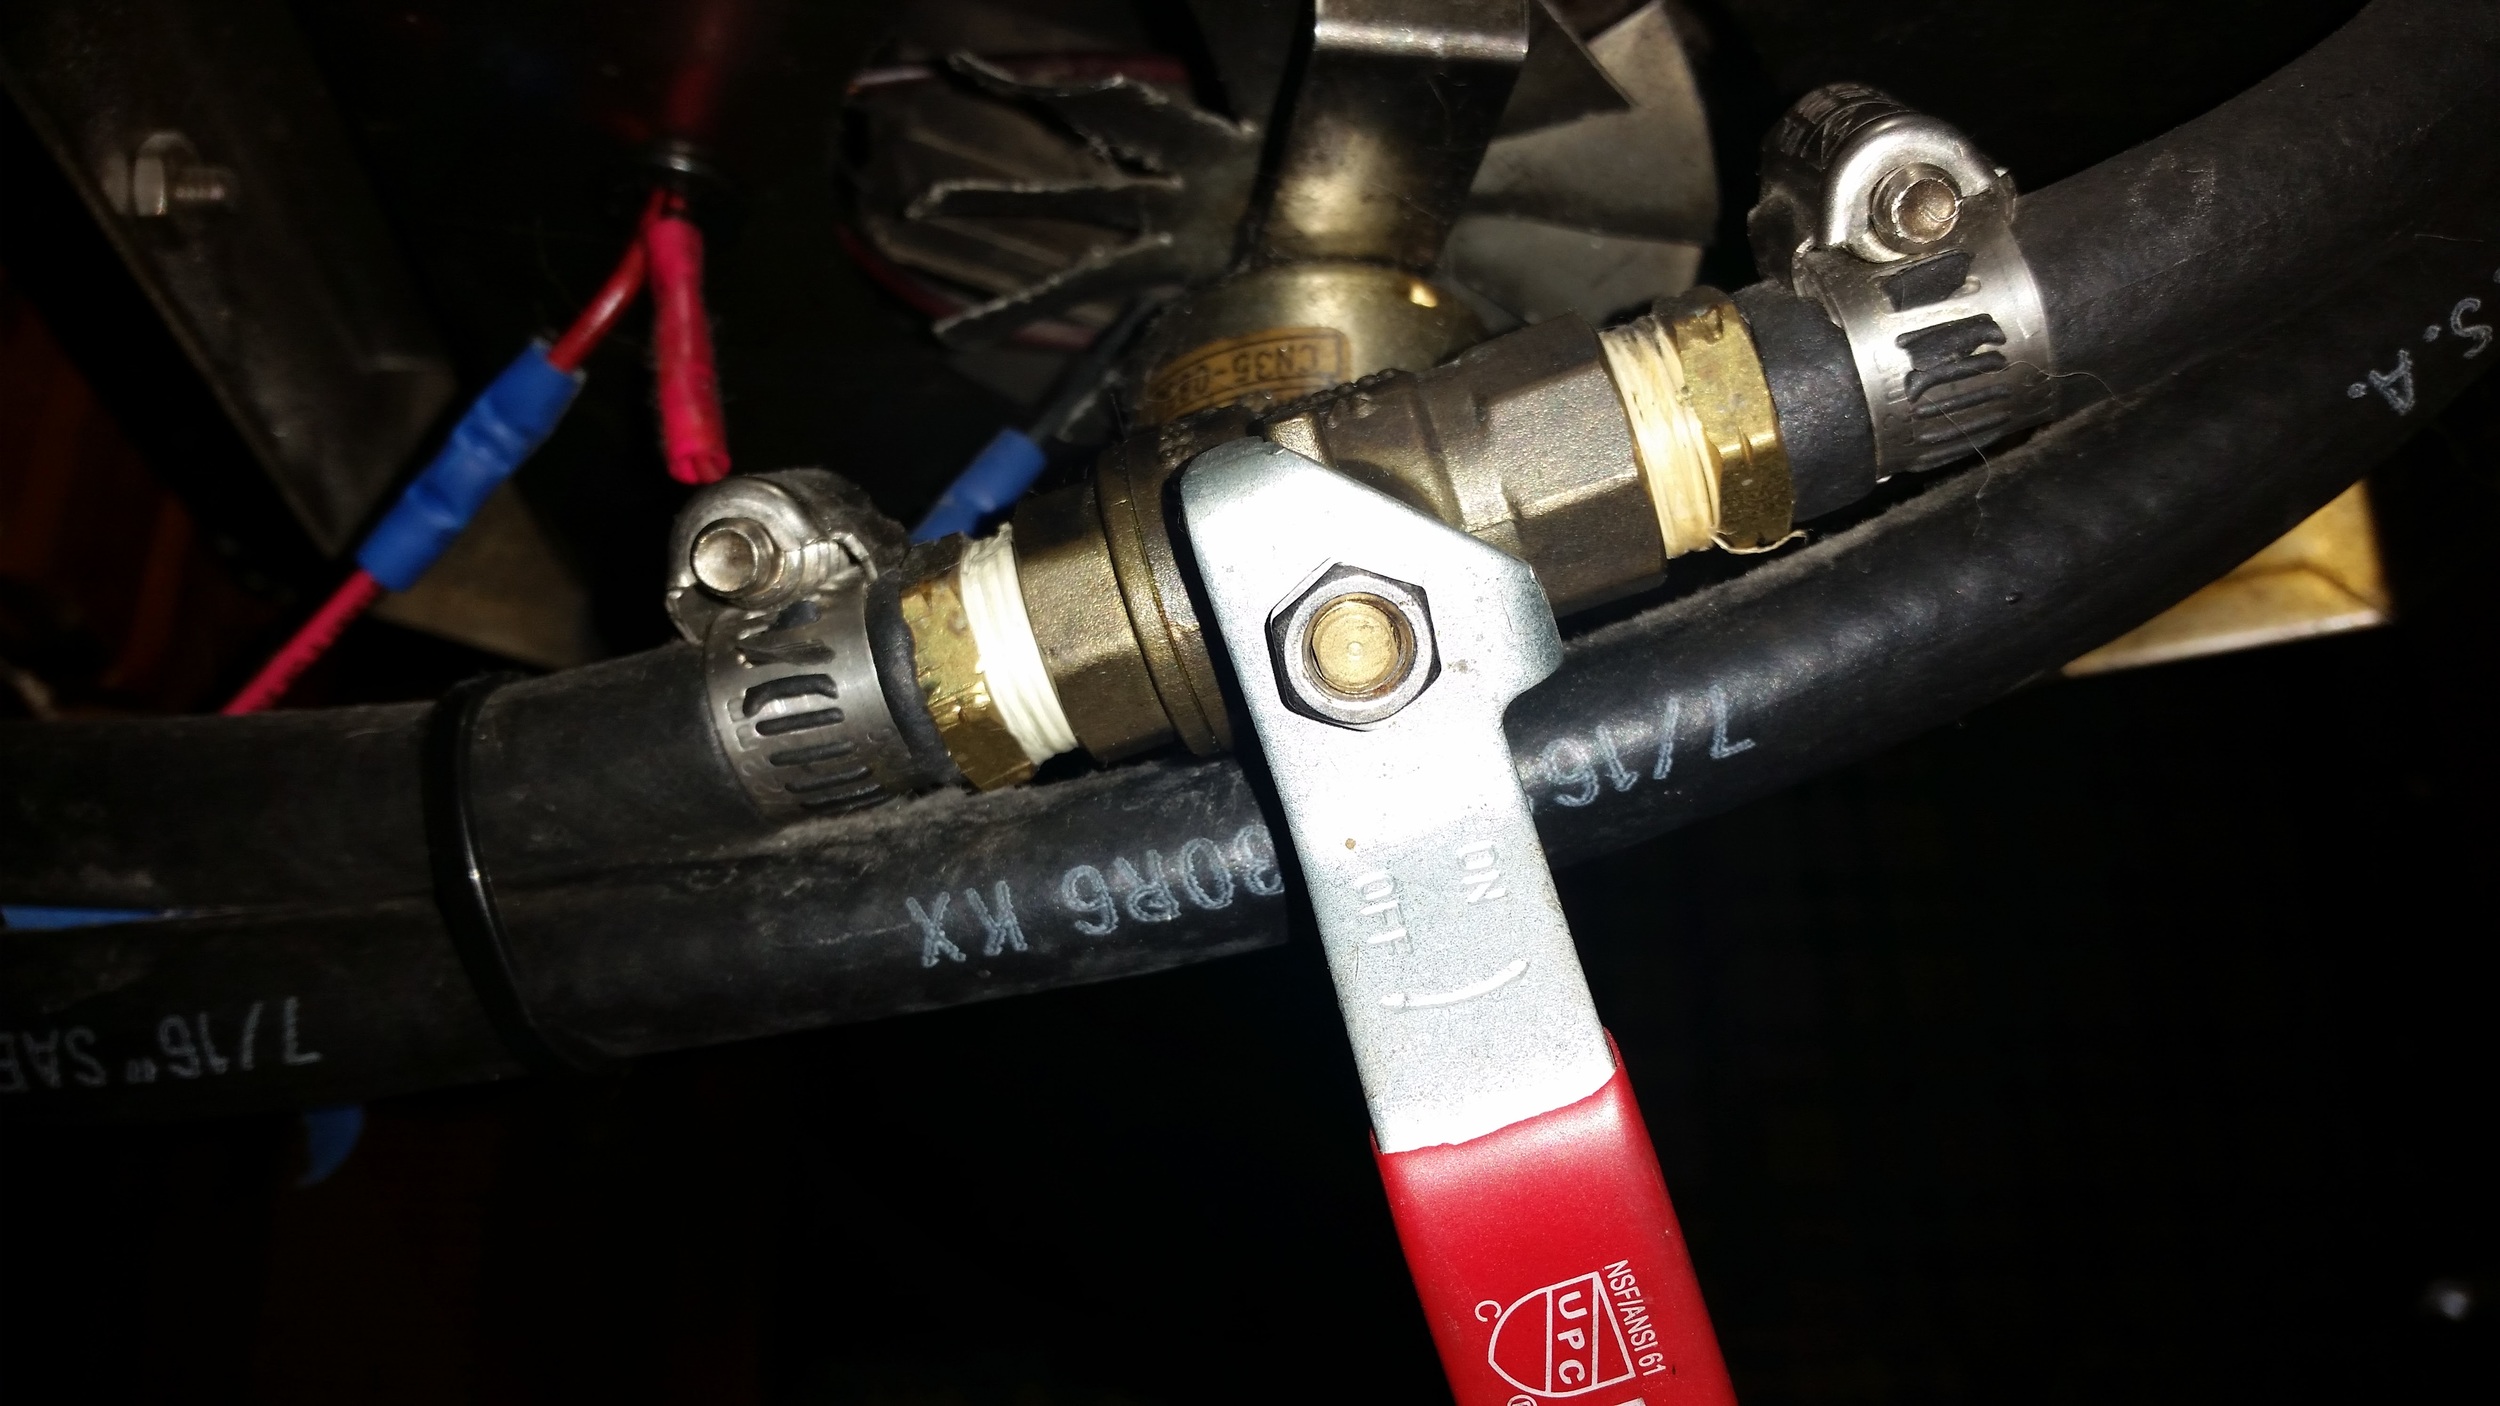
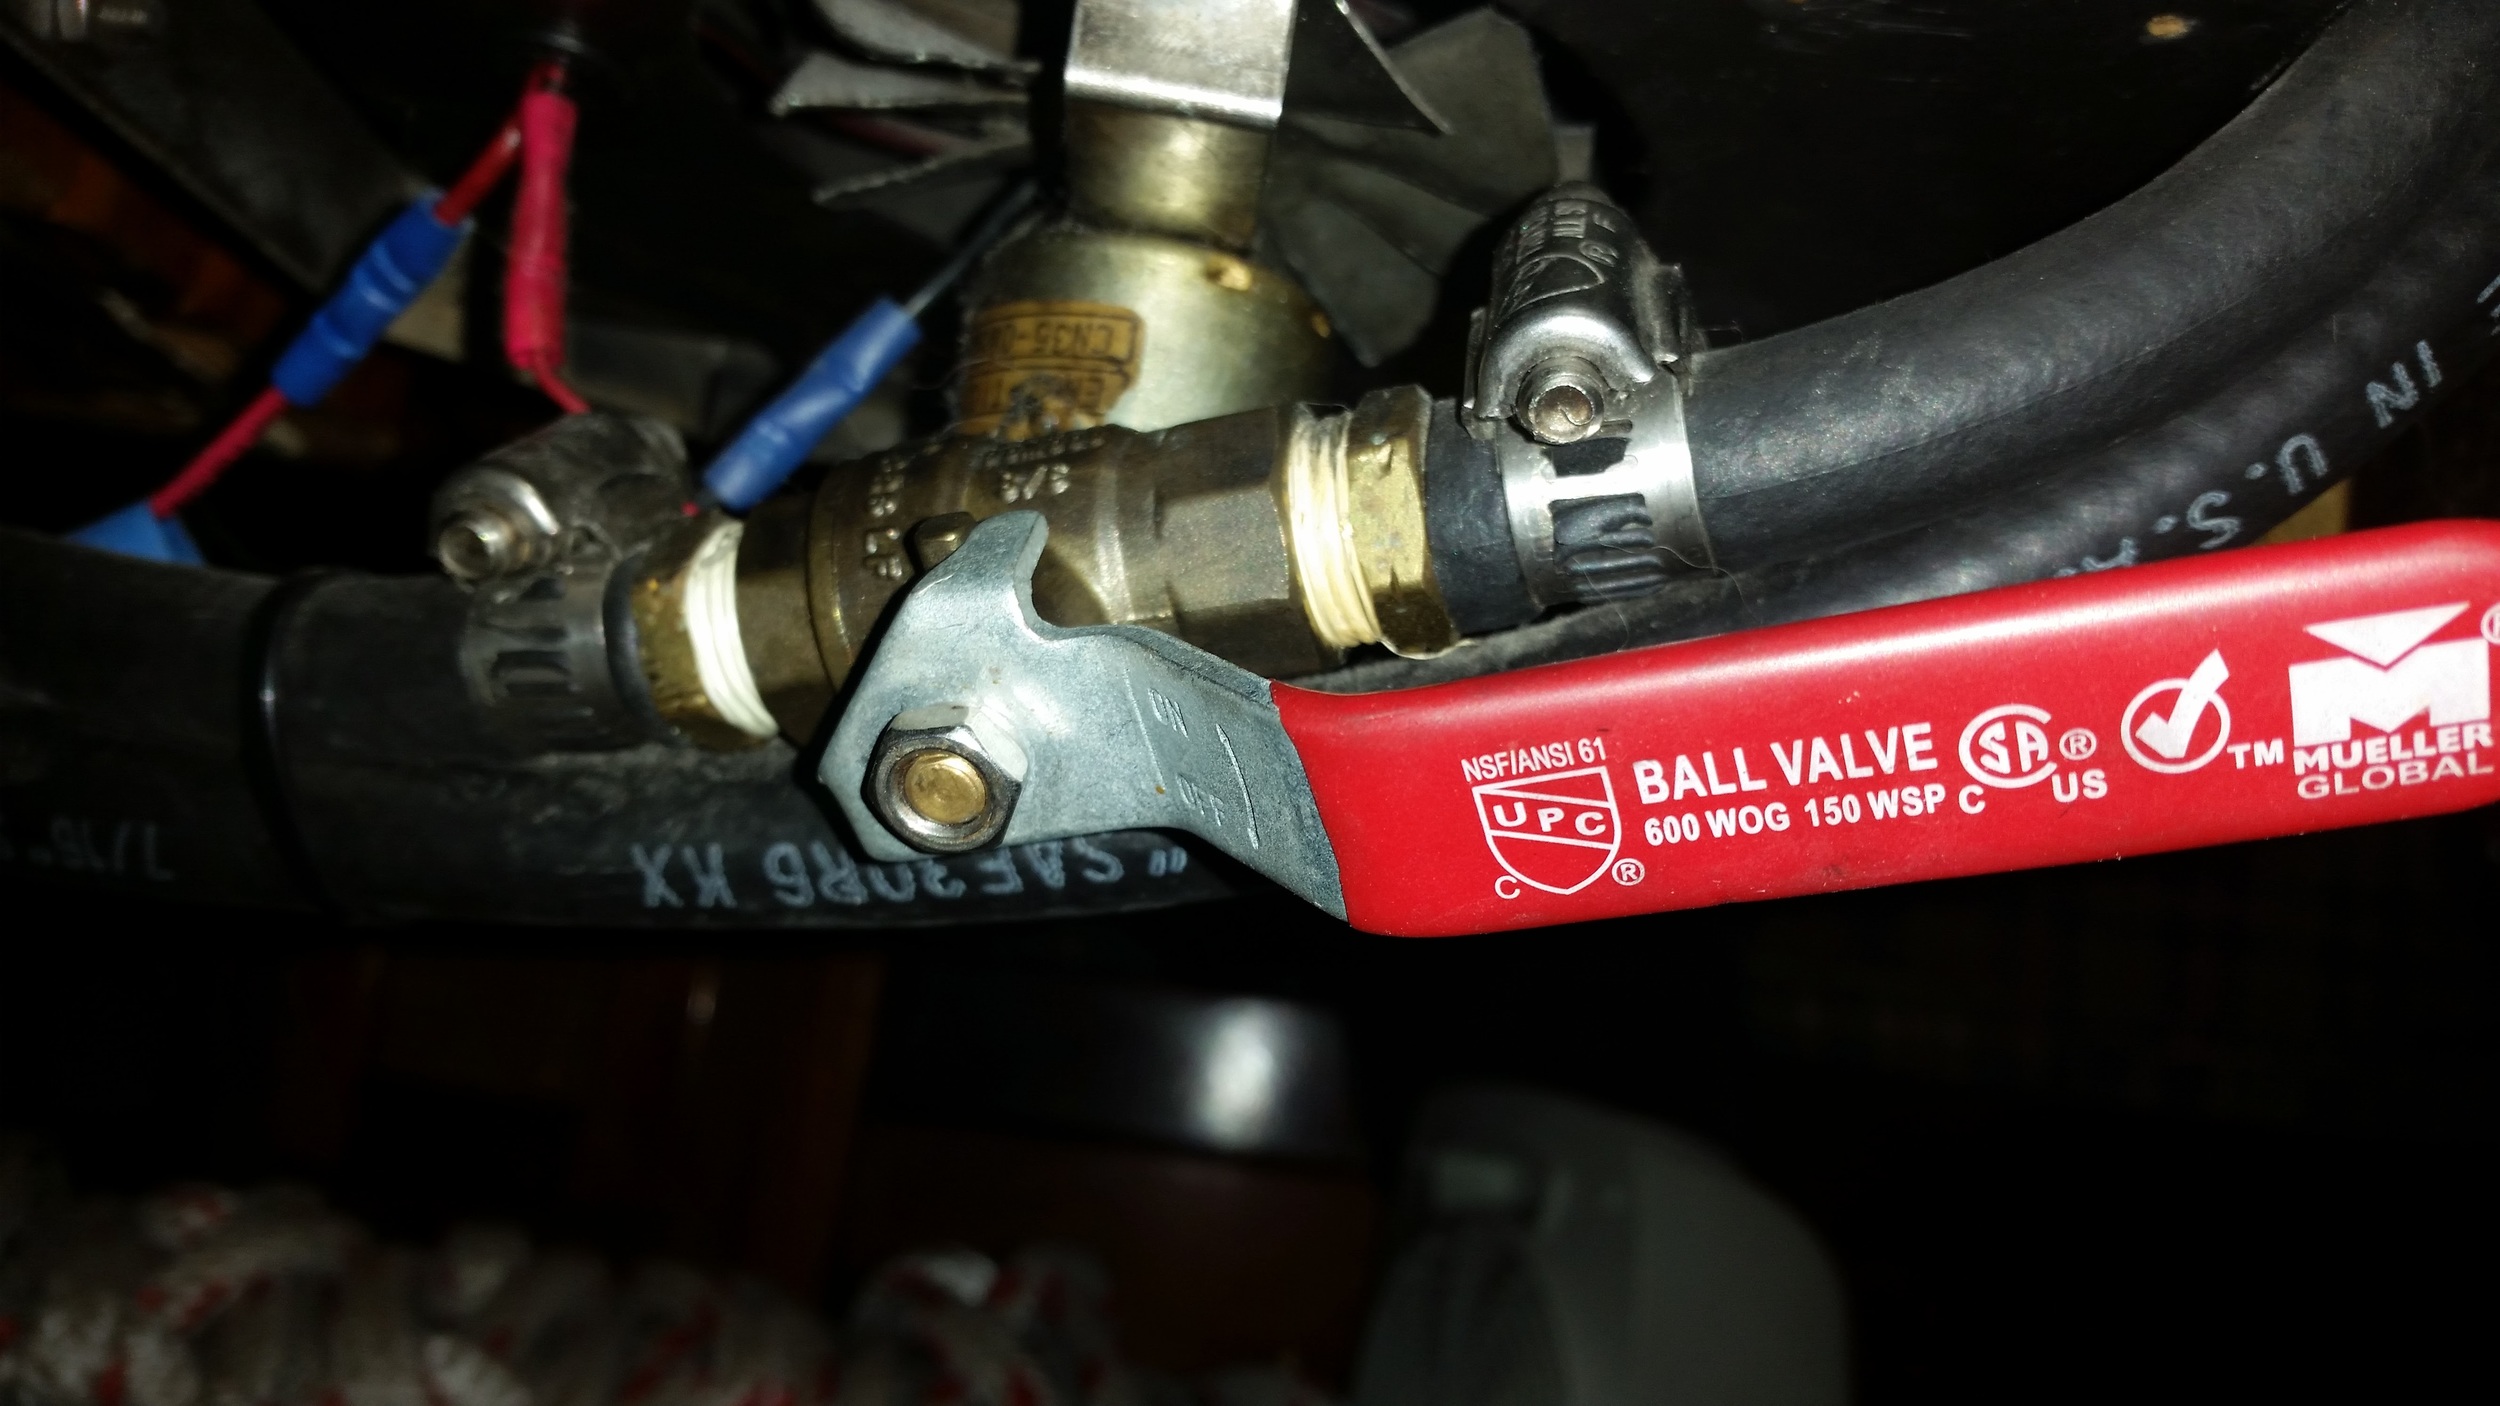
I never mess with the fan and the ash in the bottom of the burner from previous burning will act as the wick for the diesel. It's even simpler when you incorporate a fuel shut off valve. When we leave the boat for a long period of time, we shut the heat off by closing the valve. This way the perfect burning setting on the fuel metering valve is untouched.

When we come home, we simply open the valve under the unit and let the fuel start flowing back into the heater. Once the fuel begins to burn in the chamber, it will resume it's perfect burning level in a few minutes.

We find that the heater can warm the freezing boat to a wonderful 76F in about 10 minutes!

Quick Shortsplice

When you need to connect two ropes and can't have the bulk of a knot, splicing becomes your only option. If the ropes you are connecting are for low load, you can skip the precise way of making a short splice and go for the quick and dirty, easy short splice!

I used this splice while I was making the rope fenders, not much load and a very easy connection to allow me to keep working.

Simply splice one line into the other burying all the strands. Then release the other lines strands and splice them into the first line. You will now have a very quick and dirty short splice!