Multiple Watertanks when in a Marina

When you live aboard in a marina, you use a lot of water and have easy access to fill the tanks up frequently. This presents two obvious choices and one hidden choice. 

Fill all the tanks individually as you use them

Hook the boat up to shore pressure

Fill the highest tank and let it siphon into all the other tanks (The hidden choice)

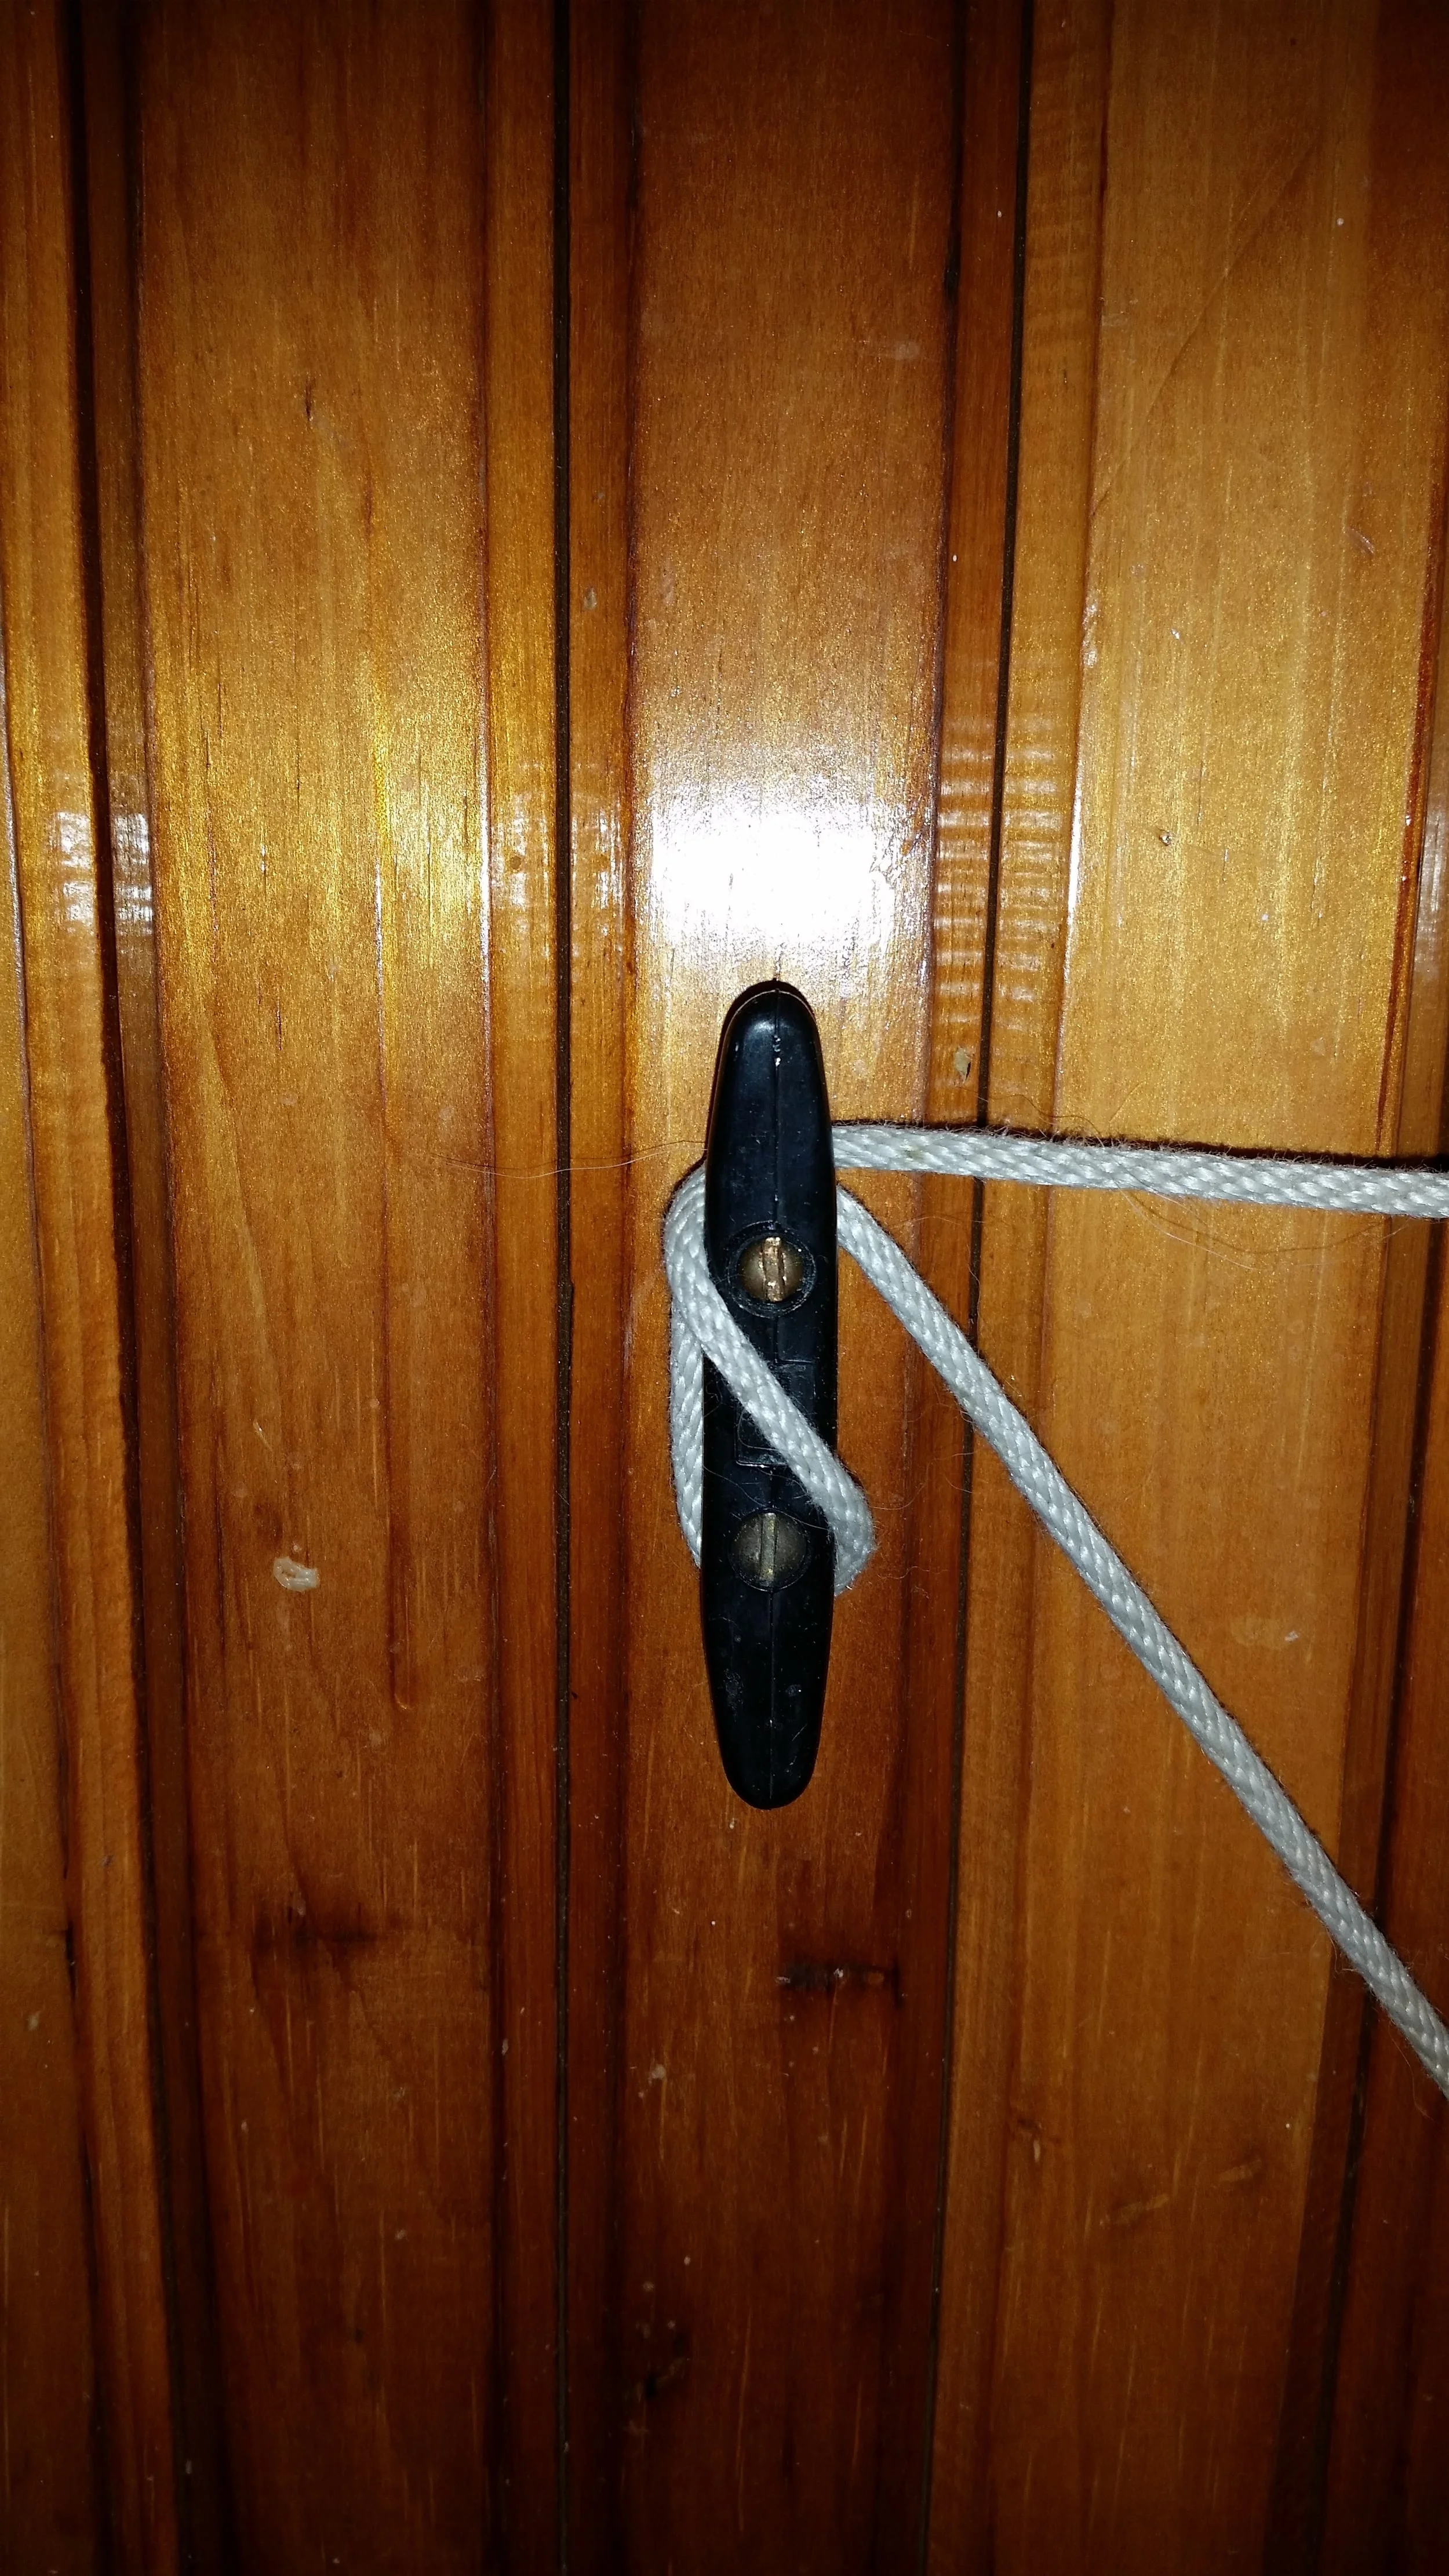
Filling each tank individually as you use them sounds logical but it is rather time consuming and cumbersome. If your water tank fillers are on the deck, you can easily fill them all regularly without too much effort (unless it's really cold and you have to stand out there while filling the tanks, makes for a chilling time!). If your tanks don't have deck fillers, you have to fill the tank through the access ports.

Filling tanks through the access ports may sound extremely cumbersome, but there are advantages. You will visually inspect each tank as you fill it. If you see cloudy water or debris in the tank, you will likely address the problem before it gets too serious. Also, a loose deck fill plate can mean salt water contamination to your fresh water supply, which is a serious concern! The advantages of not having deck fill plates for each water tank will quickly be forgotten when you have to open every locker or berth to gain access to the tanks hidden under it. This will then push you into the temptation of hooking up to shore pressure.

Shore pressure is wonderful for showering, doing laundry, or doing the dishes. Imagine an endless supply of fast flowing high pressure water! Long showers are no longer a concern because you won't run out of water before you rinse the soap out of your hair. Laundry is quicker since the laundry machine will fill faster. Dishes are easier to rinse with a strong steady stream of water flowing over them.

Doing Laundry in a Sailboat

This endless supply of water can also spell disaster for your yacht. Think about the increased water pressure on all of your hose clamps. If just one hose slips off of its fitting, you will have an endless supply of high pressure and fast flowing water pouring into your boat. Your bilge pump will try to slow the rise of the water, but at some point the endless flow of water will win and your boat will sink in its slip! If you do connect to city pressure, be sure it is only for a short moment when you actually need the flow of water. After you finish, disconnect the hose to ensure your yachts safety.

So now you sit in your cockpit, envious of all the other boats in the marina with one or two very larger tanks wondering what you could do. The solution is right in front of you! Open all the tanks and treat the whole water system as one large tank. If all the water lines from the tanks to the pump are primed, the water pump will draw on all the tanks at the same time. The other way to look at this is all the water tanks are also connected via siphons! If the water level in one tank were to drop suddenly, the other tanks would deplete as they back fill into the lower tank. Eventually the tanks will all equalize their water levels in response to the other tanks.

What this means for you is you only have to fill one tank and keep it relatively full. If you let the tanks deplete themselves, you will have to reprime the whole system to bleed the air out of all the water lines. We are able to fill our tanks once per week without risking breaking the siphon. Simply watch how quickly you deplete your water supply to decide if you need to figure out how often you need to fill your tanks. 

Now you can keep all of your multiple tanks topped off with the greatest of ease by simply filling one single tank regularly.

Water Tanks for Ocean Sailing

Fresh water is the most valuable resource on board a boat! Without it, you will die in as short as 3 days, while some have managed to survive as long as 8 to 10 days without fresh water. This is why deciding how your fresh water is stored is so important.

Some boats have one large water tank which holds all of their available fresh water. This makes filling up easier, as it is only one tank to manage and maintain. This also fits the old saying "Putting all of your eggs in one basket" to the tee. If that tank were to break or get contaminated, you now have lost all of your water!

The alternate option is to break the water stored into various tanks, this way if a tank gets damaged or contaminated, it only affects that one tank and not the entire water supply. 

The disadvantages of multiple tanks are:

You now have many tanks to maintain and keep full.

The advantages of multiple tanks are:

Evenly distribute the weight around the vessel
If one tank is damaged or contaminated, it only affects a portion of the total water supply
It is easier to monitor how fast you are consuming your water
It is easier to ration your water

On board Wisdom, we have 8 water tanks, totaling up to 160 gallons of fresh water. 

Tank 1 is 15 gallons, 120 pounds
Tank 2 is 15 gallons, 120 pounds
Tank 3 is 30 gallons, 240 pounds
Tank 4 is 20 gallons, 160 pounds
Tank 5 is 20 gallons,160 pounds
Tank 6 is 30 gallons, 240 pounds
Tank 7 is 15 gallons, 120 pounds
Tank 8 is 15 gallons, 120 pounds

This may sound confusing to manage, but it works out well. We can easily ration our water by only using one tank at a time. We have an idea of how long we want each tank to last, and if we burn through the water too fast, we are made very aware of it when it runs dry. 

The act of opening a new tank also lets us keep a mental picture of how we are consuming our water. When we did our summer trip, we started off with Tank 1 open, and it lasted us almost a week. This made us a bit more relaxed about our water usage (which translates into more frequent showers). We keep Tank 6 (30 gallons) as a backup tank while cruising. If we ran out of water while off shore, Tank 6 would be able to provide us enough drinking water for 28 days (based on 2 people drinking 2L of water per day).

The final advantage of multiple tanks is that the weight can be spread throughout the vessel. 160 gallons weighs 1280 pounds! If we had that all weight in one place, it would seriously affect the trim of the vessel as it ranges between full and empty. By spreading the weight around, the weight is also evenly distributed and we are able to drain the tanks in a controlled fashion, which also evenly distributes the weight decrease.


Cleat Hitch

One of the most important knots to know as a boater is how to tie up to a mooring cleat! This knot is used every time you tie something to a cleat. It is a very simple, plain, and elegant knot that will securely hold a line indefinitely if tied properly.

20160114_152327.jpg

This knot can be used to:

Secure dock lines
Secure jack lines
Tie up to a pier
Tie up to another boat
Secure a tow line
Secure a painter
Tie off a sheet
Secure a halyard

The list goes on and on!


There are a few ideal principles to keep in mind when tying a cleat hitch. If these principles are followed, the knot can be securely tied offering peace of mind and security.

The loaded line should enter the cleat in the same direction that the tail exists the cleat.
There should only be 3 lines passing on the top of the cleat per cleat hitch. 
For high loads, a wrap around the cleat will help reduce the force exerted on the knot.
When properly tied, it will form an X over the cleat with one leg composed of one line and the other leg composed of two lines.

To tie a cleat hitch, follow these steps:

Bring the line alongside the cleat

Wrap the line around the back of the cleat under the horn

Pass the line over the cleat

Wrap the line under the horn

Pass it over the cleat forming an X

Twist the line to form a turn and slide the turn over the cleat horn and tighten

Pull on the tail to tighten the knot all the way


This knot may seem easy to tie, and it is! But so are wrong variations of the knot. Common mistakes made are:

Tons of wraps
Never creating the turn to secure the line to the cleat
Not tightening the knot
Twisting the turn the wrong way

20160114_151945.jpg

Tons of wraps simply bulk up the cleat so no one else can use it and makes it harder to untie the cleat when it's time to release the line.

Never creating the turn to secure the line is dangerous. It will look like a secure knot but will come loose over time. 

Not tightening the knot will allow the line to untie itself and slip off the cleat, failing its purpose of securing the line.

Twisting the turn the wrong way is a very common mistake. It may look secure, but it will come loose with a few pulls. If you tie it the wrong way, it would behoove you to untie the cleat and do it again the right way.

Sometimes, cleats are hardly tied with almost no tail!

These cleats have been tied this way for a very long time, some of them for years without inspection. Just because you tied your line properly when you docked your boat, doesn't mean that it is still tied properly. I have seen many boaters pull in and untie a cleat to tie their boat up and tie the existing dock line to a new cleat. Do you know if they tied your dock line properly?

20160114_152241.jpg

When tied properly, multiple people can easily tie up to the same cleat and untie easily when it's time to cast off.

These cleats may look like a jumble, but in fact they are cleats where two lines are tied; one over the other. They are both tied correctly and all the lines are perfectly secured on the same cleat.

While it is important to know how to properly tie a cleat hitch, the examples of poorly tied cleat knots have held for many years without anyone touching them. If you are tying to a cleat in a hurry while docking and the knot comes out wrong, it will probably hold fine while you secure the rest of the lines in a hurry. Once the boat is safely tied to the pier, it is a good idea to evaluate the cleats and make sure your knots are correct before leaving the boat. A poor knot will hold for a while, but a good knot will hold for longer!

Weathering the Snowpocalypse

20160123_115347.jpg

As a record setting 29.2 inches of snow fell in Baltimore, MD, where we are docked, only around 1 foot accumulated on the deck. Most of the snow was swept off the deck as quickly as it landed, since the winds are much stronger on the water. The snow began on Friday afternoon, and continued all the way into the early hours of Sunday. This meant we stayed inside (except for when I went to fix Tooth) during the whole storm. 

The deck has interesting snow drifts that accumulated in the windshadows of the sail bags and rigging. The leeward lifeline net also helped to hold in a lot of snow, making and interesting looking snow drift that tried to creep over the side of Wisdom. 

Windpuff had its own snow formation on its deck.

During the storm with its strong winds and constant whiteout conditions, we watched movies, cooked delicious meals, and Maddie painted while I worked on reconditioning an old bilge pump. We were cooped up inside for over a day, but we enjoyed our time together with no distractions and every moment focused on what we wanted to do.

There were no social obligations and neither of us had to go to work, we simply stayed inside with each other as the storm blew past. We woke up when we wanted to, and went to sleep when we felt tired. It felt like cruising again: doing what you want, when you want, without a care in the world.

For dinner on Saturday, I had the bright idea of cooking lamb chops on the grill. The cockpit was completely filled with snow; luckily I had a pretty good idea where things were so I wouldn't step on anything important. I carefully made my way through the deep snow to dig out the grill and bring it into a hole I dug near the companionway. They were the best lamb chops ever!

When Sunday rolled around and the snow had stopped, we went outside to explore. The snow accumulations highlighted the importance of a heavy displacement boat. Our boats, Wisdom and Windpuff were pushed down 1 inch past their scum lines. A very light displacement catamaran however, had a bunch of snow on his forward deck and it completely changed his attitude. His rudders were out 6 inches higher than their scum lines and his bow was sunken down well below his boot stripe. Other light displacement sailboats were down nearly to the tops of their boot stripes. While I don't think one should plan their cruising boat based on how much snow they can carry, I do think it is important to think about weight distribution when you load up all of your belongings.

A light displacement sailboat will be much more sensitive to where you place your stores and cargo, where a heavy displacement sailboat wont really care too much. Anywhere is fine, if it's not it will list just a little bit, but nothing too dramatic.

We also checked on Tooth to see how he fared right side up. Just fine actually! There was a tiny bit of snow in his hull, nothing more than a few cup fulls of water. I guess I should have left him right side up to begin with. You live and you learn, that's a huge part of boating. They say smart people learn from their mistakes and wise people learn from the mistakes of others. Be wise and leave your dinghy right side up on an exposed pier during a blizzard, the snow will blow right out of it. 

After that we went into town to explore the snow covered wasteland. It turns out that a bunch of the other liveaboards in the marina had the same idea, so we all went out for brunch.

Walking around town made me appreciate living on a boat even more. People were digging their cars out of the giant mountains of snow, hoping that no one would steal their dugout parking spot. Sidewalks were piled high as people tried to shovel their ways to freedom. Meanwhile on the boat, the piers were blown clean by the wind and the little bit of snow that did accumulate was minor and easily traversed without much effort. 

On shore, we saw a bunch of tiny little foot prints and wondered if it was from a tiny little doggy, or something else.

Turns out they were rat prints leading to the dumpster, oh Baltimore.

We also had some fun with the snow. I was riding my bike around (snow biking is just like downhill biking in muddy conditions, you slip and slide around and it's all good fun) and then we had some fun with the huge snow piles.

Maddie's car is not going anywhere anytime soon.

Staying warm inside a well built sailboat during the blizzard was very relaxing. The whole world went away with the snow and we were living in our little bubble of warmth and happiness for a few days with no interruptions and no distractions.


Preparing for Snowpocalypse

A possibly record setting winter storm was fast approaching us and I needed to get home from work to batten everything down; but how do you prepare a sailboat for a blizzard?

The answer is simple, tie everything down on the deck so it doesn't blow away and make sure everything that stays on deck is flat or out of the wind. Larger items can seek refuge in the safety of the cockpit. Snow isn't as big of a problem since the wind will blow it off the deck as quickly as it lands.

The big problems are figuring out how the dinghy Tooth would deal with the snow. I have to pump the water out of him after every rain storm, but snow is a different animal. My concern was the wind blowing all the snow to one side and tipping the sheer strake into the water. This would cause Tooth to fill with water and sink quietly in the blizzard. 

upload.jpeg
upload.jpeg

As a good dentist, I chose to pull Tooth... out of the water and flip him over on the pier. We have a few liveaboard neighbors here, so I took him over to an empty pier and tied his overturned hull to the cleats available. If he does get moved by the strong forecasted wind, he wont go very far with the short lines I tied him with, or so I thought.


upload.jpeg

The winds picked up and blew Tooth into the water, luckily landing skeg down. The stern cleat ripped right out of his hull as he remained hanging by his bridled painter. This strong attachment point kept him secured to the pier instead of letting him float away during the blizzard, never to be seen by us again.

upload.jpeg
upload.jpeg
upload.jpeg

I pulled Tooth out of the water once more, but was unable to safely flip him with the raging winds howling through. I looked at him laying there, relatively flat to the dock and figured he would offer less wind resistance as he is, as opposed to flipped over. I just hope a little snow in his hull won't cause too much damage. 

upload.jpeg

I returned to Wisdom to escape the chilling winds and hope that Tooth will fare well. Only time will tell.