The Best Material for Synthetic Standing Rigging

Synthetic Standing Rigging is a wonderful system to work with. It weighs next to nothing compared to steel, yet holds your mast up with even more strength. The term "Synthetic Standing Rigging" is a generic term for standing rigging that does not use steel cables to hold the mast up. This broad category tends to include PBO, Vectran, Spectra, and Dyneema .

PBO is prohibitively expensive and tends to only be seen on race boats. It will not creep and is incredibly strong. It's major disadvantage is that it will quickly degrade when exposed to UV light. This is fine for sponsored race yachts where money is no object, but not very practical for the average cruiser.

Vectran is a wonderful product for standing rigging. It is in the Kevlar family and exhibits incredible strength with virtually no creep. While both of these features would make it wonderful for standing rigging, it is very susceptible to UV damage. The use of covers will help prolong its lifespan, but at the cost of higher windage. 

Spectra is the same as Dyneema, but is produced by DuPont. They have transitioned over to government armor contracts and no longer produce rope for civilians.

Dyneema is produced by DSM and is the same as Spectra. Dyneema is made of Ultra High Molecular Weight Polyethylene (UHMWPE) and is my favorite material for standing rigging on a cruising sailboat. It is incredibly strong with minimal creep, but with very good resistance to UV damage. This allows the fibers to be left exposed to the sun, minimizing the bulk of each stay to minimize windage.

So you decided that Dyneema is the material of choice for your synthetic standing rigging. Wonderful! Then you go to purchase the line needed for your standing rigging and they ask "Which one do you want?" Instantly you are flooded with numbers and strange words like SK78 or Heat Set. Lets take a look at the different types of Dyneema.

Dyneema comes in many flavors, each with its own properties:

SK75
SK78
SK90
SK99
DM20
Heat Set

SK75 was the be the best form of dyneema available for a while, but we have come a long way since these fibers. Some still tout SK75 as the best because of its incredible strength and resistance to UV damage, but it creeps a lot. Creep plagued SK75, and spurred the development of the newer fibers that do not creep as much. Most applications for SK75 have been phased out and replaced by SK78.

SK78 is the improved version of SK75. It offers the same high strength of SK75 but with greatly reduced creep. SK78 has pretty much replaced SK75 for all uses on the boat and many manufacturers have stopped offering SK75 since the introduction of SK78.

SK90 is the improved version of SK78 and offers significant increases in strength but no improvement in creep properties. SK90 offers a 10 to 15% increase in strength which made this fiber the best thing since sliced bread when it was launched in 2009. It reigned supreme until 2013 when an improved version replaced it.

SK99 is the improved version of SK90. It was launched in 2013 and offers 20% more strength as compared to SK78 but still no improvement over creep. SK99 may sound like a miracle fiber, but its price is equally set. For this reason, SK99 is not seen as often as SK78 which offers incredible strength with a more reasonable price.

DM20 is a different class of dyneema which has nearly zero creep but less strength as compared to SK78. The lack of creep would make it seem like the ideal fiber for standing rigging, yet it doesn't seem to be the popular choice. This is because there are treatments that SK78 can receive to improve its properties.

Heat Treatment is part of the manufacturing process whereby the Dyneema is subjected to heat and tension which causes molecular changes in the fibers themselves. Dyneema is made of polyethylene chains. The heating process under tension causes the fibers to stretch out further and creates more crystalline structures in the fiber which give the rope more strength. It also creates longer chains of polyethylene which are able to bear more load than the shorter chains found in untreated fibers, which results in less creep. The end result of heat treatment is a much stronger rope with less creep.

This may sound like a magic bullet, but sadly, there are drawbacks. The rope becomes much less resistant to bending and abrasion. This is not a problem for standing rigging because they are straight and do not move; just be sure that any bends are distributed over an appropriate radius to avoid damaging the rope. 


Lets take a moment to digest all of this information.

SK75 is strong but creeps.
SK78 is strong and has low creep.
SK99 is awesome but too expensive.
DM20 does not creep but is weak.

Heat treating SK78 results in low creep and incredible strength.

The downsides of Heat Treated SK78 can be easily overcome. Providing properly sized thimbles produces the proper radius turns needed and protective chafe coverings guards the line from abrasion. 

For these reasons, Heat Treated SK78 is the best rope for synthetic standing rigging. The price is not too much of a jump from regular SK78, and its strength and creep properties are vastly improved. 

I personally prefer New England Ropes STS-HSR which is Heat Treated SK78 and use this rope for my own synthetic standing rigging.

I'm sure as new technologies come to the market, these views will change. For now, this is the best product for the money and it will have a long service life as standing rigging if properly cared for.
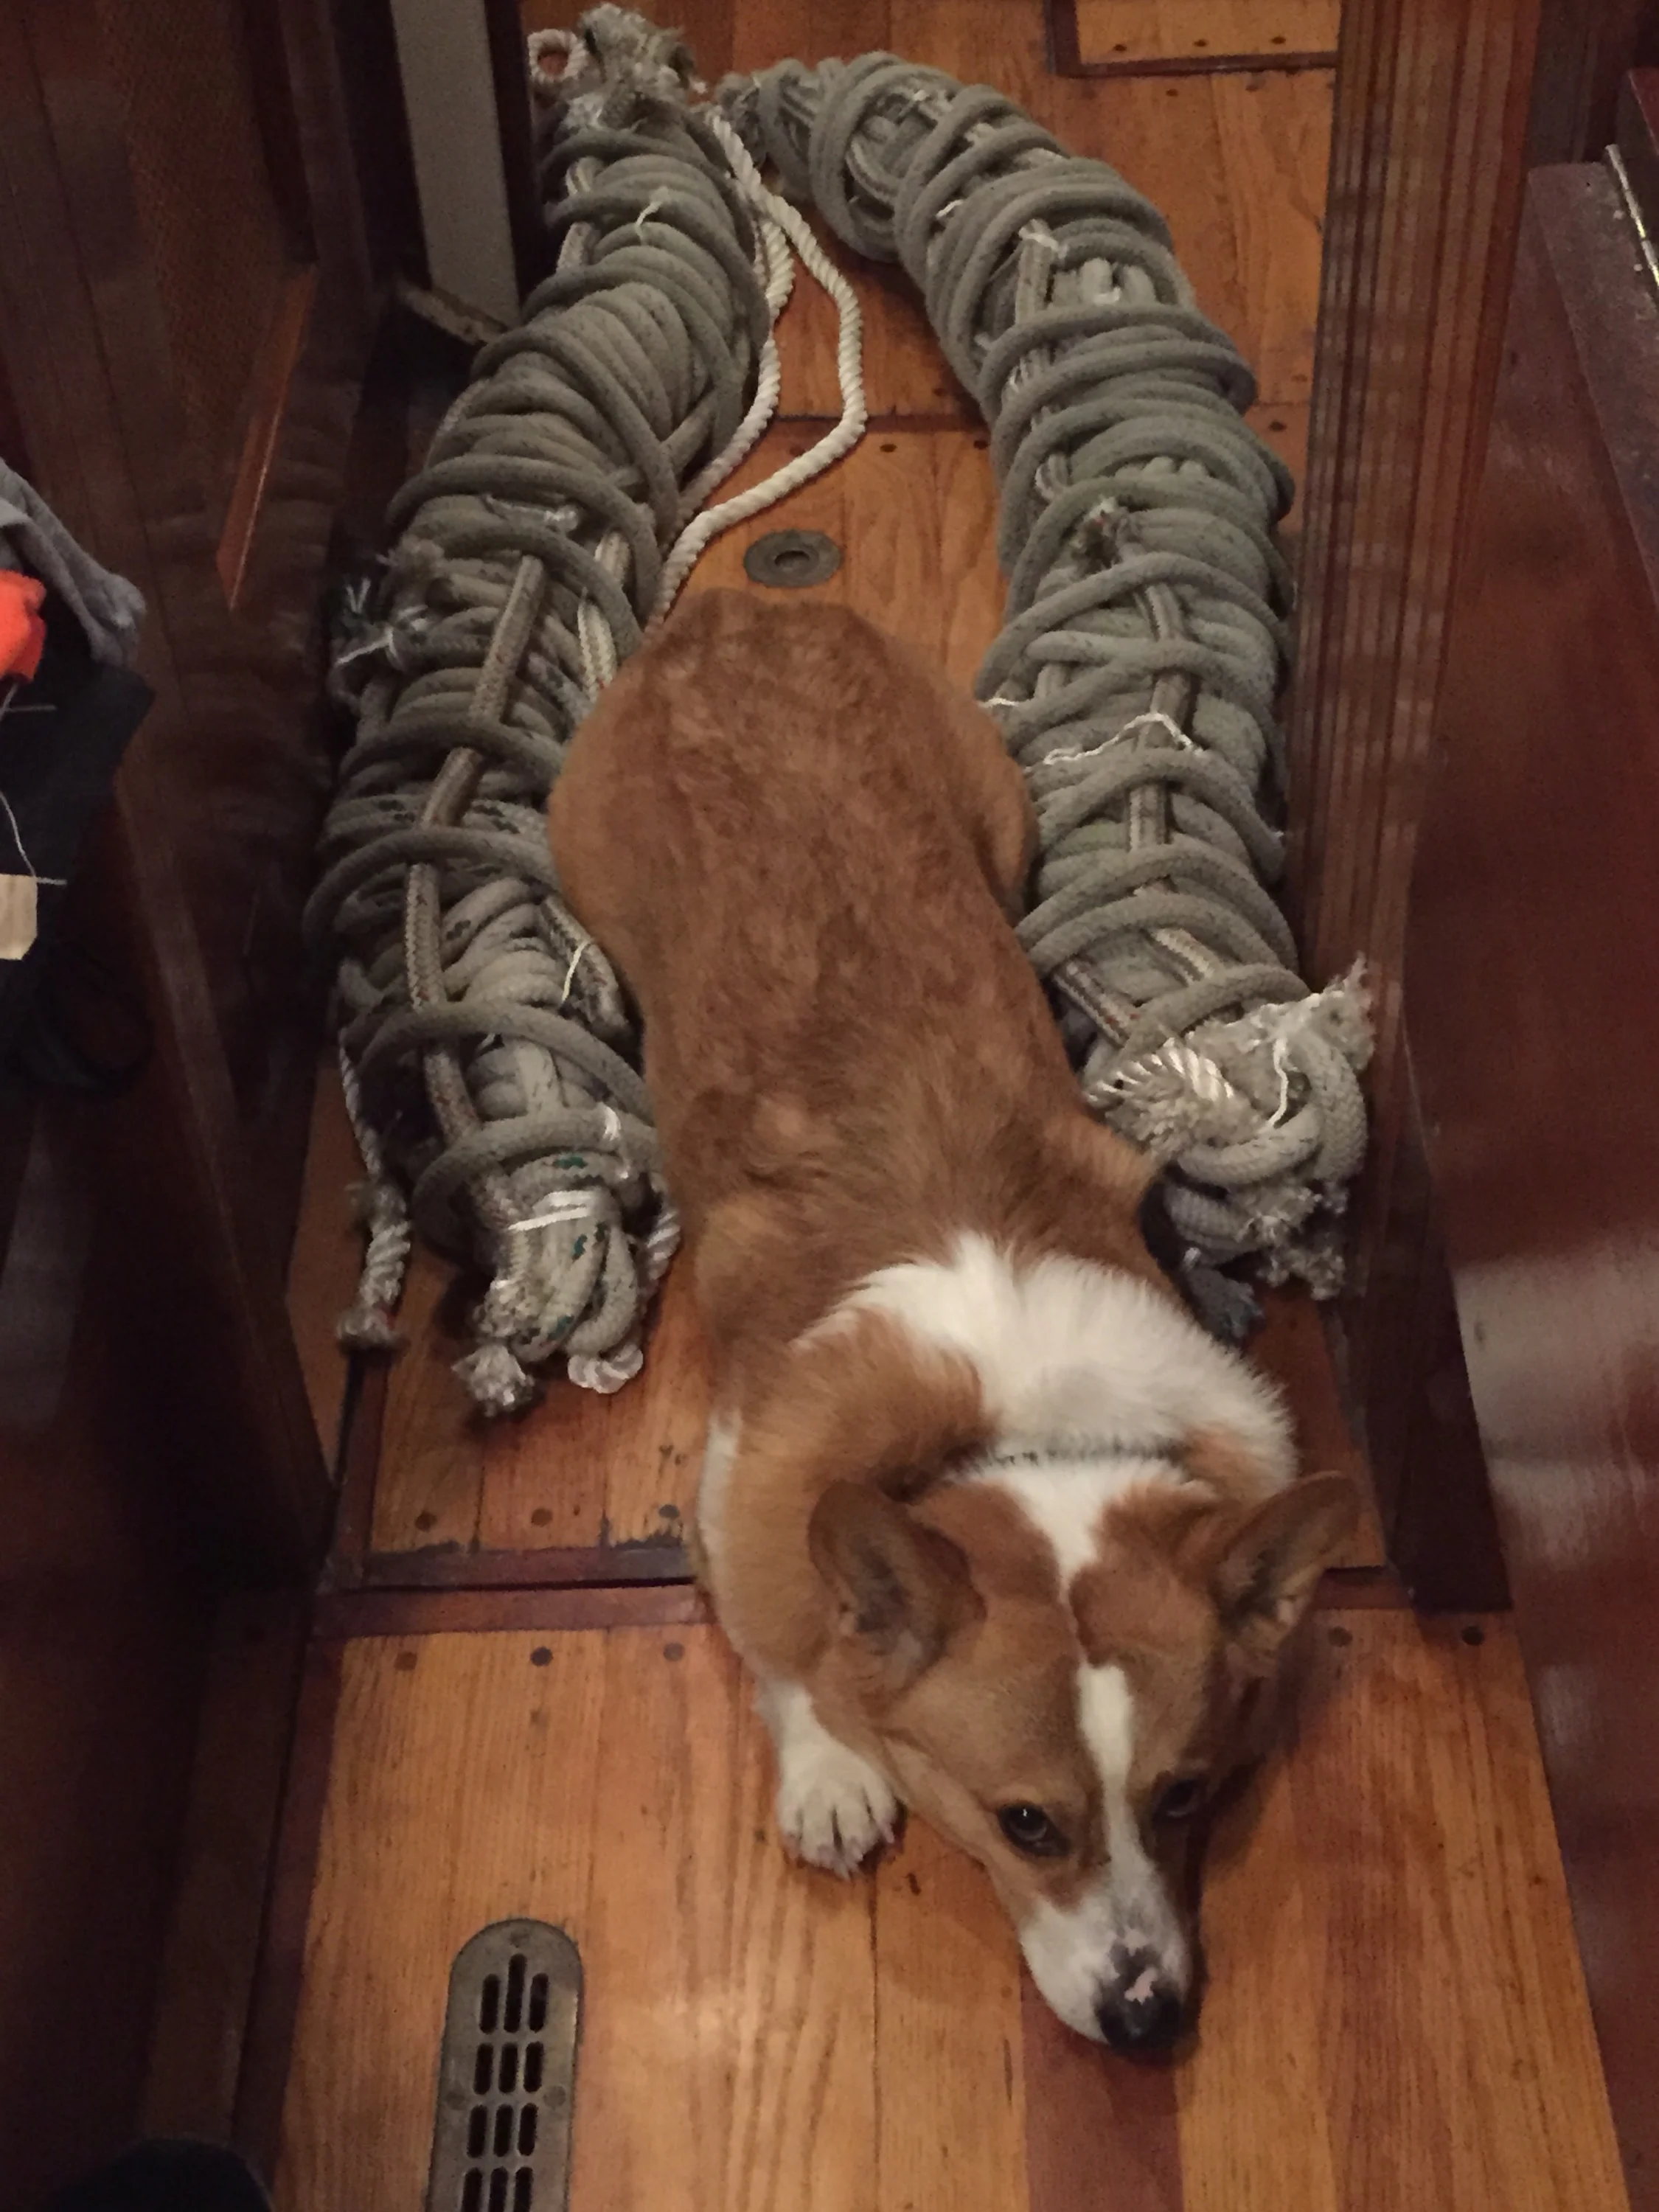
 

Longdog wants to know what happened to the rope fenders

They are coming along. They have taken me a long time to make because the process is slow. Each layer involves cutting longitudinal lines and seizing them to the ends, followed by wrapping the whole thing in a coil. They have been gaining bulk, but a post of each layer added to them would be insanely boring! So I have not mentioned them.

The very last layer was done differently, instead of coiling the line around it like I always do, I did a bit of macrame. It's called a chain stitch.

By coiling the line in a chain stitch, I was able to add a lot of bulk to the fender quickly.

The next step will be to wrap the whole fender in a series of half hitches. This will also be a very slow process but if they tear or get cut, the whole thing will not untie. Then I will be able to mend the broken area without worrying that the fender will unravel.  

LED Lighting

The old dim florescent light

The old dim florescent light

Wisdom came with florescent lights mounted throughout the boat. A total of 9 lamps could evenly distribute a pale yellow glow. Each lamp consumed 16 watts,  burning 144 watts to light the whole boat. The truth is only 2 lamps worked so the boat was rather dark inside. 

I decided to update the lights rather than replace high energy consuming bulbs. I decided to convert all the lights to LED!  

I took a stroll over to West Marine and suffered incredible sticker shock as I gazed upon small lamps with prices ranging from $23 to $52 per lamp! I returned to the boat without any lamps but full of ideas. 

The lamps they offered all reminded me of lights I had seen before in IKEA. I made a trip to the closest IKEA and discovered that their cabinet lights are 12v DC! The best part is that a 4-pack only cost $22!

I decided to place the IKEA lamps over the existing holes from the old lamps. This allowed me to complete the conversion without replacing the ceiling. 

Each lamp had 3 holes that we not evenly spaced, one for the wires, and two other areas for the screws. I simply placed a set of 4 lights evenly spaced to cover the 3 holes. I also added a few extra lights in dark areas of the boat.  

The IKEA LED lights provide more illumination than the florescent ones and only consume 3 watts between 4 lamps. This allows me to have interior lights on while anchored out and not worry about my house battery bank holding up. 

The conversion itself was more involved than I had anticipated (like all boat projects tend to be). I had to lower the ceiling in each part of the boat to remove the old lamp, then (by the use of a jig I made out of the box the lights came in) install the 4 new lights in their respective spaces and run the wires. 

IKEA lamps are 12v DC which means you can cut the fancy IKEA connector off and wire the lamp directly into the boats 12V system. LED lights are polarized, so be sure you connect the lamps positive to the boats positive (you can trace the wires inside the transformer to figure out which wire is positive).

I have read that if the lamps are connected with their polarity crossed, they will either die instantly or else have a shorter life. I did not want to find out so I made sure it was correct before I connected it to the current. 

Once the lights were wired and tested, the ceilings and all their associated mouldings were reinstalled.  

The new lights provide plenty of light to live and read by while producing minimal heat.  

The downside to the cheap lights is they are not marine grade. I don't believe they use tinned copper wiring, and I don't expect them to last forever. They have been working wonderfully since 2012 and for a fraction of the price, I think they are doing just fine!  

When installing 48 lights (which only draw 36 watts when they are all on), cost became a significant determinant. My cost from IKEA totalled to $264. If I had bought them from a marine store such as West Marine, it would have cost me around $1,104.

These little cabinet lights deserve some credit, they can light up a tiny living space with minimal electrical consumption, they look modern, and they are flush mount!  

Make it a home

While I used to maintain the idea that Wisdom is a Sailboat that we live in, it is important to make sure that your comforts are met.

The beds should be soft and you should surround yourself with what makes you comfortable. When Maddie moved in, she brought along her collection of stuffed animals. 

I am strongly against the idea of "collecting" because all I hear is "holding on to a bunch of stuff for no reason". She did only bring her favorites to the boat, but over the past year, a few new ones have been bought and added to the boat.

Before Maddie, the possibility of having a collection aboard would have been non-existent. But Maddie has made me see that there are things whose sole purpose is to make the space you live in a home. 

I now maintain the idea that Wisdom is a sailboat and our home.

No matter how small the space is that you call home, make it comfortable and make it yours!

Layout of a liveaboard

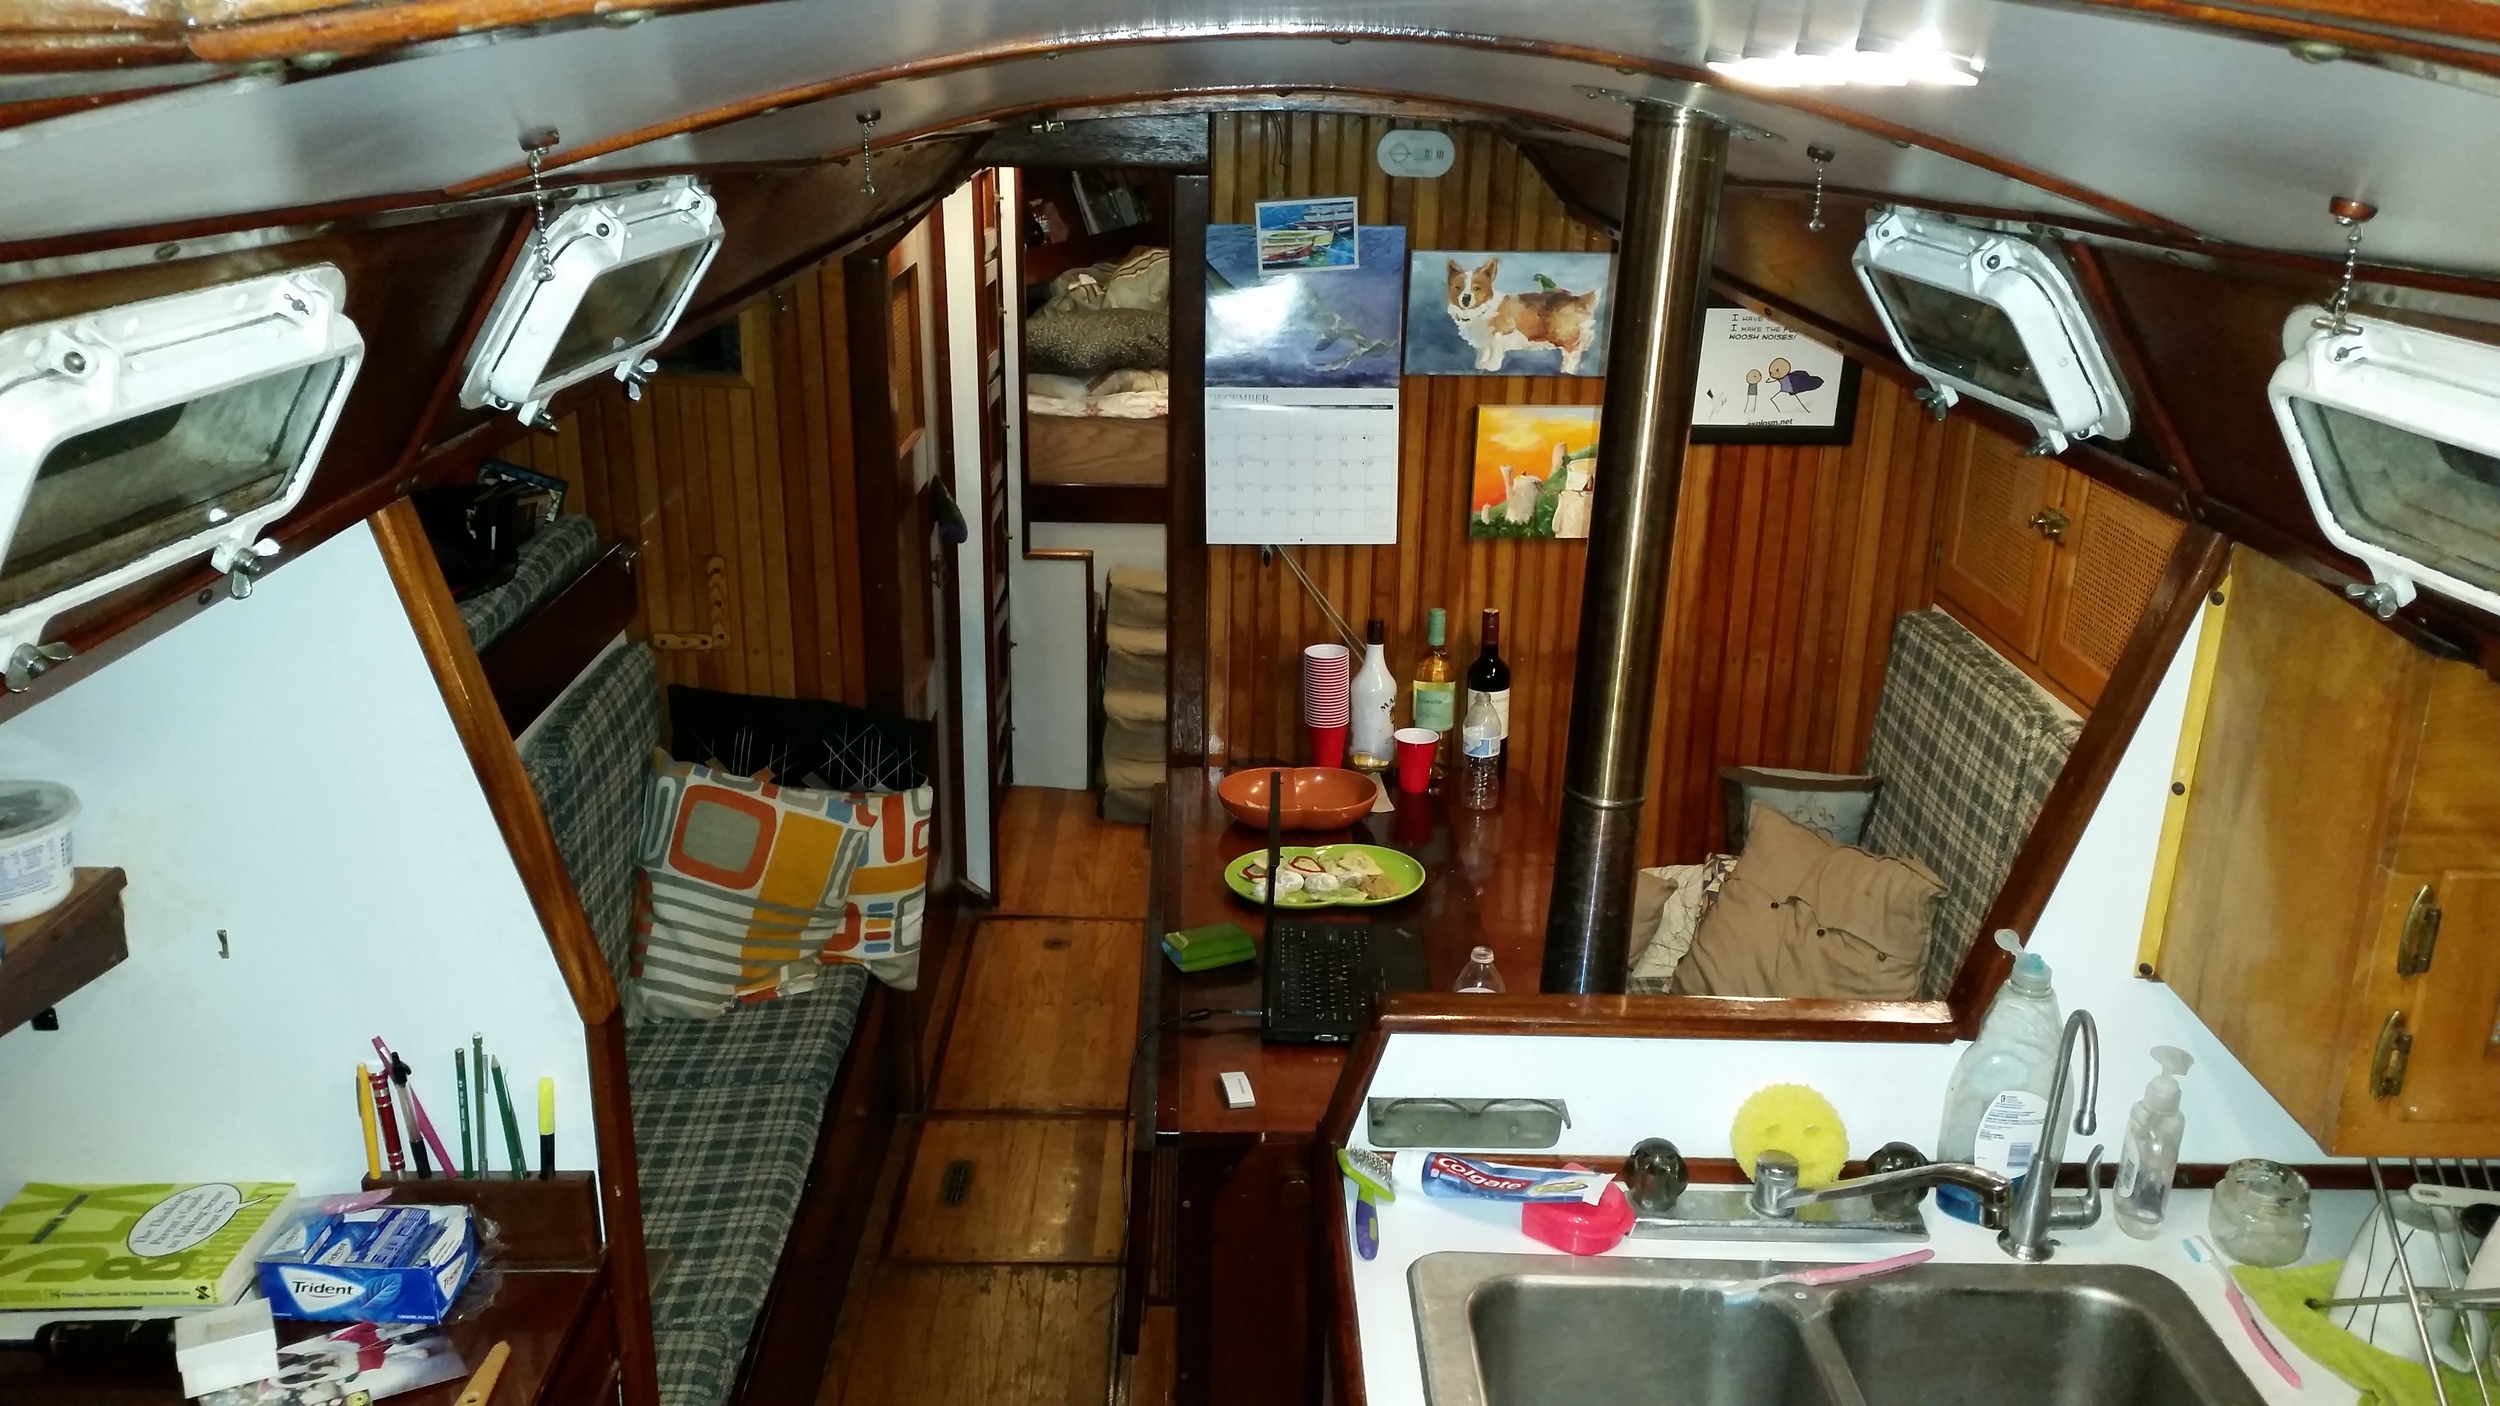
This is our tiny floating home when viewed from another sailboats mast. I have lived here since 2012, my fiancee has been living here since 2014.

The overall dimensions are 45 feet long, 11 feet wide, but as you can see, it is only 11 feet wide at one point. Most of the boat is much narrower than 11 feet, but we maximize all the space available.

The actual living space is much smaller than 45 feet though. The back half is almost entirely storage lockers. Forward of the bed is storage for the anchor chain. 

20160101_180545.jpg

The thin area with no label is the only space available for walking, everything else is consumed in seating, sleeping, or storage areas. To add additional storage space, all the floors can be picked up to reveal even more storage space. 

We store water bottles under the floor on long trips because it keeps the weight low in the boat and we don't have to get to them that often. I usually pull up the days ration for drinking water in the morning and then close the floors up again. 

While it might not look like much space available, the limited amount of space is used very efficiently. Every area serves multiple purposes, it's usually a combination of storage, sleeping, sitting, or working area.