Make it a home

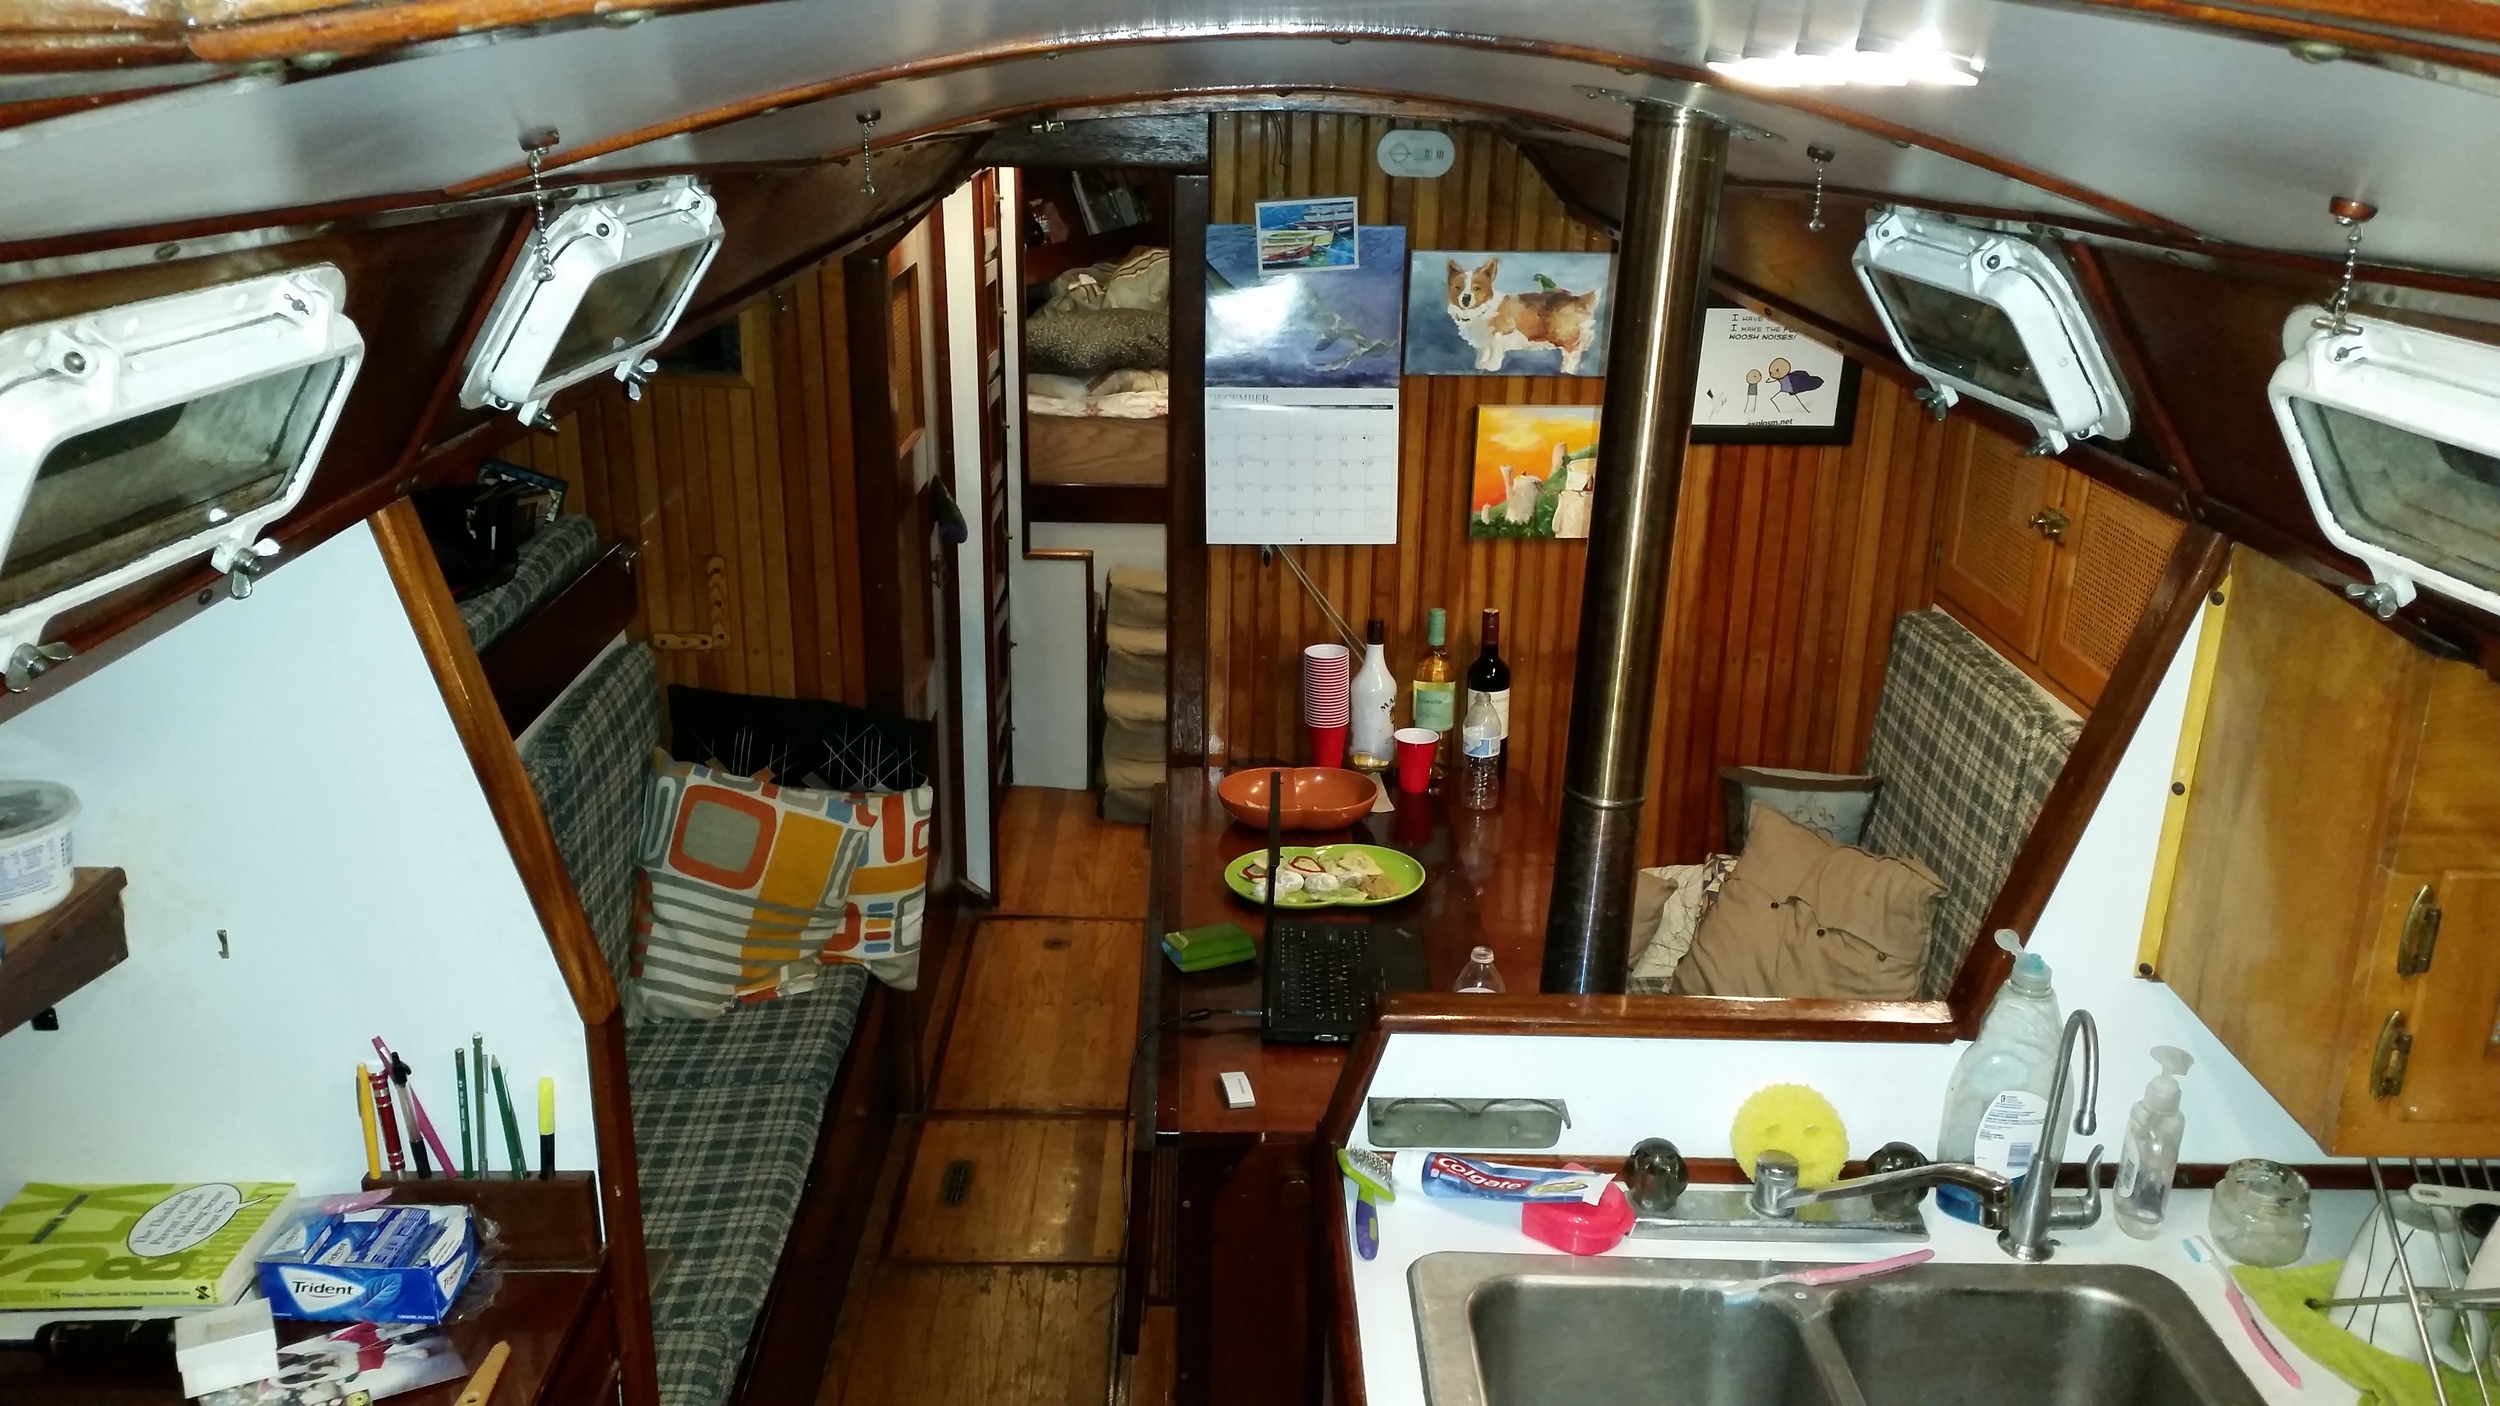
While I used to maintain the idea that Wisdom is a Sailboat that we live in, it is important to make sure that your comforts are met.

The beds should be soft and you should surround yourself with what makes you comfortable. When Maddie moved in, she brought along her collection of stuffed animals. 

I am strongly against the idea of "collecting" because all I hear is "holding on to a bunch of stuff for no reason". She did only bring her favorites to the boat, but over the past year, a few new ones have been bought and added to the boat.

Before Maddie, the possibility of having a collection aboard would have been non-existent. But Maddie has made me see that there are things whose sole purpose is to make the space you live in a home. 

I now maintain the idea that Wisdom is a sailboat and our home.

No matter how small the space is that you call home, make it comfortable and make it yours!

Layout of a liveaboard

This is our tiny floating home when viewed from another sailboats mast. I have lived here since 2012, my fiancee has been living here since 2014.

The overall dimensions are 45 feet long, 11 feet wide, but as you can see, it is only 11 feet wide at one point. Most of the boat is much narrower than 11 feet, but we maximize all the space available.

The actual living space is much smaller than 45 feet though. The back half is almost entirely storage lockers. Forward of the bed is storage for the anchor chain. 

20160101_180545.jpg

The thin area with no label is the only space available for walking, everything else is consumed in seating, sleeping, or storage areas. To add additional storage space, all the floors can be picked up to reveal even more storage space. 

We store water bottles under the floor on long trips because it keeps the weight low in the boat and we don't have to get to them that often. I usually pull up the days ration for drinking water in the morning and then close the floors up again. 

While it might not look like much space available, the limited amount of space is used very efficiently. Every area serves multiple purposes, it's usually a combination of storage, sleeping, sitting, or working area.

Dyneema Lifelines

Synthetic Lifelines have many advantages over steel lifelines:

No rust
Easy to inspect
Never cut your hand
Easy to install yourself

Dyneema is the material of choice for synthetic lifelines. Dyneema is soft on the hands, easy to splice, and stronger than steel with just a fraction of the weight.

Dyneema is a modern fiber made of High Modulus Polyethylene (HMPE) which offers incredible strength for its weight and size. They offer a strength greater than steel without any of the corrosion issues. 

Synthetic lifelines offer a clear advantage in inspect-ability over coated steel lifelines. Steel lifelines live hidden in a plastic casing, slowly rusting away without giving any signs. When I replaced my steel lifelines, the cable was actually broken in several places inside the plastic casing. I only learned of this when I was coiling the old lifeline to recycle it. For two years, it had escaped my inspecting eye! When dyneema begins to wear, it will show clear signals in the form of chafe and fuzzing. There are also easy ways to rate how much residual strength is present based on the visual condition of the dyneema. 

This link outlines how to inspect and assess dyneema

How much chafe is too much?
The mainsheet chafes on this part of the lifeline when on a broad reach.

The mainsheet chafes on this part of the lifeline when on a broad reach.

Steel lifelines don't have to live in a plastic covering making them impossible to inspect. The plastic covering can be stripped away leaving the wires exposed to the elements (which will accelerate their deterioration). As the steel wires weaken with time and use, they will begin to part. When you find the parted wire with your hand, you will learn why they call parted wires "Meat Hooks"! The wires tend to form little hooks on them as the wires break. Thanks to the ease of inspection, you are able to see that the lifeline needs replacing and have a very painful cut on your hand where the meat hook took a chunk out of you. Dyneema on the other hand offers the same ease of inspection as un-coated steel but while never forming meat hooks. The line is perfectly smooth to the touch and feels comfortable in your hand. I know I can hold onto the lifeline as I climb forward on the deck in rough weather without fear of injuring my hand.

The best part of synthetic lifelines is the ease of installation. All you need to do is make a few easy to complete splices. Simply run the line off the spool through all the stanchions until you reach the point where it will attach. Make an eye splice with a thimble and tie a lashing to the attachment point. Then cut the other end off the spool and make the same eye splice. I prefer the Mobius Brummel Eye Splice because it is very secure and will not slip.

How to make a mobius brummel eye splice

Once the ends are eye spliced, you can use the mechanical advantage of the lashings to tighten the lifelines. The lifelines don't have to be cut to perfect lengths because you are not limited by the adjust-ability of a turnbuckle. If you are a little too close, you can simple move the splice further into the line. If you are too far, simply make the lashing a little longer. I personally prefer to make the lifelines a little short because they will stretch while settling in.

The gates are also very easy to make, simply splice the gate latch directly to the dyneema. The gate latch is perfectly happy connecting to a stainless steel thimble. I wove a lanyard onto the gate latches to make operation easier.

Synthetic lifelines are very forgiving to install. The process progresses quickly which can keep morale high during the installation. The most important thing to keep an eye on is when the lifeline passes through the shrouds. Usually the lifeline will pass inboard of the cap shroud and outboard of the lowers, but make sure there is a fair path for the lifeline before you put in the eye splice.

Overall, synthetic lifelines offer unmatched advantages over steel lifelines and truly are the superior material for lifelines on boats.

Laundry

It needs to be done; but how do you do your laundry while living on a sailboat?

Being in a marina has its advantages, you have somewhere to park your car and you have access to appliances, but what about when you're cruising?

They actually make small washing machines that do not use electricity. I have a small one called "Wonder Wash" that I bought on Amazon. It will wash a small load relatively quickly and while using a minimal amount of water (the real important part). 

To operate the washer, you simply load the clothes into the can, add enough water so that all the clothes are floating, add a very small amount of detergent to the wet mix, and then screw the lid back on tightly. Now the clothes and soapy water are contained and ready to wash. I would sit and turn the crank for around 5 min, letting the clothes agitate as they sloshed around in the can. The washer comes with a drain pipe to let the water out, but it takes too long in my opinion. I simply open the lid and pour out the water. 

After you complete the wash cycle, add some fresh water and close the lid again. Now take a few minutes to crank the arm once more as you rinse out the soap from the clothes. If I had plenty of water handy, I would do two rinses to get all the soap out; but if I'm trying to conserve water, one rinse is good enough.

Now that the clothes are clean, we need to dry them! When anchored out, all my lifelines turn into clothes lines, but this is frowned upon in the marina, so I had to find another way. I used to use an electric clothes spinner (just like a salad spinner) to spin the water out of the clothes. This worked pretty well, but if the clothes were off balance, the machine would make horrible noises.

When the clothes would emerge from the machine, they were no longer dripping but still damp. I have a clothes line set up in the V-berth where they would hang out to dry all the way. 

This worked well while I lived alone, but when Maddie moved in, the laundry piled up way too fast for me to wash and dry this way. I asked other liveaboards in the marina and found a guy close by that would wash, dry, and fold all our clothes for $0.90 per pound. 

This has been our solution for the past year and I can't be happier! We still carry the clothes washer on board for doing laundry while cruising, but the spin drier has been removed from the boat. I took up a lot of space and needs 110V AC to run. When we are in port, we use the "Wash and Fold", and when we are cruising, we can hang the clothes from the lifelines. 

It is very important to keep the things you need on board, but be sure to remove things that you don't need. Space is a premium, and if something has no purpose, it is costing you valuable space!

As a dentist, I get rather close to people, so if my clothes were not clean, my patients would let me know rather quickly! When I lived alone, I used this machine every weekend for a year (when I would do my weeks worth of laundry) and no one ever mentioned my clothes smelling. 

I think the "Wonder Wash" is a wonderful tool to have on board. It disassembles easily, letting you store it in less space and it actually cleans the clothes well!

How do you guys do your laundry?

LED Navigation Lights

When the sun sets and the lights come on, we begin trying to conserve every amp of electricity we have. We turn on our navigation lights and begin our dilemma. We need to have them on for safety reasons, but each bulb is burning through our batteries.

When the deck lights are on, we are burning 3 bulbs (Port, Starboard, Stern). We can reduce the consumption by converting the Port and Starboard lights into a combination unit, which is still burning 2 bulbs (Forward Combo, Stern).

Our next best step is to switch over to a masthead light, which burns only 1 bulb! Dilemma solved! Other navigators can see us from miles away as we quietly sail along burning only 1 light bulb. 

This single light consumes around 2 amps, which doesn't sound bad, but when you think about it, that one light bulb will burn around 20 amps in 10 hours. If that bulb were switched out for an LED bulb (which is a direct replacement), you could burn a mere 0.1 amp. In 10 hours of night sailing, that would only be 1 amp. 

I have switched my lights over in 2012 and I haven't needed to replace a burnt bulb since. I used lights by Dr. LED which can be found at West Marine. Their bulbs are USCG and COLREGS complaint and work as a direct replacement for the old bulb. No fancy wiring to run or adapters to install, simply open the housing, remove the old bulb and install the new LED bulb in its place.

This way, you can sail by night without draining your batteries and safely alert other sailors to your position and relative heading.