LED Navigation Lights

When the sun sets and the lights come on, we begin trying to conserve every amp of electricity we have. We turn on our navigation lights and begin our dilemma. We need to have them on for safety reasons, but each bulb is burning through our batteries.

When the deck lights are on, we are burning 3 bulbs (Port, Starboard, Stern). We can reduce the consumption by converting the Port and Starboard lights into a combination unit, which is still burning 2 bulbs (Forward Combo, Stern).

Our next best step is to switch over to a masthead light, which burns only 1 bulb! Dilemma solved! Other navigators can see us from miles away as we quietly sail along burning only 1 light bulb. 

This single light consumes around 2 amps, which doesn't sound bad, but when you think about it, that one light bulb will burn around 20 amps in 10 hours. If that bulb were switched out for an LED bulb (which is a direct replacement), you could burn a mere 0.1 amp. In 10 hours of night sailing, that would only be 1 amp. 

I have switched my lights over in 2012 and I haven't needed to replace a burnt bulb since. I used lights by Dr. LED which can be found at West Marine. Their bulbs are USCG and COLREGS complaint and work as a direct replacement for the old bulb. No fancy wiring to run or adapters to install, simply open the housing, remove the old bulb and install the new LED bulb in its place.

This way, you can sail by night without draining your batteries and safely alert other sailors to your position and relative heading.

Manual Bilge Pump Backups

On a boat, anything that can fail, will at the most inopportune time! This is why it is crucial to always have a backup. 

Today, everything on a boat is switching over to the convenience of electronics. This is great until you consider the marine environment. The boat is a corrosion haven, constantly exposed to salts and humidity. Electrical components eventually will give way to corrosion and fail.

I'm not saying that we should negate all electronic conveniences from our boats to avoid the fatalities of corrosion. Instead I'm saying that it is important to remember to keep a backup, and preferably a manual backup on board for anything that you really need.

If we were holed and our electric bilge pump were to stop working we would have problems. We have two electric bilge pumps, one in the sump, the other mounted higher (the high water pump). The idea is that bilge scum and dog hair will likely foul the primary bilge pump, but the highwater pump will still be clean and ready to pump. 

Such a wonderful theory, but the reality is that if we are taking on water, the batteries might run down and the pumps would stop working. Worse yet, if the batteries get submerged by the rising water, we will instantly lose our electric pumps. 

This is why a manual bilge pump in a necessity. It will flow a large volume of water with each stroke. It does not depend on electrical connections or battery charge, but instead it works on you. They say "Nothing pumps faster than a scared man with a bucket". This is a little more sophisticated than a bucket, but as your fear builds, it pumps water out faster. 

Can a manual bilge pump flow enough water? I found out when I was cleaning my bilge. My method for cleaning the bilge is to pour "Simple Green" into the bilge and let a hose run to fill it up. The soap will foam and the running water will eventually flush out all the bilge scum and dust that has accumulated over the past year. The manual bilge pump was able to keep up with the flow of a garden hose running full blast. I do feel confident that if we had a leak, we would be able to pump the boat dry (once the hole has been plugged).

If nothing else, having a manual bilge pump makes you feel like you are involved in your survival. If you stand around watching the water rise in the bilge, you might begin to panic. But if you are busy pumping your heart out, you will be kept occupied in your survival.

Life cycles of Dyneema

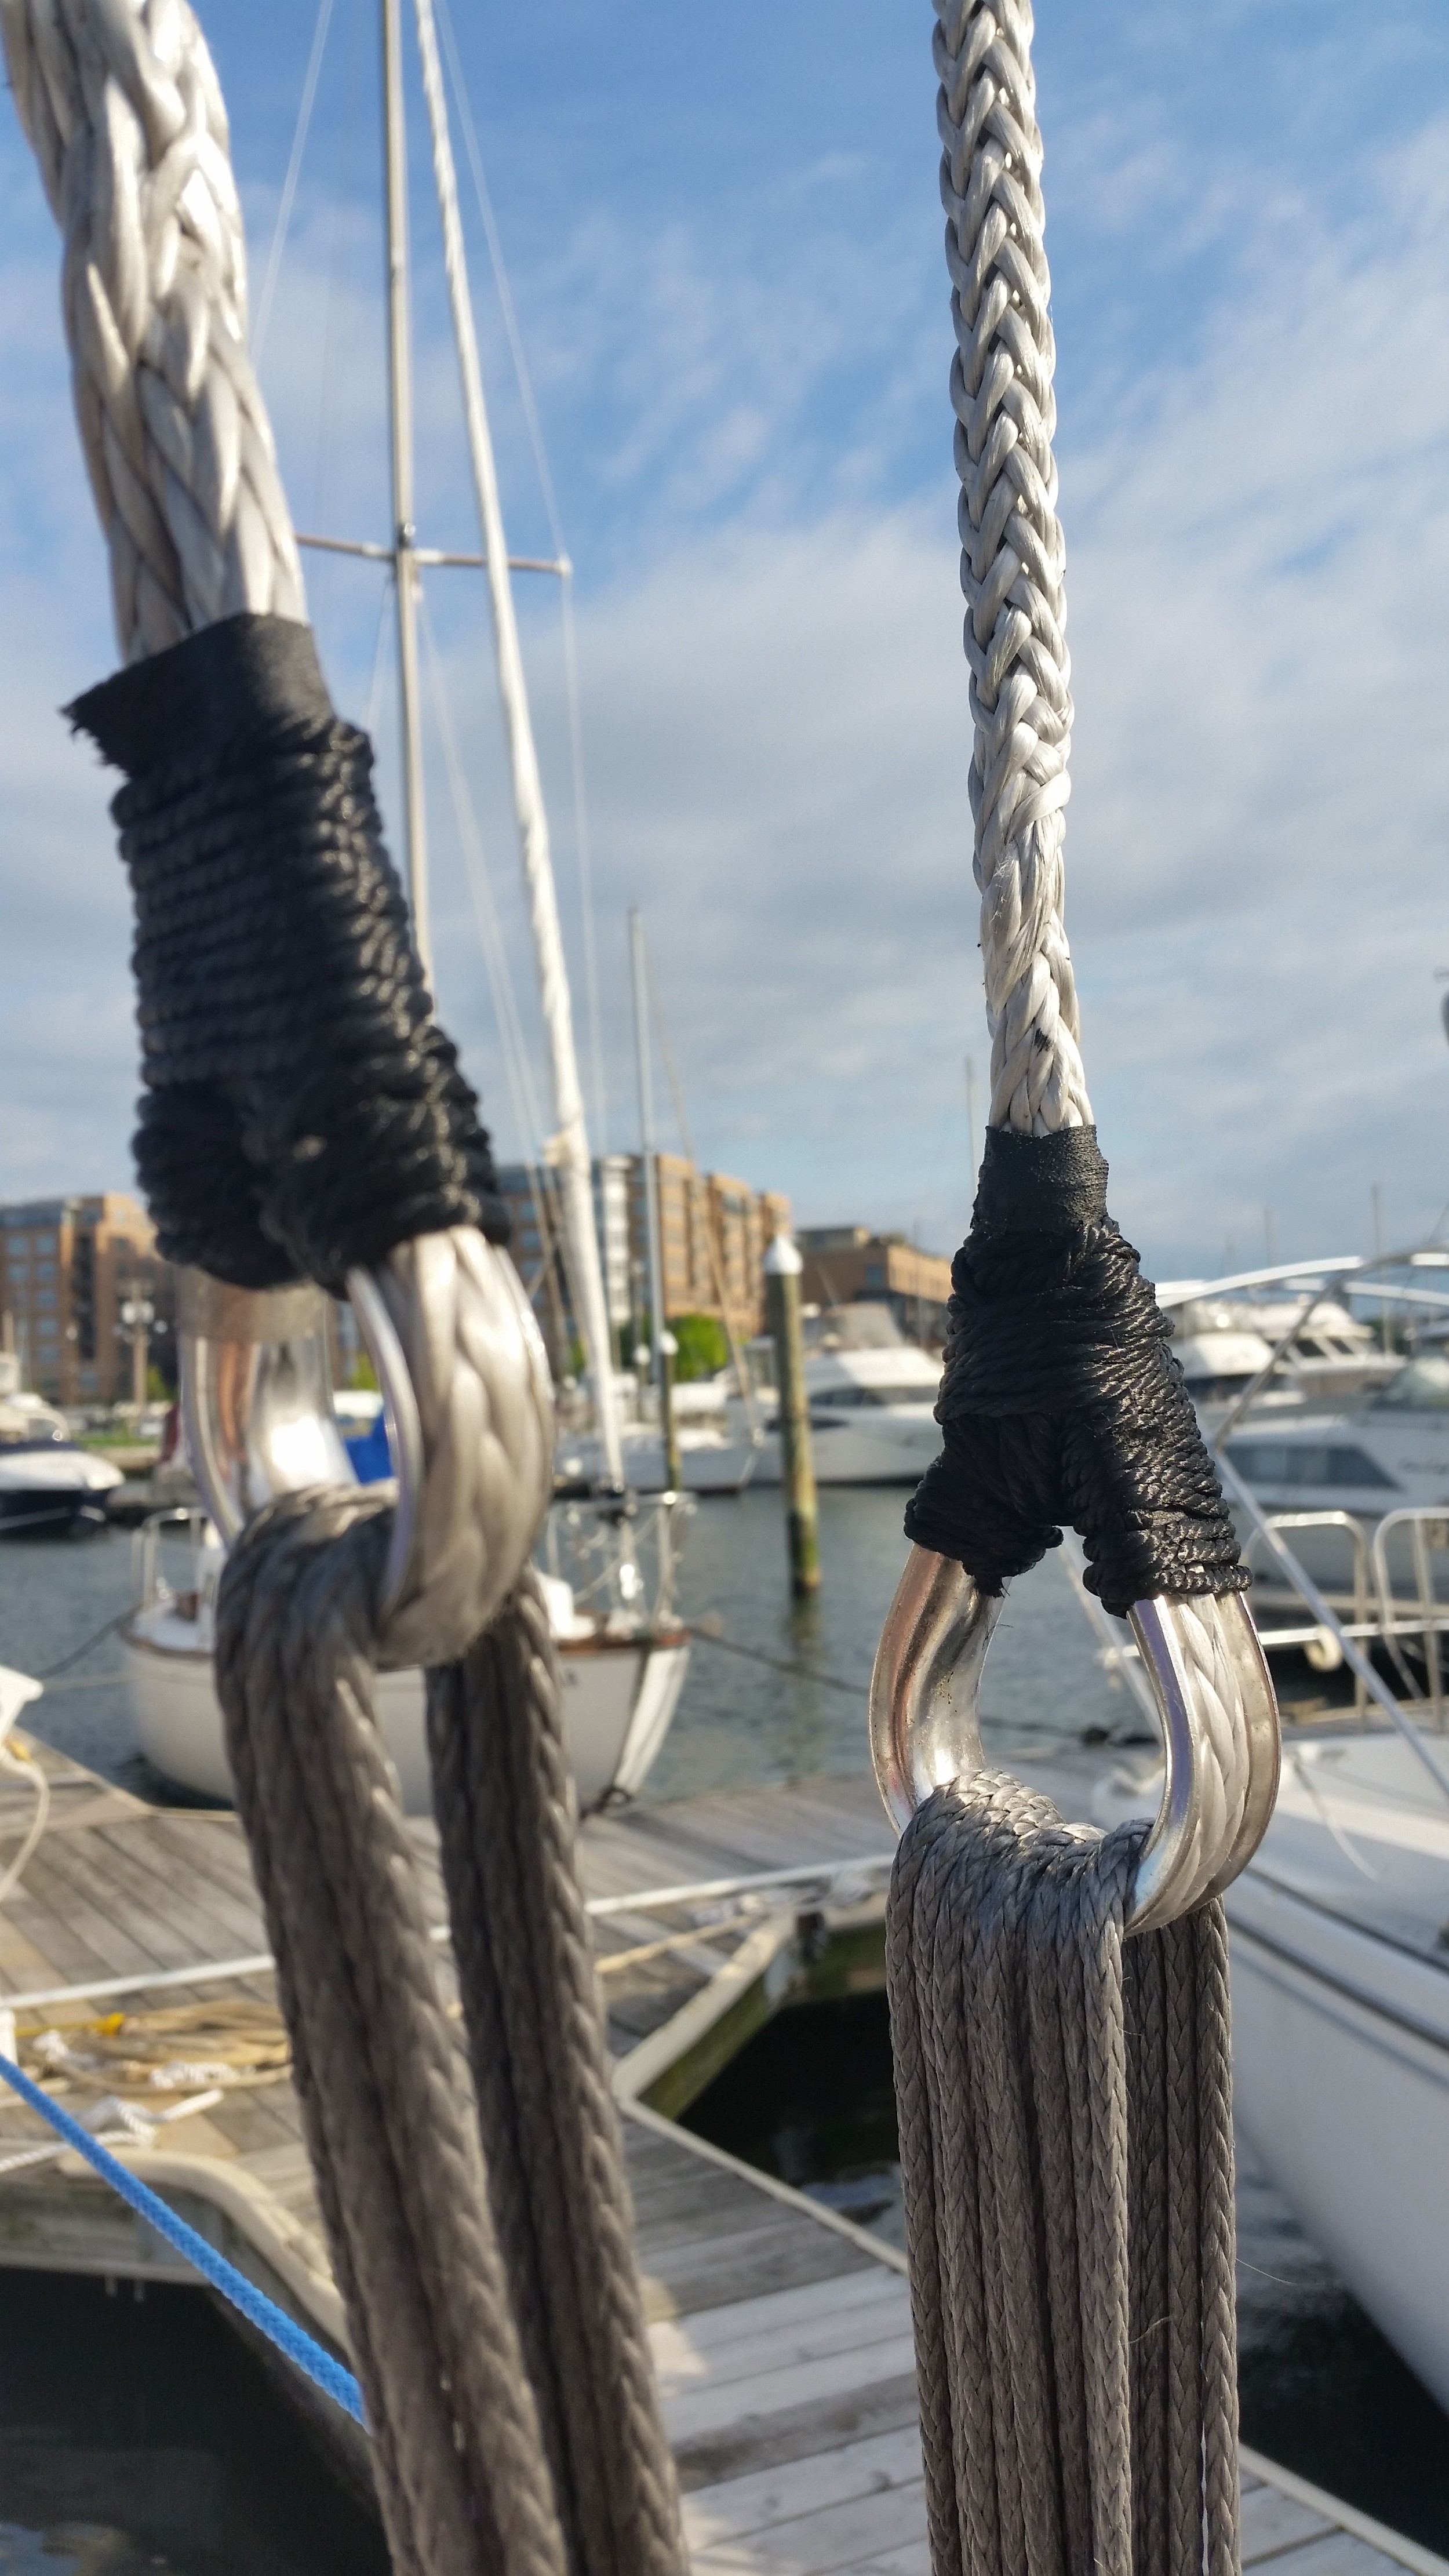
Dyneema is an incredible fiber, it's stronger than steel yet so light that it floats! This wonder fiber has some interesting properties that can take some time to wrap your head around, such as: It expands in cold temperatures, and it will creep as it passes through its life cycles.

Dyneema exhibits negative thermal expansion in the direction of the fiber. This roughly translates into the line going slack on very cold days. This is not an issue with sheets because you are always adjusting the sail trim anyway. It is much more apparent when the standing rigging goes slack in the winter. This is not creep, it is simply the dyneema expanding as it cools drastically.

On Wisdom, the rigging was adjusted in temperatures of 60*F to 70*F. This keeps the rigging nice and tight during summer sailing, but when winter sets in, the stays go slack. It is apparent which stays are set tighter than others when this happens. The cap shrouds are still like rods, the headstay is not as tight as it once was, and the lowers are sagging since they have become completely loose. Once temperatures warm back up, they will regain their proper tensions. 

Winter provides an opportunity to tension the stays, as they are all going to become even tighter once the warm weather returns. For this reason, be sure not to over tighten the rigging in extreme cold, as this will induce unnecessary stress as they contract in the warmer months.

Now that we know that slackness in the rigging on freezing cold days is not due to creep, lets move on to actual creep.

Dyneema passes through three phases in its life cycle. Phase I, Phase II, and Phase III.

Phase I is characterized by rapid elongation due to creep. During Phase I, you will need to tension your rigging weekly as well as immediately before sailing. The rigging will be tight and well balanced today, less tight tomorrow, and completely sack by the fifth day. This period will last for a few months as the dyneema moves into Phase II.

Phase II is characterized by a slower period of creep. During this phase, the stays will need to be re-tensioned every few months. You will know that you are in this phase when the rigging no longer needs to be tensioned before you go sailing. This is when the synthetic rigging shines! Synthetic rigging weighs only a few pounds (compared to the hundreds of pounds for steel rigging) which reduces the weight aloft as well as the amount of heeling while under sail. Phase II will last for years, providing you with a secure standing rigging that is easy to inspect and dependable. When Phase II finally ends, it will enter Phase III.

Phase III is characterized by rapid elongation again and signifies the end of life of the stay. During this phase, the stay will begin to stretch again, needing frequent tensioning again. This is when the stay is needs to be replaced. If you decide to keep using the stay and simply tension it before each sail, it will snap and could lead to a dis-masting, but there were plenty of warning signs before this would happen.

The points to remember with synthetic rigging are:

It will go slack during the Winter, but will tighten back up once Spring returns.
When it's new, it will creep frequently.
After the break in period of a few months, it will not creep as much any more.
When it starts creeping again (many years later) it is time to replace the stay.