Constrictor Knot

When you need to bind something together, there is no better knot to use than the constrictor knot.

This knot lives up to its name! It will tighten down and bind items together like no other!

This knot is very simple to tie, as well as easy to release. Its ease of release does limit its range of use as it can not be used as a permanent knot (but a variation of this knot is permanent). 

I use this knot frequently when I'm splicing lines and don't have tape handy, or when I'm tying things up for a short period of time. I even used this knot to put pressure on a wound when I cut my finger while making rope fenders. 

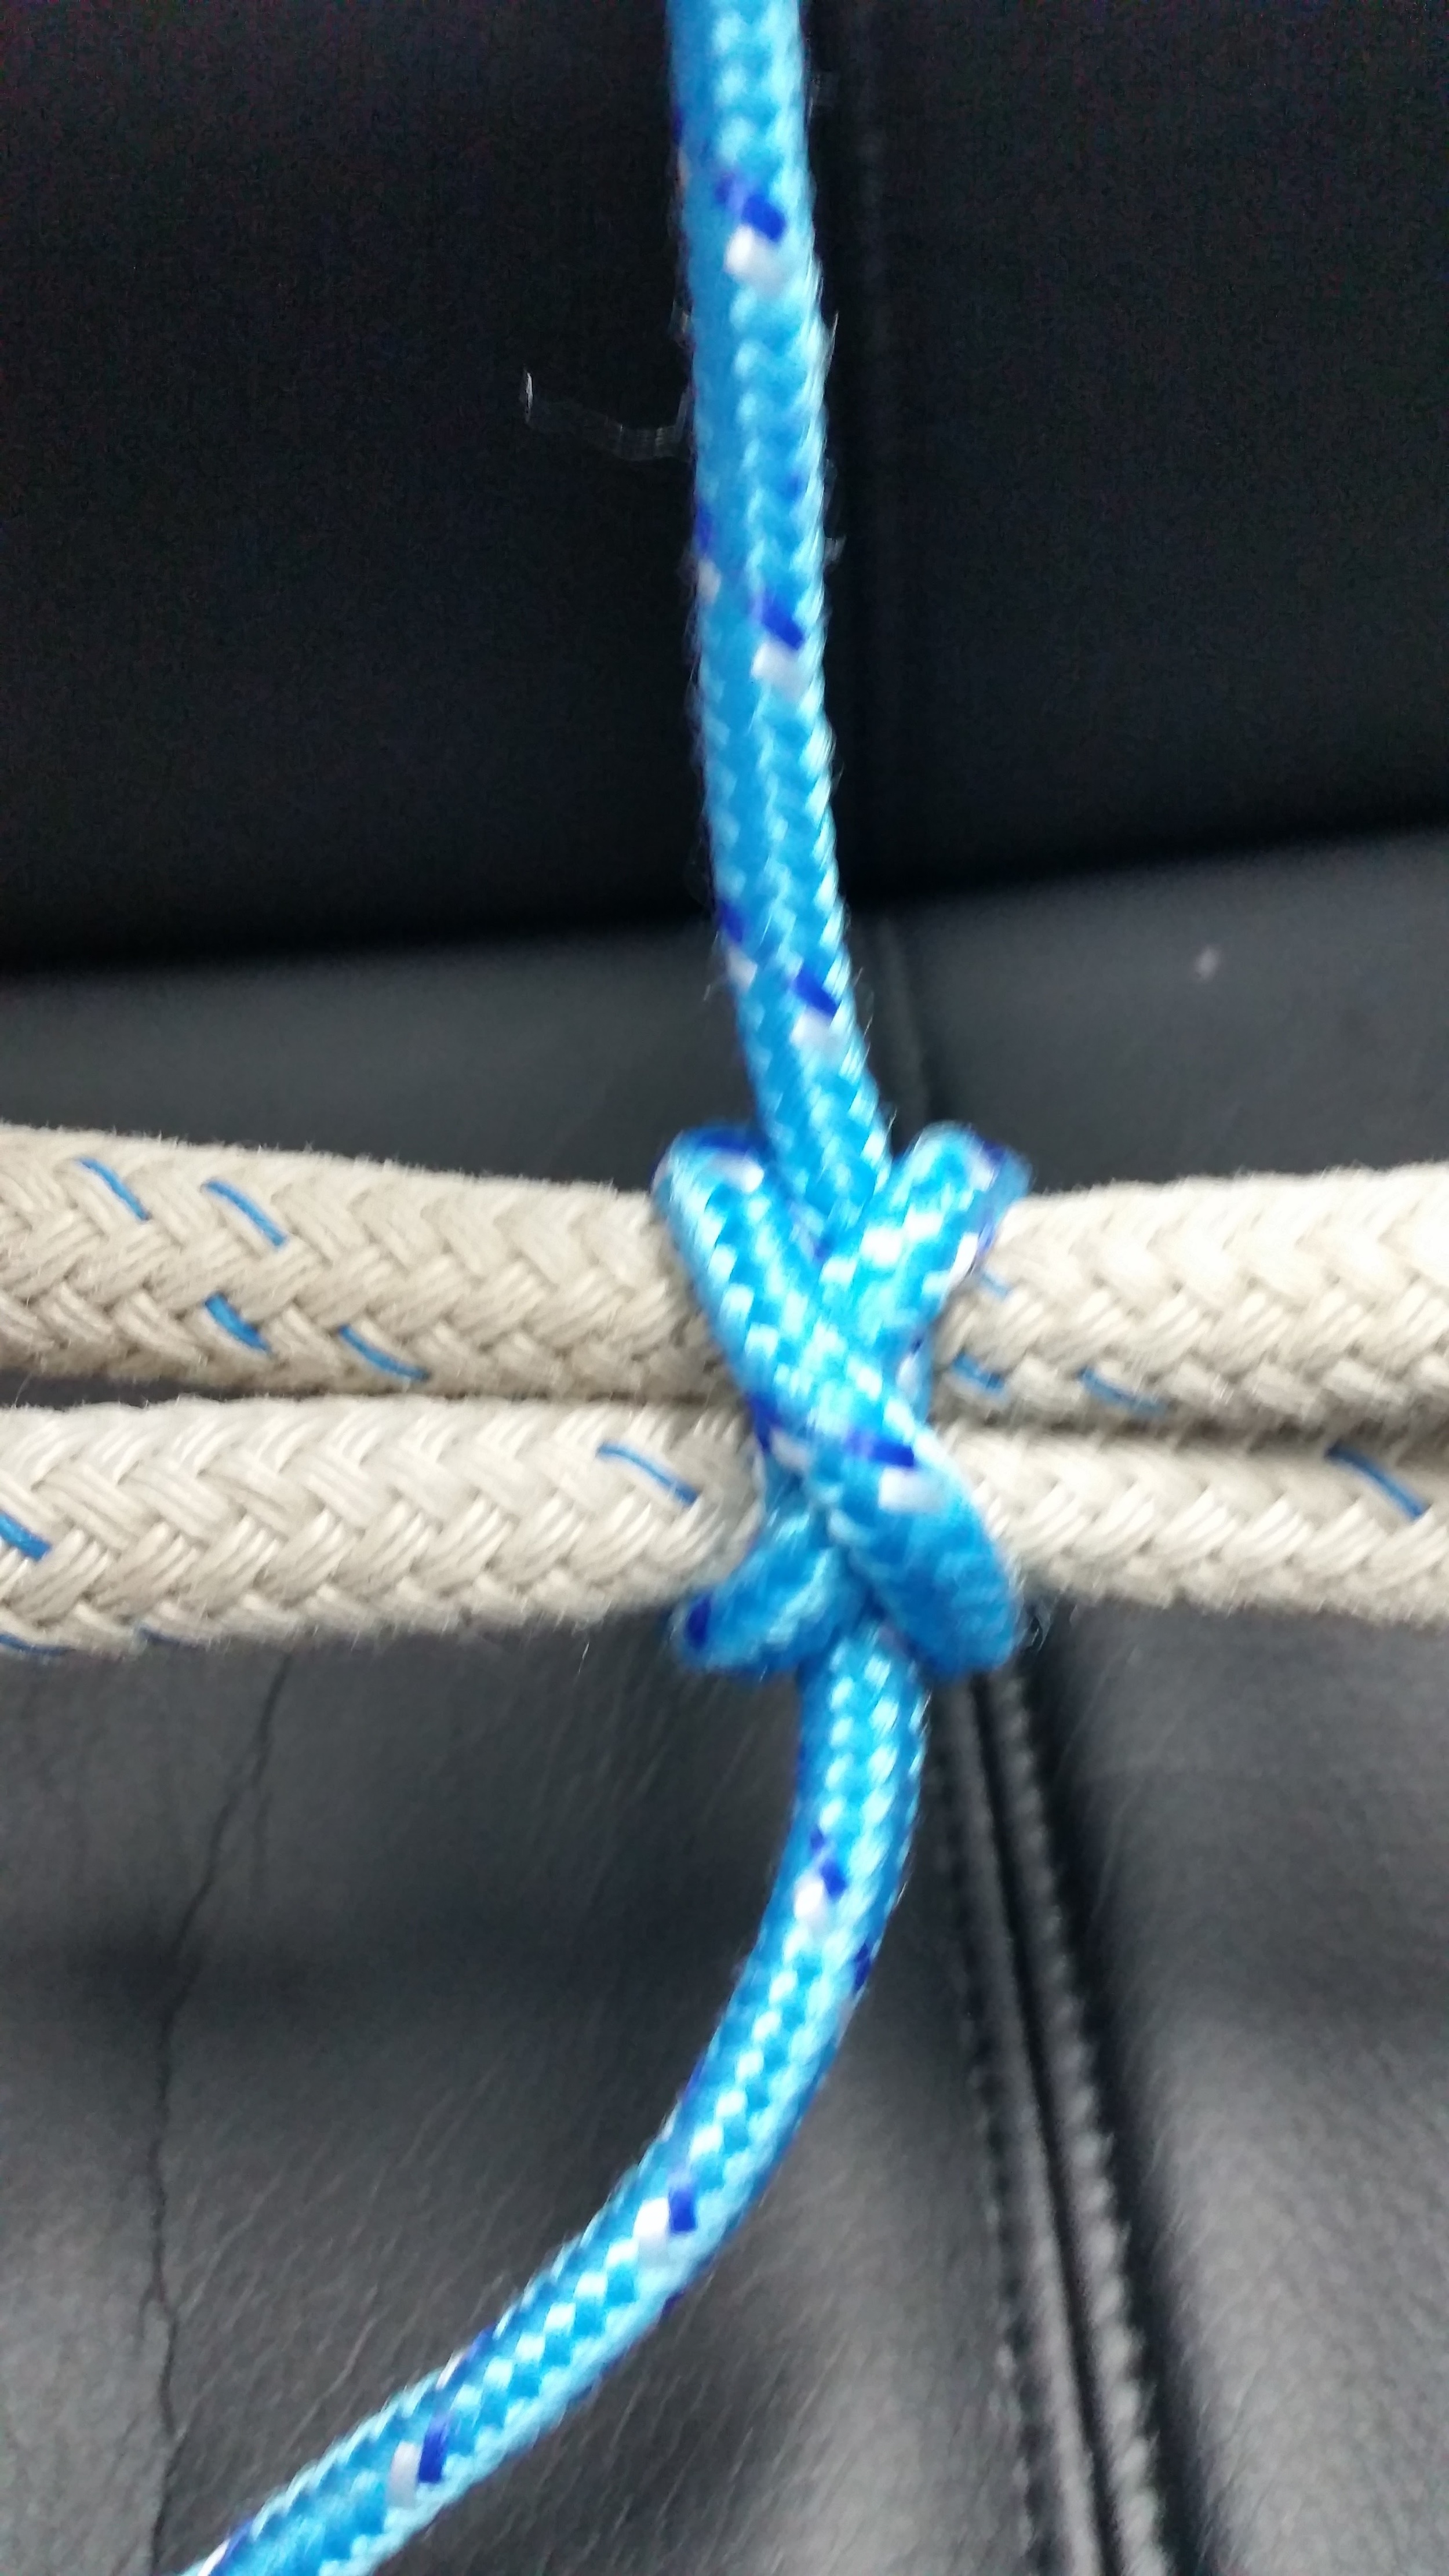
To tie this knot, you begin by laying the line on the left and crossing up to the top right. 

From there, straight down, passing on the outside of the starting line

Then straight down behind the bundle


And around coming from the bottom right to the top left across the front.

Then wrapping around the first line and exiting out the middle between the top part of the X.


It looks a lot like a clove hitch, but it makes an extra pass under the starting line, which creates a twisted section bound down by an X. This makes the knot very easy to tighten when both ends are pulled, and hold itself tight when tension is released from the lines.


To really tighten it, tie marlinspike hitches in the tails and pull hard on the spikes, this will tighten it down to insane levels.

20151214_163647.jpg
20151214_163654.jpg

I use this knot all the time, it holds securely and can be easily released. I find it works best in situations where you would usually tie a square knot, but need it to hold tighter. 

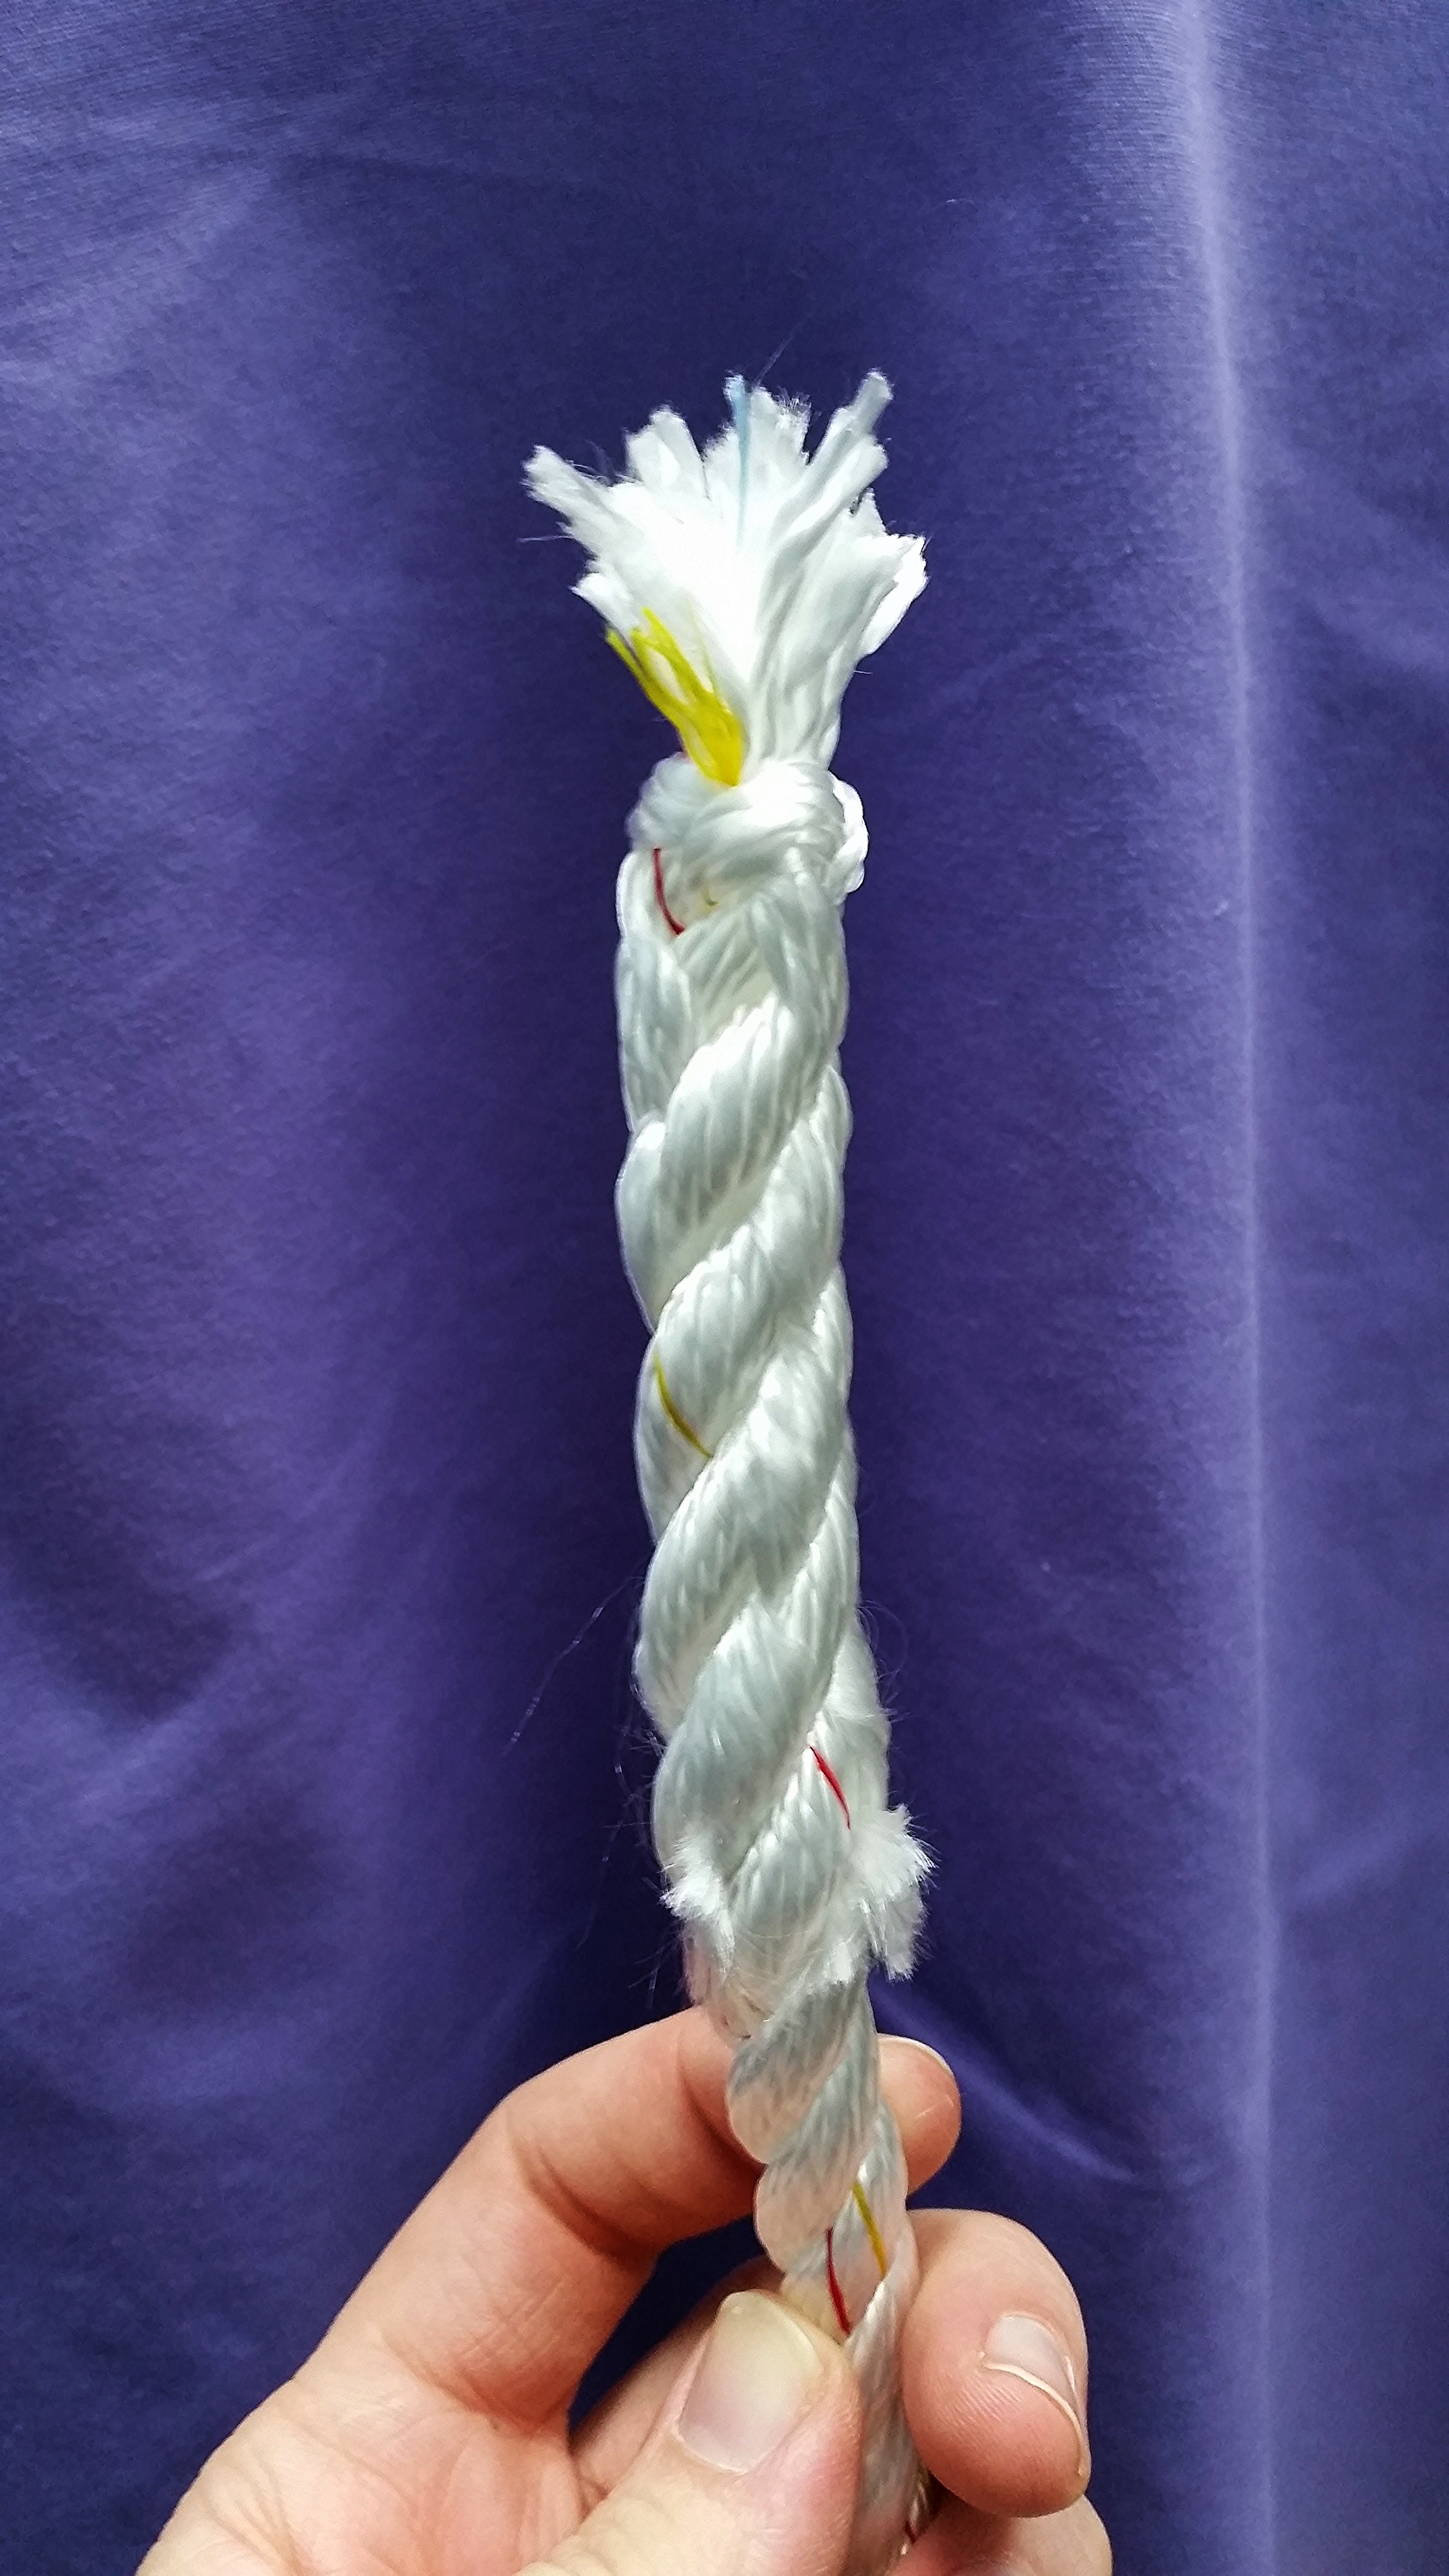
In the picture to the left, I'm using the constrictor knot in lieu of tape to hold the line from fraying while doing a tree surgeons back splice. The knot above it is a Crown Knot (which we will go over in a later post). 

Rope Fenders: Inner Core

The inner core is the working part of the fender. This is where the bulk exists to protect the hull from damage. It needs to be soft to absorb impacts, yet firm to retain its shape. 

Rope Fenders typically use a plastic fender covered in a rope mesh (which is cheating) or tightly wrapped rope. Plastic cores have all the drawbacks of plastic fenders, they simply look nautical. Tightly wrapped cores are much too heavy for Maddie to manage, making them difficult for us to use regularly, so I had to come up with other options.

I came up with an open structure which will provide bulk while still having a lot of dead air space (which has no weight to it), allows the fender to still be soft and flexible, and bulky enough to provide protection to the hull and topsides.

The whole process began by preparing the main line of the fender. The ends of the lines were backspliced using the Tree Surgeons Back Splice with fuzzy ends. This backsplice will hold the line together well while being used and abused. There is no risk of the ends unraveling as the line is pulled through the toe rail or stepped on, and the fuzzy ends pose no threat to anything on board since they are soft and fuzzy.

The line selected is 1/2" Three Strand Nylon from New England Ropes. This line will have the fender seized to it, and then run out into the whips that will be used to tie the fender to the boat. I chose Three Strand Nylon because it can be repaired over the years. If a strand or two gets damaged, I can splice in a new strand rather than trying to replace the line that the fender is seized onto.

In 2013, I replaced the running rigging and kept the old lines coiled up in a locker for 2 years. I think this is a wonderful way to put the old sheets and halyards to use again. They will make up the bulk of the fenders in the non load bearing areas. The old line was cut into even lengths and then seized to the fender line.

I used double constrictor knots to seize the old lines to the new fender line. This knot will bind them all together so tightly that there is no risk of them slipping out.

I repeated this on all four fenders before proceeding to the next step.

The next layer added to the fenders is a coiled line that wraps over the first four lines. This coiled layer will provide a lot of bulk while riding over the underlying lines and provide the dead airspace needed to increase the bulk while keeping weight down to a minimum. This once again was repeated on all four fenders.

I did this part of the project while I was between patients at my dental office. I then continued the project once I was back home on board Wisdom.

The first layer was completed, and so it was time to apply the second layer of bulk. Once again, lengthwise lines were run and seized at the ends using Double Constrictor Knots. This bulks up the fender and provides the framework for the next coiled line.

To keep the lengthwise lines in place, I tied them together the way I suture long cuts of tissue, using the "Continuous Locking Technique". It's begins by tying a knot at one end, and then looping the line around the bundle, back through the loop and then onward. This technique provides a tight bind to the bundle without pulling it in any direction.

Once the bundle is tied together, the next layer of coiled line can be installed. 

You can see how just one additional wrapping will greatly increase the bulk of the fender and all the dead air space will keep weight down. I do not suggest wrapping the layers in tape as that will only trap water inside and never allow the fender to properly dry out. They will get wet, and the open internal structure will help them dry out.

Be sure that the coils wrap in opposite directions, this will avoid the possibility of the coils falling into each others grooves, instead they will always intersect and ride over one another, keeping a greater volume with the same mass.

It is impressive the amount of volume that it gained by simply adding one more layer of lengthwise lines and a coil. The fender on the left only has 1 layer, the fender on the right has 2 layers.

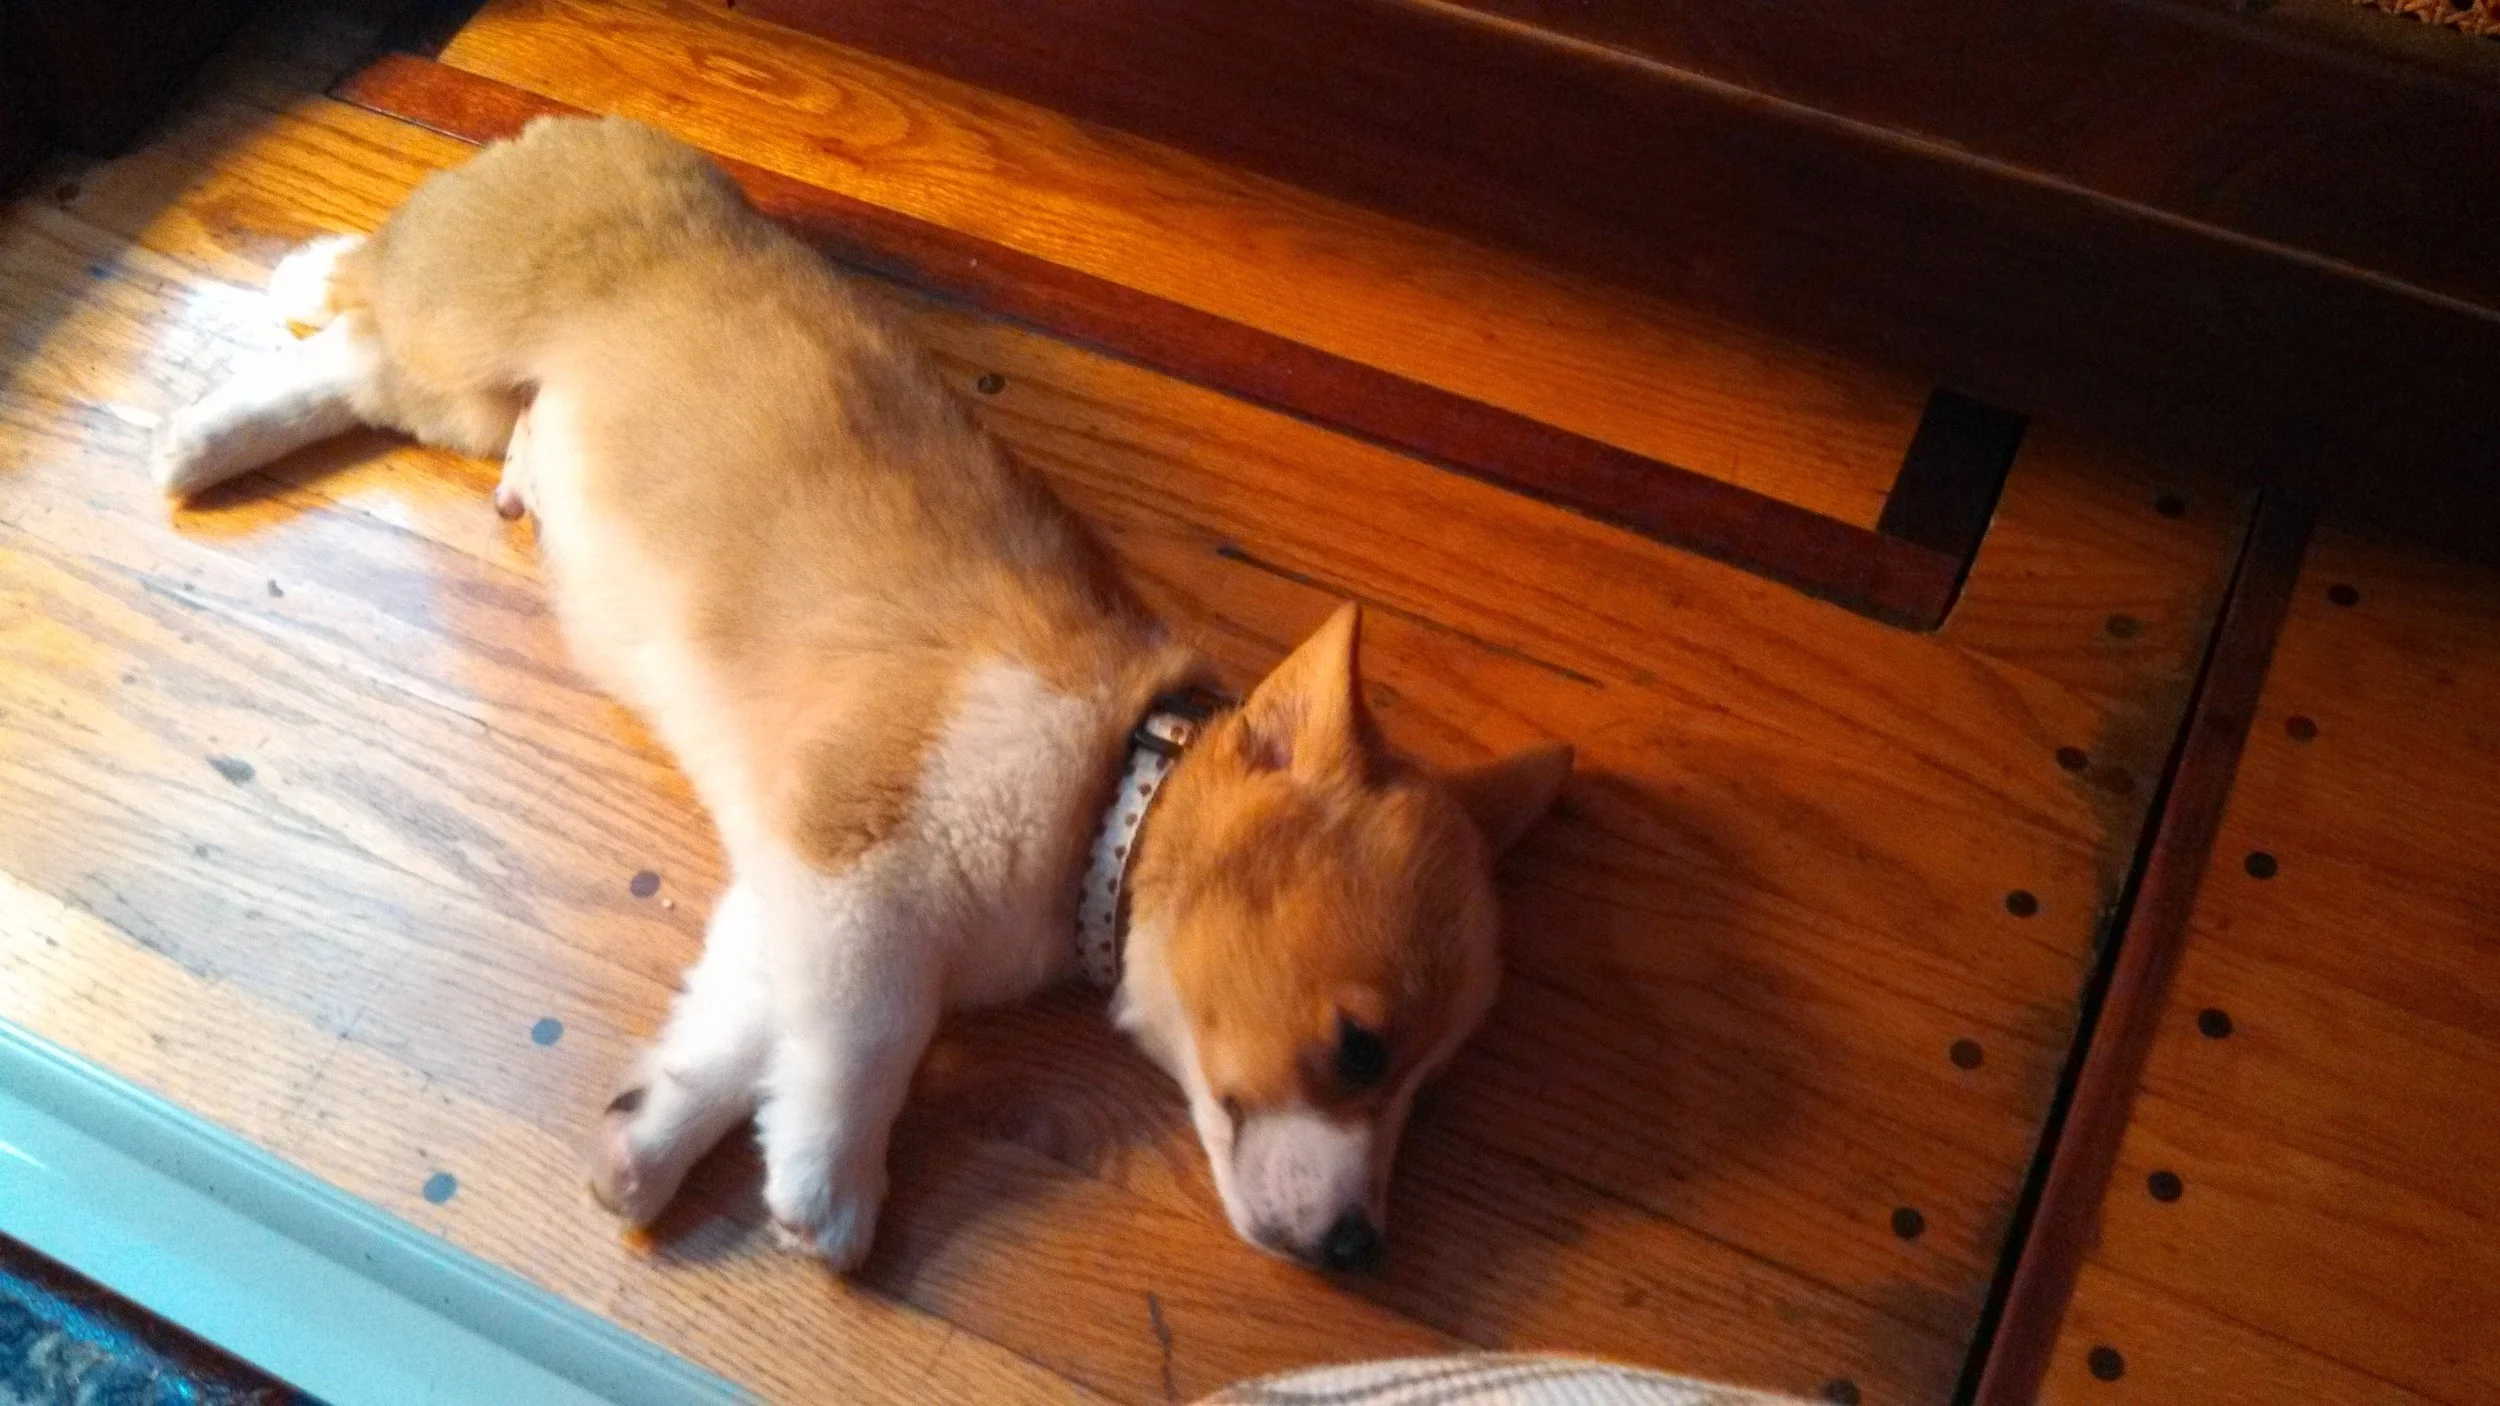
This was repeated on all four fenders. As you can see Morty in the corner, it was late and I went to sleep at this point. 

Rope Fenders: The Design Process

I began a new project! I'm building rope fenders that will replace by plastic inflatable ones and also serve the purpose of a fender board. If you would like me to make rope fenders for you as well, let me know what size you want and I can give you an estimate.

I currently have two 10"x26" Taylor Made fenders, and they are not enough for when we tie up to a pier or raft up with friends. My options are add more fenders to my vessel (and figure out where to store them) or make myself rope fenders to meet my needs.

The fenders need to accomplish the following:

Be light enough for Maddie to deploy them
Be soft to protect from impacts
Cover the opening in the gate so that Morty can't fall out
Be long enough to serve as fender boards

I was going to make 2 very large and long fenders, but quickly decided that their weight would make them difficult to manage which would result in us never using them. I then switched ideas to making 4 large and long fenders that are easier to store and deploy.

The fenders are also going to double as a way to close the bottom of the gate while we are under sail. Morty loves to sit on the leeward side, right next to the gate with his head hanging out over the toe rail (this is why we keep him tied to the jacklines to make recovery easier if he were to slip off the side). This is the only place on the boat where the netting to keep him on board is missing, and it is his favorite place to sit.

By being long enough to serve as both fenders and fender boards, we will be protected in any docking and rafting situation while only needing to carry four rope fenders on board.


Parrots On Board

When most people think of having a pet while living aboard, they usually think of cats and dogs, rarely anything else. We have a nine year old parrot name Sammy who has successfully made the transition from a house to an apartment to a sailboat.

The hardest part of making the boat parrot ready was finding a place to mount her cage. Since she spends very little time in it, I decided on a hamster cage mounted on the salon table. I tied it up in such a way that it would hold still when we heel over. 

This was well and fine, but Maddie is not fond of the mess Sammy makes when she eats. We are now in the process of finding a new place to mount Sammy's cage, but space on a sailboat is limited, so the search for the right spot is on! 

Raising a Boat Dog

I have friends who have successfully converted their pooch into a boat dog, and others who were not as successful. The worst story I have seen was a Golden Retriever that would throw up (and it was a lot!) every time they would set sail. He was fine if the boat was upright, but he would hurl the moment the boat started to heel. Aside from the sea sickness, he was a great boat dog! He would stay on board and resisted chasing ducks and going swimming.

Most of the horror stories I have heard involved converting a dog from land-based life to life aboard. On the flip side, most of the success stories I have heard involved dogs that were raised as puppies aboard and that was all they knew!

Going the puppy route is not a guarantee of success, but it seems to improve the chances of a positive outcome.

I had my selection criteria:

Shorter than the lifelines to avoid falling overboard
No tail to get ripped off in a winch
Good with birds

This pretty much narrowed my choice of breeds down to the Corgi. They have stubby legs, no tail, and are used to herd sheep, cows, and chickens! Just be sure to get the most calm puppy in the litter.

Potty training was rather easy to accomplish. Since it's a small space, I was always there with him. If we were watching a movie and he got up, it probably meant that it was time to go outside. Also, if he were thinking about doing something inside, I would see him getting ready and be able to take him out before the accident occurred. 

He became boat broken right away, but since we were rarely inside a building, it took a while to get him house broken. My most embarrassing moment was when he peed and then pooped in a West Marine. He was completely boat broken by around 4 months, and house broken by 2 years.

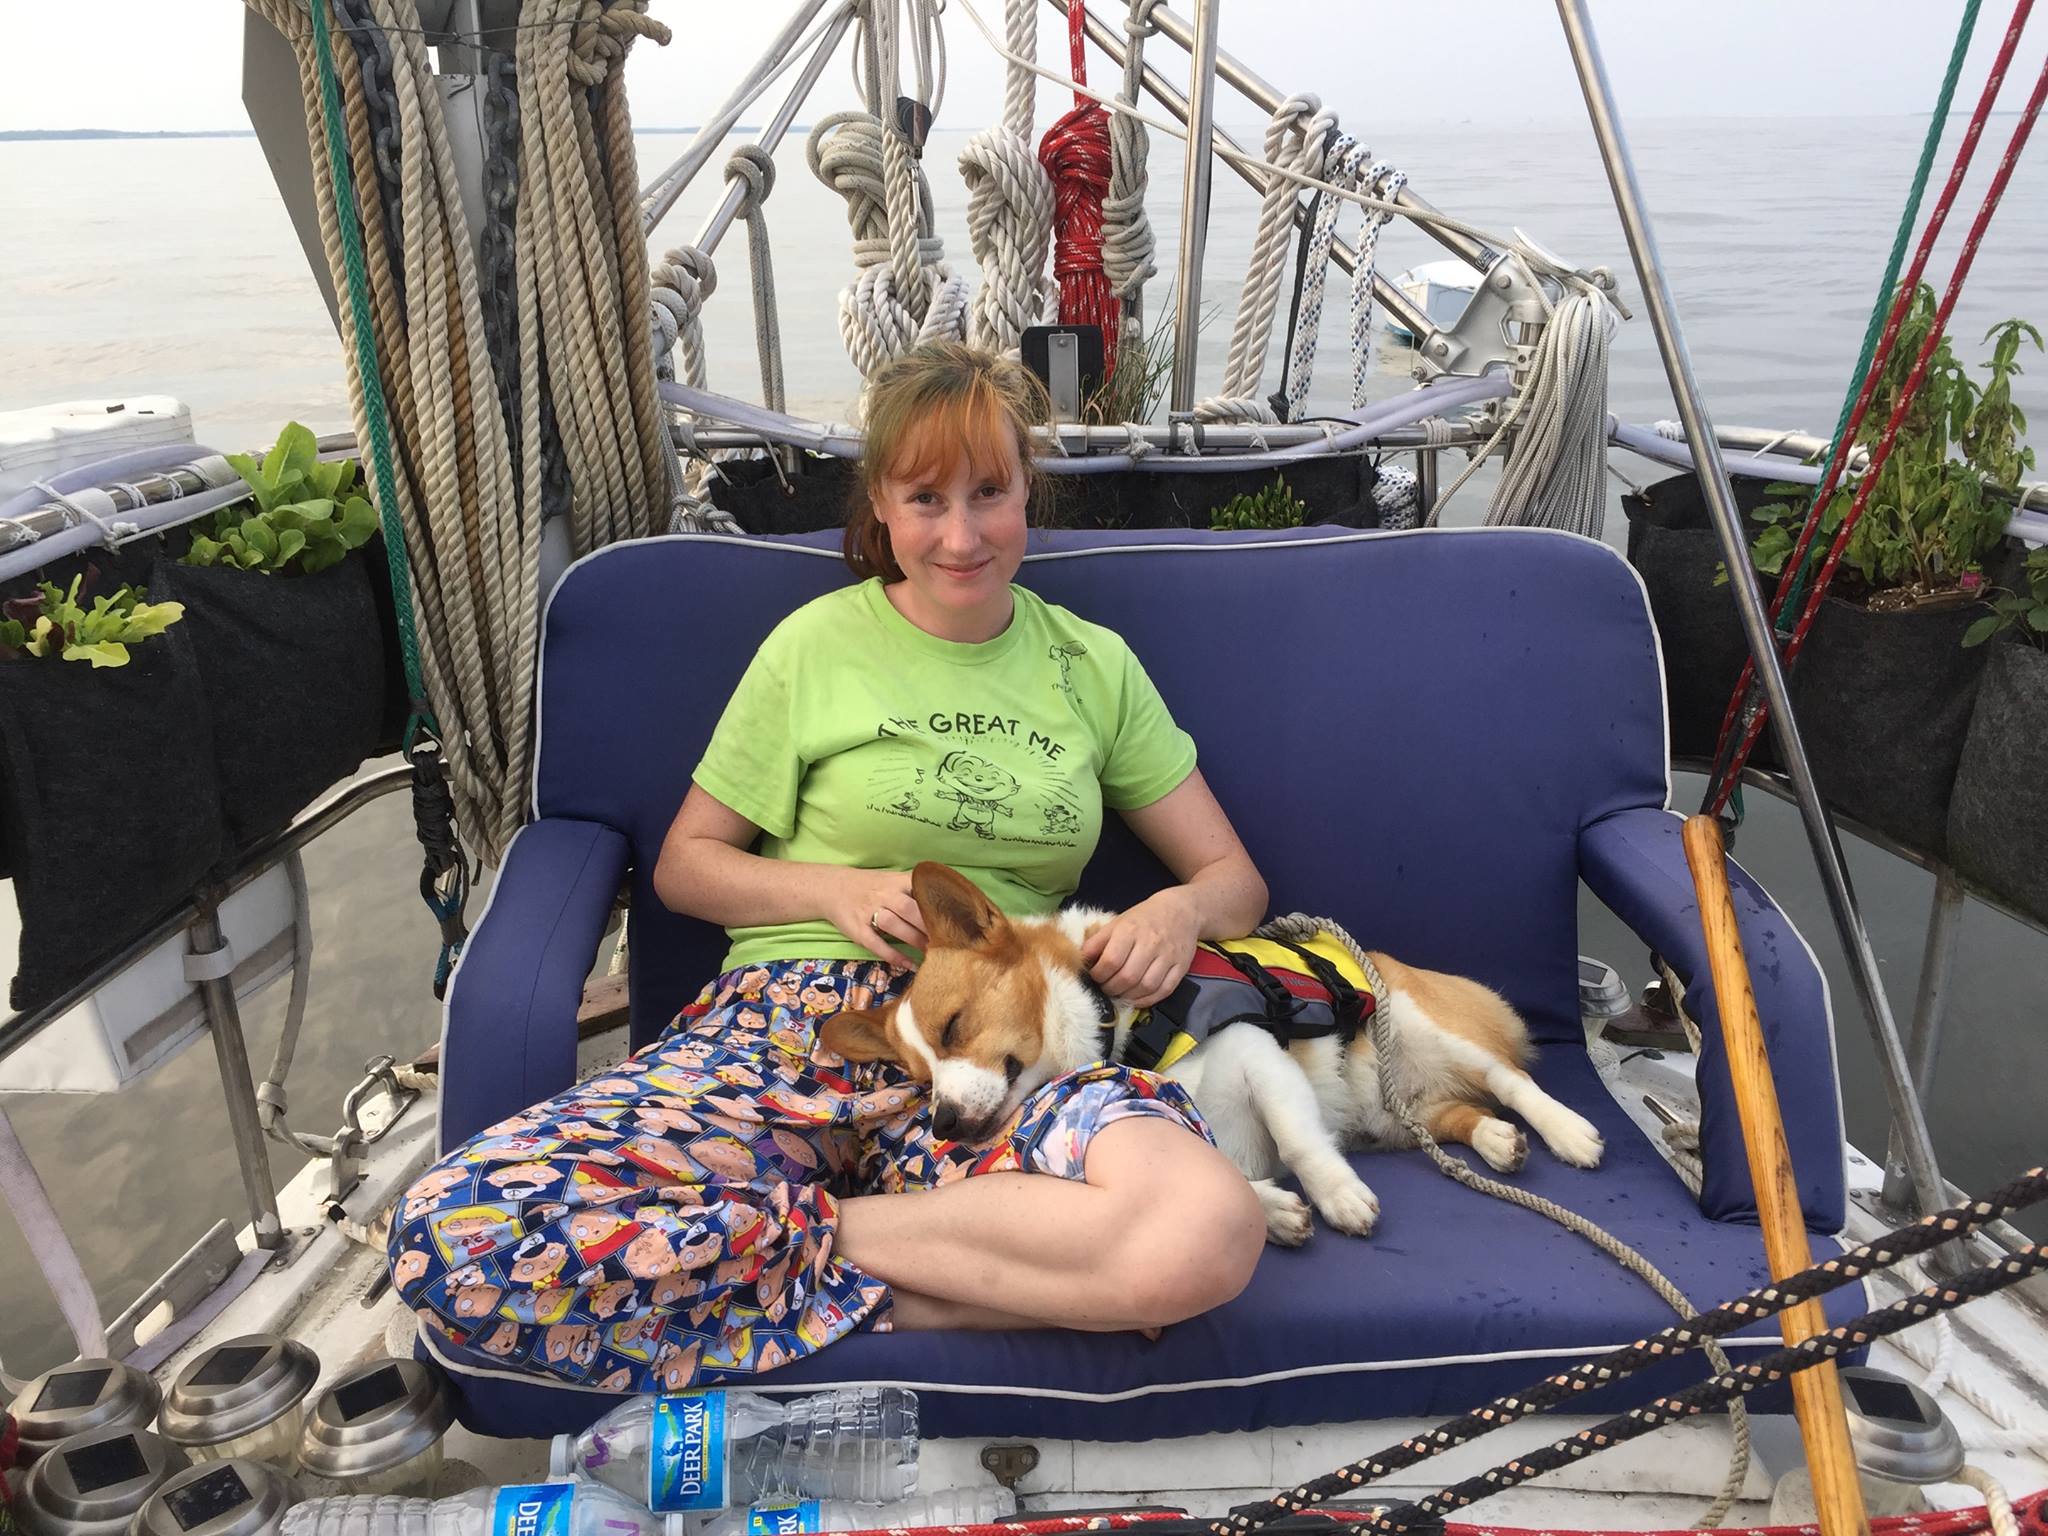
When he was a tiny puppy, he would lay at my feet with his life jacket tied to the binnacle. 

Now that he's older, we let him roam the deck by tying his life jacket to the jacklines, but he usually just finds a comfy place to sit and relax while we are out.

He even stays calm in rough weather. When we had to broad reach off of a lee shore while a few miles off the coast of North Carolina, he was calm as can be (and stayed in the cockpit with us instead of walking all over the deck like he usually does).

He is now 2.5 years old and we can't imagine life without him! There are disadvantages to having a dog on board, such as dog hair everywhere, needing to take him to shore to go to the bathroom, needing to carry extra food on board for him to eat, going to the bathroom inside out of protest, and dog hair getting in the bilge pump intakes. Despite the downsides of a dog on board, he is an awesome crew member and we love having him around!