Standing Rigging

Dealing with chafe: Other areas on the boat

Chafe on the standing rigging is a true structural concern to have. We have discussed many ways to mitigate these problems and how to assess and repair them as they arise. What about chafe on other areas of the boat?

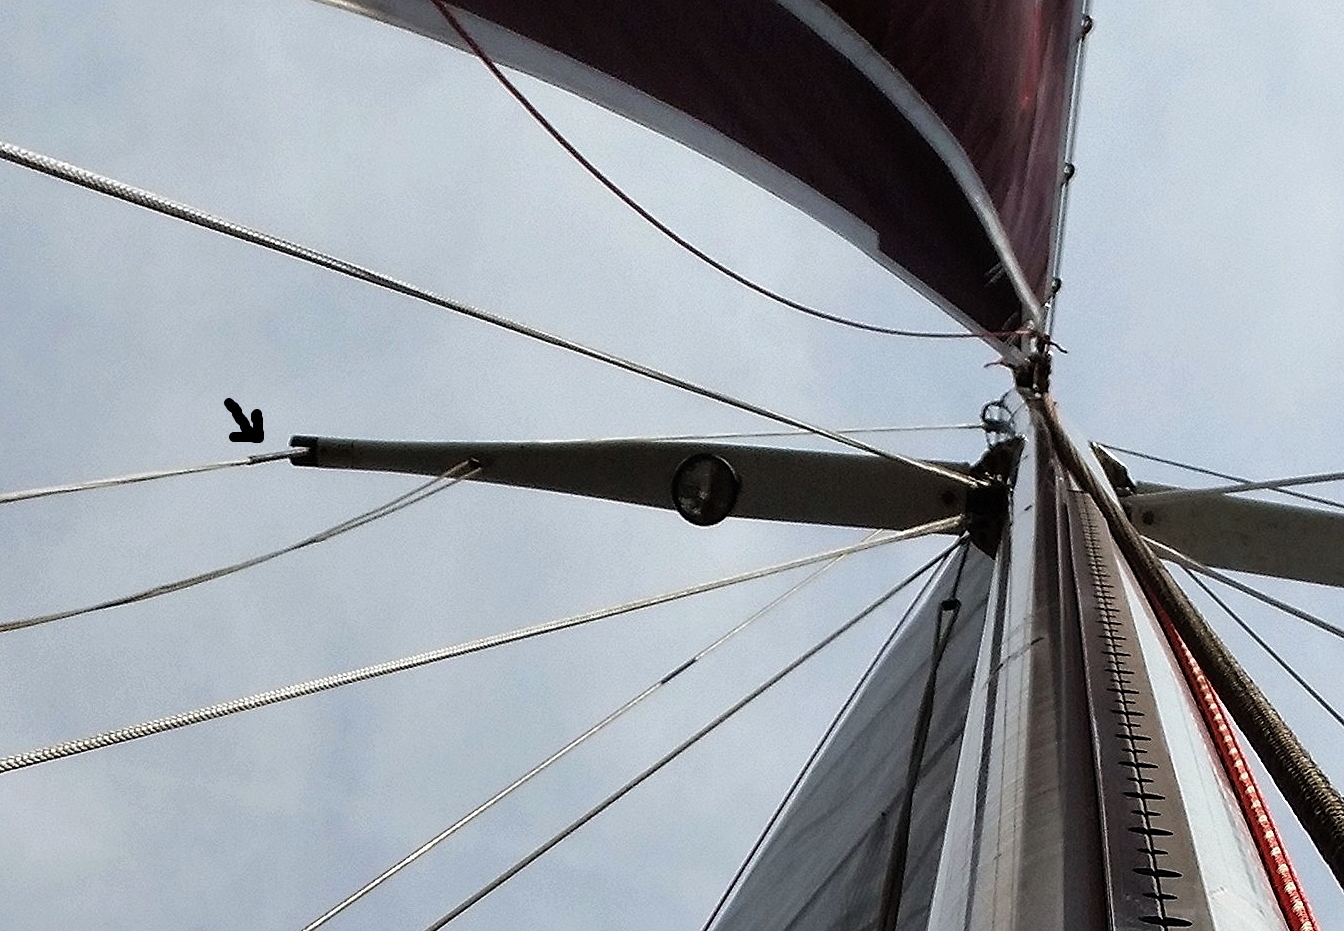
The life lines will be subjected to chafe from crew leaning on them, things hanging from them, and where they pass through stanchions. 

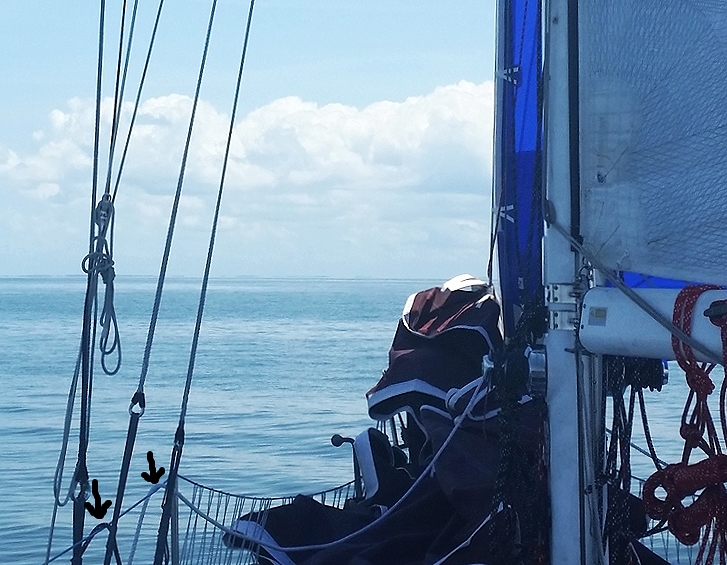
On board Wisdom (1968 Morgan 45), the mainsheet contacts the top lifeline when broad reaching or running. The chafe is very minimal (Grade 1) after over 1000 miles. I have not serviced this section of the lifeline because it is only Grade 1. The fuzzy layer that forms will actually protect the remaining line. For this reason, I have not removed the fuzz either. If the lifeline degrades to Grade 2, then I would service the lifeline before it reaches Grade 3.

The soft shackles that attach the gangplank to the toe rail also undergo a lot of chafe as the boat is always moving around and the sharp edges of the toe rail wreck havoc on the dyneema.

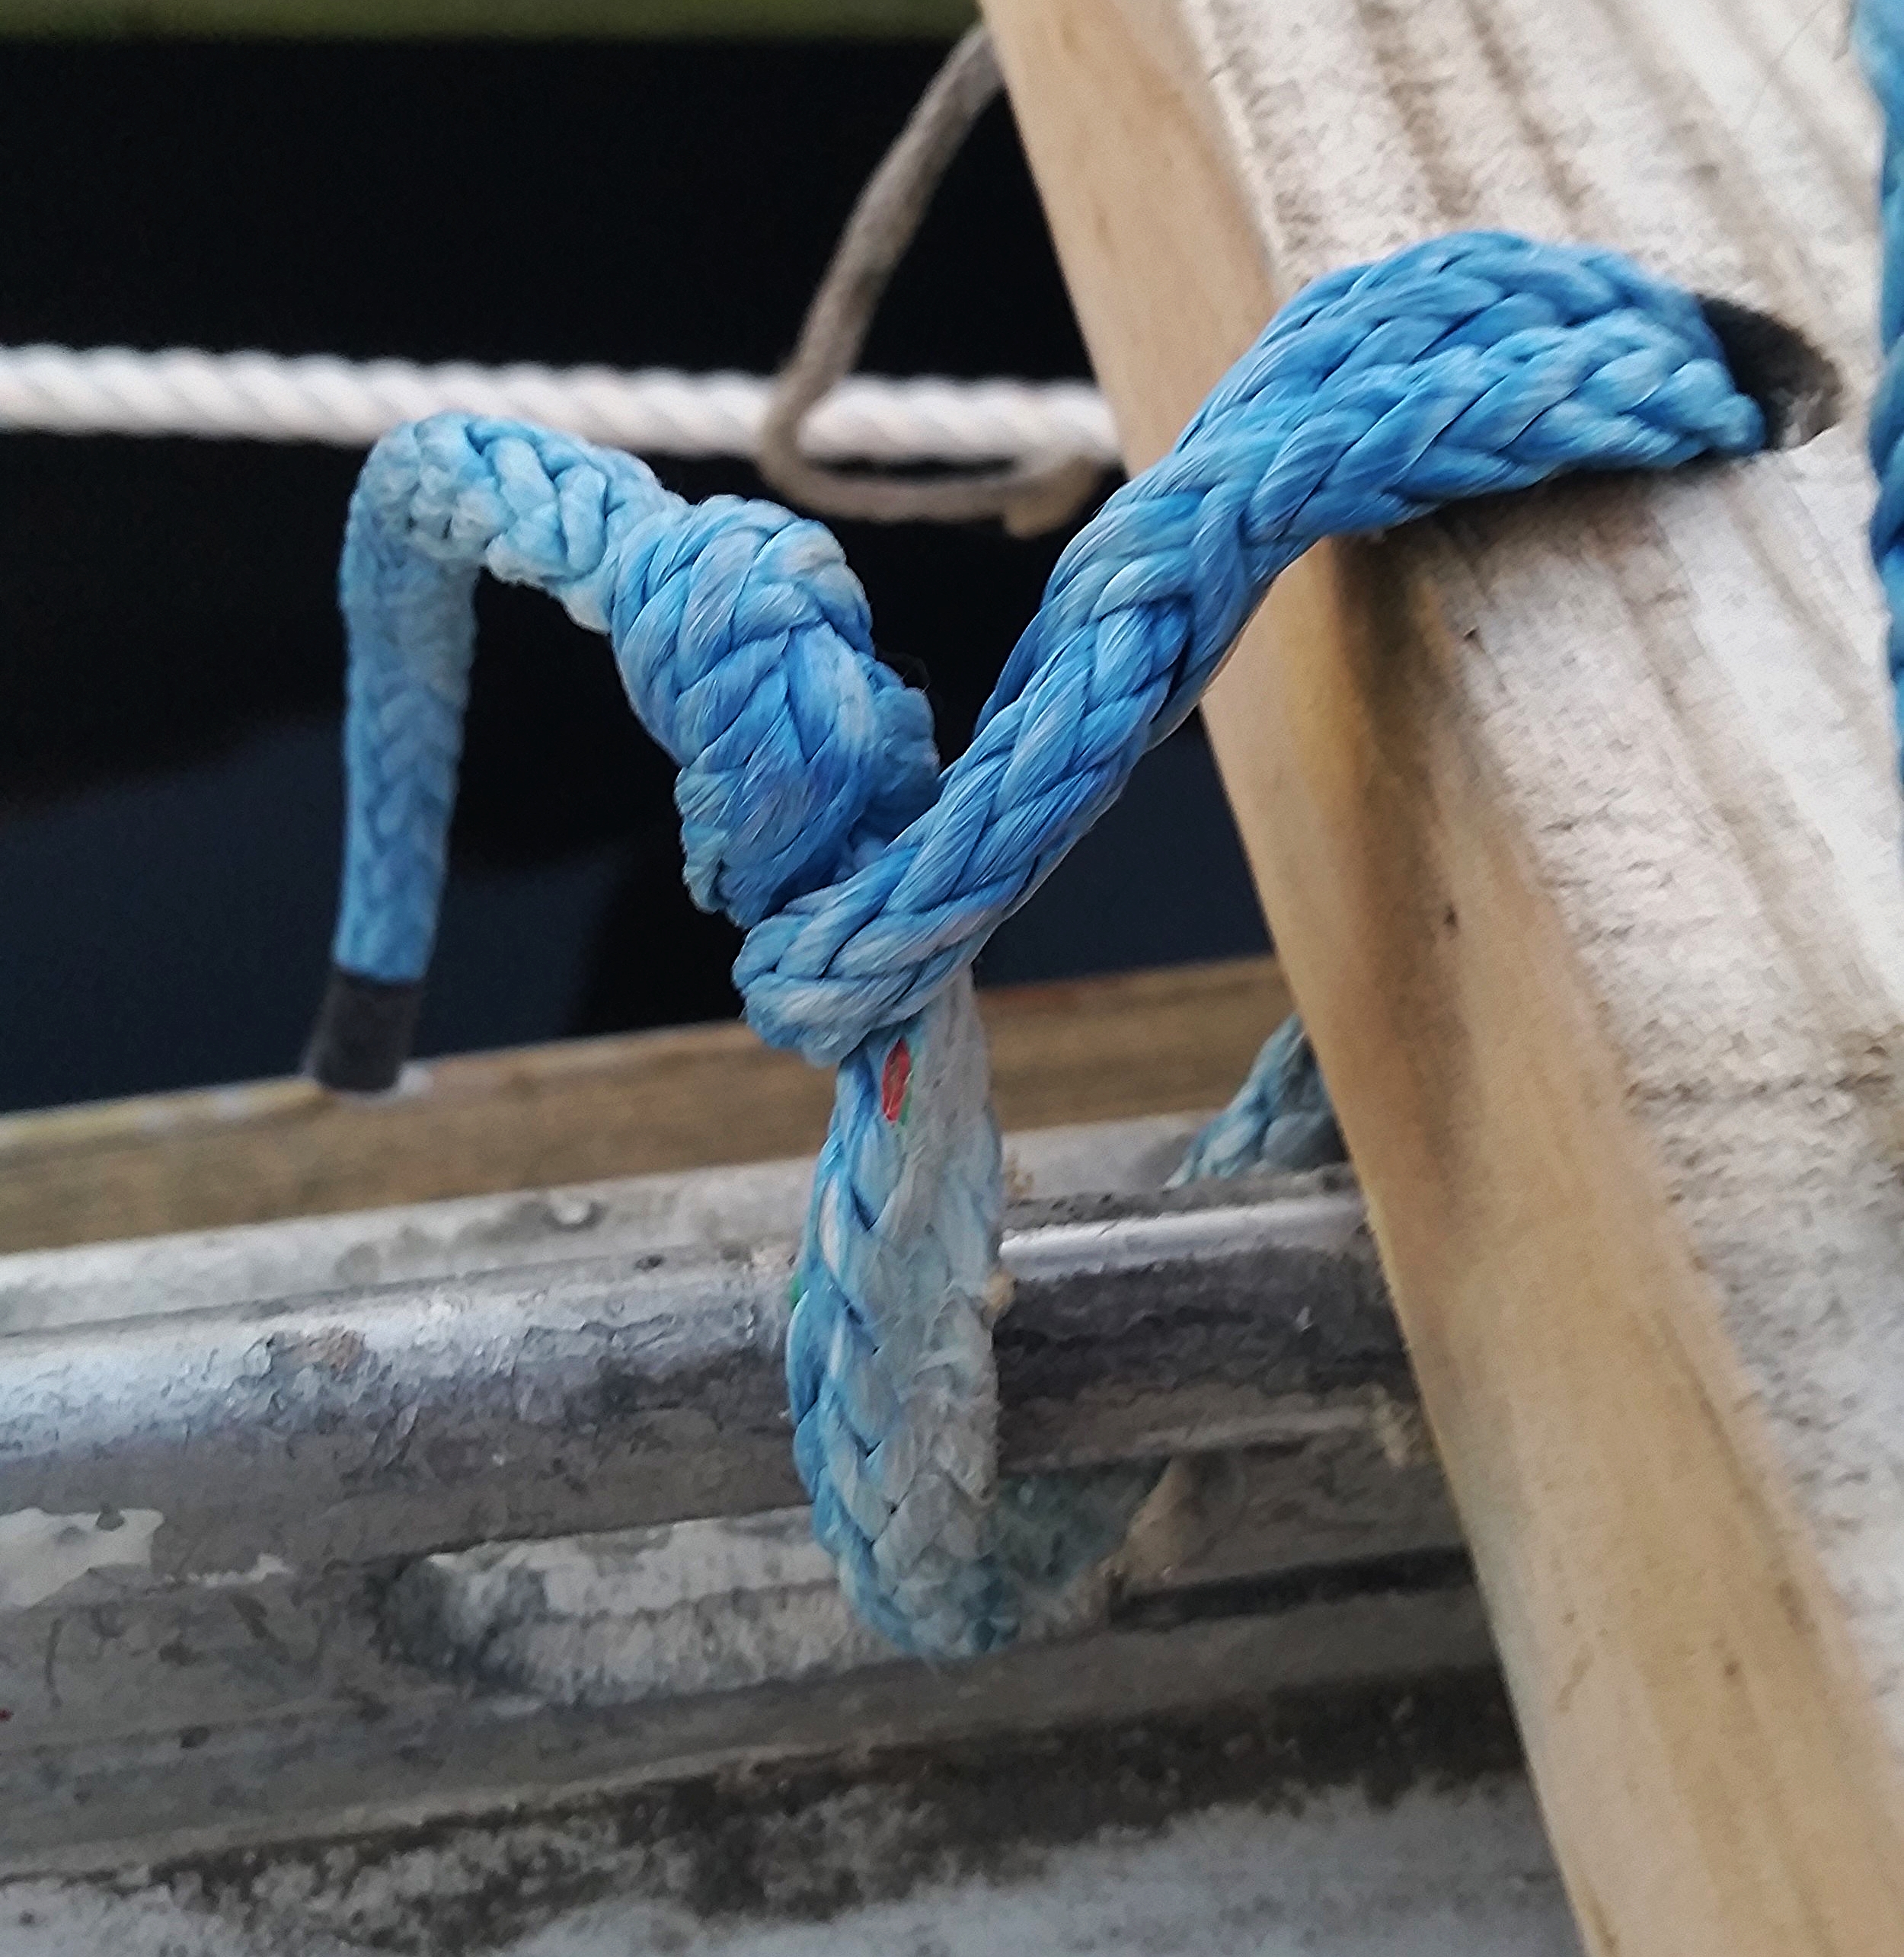
While it may look rather bad, the fuzzy layer protects the rest of the line. In this case, it would appear as a Grade 5, but since the loads placed on this soft shackle are minimal, they do not need to be replaced.

Other places that suffer chafe are dock lines and anchor snubbers. 

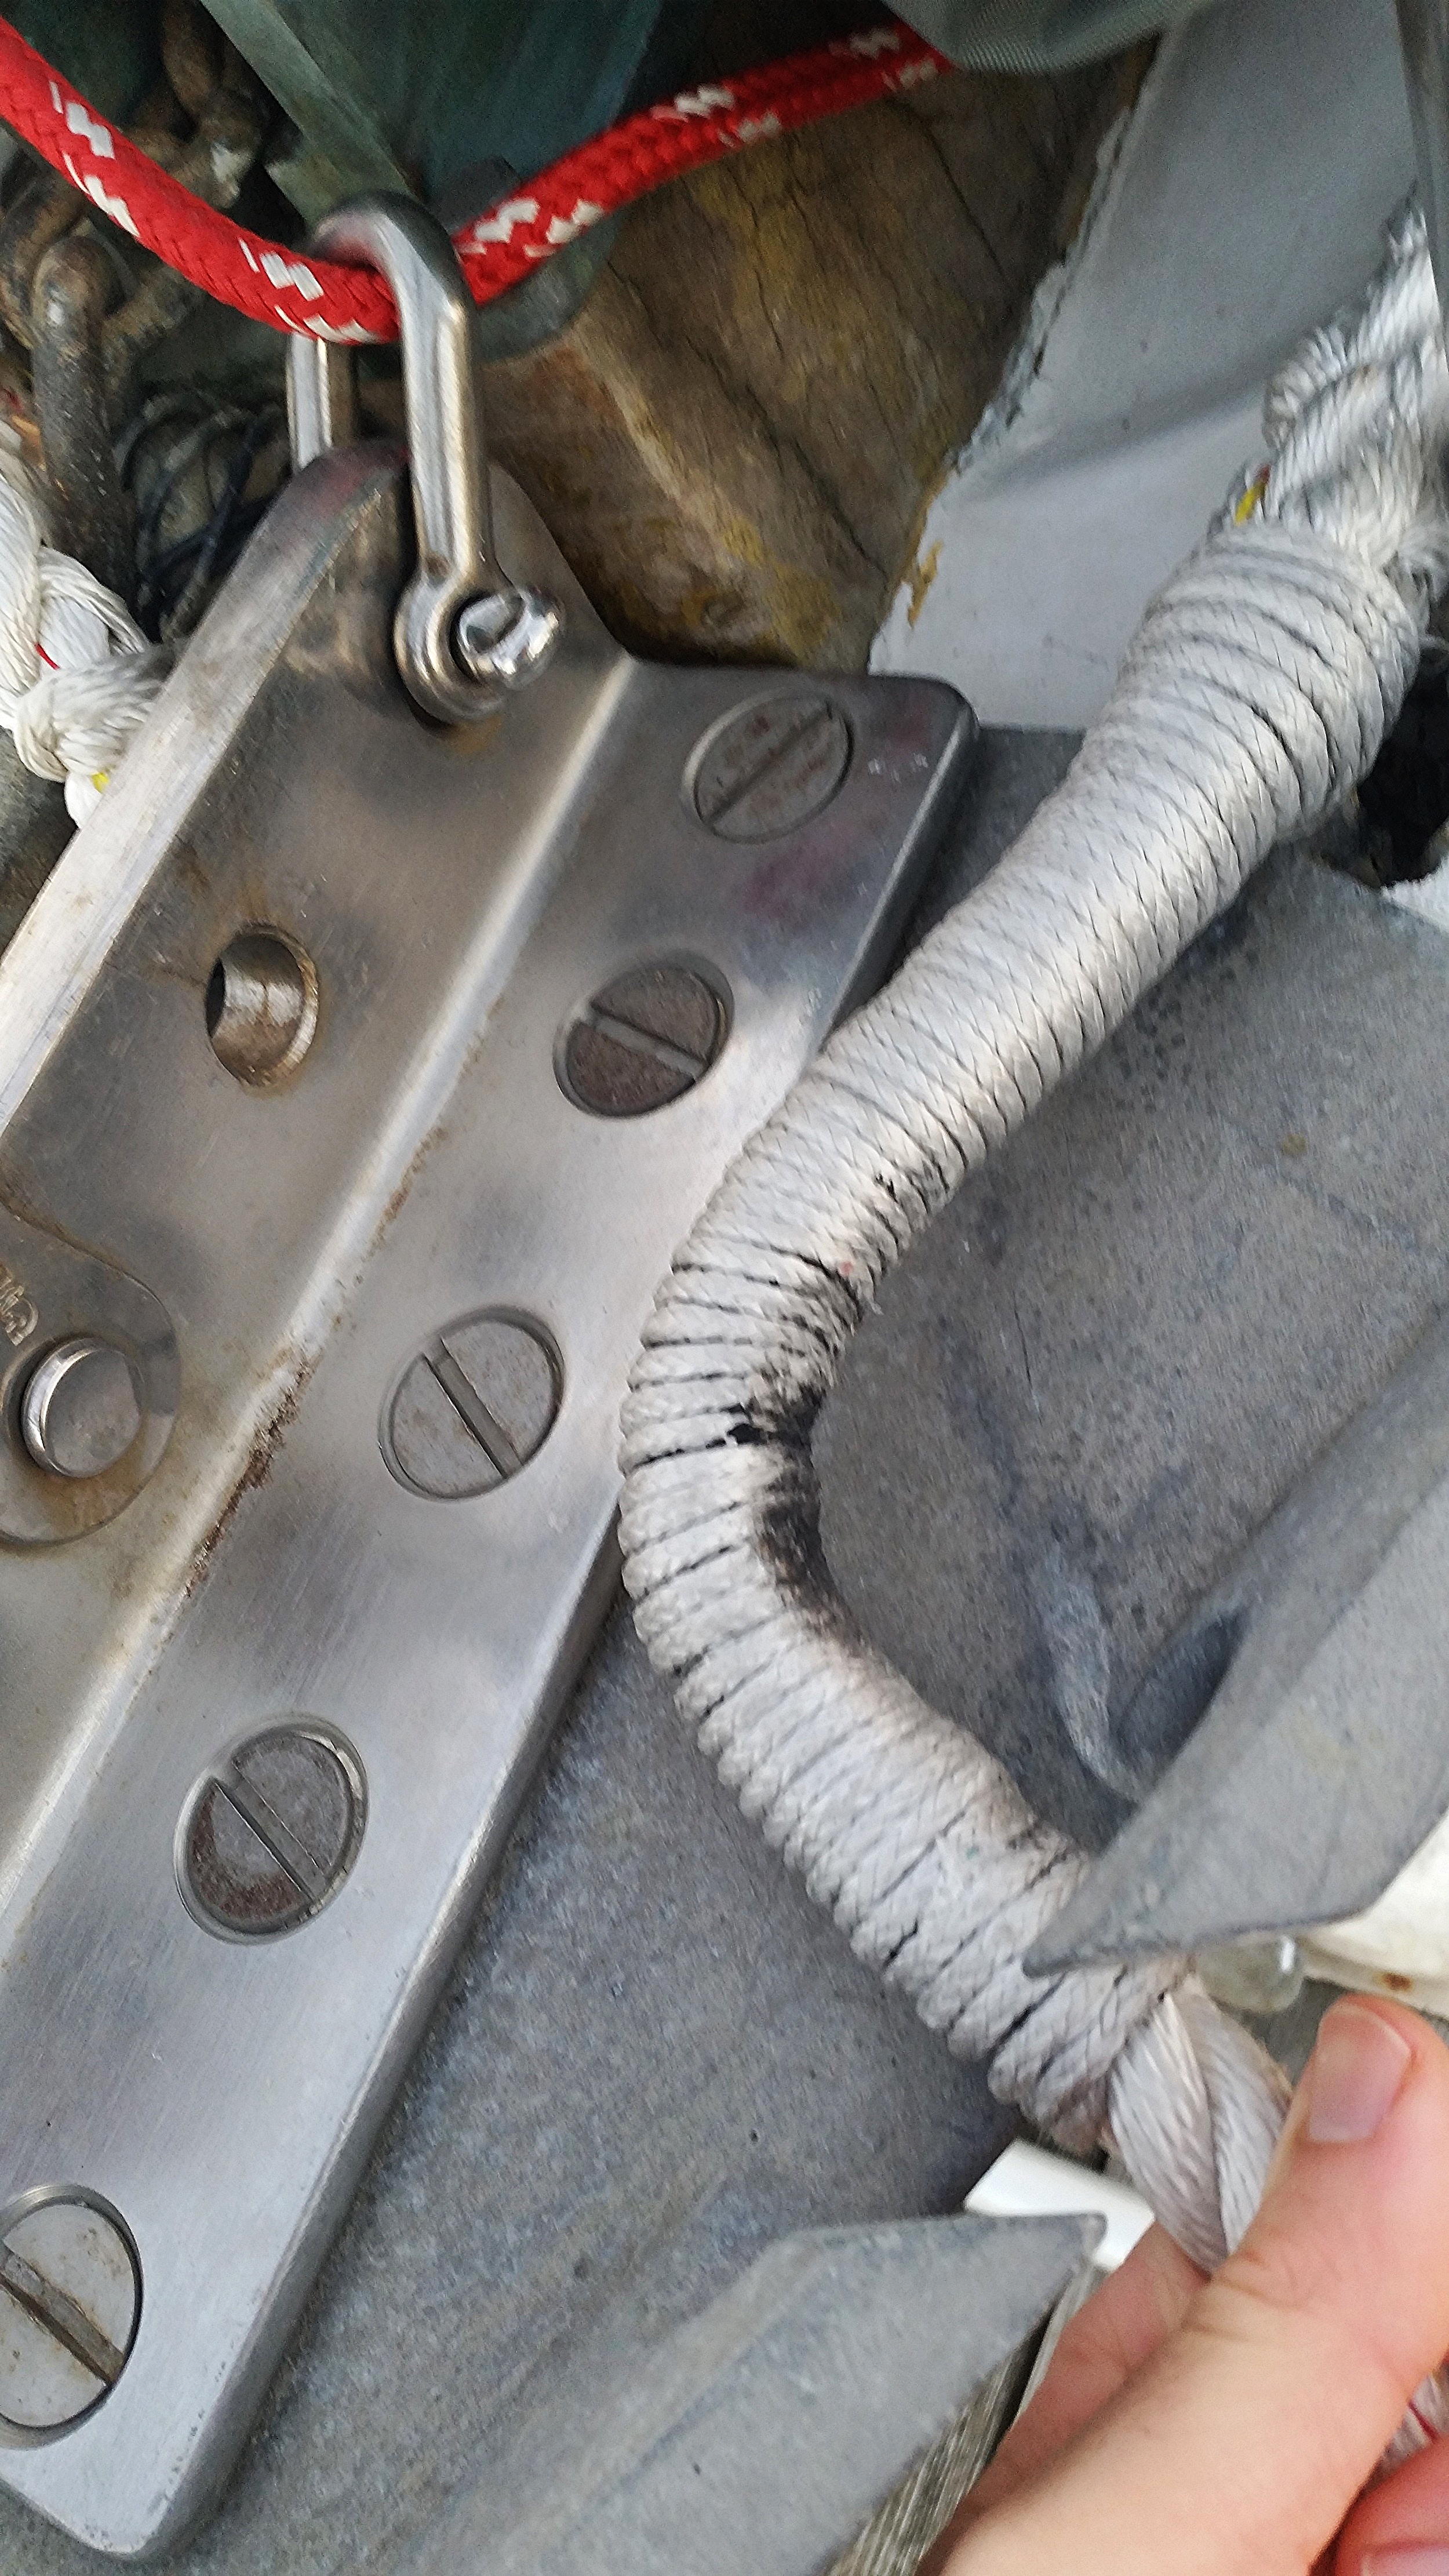
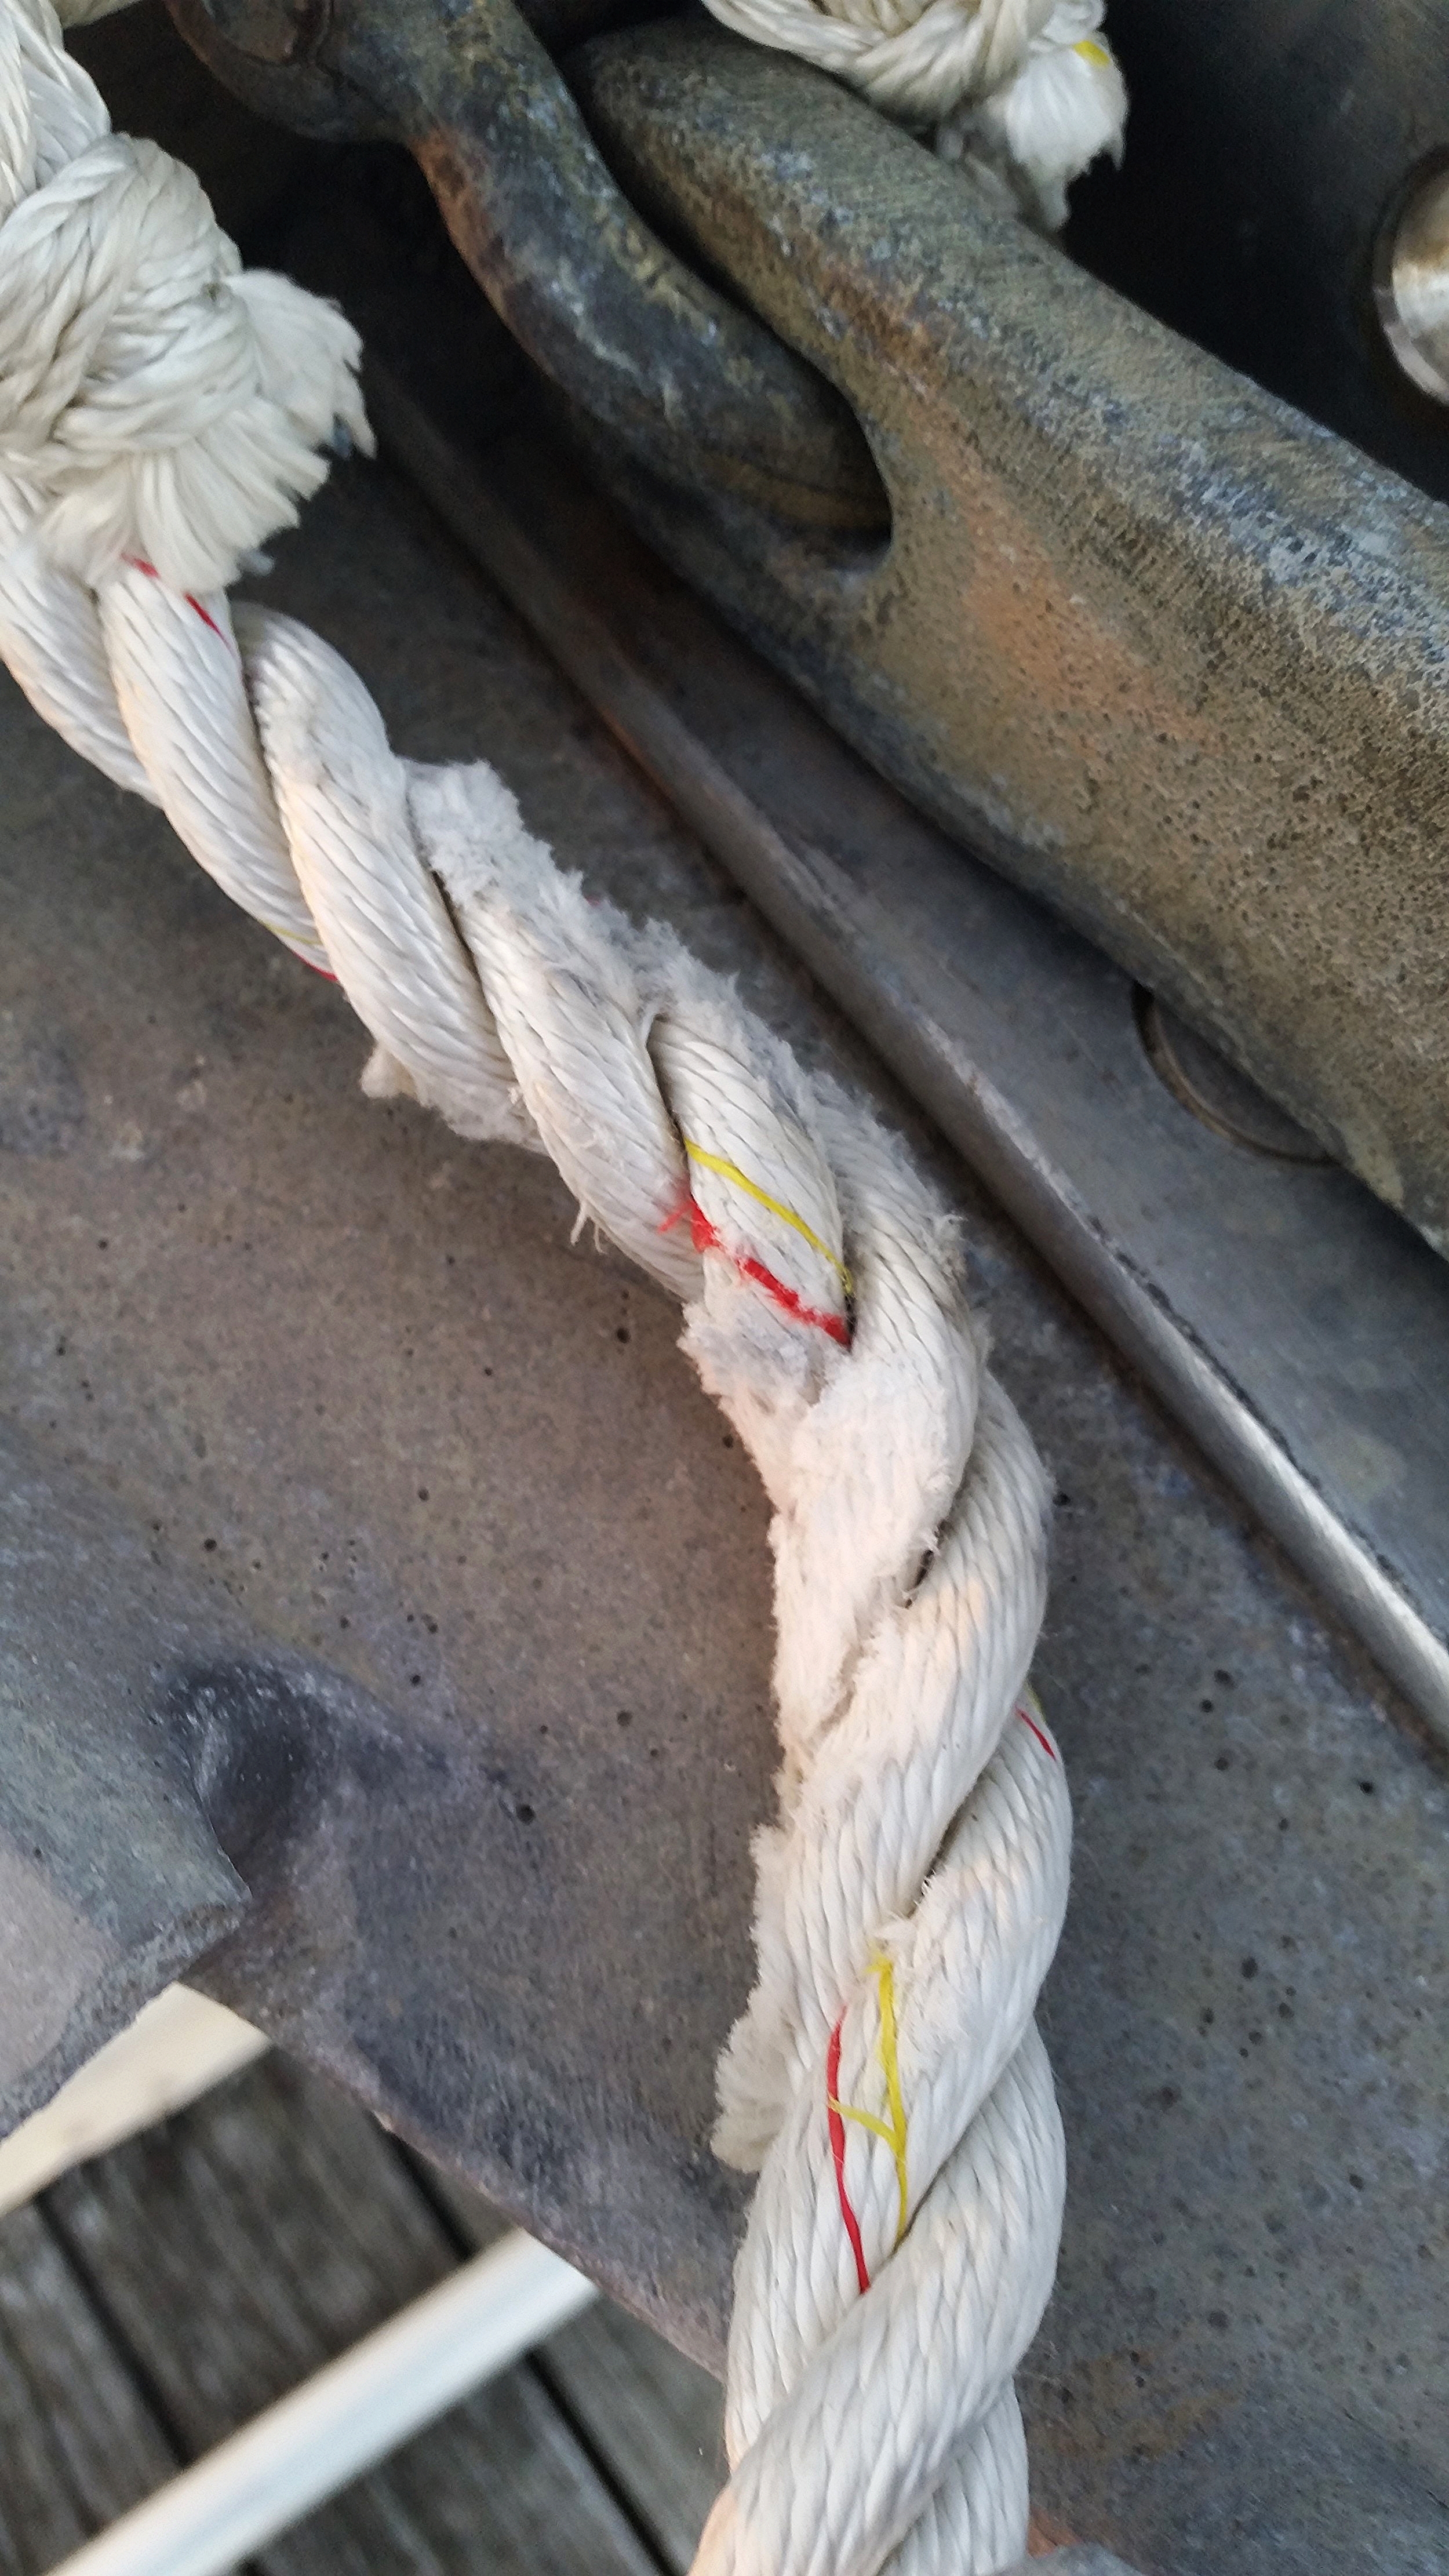
3 strand nylon is very resilient to chafe damage. As you can see, the starboard bow line is chafed, but the chafe is spread over a wide area, only involving one of the three strands the worst. There are still 2 intact strands present. The chafe present here developed in the first few months, but then stabilized and has not gotten any worse over the past year. If it were to get worse, I would replace that strand with a mending splice and then service that section.

The port bow line had similar chafe develop, but over two of the three strands. For this reason, Service was applied before the chafe became serious. The black present on the dyneema serverice is the adhesive from the friction tape squeezing through. The service also looks smooth, with no hills and valleys since this line was wormed, parceled, and served.

The anchor snubber is tied to the chain with a magnus hitch directly to the chain. The chafe present is very minor, which is why the line does not need to be retired yet. 

As you can see, we are all able to assess if a chafed line on our boat is damaged or if it is just superficial and cosmetic damage. We simply need to look at synthetic standing rigging the same way. 

Dealing with chafe: Lowers

The lowers are pretty safe as far as chafe goes. The aft lowers are only subject to chafe from the mainsail when sailing down wind. I would wait for the fuzzy signs of chafe to start to know where to apply a cover, if it is even needed. If it never begins to fuzz, then you don't have to worry about it. I would recommend applying a soft chafe cover, such as "baggy wrinkles" to protect the sails as service or chafe sleeves will hurt the sail.

The forward lowers are only subject to chafe from a lazy sheet that rides up and down as the sail moves. To avoid this issue, I walk forward and pull out excess sheet and lay it on the deck. This way all motion in the lazy sheet is confined to the length from deck to clew, rather than from shroud to clew.

After over 1000 miles, my forward lower has slight fuzz forming, but nothing structural that should be of concern.

Dealing with chafe: Cap Shrouds

The shrouds are subject to chafe from the jib sheets and sails. The Cap Shrouds can be chafed by overlapping headsails when tacking, as well as the lazy sheets. These are some easy points to protect the shrouds:

Do not back an overlapping headsail
Chafe sleeves
Lazy sheets
Sheet block positioning
Place longer than necessary lashings

Overlapping headsails will rub on the cap shrouds on every tack, this is going to happen. As the sail slides past the shroud, the forces acting will not be too great, so the damage will be minimal and should not be too much of a concern. Backing the headsail though is not recommended as this will lead to increased pressure and lots of movement as the sail wiggles around against the shroud while under the pressure of the wind. This will damage the sail very quickly as well as chafe the shroud. If you must heave to, either roller furl the sail to bring the clew forward of the shrouds or switch to a non overlapping headsail. 

If you find that the leech of the sail is chafing the shrouds, you can always install a chafe sleeve over the affected areas. This will protect against future damage. I would not recommend placing chafe sleeves if they are not needed because sail chafe is not going to cause structural damage in a short amount of time. The chafe sleeves are rather cumbersome to install. If you have too much length, they are going to be baggy and look poorly. If you have too little, then you will be short on one end. I personally feel that the added cost and headache of preemptively adding a chafe sleeve to cap shrouds is unnecessary. 

The big danger with cap shroud chafe will come from the sheets. These lines are going to saw back and forth on a small area with considerable force. They could destroy themselves and damage the stay if left unchecked. You want to make sure that the lazy sheet is not ridding up and down on the windward stay, as this rubbing will damage the outer layer of the stay.

20150717_142140.jpg

While the lazy sheet can damage the stay over time, the working sheet can damage it even faster. Sheet block position is critical as it will either protect or destroy your running and standing rigging. Your sheet blocks should guide the sheet to the clew without rubbing into any stays. If you have to decide between perfect sheeting angle or chafe free positioning, I would absolutely vote for the chafe free position. What is more important? Sailing a little faster because of perfect lead angles, or keeping your rigging free from damage?

You want to have the sheet blocks laid out so that they do not chafe when the sail is loaded under normal sailing angles, as well as when the sail is backed. In my situation, my jib sheets would lay against the shrouds when hove to. For this reason, I will not heave to with the jib, but instead I use the staysail which will not chafe anything when the sail is backed.

Most chafe from sheets will occur close to the deck, where it is easily inspected and managed. The bottom of the stay in the area of the lifelines is at greatest risk from chafe as many lines will rub past it: sheets, dock lines, deck gear, people, ect. This area will benefit from a sacrificial section just like the service placed on the headstay. The stay can simply end a bit above the lifelines and the lashings will take all of the abuse. If they begin to look chafed, the lashings are very cheap and easy to replace compared to replacing the whole stay.

Where the shroud passes through the spreader tips, I apply service as it is stronger than the chafe sleeve and not as slippery. After the rigging is finally tuned, I then seize the spreader tip to the shroud so that it doesn't budge.

Important things to remember when looking at chafe on the cap shrouds are:

If you see it rubbing a little, it will eventually damage it
The more load a line is under, the quicker it will cause damaging chafe
Lighter loads tend to chafe a larger area less aggressively
Stronger loads tend to chafe a smaller area more aggressively

Just be sure to keep an eye out for anything rubbing and make the necessary changes as soon as you spot a problem.

Dealing with chafe: Headstay

Chafe can seriously effect the longevity of your synthetic rigging. The best method to avoid the problem is to make sure that no two lines rub past each other. 


In situations like the headstay, avoiding chafe is not possible since the sail hanks attach directly to it and will slide, shimmy, and jiggle around; sawing into your headstay and destroying it in no time. To mitigate this, special steps must be taken.  

Chafe sleeve
Service (wrapping) the ends of the stay
Soft Hanks

The headstay itself must be wrapped in a sacrificial covering, the covering will suffer chafe and be replaced before any damage happens to the stay. I recommend using the chafe sleeve by New England Ropes, designed for protecting dyneema. The covering is rather tricky to replace though, requiring the splice at one end to be removed so the old cover can be removed and a new cover installed. To further prolong the life of the chafe sleeve, I also service the ends of the stay with thin dyneema.

This line is 7/64" and wrapped tightly around the stay using a serving mallet.  The process is very time consuming, taking around an hour for a few feet of the stay. The service protects the chafe sleeve in the areas of highest wear: the head and the tack. Since these areas will wear out sooner than the rest of the stay, they can simply be unwound and re-serviced without having to undo the splices.

Another method to mitigate chafe is by using soft hanks. I had my sail maker place a nylon webbing that loops over the stay and the bronze hank is located on the side. This keeps the bronze hank from cutting through the fibers when under load, as the soft nylon spreads the loads over a broad area rather than a sharp point load.


How to apply service

Now that we have discussed what service can do, you must be wondering how can a line be wrapped so tightly and uniformly? The answer is a mallet! A Serving Mallet to be precise.

Serving mallets are simply tools created by riggers to best apply service. You can't buy them, you have to make your own, and they are all different. I have met riggers who use mallets that look like hammers and have large handles, others that look like small forks. They all tend to be made of hardwoods, but I have once seen an old stainless steel chainplate used as a serving mallet. 

The principles that you want to keep in mind when making your serving mallet are:

Comfortable in your hands
Light weight
Spool of service line attached to handle
Holds itself in place
Able to get into small places

I have seen some mallets that look like a sledge hammer, but they are unable to work the ends of the lines near thimbles and they require a lot of open space to spin them around. Others don't have a way to attach the spool of service line to the end and require a second person to pass the line around as you apply the service. 

Source: https://en.wikipedia.org/wiki/Worm,_parcel_and_serve#/media/File:A_useful_instruction_for_sailors.jpg

Source: https://en.wikipedia.org/wiki/Worm,_parcel_and_serve#/media/File:A_useful_instruction_for_sailors.jpg

When I made mine, I used a hickory hammer handle, cut a groove into the end and lashed a paint roller frame to it. This holds the spool of service line so that I can do it alone without the aid of someone to pass the line along with me. I cut a groove in the side of the hammer end and that holds it to the line. By doing a series of wraps, the mallet stays firmly attached to the stay and provides enough resistance to tightly wrap the line around the stay. Being how the head is thin, I can service all the way to the very end of the stays, right up to the thimble. 

If you search "serving mallet" in Google:Images, you will see they almost all have grooves cut into them. These were not there when they were new. As thousands of feet of service line pass down the same path on the mallet, grooves will begin to take form. They are wonderful when they do as they will help guide the line along the appropriate path. Because each mallet is the creation of the rigger and the construction of his thoughts and needs, they don't seem to want to sell them (at least they weren't selling them when I was looking for one and had to make my own). 

Service might seem like an easy concept, and it is! You just have to keep a lot of tension on the line and wrap it very tightly. There can't be any overlapping lines, it must be completely flat and smooth. If there is variability in the tension, it will lead to variability in the wrapping. While it is easy to wrap a line over and over, starting and stopping are a bit complicated. If you want to service your own line, send me an email (riggingdr@gmail.com) to let me know and I can post more detailed instructions with a video of how to start and how to finish the service.