Life Aboard

Tiny House Trailer!

Maddie paints in a "creative" way, which results in paint going everywhere. When she paints on the boat, she has to be much more careful and clean up any paint droplets before they dry on the interior wood.  Her primary studio is at her parents house, which is rather far for her to drive everyday. Since she wants to paint more freely and I don't want the interior of Wisdom to be painted, we decided to make a studio closer to home. The solution: Tiny House on a trailer!

I picked it up from the distributor in Pennsylvania, and trucked it back to my parents yard to begin construction.

It's an 18 foot utility trailer with a flush deck that will provide a flat platform for us to build from there. At the moment we are still deciding on the final floor plans, drawing out designs in chalk and walking through the imaginary layouts. Maddie wants lots of light through big windows and a lofted bed, and I want straight forward construction.

While I have never built a land based structure before, the construction plans look to me like an upside down hard chine boat. The peak of the roof is the keel, the roof and walls are the frames with the siding being equivalent to the planking. 

Once it is completed, Maddie will have a studio that we can keep wherever we want since it's on wheels!

Treasure in the Trash Pile

While looking around Bacon Sails, I stumbled upon an old Edson Bilge Pump for $95! These pumps will flow 1 gallon per stroke and sell for over $1000 new. The cost of the bronze fittings, hoses, boards, and hardware will still come in much cheaper than a new pump.

It was sitting in a bucket off in the corner, waiting for someone to bring it back to life. 

While cleaning all the bronze castings, I decided that the old stainless steel fasteners were not worth saving. I have no idea how old this pump is, but the stainless steel fasteners are horribly corroded! If there was any doubt about the longevity of stainless vs bronze, it can be put to rest now!

I decided to use use new stainless steel bolts instead of rods as hinge points for the pump mechanism. I made sure the bolts would rest on the shank and not the threads to prevent any additional wear. I also used lock nuts on the bolts to keep them secure while still keeping the whole system loose.

The problem is the old stainless steel rod that was in there has succumbed to the effects of severe crevice corrosion and broke off in the holes, preventing any new rod from acting as a pivot point.

To get the corroded segments of stainless steel out, I used my dental drill with a carbide bur. This weakened the metal and allowed it to collapse, similar to sectioning a tooth during an extraction. Then it could be removed easily by driving a push rod through the hole and pushing the corroded remnants out.

It burned through a few burs, but in the end, I was able to extract the corroded remnants of the pivot pin. 

The new hinge pin is the bolt's shank. This will provide a smooth surface for the lever to pivot on. I will cut the excess threads off the bolt, just after the nut to tidy things up.

The rebuild will continue with the fabrication of the wooden base for the pump!

Solar Panels

Modern conveniences require electricity to keep them running. GPS, AIS, Radios, Fridges, they all need a steady flow of energy to keep them going. Batteries do a wonderful job of storing all of this electricity, but after a while they will begin to run down and the conveniences will stop working. To keep the flow of energy up, many cruisers will run their engines a few hours each day to replenish the batteries charge. What if you don't want to run your engine that often, or if you don't have an engine to run at all?

This is where alternative energy sources come into play. Three major players in the alternative game are Solar, Wind, and Hydro (water). They all have their advantages and disadvantages, but today we will talk about solar.

Solar is a wonderful system that converts the suns radiation into electricity. This means that you can quietly charge up all of your electrical needs while the sun is shining. There are no moving parts to break, and no noise from the process of energy collection. They quietly collect energy while you are sailing, just as effectively as they can when you are anchored in a quiet and protected creek.

The thought of charging your batteries while anchored in a secluded area may sound like a dream come true, but there are some drawbacks to this technology. If you have dense cloud cover, you are not going to produce any electricity. At night there is also going to be no energy production. To overcome the pitfall of consecutive cloudy days providing no electricity, a properly sized house battery bank is necessary.

Deciding how many panels to install is entirely dependent on need and space available. You can calculate how many amps you need in a day to make sure that your solar array will provide sufficient power to run all of these systems, then you need to figure out where to put them all. Catamarans have plenty of available real estate, but monohulls may find space to be very limited. Ultimately, the final decision will come down to "how many panels can you fit" instead of "how many panels do you need".

Factors that affect your ability to mount solar panels come in two varieties: Shading and damaging. Shading from sails, sheets, and spars will reduce the power output from the solar panels. For this reason, it is best to place them in a location that will receive full sun at all times. 

The second danger to solar panels is from damaging blows. If a sail begins to flog, the sheets will whip around violently. A constant barrage of whippings from a sheet will shatter a solar panel in no time! This means that anywhere between the sheet block and the sail should be avoided. 

Another danger that falls into the damaging category is wave and wind action. If the solar panels are mounted to the bow rail, they could be swept off or shattered by the force of a breaking wave. Not to mention, they could act as a sail on the tip of the bow producing dangerous lee helm!

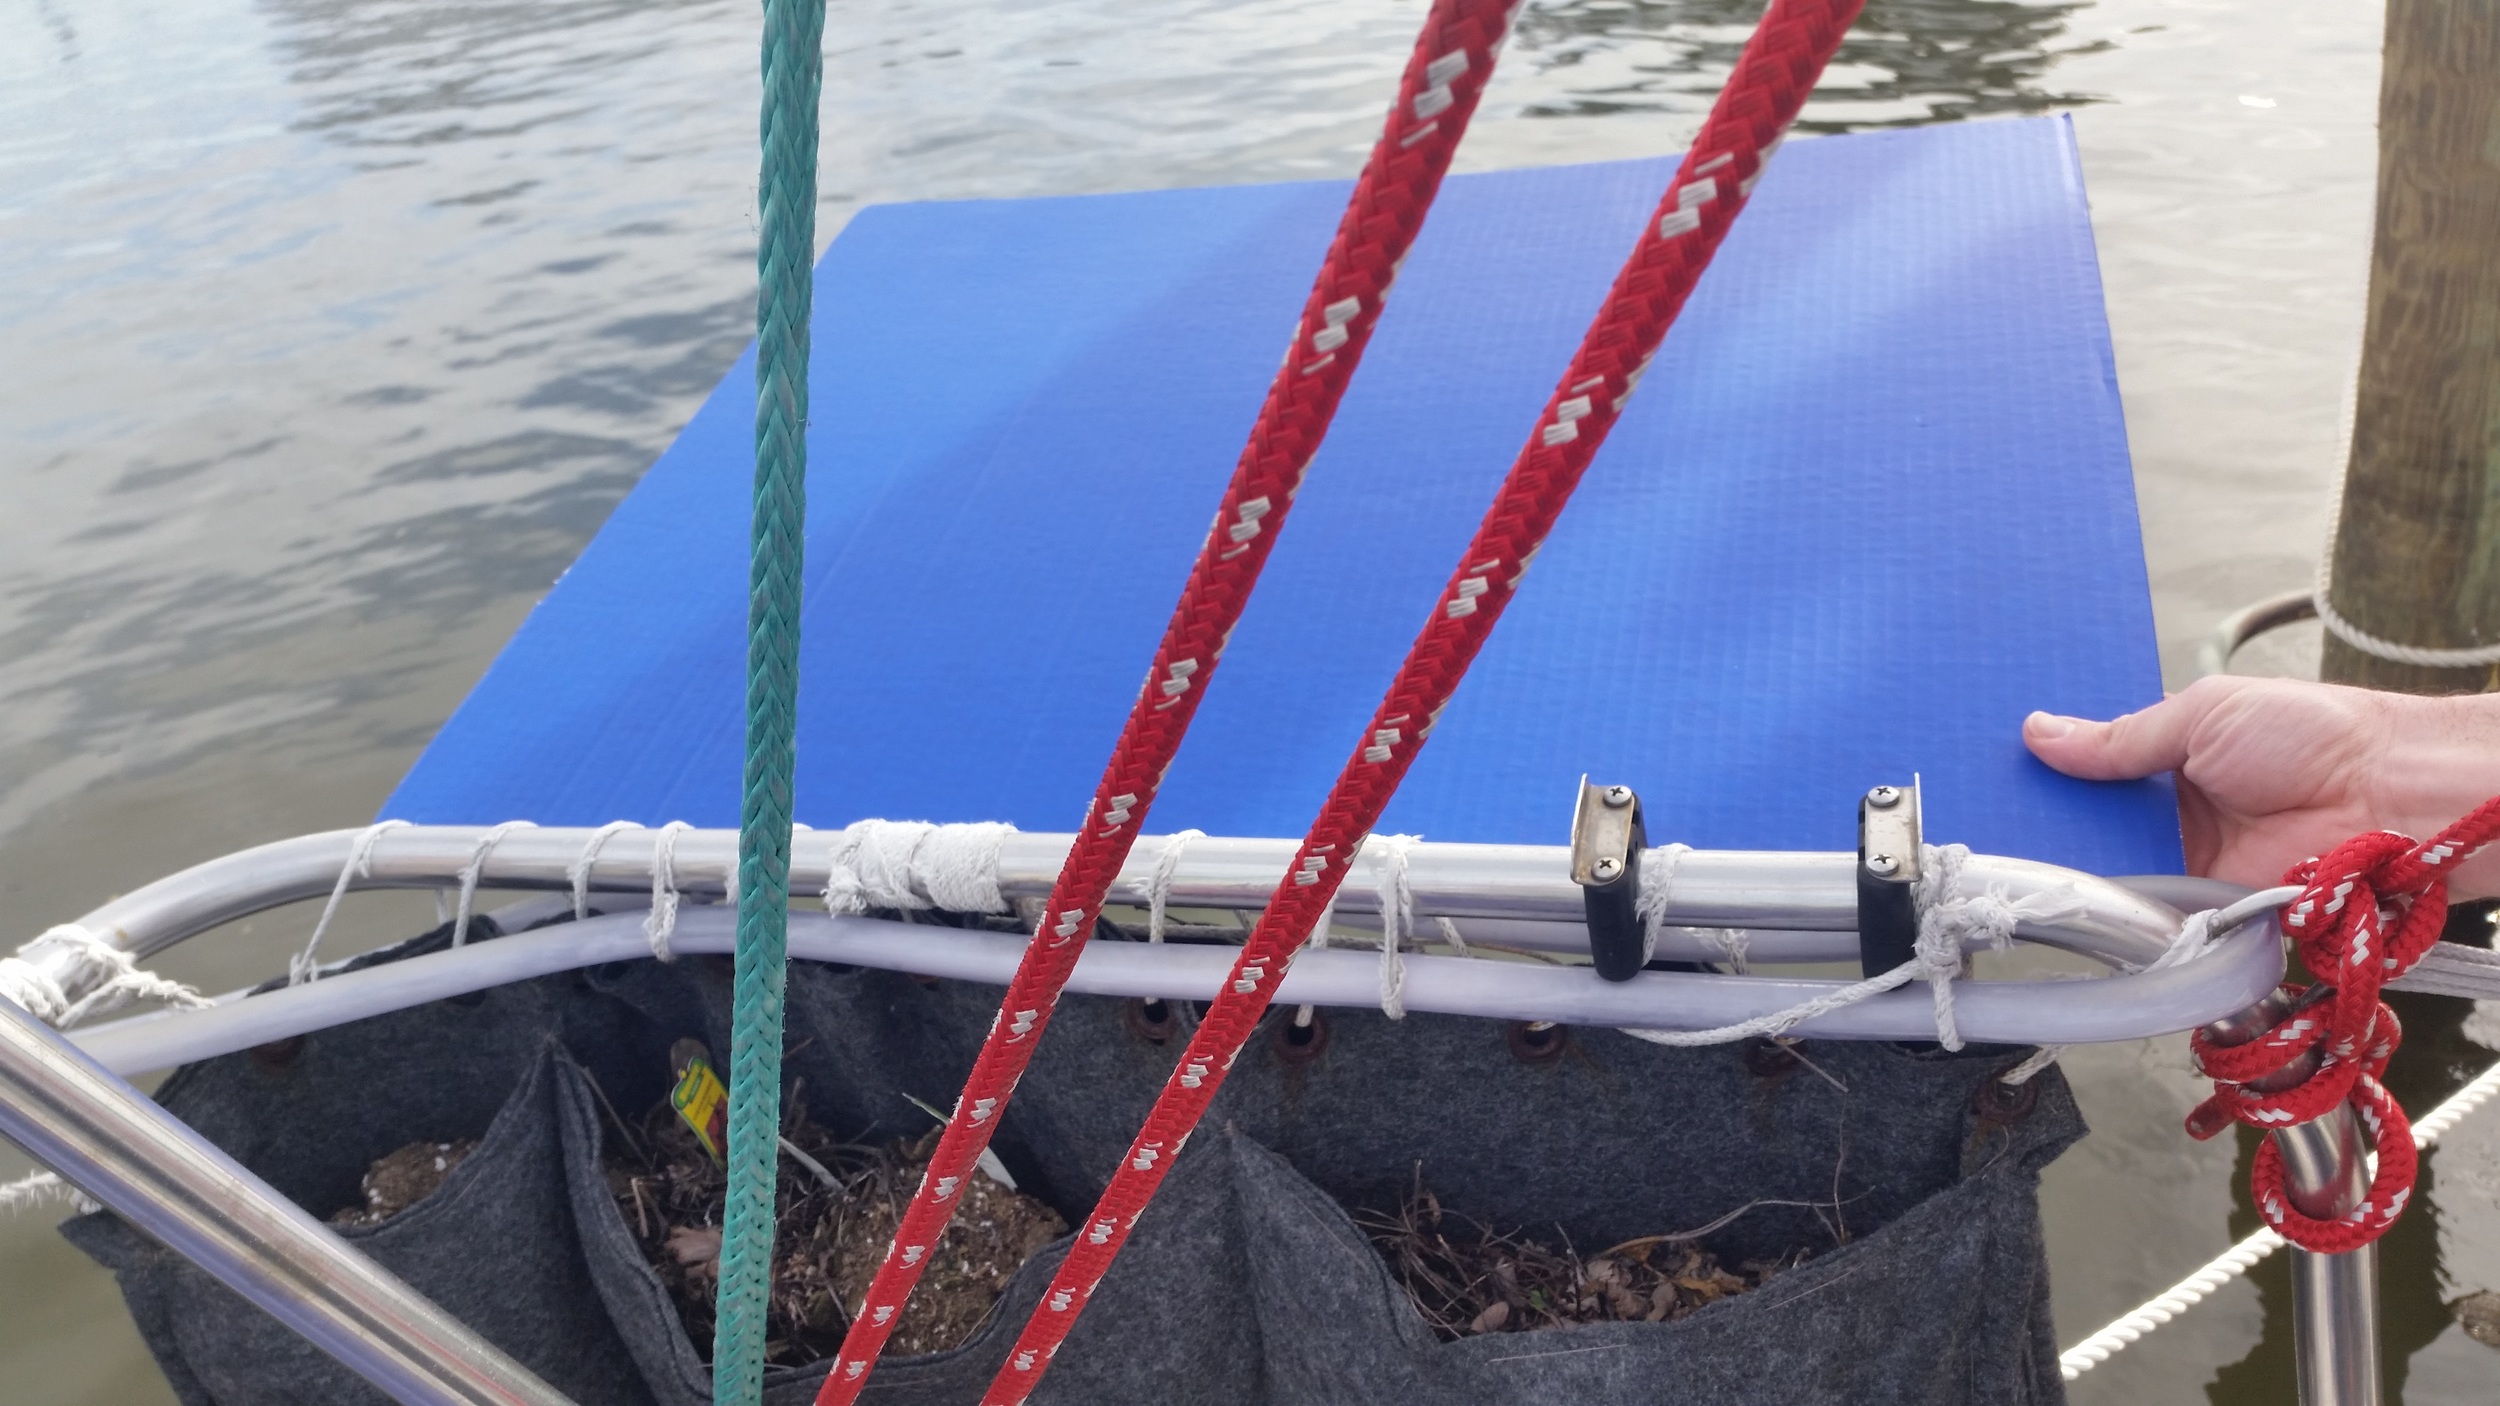
After careful consideration, the only place we could mount them on Wisdom was on the sides of the stern rail. The drifter sheets attach close to the stern, ruling out the lifelines running forward, a panel in the shrouds would snag and cut the sails, and the future wind steering device will take up the whole stern. The only place we had available is a small section of the stern rail!

I cut out a template of a 50W panel (22in x 27in) and a 100W panel (41in x 27in) from a cardboard box. Then I placed the templates around the boat to see where they would fit best. This made it easy to hold in place without the expense of purchasing the wrong size. The 100W panels were way too big for the space available, so we were limited by space to two 50W panels. 

This will provide 100W and 5.5 amps during peak sunlight hours. Over 8 hours, we would add 44 amp hours to our battery bank! Hopefully that will be enough or we will have to get really creative to fit more panels on board.

Now we know what size of panel and where to place them, but how do we keep them safe? The plan is for them to hang off the sides like wings, this will make them the first thing to break in a close encounter with a piling or sea wall. To protect them, the plan is to mount them with the ability to fold the panels down. This will make the panels flush with the stern rail and protected behind the rub strake.

That's the idea on how they will work and mount, now we have to figure out how to make these thoughts a reality!

Transporting Laundry and Morty

Marina dock carts are incredibly strong and can help transport large and heavy items to and from the boat. I have carried batteries, chains, and anchors with ease by utilizing these devices. The trick is to properly balance the weight over the axle, this way there is almost no force needed to lift the handle. 

When Morty and the laundry are forward of the wheels, the cart will actually try to tip up. This makes the long walk much easier since you will actually be pushing down on the handle rather than pulling up.

Aside from the wonderful physical properties of a dock cart, Morty makes the whole trip adorable as he enjoys his elevated vantage point!

Check Everything!

Just because you tied your boat up properly, doesn't mean that it is still tied up properly! The marina I'm in is currently re-planking the piers and replacing the cleats as they go.

Progress is slow, but steady as planking the pier is not as simple as it may seem. The problem comes into play when they reach a cleat. Boats that have been tied to these cleats for years need to be untied so the new planks and cleats can be installed. This means that the guy laying the planks is also the guy who ties your boat up when he is done!

The spring cleat on this large motoryacht was replaced when the pier was re-planked. The new knot tied to secure the spring cleat is "interesting".

The cleat was tied this way after the job was completed.

By morning, the knotted mess began to untangle itself.

If this were your boat and no one noticed the poorly tied cleats, imagine what could happen as the lines begin to fail. This is why it is so important to regularly inspect everything on your boat. Just because you did it correctly the first time doesn't mean it's still done that way!