Knots

Quick Shortsplice

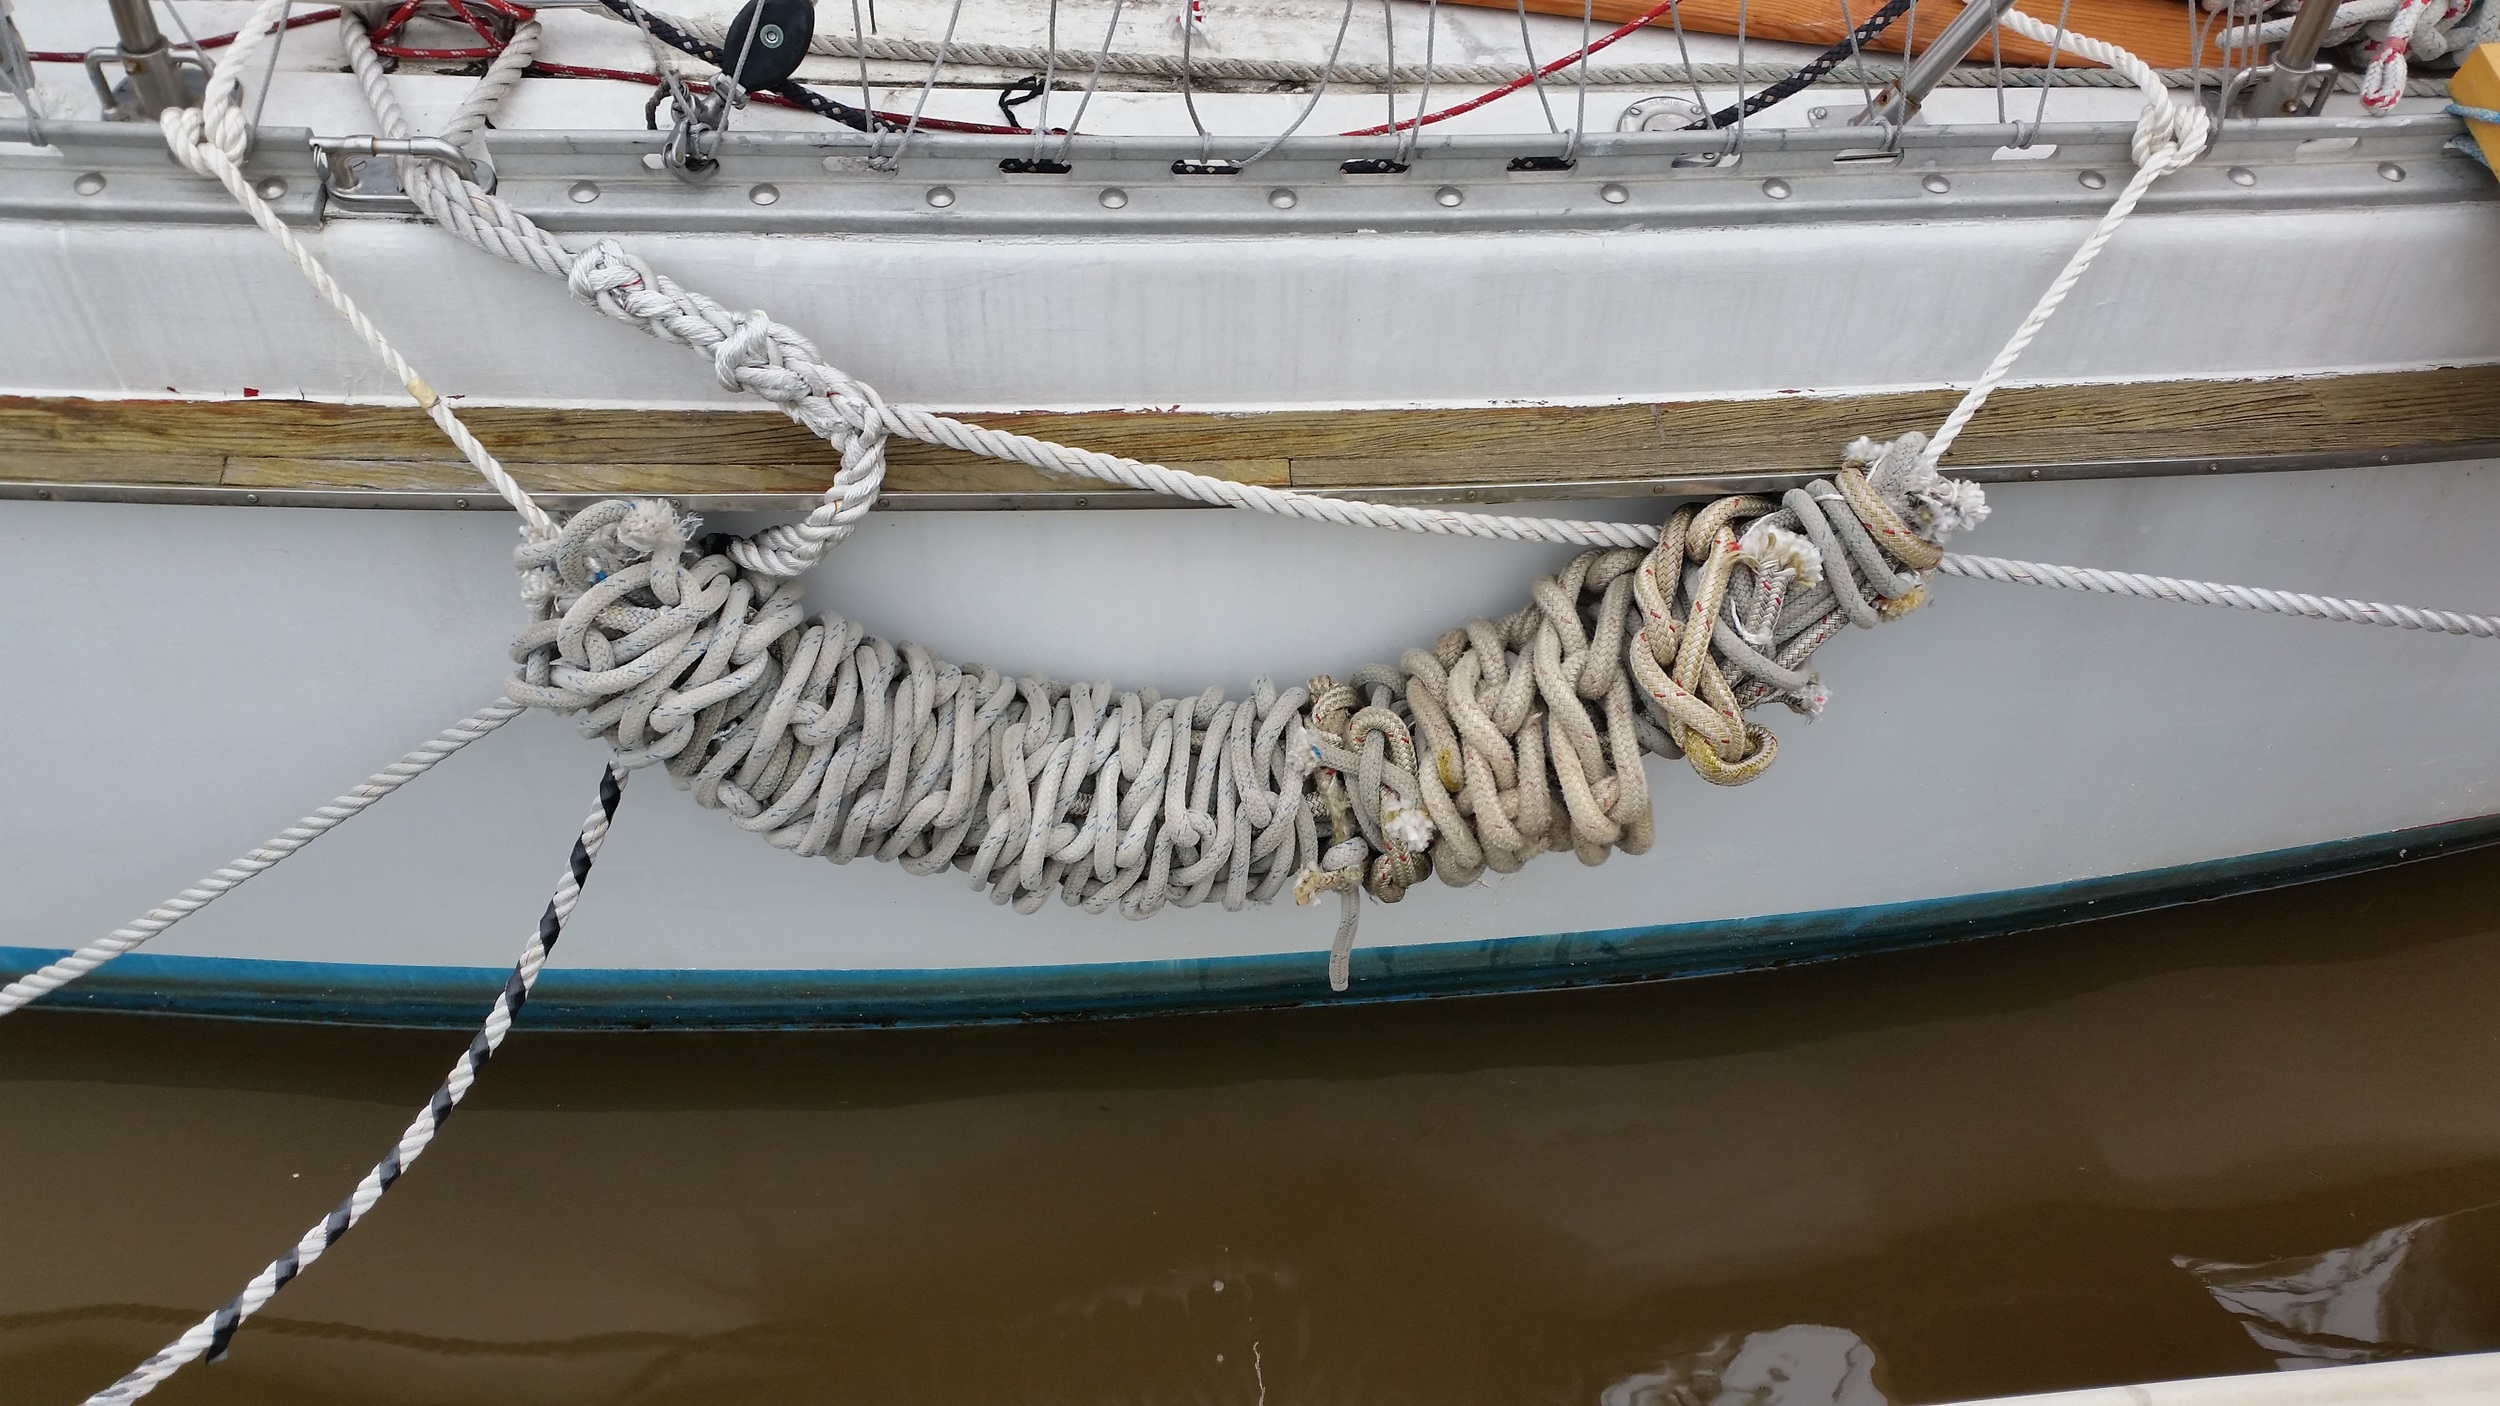
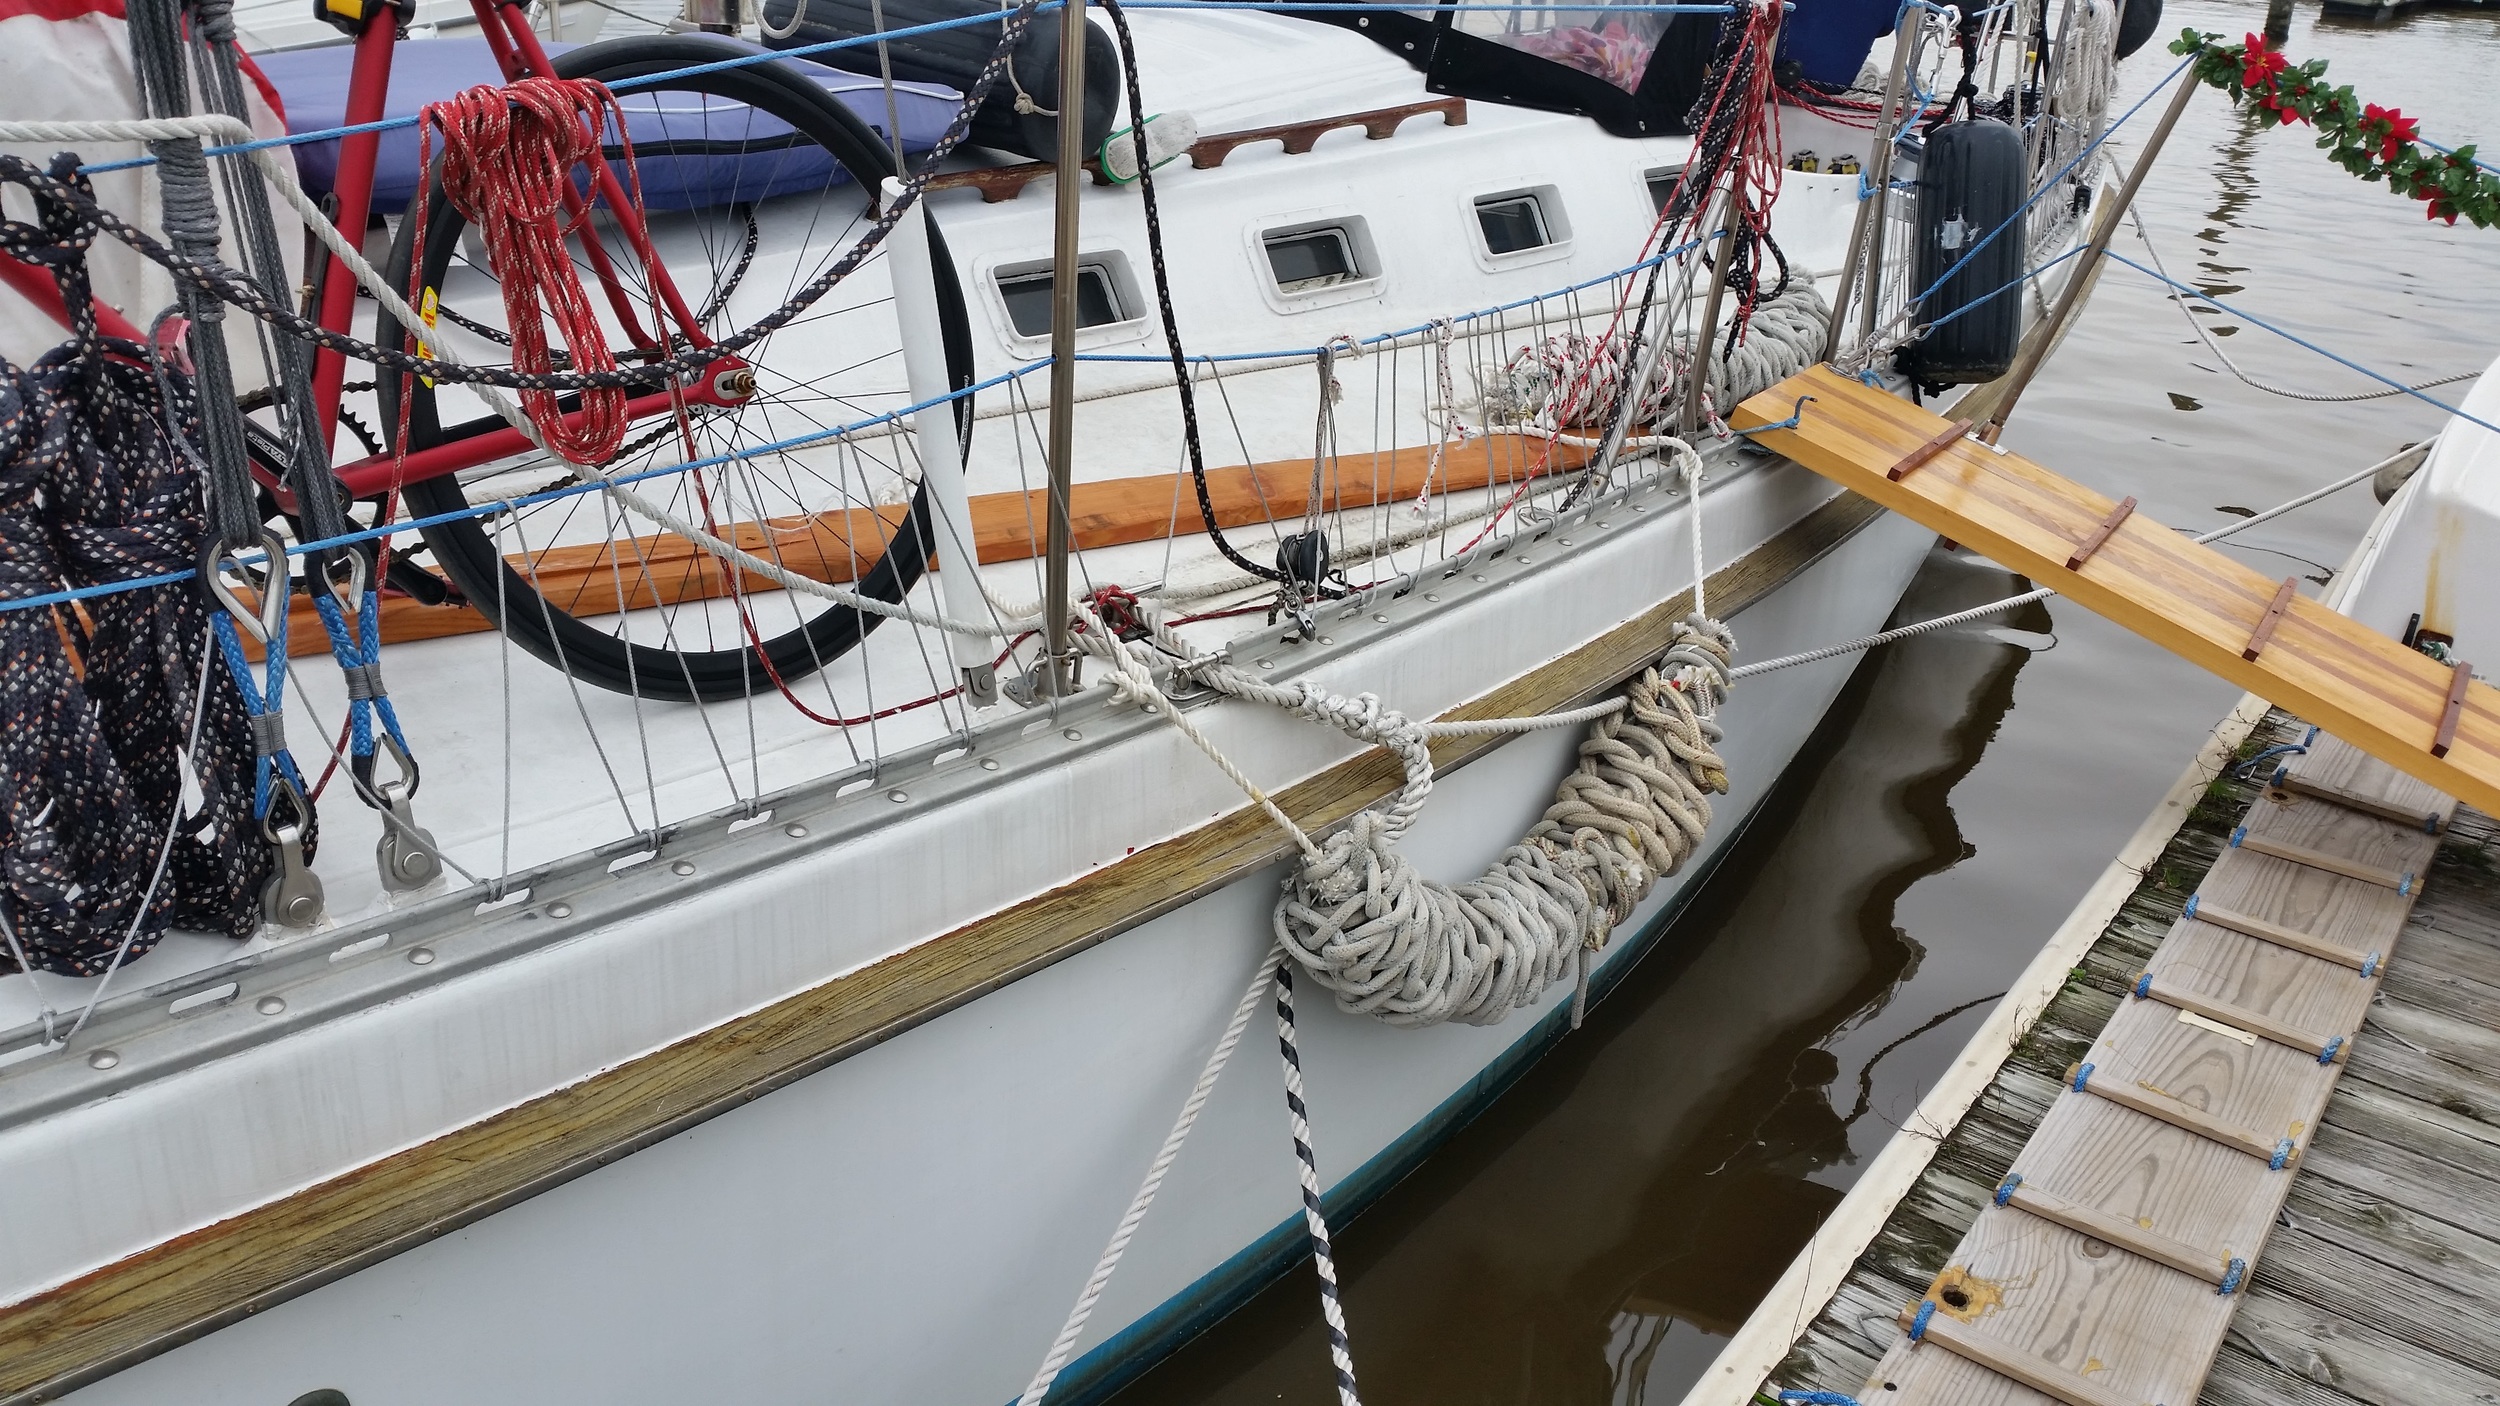
When you need to connect two ropes and can't have the bulk of a knot, splicing becomes your only option. If the ropes you are connecting are for low load, you can skip the precise way of making a short splice and go for the quick and dirty, easy short splice!

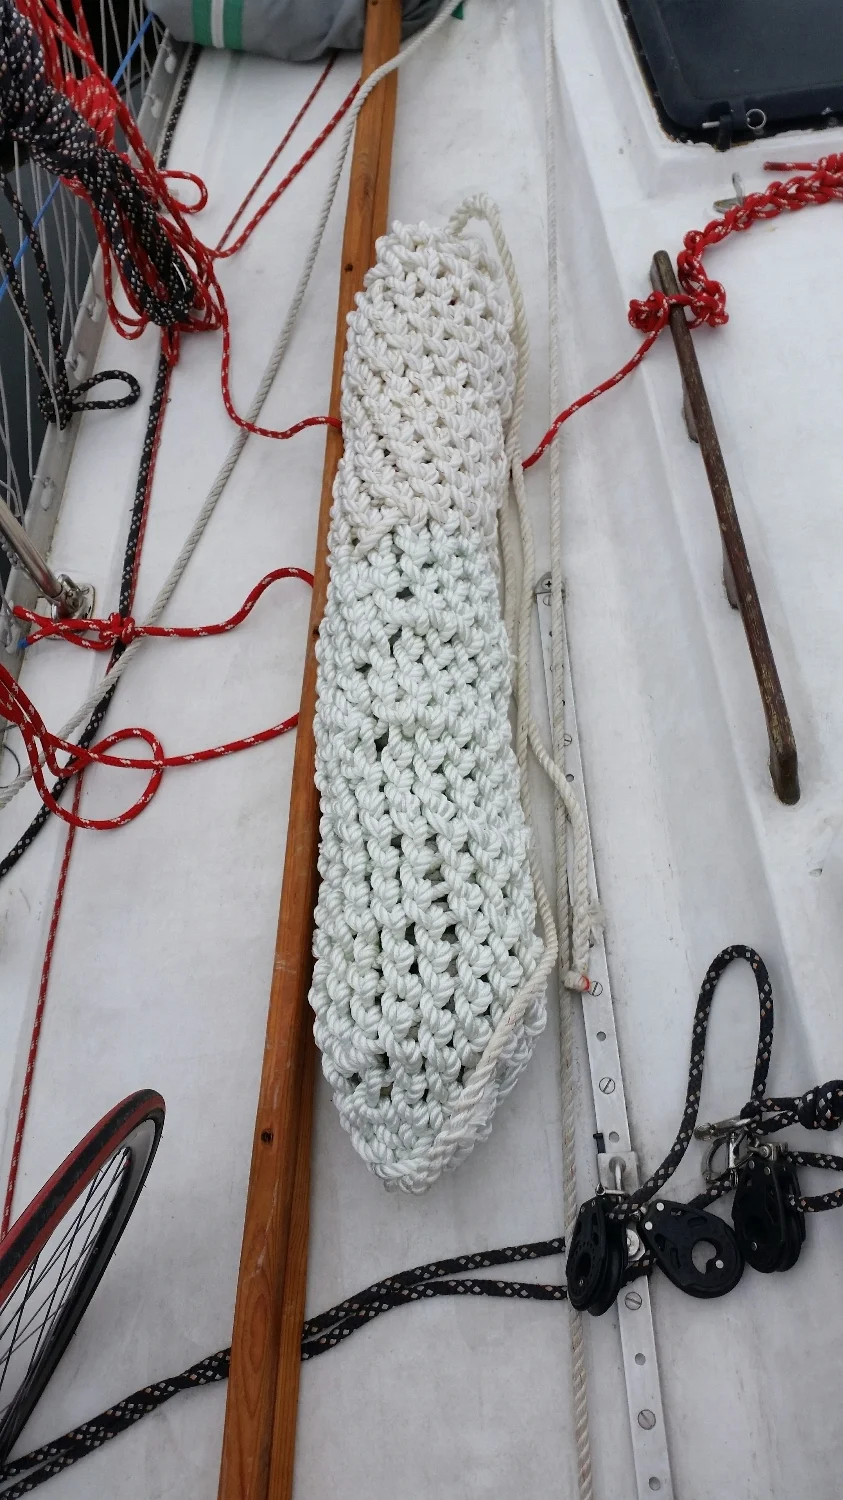
I used this splice while I was making the rope fenders, not much load and a very easy connection to allow me to keep working.

Simply splice one line into the other burying all the strands. Then release the other lines strands and splice them into the first line. You will now have a very quick and dirty short splice!

First of Four Fenders Finished!

upload.jpeg

​I've been working on these fenders for some time now. I have sufficiently bulked up all the cores using the old running rigging and began the very slow and tedious process of wrapping them with half hitches. I spent nearly 2 full days (broken up over 4 days) tying the continuous weave that encompasses this fender. 

upload.jpeg

The knot is slow progressing, but when the line gets chafed and breaks, it makes it easier to mend the fender and restore it to "like new"condition. Simply tie up the whole and bury the tails of all the lines involved.  

This fender is completed, now I just have to do it three more times to finish building our armamentarium of fenders on board Wisdom.  

Rope Fender: Outer Cover

The cores are completed and now begins the very slow and tedious task of weaving the outer cover.

A chain stitch would finish the job delightfully fast, but if one strand broke, the whole thing would unravel. Being how these fenders are designed to take a beating, wrapping them in an easily unraveled stitch seems ridiculous. For this reason, the much slower, but also much more secure stitch of half hitches was decided upon.

Each loop needs to be passed through the holes and pulled through. For this reason, I cut sections of line off the spool of rope, rather than passing 600 feet of rope through each turn.

The number of half hitches per loop can be tailored depending on the size of the fender. If it is getting a bit tight, simply do two half hitches on the same loop. If it is looking a bit loose, skip one of the loops and bring tighten it up. If you need to add or subtract a significant number of half hitches, it is best to evenly space out the differences. This way the fender will appear more uniform rather than looking like a chunk got cut out of it.

Progress has been slow, but the results make it worthwhile. It has roughly taken me around 1 hour per foot with this stitch. I hope I will pick up speed as the project progresses!

Cleat Hitch

One of the most important knots to know as a boater is how to tie up to a mooring cleat! This knot is used every time you tie something to a cleat. It is a very simple, plain, and elegant knot that will securely hold a line indefinitely if tied properly.

20160114_152327.jpg

This knot can be used to:

Secure dock lines
Secure jack lines
Tie up to a pier
Tie up to another boat
Secure a tow line
Secure a painter
Tie off a sheet
Secure a halyard

The list goes on and on!


There are a few ideal principles to keep in mind when tying a cleat hitch. If these principles are followed, the knot can be securely tied offering peace of mind and security.

The loaded line should enter the cleat in the same direction that the tail exists the cleat.
There should only be 3 lines passing on the top of the cleat per cleat hitch. 
For high loads, a wrap around the cleat will help reduce the force exerted on the knot.
When properly tied, it will form an X over the cleat with one leg composed of one line and the other leg composed of two lines.

To tie a cleat hitch, follow these steps:

Bring the line alongside the cleat

Wrap the line around the back of the cleat under the horn

Pass the line over the cleat

Wrap the line under the horn

Pass it over the cleat forming an X

Twist the line to form a turn and slide the turn over the cleat horn and tighten

Pull on the tail to tighten the knot all the way


This knot may seem easy to tie, and it is! But so are wrong variations of the knot. Common mistakes made are:

Tons of wraps
Never creating the turn to secure the line to the cleat
Not tightening the knot
Twisting the turn the wrong way

20160114_151945.jpg

Tons of wraps simply bulk up the cleat so no one else can use it and makes it harder to untie the cleat when it's time to release the line.

Never creating the turn to secure the line is dangerous. It will look like a secure knot but will come loose over time. 

Not tightening the knot will allow the line to untie itself and slip off the cleat, failing its purpose of securing the line.

Twisting the turn the wrong way is a very common mistake. It may look secure, but it will come loose with a few pulls. If you tie it the wrong way, it would behoove you to untie the cleat and do it again the right way.

Sometimes, cleats are hardly tied with almost no tail!

These cleats have been tied this way for a very long time, some of them for years without inspection. Just because you tied your line properly when you docked your boat, doesn't mean that it is still tied properly. I have seen many boaters pull in and untie a cleat to tie their boat up and tie the existing dock line to a new cleat. Do you know if they tied your dock line properly?

20160114_152241.jpg

When tied properly, multiple people can easily tie up to the same cleat and untie easily when it's time to cast off.

These cleats may look like a jumble, but in fact they are cleats where two lines are tied; one over the other. They are both tied correctly and all the lines are perfectly secured on the same cleat.

While it is important to know how to properly tie a cleat hitch, the examples of poorly tied cleat knots have held for many years without anyone touching them. If you are tying to a cleat in a hurry while docking and the knot comes out wrong, it will probably hold fine while you secure the rest of the lines in a hurry. Once the boat is safely tied to the pier, it is a good idea to evaluate the cleats and make sure your knots are correct before leaving the boat. A poor knot will hold for a while, but a good knot will hold for longer!

Rope Fenders: Completed Core

The rope fenders are finally bulked up and ready for test fitting. Rope fenders of this size are very time consuming to make but they offer many serious advantages over inflatable fenders. 

They will not pop
They serve the purpose of fender and fender board
They will not fly away in the breeze
They will close the hole in the gate to keep Morty (our boat dog) from sliding out

The core is completed, but the outside covering needs to be tied. The process of tying the cover over the core will continue to bulk up the fender even further. It is easiest to hang the fender from a halyard and work on it standing, but it has been rather cold these past few days; delaying the completion.