Cruising

Cruising Mindset

Cruising is not just the act of taking long trips on your yacht, it is an entire mindset that becomes you as you cruise. 

Maddie and I have cut the dock lines to society and set off as full time cruisers. We have no schedule, no itinerary, no nothing! We simply pick a place and start heading there. We get there when we get there is a good way to sum it all up. 

When we had taken "extended vacations" before that we called cruising, we had a set amount of time available to us. We had a destination in mind and a return date already set. Everyday that we weren't heading towards our destination was a day lost, because we did have to turn around at some point to return to work. 

While the trips were relaxing, they were still speckled with stress. If the winds were not right, or we didn't get far enough on a day, we felt like we might not actually get to our destination and we would be forced to turn around by our jobs. 

Now, we don't worry about these sorts of things. We wake up when we wake up, raise anchor when we feel like it, and sail until we decide to stop for the day! 

We were anchored in Harness Creek in South River when we decided to visit a little town called Easton. This town is located far up a river and was rather far for us by sail. We didn't care and we set off towards this new destination.  

After three days of sailing, we were nearing this town on the river and were only 0.3 nautical miles from the place we want to anchor for a while when we ran aground. 

Running aground is never a fun time, but the truth is it isn't that bad for us.  Wisdom, our sailboat, has a full keel. Running aground simply means that we are sitting on the bottom of the river with no worry about damage to our undersides. 

We checked the tide table and found that it was nearly low tide, and the tide was going out. We tried to heel over with the sails, kedge off, even be pulled off by the assistance of a passing powerboat. Alas, the tide had gone out too fast and our waterline was about 6 inches higher than normal. Our keel was stuck in the mud and our only hope was to wait for high tide to lift us off. 

The tide would take a few hours to come back up, and instead of stressing our situation, we simply got out some cheese and a game to eat and play in the cockpit while we waited. 

That is the true sense of cruising. Time no longer matters, as you simply take each day as it comes and each moment as it presents itself. There is no worry about deadlines nor schedules, as we are merely sailing along as best we can in the direction of our next destination. 

Blister Repair

Osmotic blisters may be the bane of a fiberglass hull, but it is a small problem that has been blown way out of proportion. The truth is, all hulls suffer form some form of degradation: wood hulls rot and get worms, fiberglass hulls get blisters, steel hulls rust, and aluminum hulls disappear by galvanic corrosion. You simply need to choose a hull material that you feel comfortable repairing yourself.

Blisters are caused by the osmotic pressure of water that passes through the layers of fiberglass and exposes areas of delamination. When the hull is lifted from the water, these areas will bulge out like lumps. When you crack them open, water will pour out with intense pressure. 

Fixing blisters can be a very costly endevour if you pay to have someone else do it, but they are actually very easy to fix yourself. You only need a grinder and an sander. 

Using a grinder, you can rip through the blister, tearing out all the delaminates fiberglass that is overtop. Then you can begin to tear out laterally, as you follow the damage from the blister. As you work, the affected area will be wet and have a slight brown color to it. You simply want to grind away until you no longer see any brown or wet, and you can't even see where the different layers are of the hull. 

At this point you will have a gaping hole in the side of your boat. This may seem like a major problem, but it is easy to fix. 

IMG_0296.JPG

If the blister is not too deep, the repair is very straight forward. If the blister is rather deep, then you simply need to take a few extra steps to fix it. Neither of these two methods are difficult, and both can be done in a few minutes. 

If the blister is shallow, and not passing through many layers of the hull, you can simply fill the hole with thickened epoxy. How deep is too deep for just epoxy is dependent on the hull itself. If you have a 1/4 inch deep hole on a 1/2 inch thick hull, you have just compromised 50% of the hull in a blister! Yet, if the hull is inches thick, this is a small surface scratch that is inconsequential to the total structural integrity of the hull. 

In my case, the hull in this area is 1.5 inches thick, and the blister was 1.4 inch deep. This comes out to be 1/6th the hull thickness, so I simply repaired it with thickened epoxy. 

Regular West System Epoxy can be mixed well, then 406 thickening agent can be added until the entire mixture looks like thick peanut butter. This thick mass can then be stuffed into the hole and wiped over with a plastic spatula. The spatula will contour the blisters surface to be flush with the hull, taking all the work out of fairing the repair job! It is just that easy, simply smear it in and smooth it off! 

If th blister is deep, you can wet the area with untickened West System Epoxy, and then add some chop strand mat to the hole. This will provide new fibers that will add in the structural integrity of the entire repair. Over this layer, you can then add more unthickened epoxy to fully wet the strands of fiberglass. When they are all wet, you then proceed with the thickens epoxy just like before. Simply smear it in and scrape it smooth! 

Blisters may be an eyesore, but they are more an annoyance than anything else. Small blisters will not sink your boat, only it's resale value! Keeping your boat out of the water through winter allows the hull to dry out well and reduce the incidence of blisters as well. If you live aboard though, your boat will always be int eh water and blisters will become a fact of life when you haul out. 

You can choose to ignore them until they get big, or you can choose to repair each and every one of them as they occur. Which ever way you choose to go with, just keep in mind that blisters are not a death sentence to a fiberglass hull, simply an annoyance you get in response to your relaxed maintenance schedule of haul outs. 

Engine Choices

On older and smaller sailboats, a popular motor choice is the gasoline outboard. These motors offer the ease of replacement of any outboard, but suffer from the fire risk of carrying gasoline onboard. A common argument for these motors arrangements is that you will already be carrying gasoline for your dinghy outboard, now you can power both with the same tank!

Gasoline is a very dangerous substance on a boat. The liquid is highly flammable and the fumes are explosive! A small problem can easily become a life threatening explosion that will engulf the boat in flames.

Gasoline inboards complicate this problem further by bringing the entire unit inside an enclosed area where fumes can collect and await detonation.

Modern boat builders have recognized the risks involved with gasoline, and have since moved over to diesel motors. Diesel fuel is flammable, but not explosive and there is no fear of the fumes blowing your boat up.

While much less dangerous, there is still a safer option yet: electric. Electric motors require no fossil fuels at all, and therefore pose no risk of fires or explosions from fuel leaks. Instead, electric motors are powered by massive battery banks that feed them the needed amps to keep the propeller spinning.

As with everything, there are pros and cons of each.

Gasoline outboards are very inexpensive and if they die, they are the easiest to replace. Their fuel is a hazard, but it is usually kept in a red plastic tank in the cockpit. If the tank starts to deteriorate, it can be easily replaced. All of the fuel and fumes is kept out of the cabin, so there is much less risk of an accidental explosion.

Gasoline inboards are inexpensive to buy, but costly to replace and repair. They also bring gasoline and all of its hazards inside the boat where deadly explosions could occur. Gasoline engines are also not that efficient and will struggle to push a sailboat at hull speed for days on end without any rest.

Diesel inboards are work horses! They will keep banging along as long as they have oil and fuel. They are expensive to purchase, expensive to replace, and expensive to maintain, but they will power you along without complaints or rest! This is one of the key selling points of a diesel inboard in a sailboat. If you cross an ocean and have no wind the entire time, a diesel motor will be able to power you along the entire way without complaining. While they are an invaluable tool to those who have them, they are also a smelly companion in your cabin. That classic "boat smell" is a combination of the toilet hoses and diesel motor. It isn't always very strong, but it is always present.

Electric motors are the last of these options. They will never explode because they have no fuel, but they will also never push you across an ocean without complaints. As they power you along, they will draw on your batteries. More range means more batteries which means more weight, which means more power to push you along. It is an endless cycle that will never get you very far. Electric motors should be seen as "short term" power options. Say you need to motor into a marina berth, or out of the way of a cargo ship, this is where the electric motor will shine. It will power you along on short distances without problem, but it will run out of electricity long before you make it across the ocean.

Electric motors are best for those who plan to sail. In the situation where there is no wind while crossing an ocean, you would be forced to sit there as you wait for wind to come (which it will eventually do). Cost is another variable. All electric motors achieve the same end result, and the different brands available offer a huge spread in prices. We went with one of the cheaper options by Electric Yachts and it has been a blessing! It always runs when we need it and it didn't break the bank to purchase or install. There are other brands that are many times more expensive, but they too achieve the same goal.

The choice about which motor is a personal one. If you can't really afford anything, a cheap used outboard will be your friend. If you are a power boat disguised as a sailboat, a diesel will be your best friend. And if you want to sail, an electric motor will be your best friend.

Budgets

Maddie and I are budgeting $1,000 per month. This may seem very low, as that would only be $12,000 per year, which is far below the poverty line, but the truth is, this will be more than we need.

We set this budget based on several factors, and they have been thought through with consideration.

The first factor is the more you spend, the more you need to have. By setting a goal of $12,000 per year, we only need to save up $12,000 to cast off for a year! As we sail, we can also add to our funds by working along the way. Since our budget is so low, a small sum of money feels like more to us.

The second factor is it keeps the math simple. Looking at $1,000 as a month, means that any fraction of money can be viewed as a fraction of a month. Would you buy a $500 dress if you looked at it as half of a months budget? It also makes money seem like freedom instead of a tie to society. Viewing money saved as time away from the next job makes us feel better about holding onto money instead of buying a souvenir that we don't need.

The last factor is this is actually a rather high budget in our opinion. We have a friend who cruised for 7 years on a budget of $7,500 per year. Maddie and I are only 2 people, but they were a family of 4!

Their $7,500 budget included $1,500 for the kids home schooling books. This means that their real budget was only $500 per month for four people. Their secret was being mindful of money and not wasting it. They would eat in instead of spending on a fancy dinner. They would go on excursions and have adventures instead of buying keepsakes.

Knowing that four people could live on $500 per month, we know that the two of us can live on $1,000 a month with ease. As we go saving the money and not spending it, we also get to stretch out our savings into more time away from the next job.

Budgets are easy to set, but hard to stick to on land where you are constantly surrounded by places to spend money. It is much easier to not spend money when anchored out in a creek, surrounded by tress, birds, and fish. Sitting out on the deck watching the sunset as you light up the grill to make some dinner out of inexpensive foods like potatoes or chicken. Living on the hook while we cruise will keep us happy, well fed, and below budget.

Casting Bronze

Part of the construction process of our new dinghy involves some metal fittings that need to be custom made to fit the hull. The choice of metals was simple since we are building a wooden row boat, and as such, the only metal that should be found on such a woody is bronze!

Bronze is an ancient metal, famously characterized by the Bronze Age which started around 5000 years ago! Since this metal was first worked by man with 5000 years less of technological advancement, I figured that this would be an easy task to carry out.

My first plan was to cast plates of bronze that will cover every corner of the dinghy. This means that I need plates to cover the chines, garboard, transom, and stem. I built a foundry, borrowed a propane torch from my brother in law, and picked up some steel molds that would make a nice shape for the bronze plates.

The molds are 5 inches by 7 inches, and would easily fashion out some bronze plates that should be exceedingly thin. I would then take these thin plates and bend them to shape over the hull where they would at last be fastened into place.This was at least the plan, but far from the reality of how things would progress.

Yes, technology has progressed to the point that some kid can make a foundry in a bucket and heat bronze ingots to over 2000F in his back yard. Technology has not progressed to the point where this would be easy though! Each ingot takes around 30 minutes to melt. If I were to make all the bronze plates to cover everything as planned, I would need to make around 60 plates, consuming 30 hours of melting time!

Obviously this is not going to be practical, so I instead looked at the critical areas that actually need to be covered in metal plating. This would be just the stem, as this point will be subjected to the most stress and punishment through its life.

Heating the metal was pretty mindless, all you need to do is light up the forge and let it burn. Casting was a whole different animal!

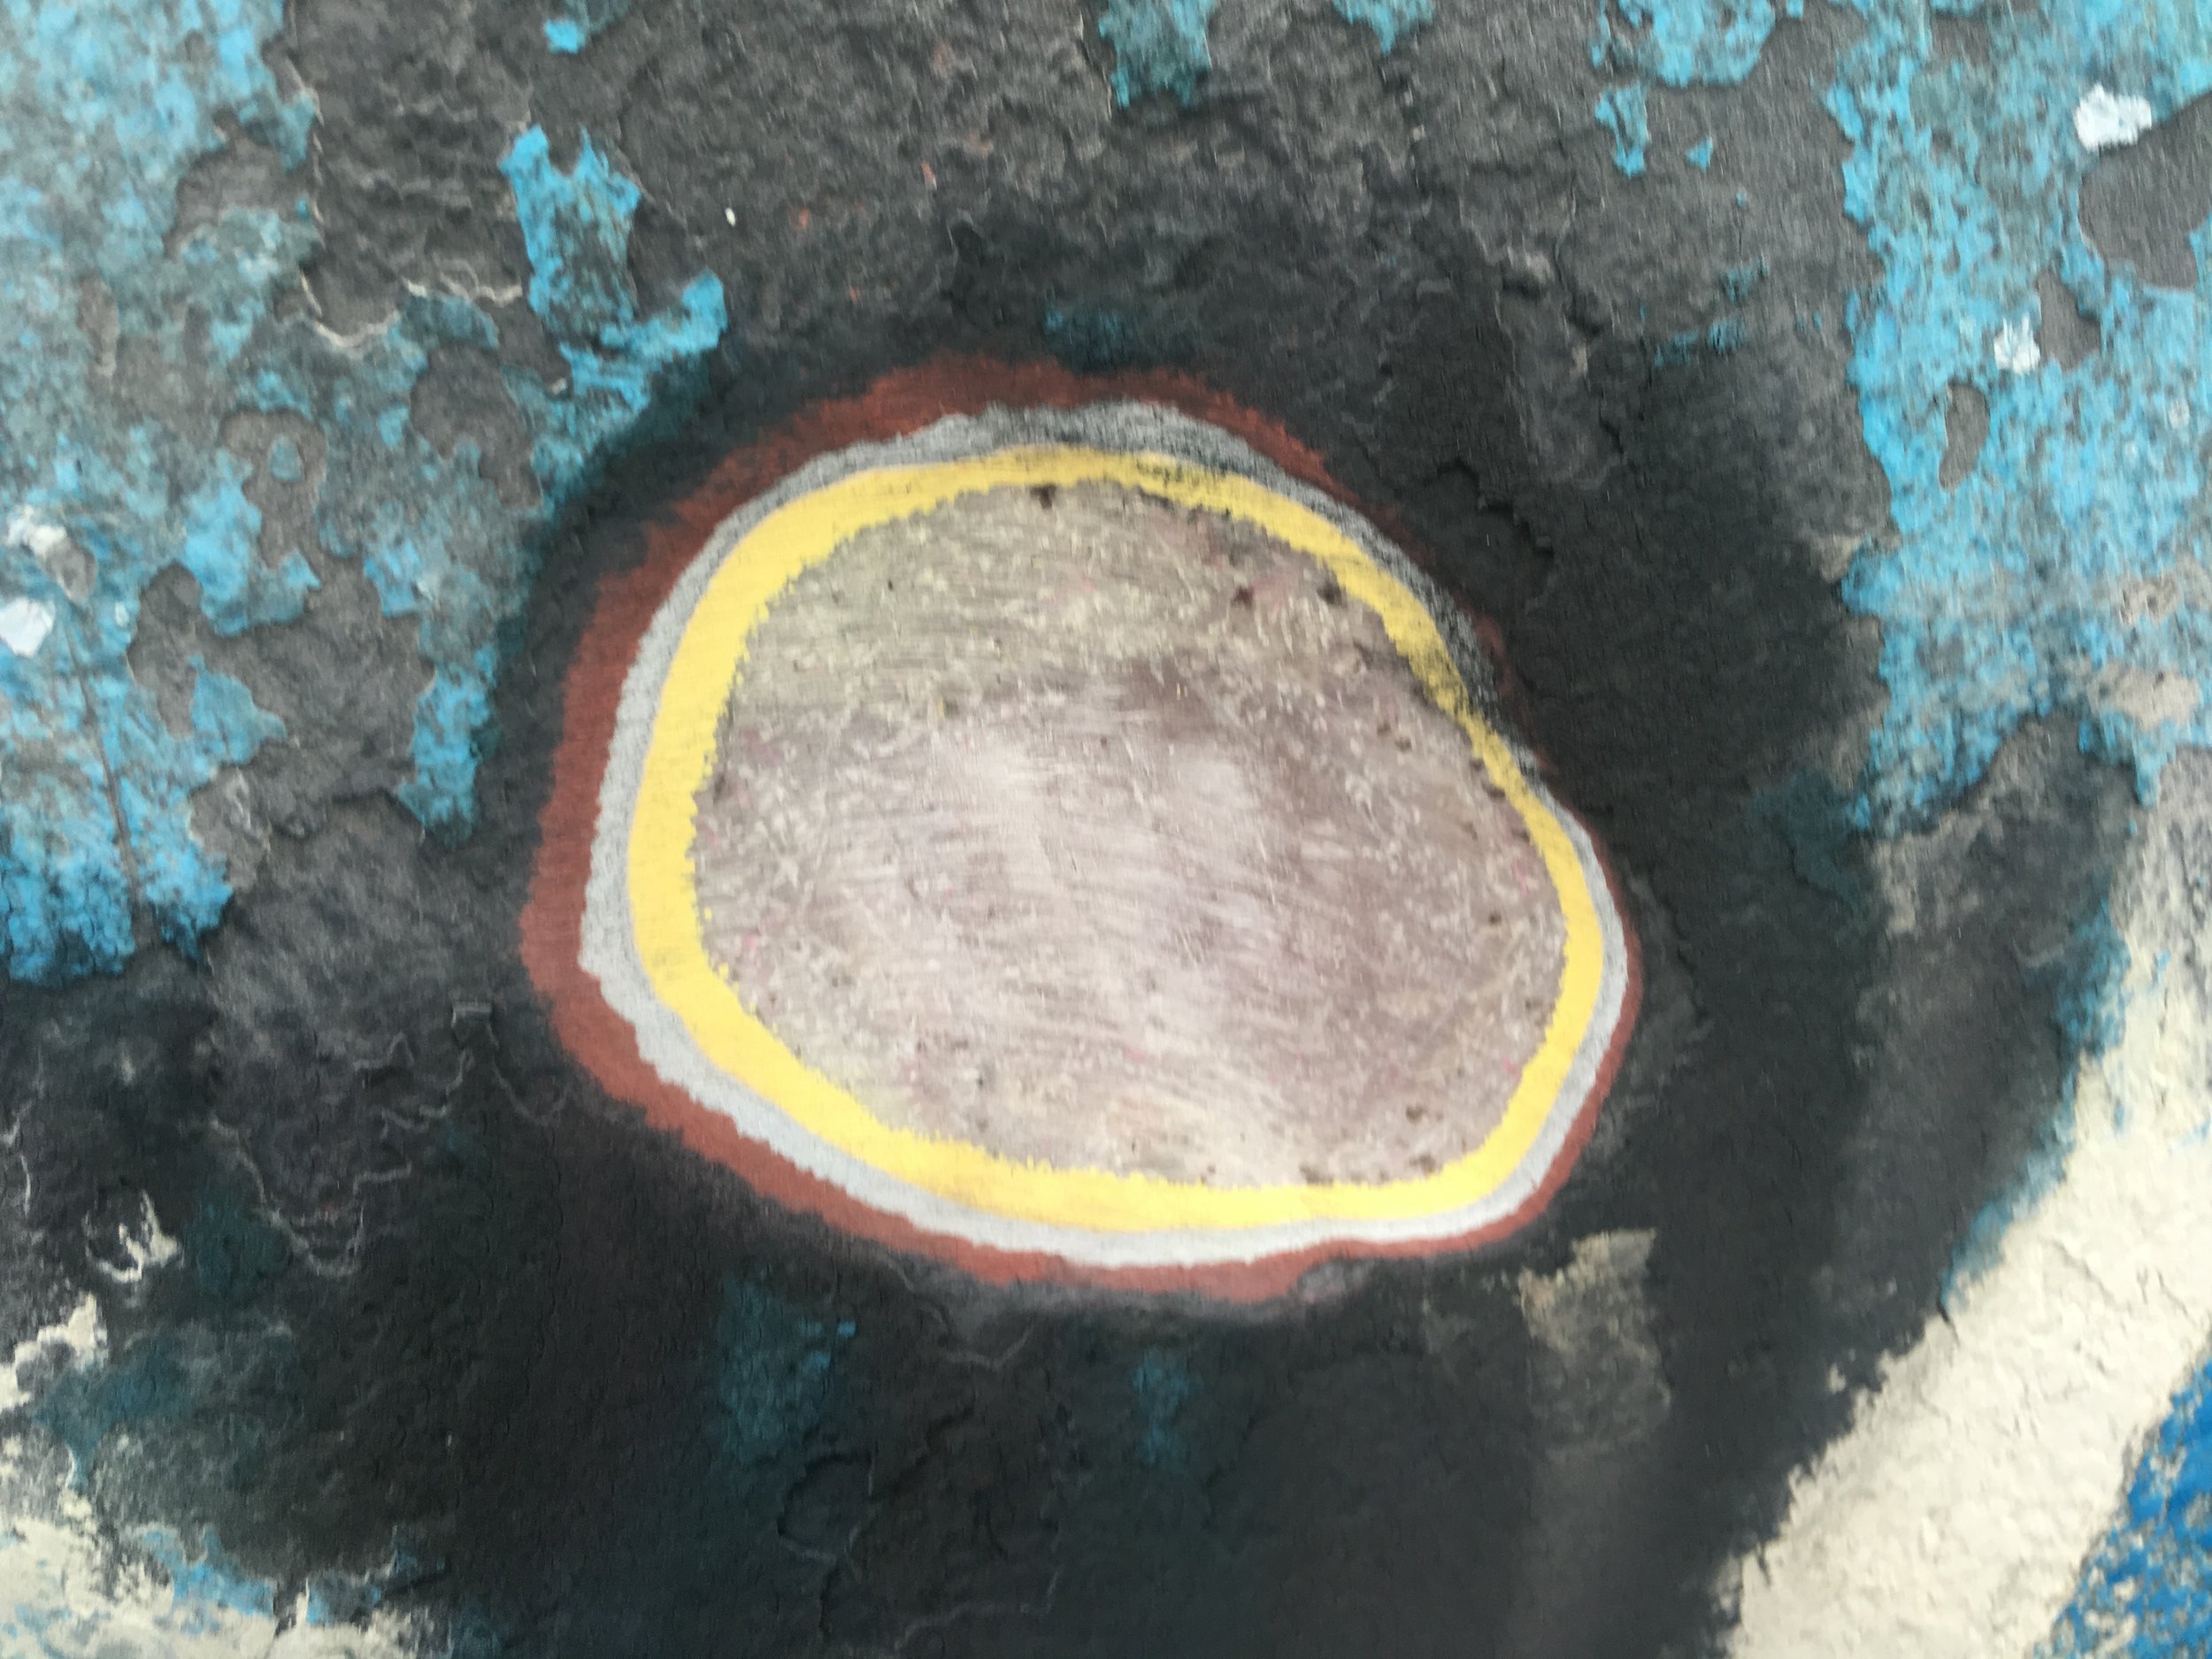
My first attempt at casting was into the steel mold. I figured the molten bronze would run all over the mold and lay flat, filling the bottom of the pan similar to water before cooling into a solid again. What really happened is the bronze hit the cool pan and started to solidify instantly.

This created a small blob in the middle of the mold, far from a clean plate. I attributed this failure to a few key points:

The mold was not hot, so the metal cooled too quickly on contact.

The mold melted a little where the hot bronze was poured in, allowing it to pool thicker there.

There was not enough bronze to cover the entire mold, leading to my lack of filling.

The cold mold would be addressed in my second attempt, along with the mold yielding under the heat, but the amount of bronze was still a problem in my mind.

I want to create a thin plate that will easily be bent over the chine. If the bronze is too thick, I will not be able to bend it, thus it will not be useful to me. By pouring more bronze in, I am instantly creating a stiff and thick piece. In my mind, adding more bronze is not the answer as it will create a problem in the cast plate.

I made some changes with my second attempt, making the mold for the plate out of Plaster of Paris, which should hold its shape during the casting process and not yield. I also set the mold over the exhaust of the furnace to heat it up, giving me more working time as the bronze was poured in. Lastly, I gave in and melted down twice the amount of bronze as my first attempt, hoping that it would be enough to cover the entire mold in a thin plate (ideally less than 1mm thick).

The foundry was fired up, and a half hour later I was ready to pour the molten metal into its shape! At this point, I would continue to learn that ancient man was really impressive to cast their tools in bronze!

I poured the metal into the stone mold and it failed once again. The metal still cooled too quickly as it entered the mold, creating a very rough surface which would not work as a plate. Secondly, the mold was slightly tipped, so one side was thicker than the other. Heating the mold on top of the foundry provided no additional working time, just disappointment.

The second attempt was only 3mm thick, and covered only 3/4 of the mold. While still very thin, the metal is so strong that I can not bend it with ease. This means that it would not bend over the chine like I would need it to, and instead, it would just break the dinghy as I tried to muscle it into place.

I have concluded that pouring bronze into an open mold will not serve my purposes and instead I will have to resort to the "Lost Wax Technique" to cast the pieces in the final needed shape that will fit the dinghy.

Attempting to cast bronze has been a huge wake up call. People often think that they are better than ancient man because they have smart phones and airplanes, but the truth is, ancient man laid the foundation that we have since built upon. The skills they invented were by no means an easy task, and re-learning them is still a tricky set of skills to master.

Yes, I can easily look up on the internet how to melt bronze and how to make a mold, or how to pour a casting. What the internet won't tell you is how incredible the people who pioneered this technology were.