
With steel rigging, death comes in the form of corrosion; with synthetic rigging, death comes in the form of chafe! By protecting against chafe, you can give your synthetic standing rigging a long service life.
Avoiding chafe is simple, you just need to avoid any contact with your stays. This mean sails and sheets are not to rub against your shrouds while you sail, and gear on deck should be stowed in a way that no movement against your rigging occurs. Easy!
What about the spreaders? They are a point of constant contact and they move ever so slightly as you sail! Add immense pressure to this situation and you have the equivalent of a dull knife sawing into your shrouds!
To negate this problem you just need to apply a strong chafe covering. Applying service to the shroud where it passes through the spreader tips will protect the stays and avoid any chafe related damages.

Service is great, it wraps the stay in a protective layer that can be replaced when it is significantly chafed while the structural stay remains unharmed and untouched. The problem is figuring out where the service should be placed on the stay to make sure it lines up perfectly with the spreader tip.
You could measure this distance and then calculate where it should fall, or you could mark the location on the mast and apply service from there.

The spreader holds the shrouds out, increasing their angle to the mast and increasing their effectiveness at holding the mast true. The spreader is supposed to bisect the angle of the shroud running through it, meaning that the angle between the spreader and stay should be identical above and below the spreader. Spreaders are rarely located in their correct position, making it hard to determine exactly where the shroud should be serviced. After factoring in stretch, you will find that it is nearly impossible to empirically determine where the spreader tip will contact the stay.
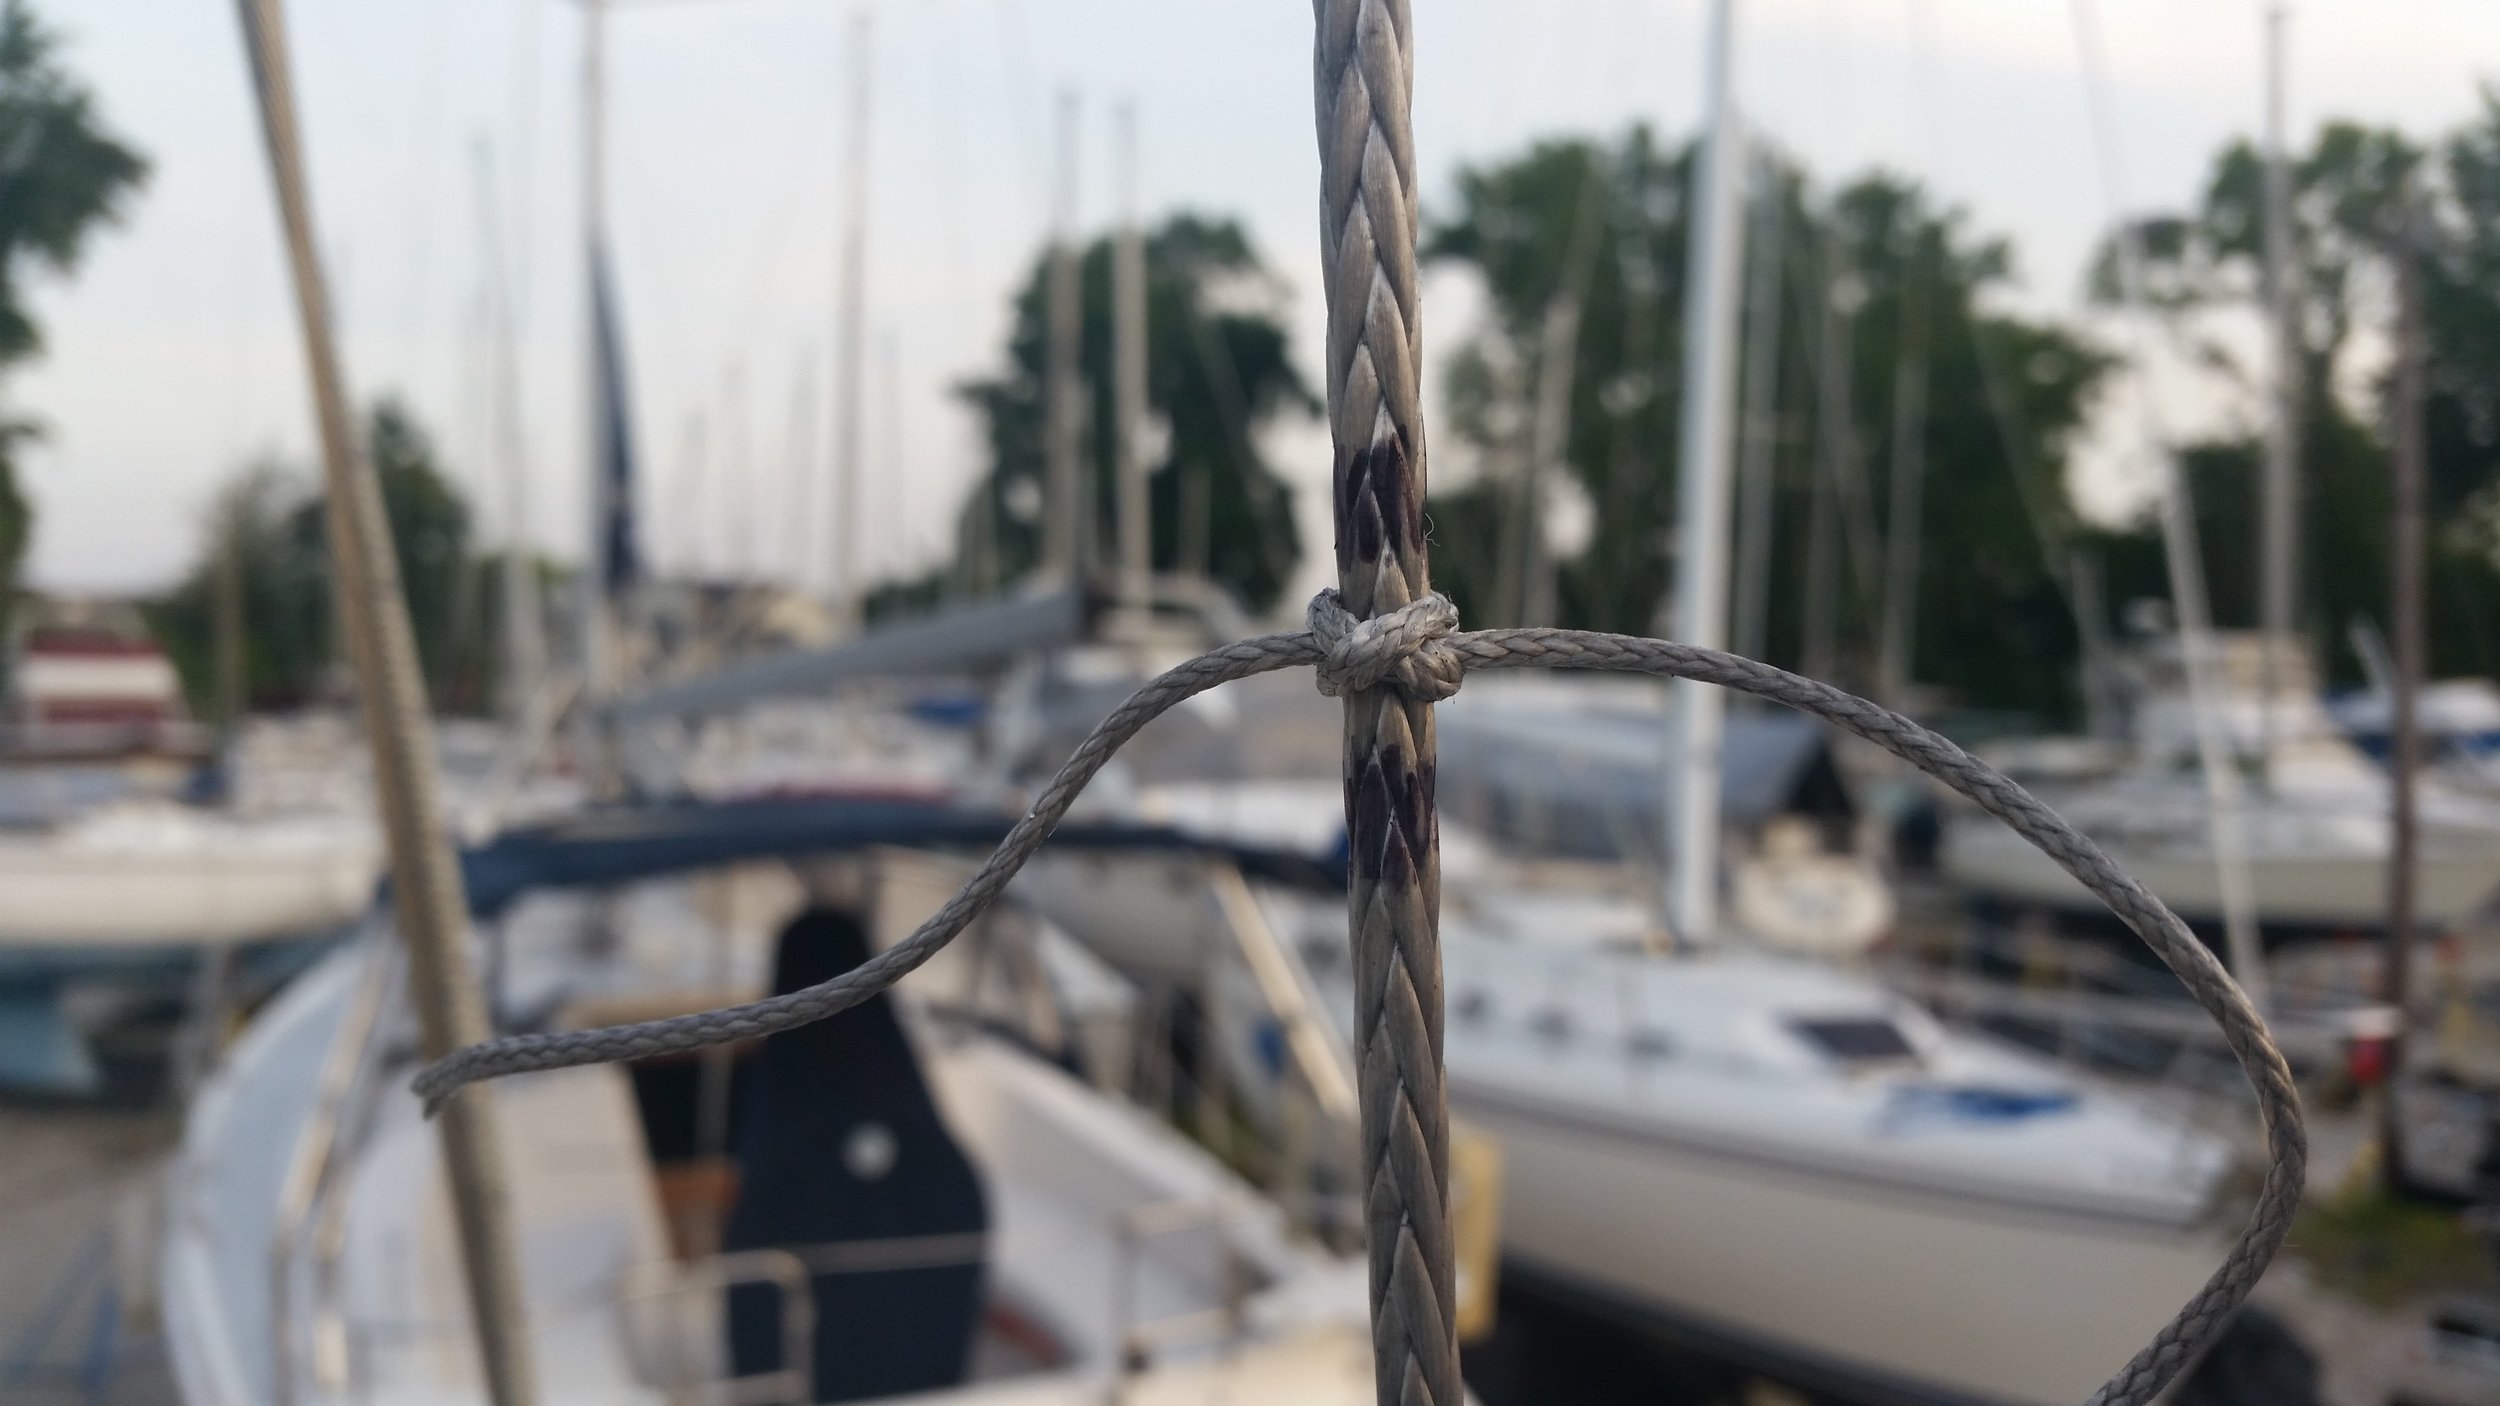
The next best thing is to estimate where the spreader will fall and try it out. After getting the constructional stretch out, tie a small line to the shroud with a constrictor knot. This will give you a reference point of where you expect the spreader to contact the stay. Simply attach the stay to a halyard and raise the stay up the mast until it is parallel to its attachment point on the mast and observe where the constrictor knot falls in relation to the spreader.
If the knot is lower than the spreader, lower the stay and push the knot up a bit. If the knot is higher than the spreader, lower the stay and push the knot down a bit. Once you get it very close, tighten the constrictor knot and raise the stay one more time to verify that it is in the correct location.
After I get the knot in the perfect location, I mark the upper and lower sides of the stay with a thick marker. If the knot moves, the markings will remain and the location will not be lost.
With single spreader stays, the process is rather straight forward: mark the location on the shrouds where it contacts the spreader. On double spreader rigs, you need to mark where the stay contacts the lower and upper spreaders. It is very important to seat the stay over both spreaders when measuring as the angle will affect the length and position of the contact point.

When you finally get both of the spreader tips marked, tighten the constrictor knots and verify that the knots didn't move during the raising or lowering process.
Once all the spreader tips are marked, you can proceed to the next step of installing service on the shrouds in their appropriate positions. On single spreader rigs, you will only need to apply service in two areas. On double spreader rigs, such as this one, you will need to apply service in six areas!
