
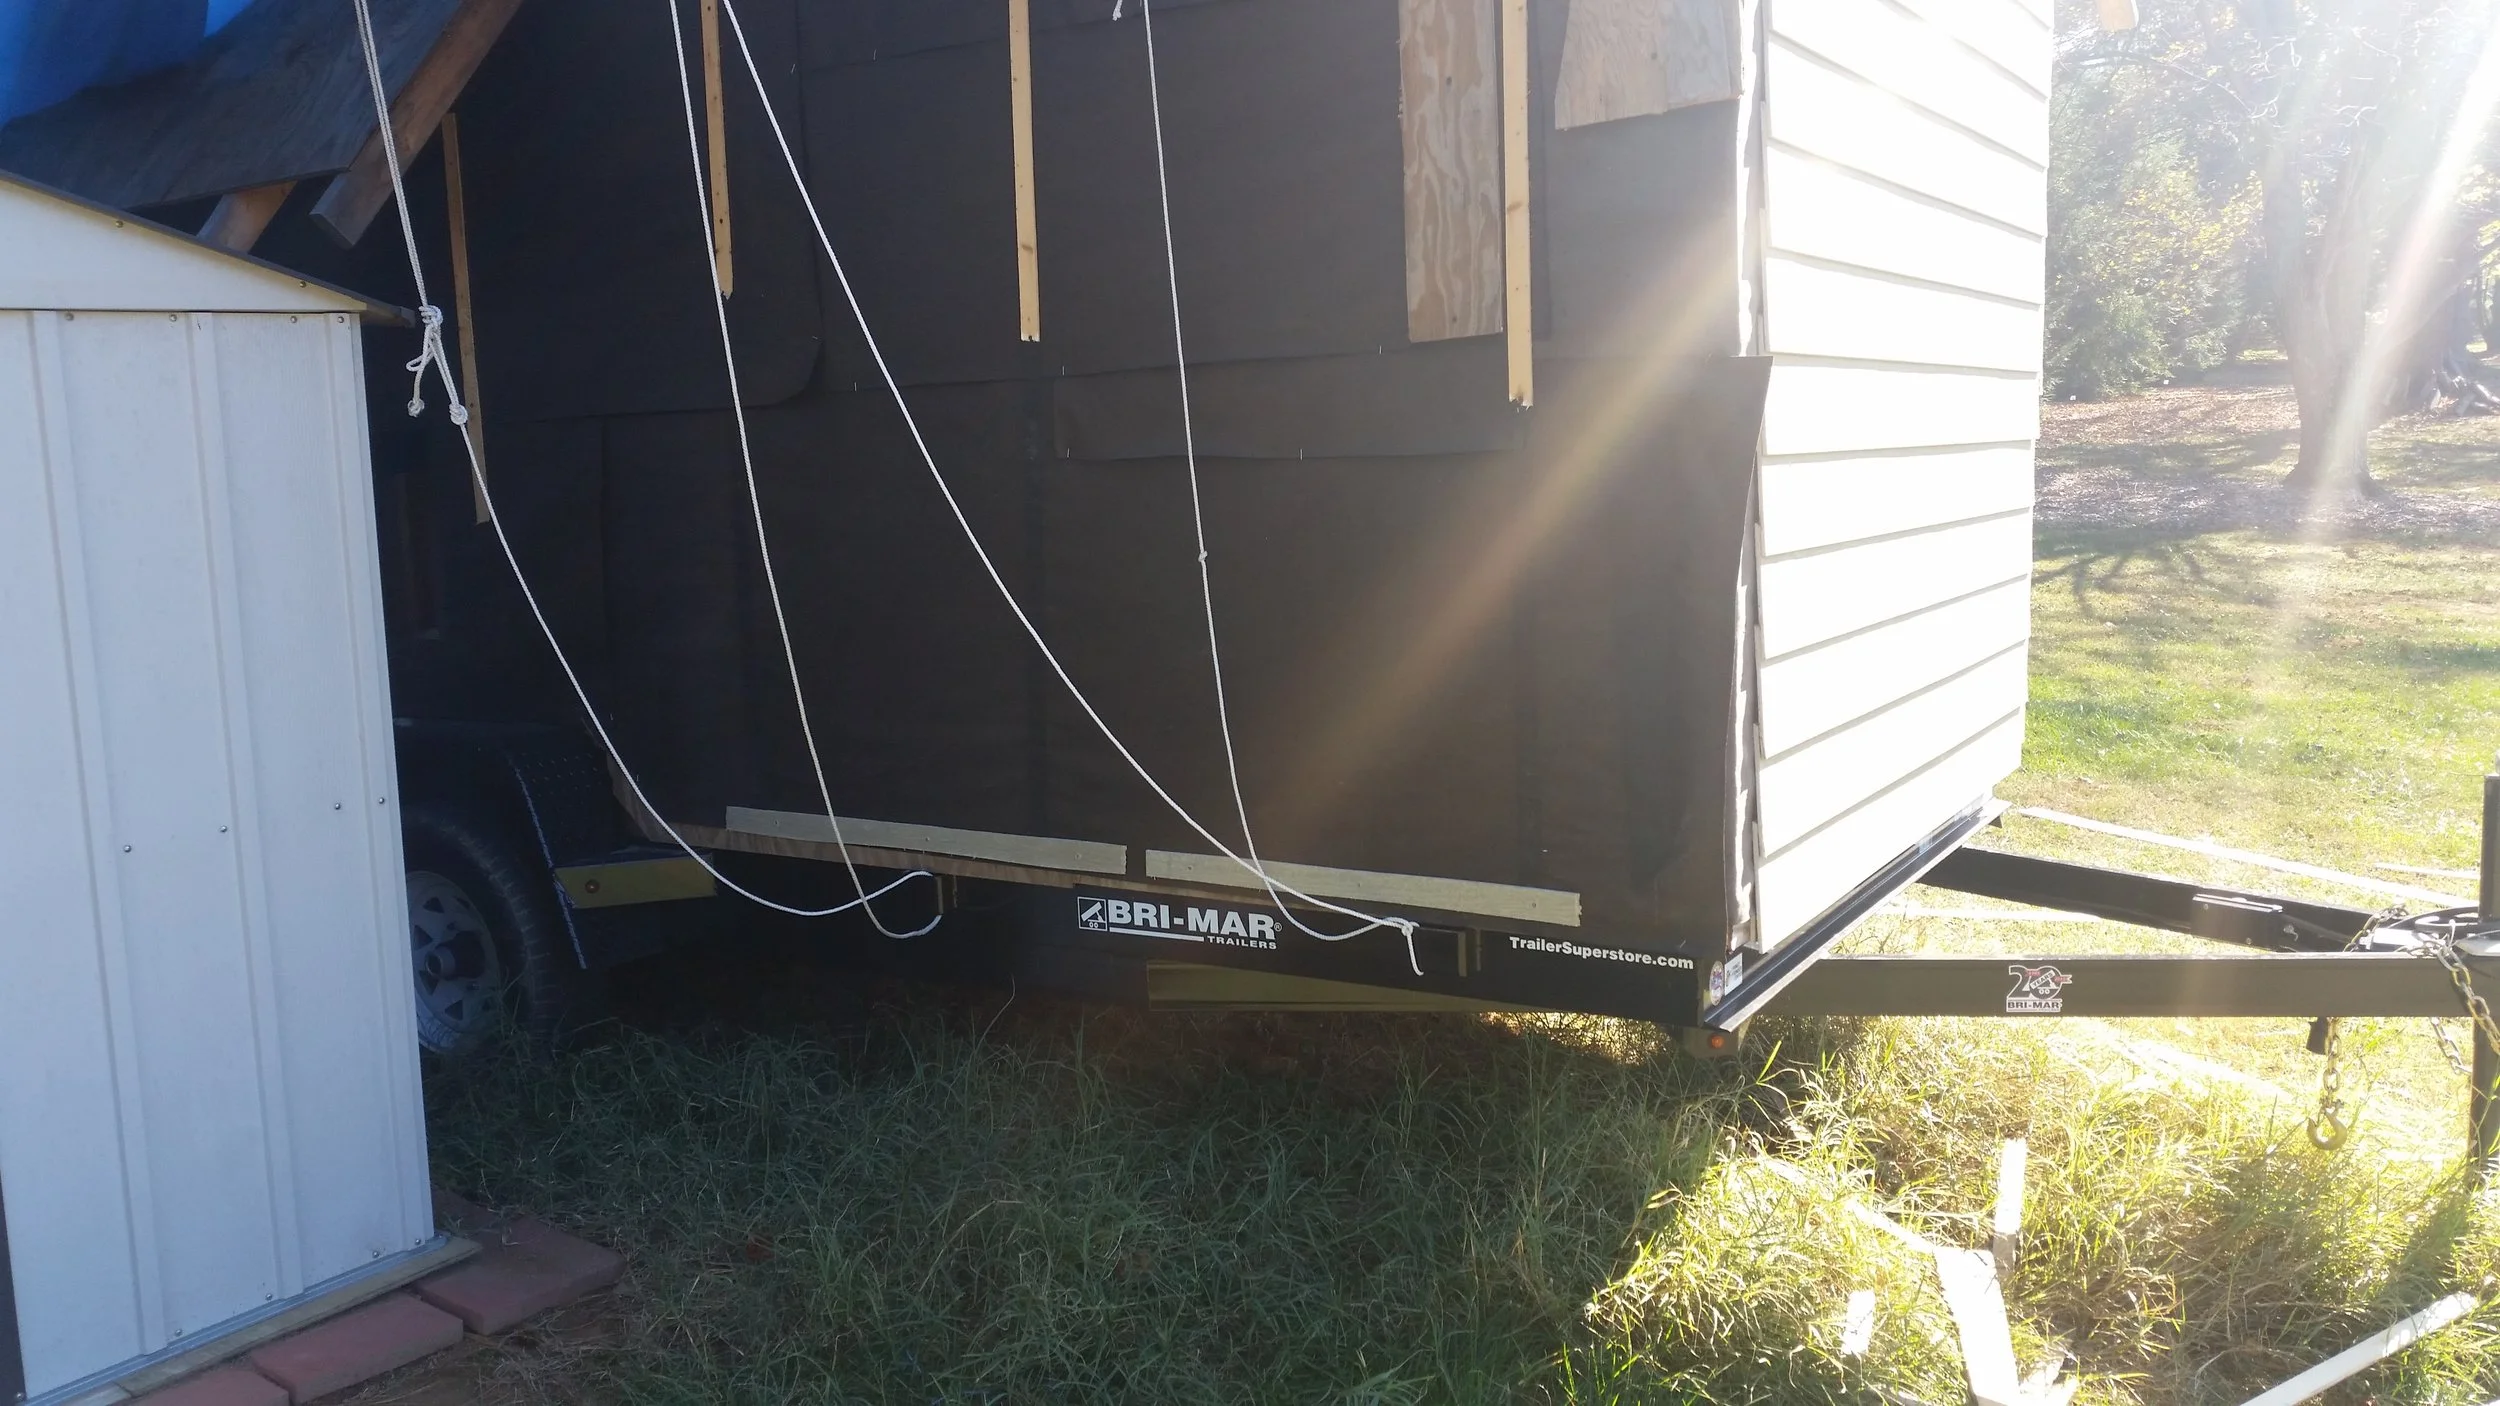
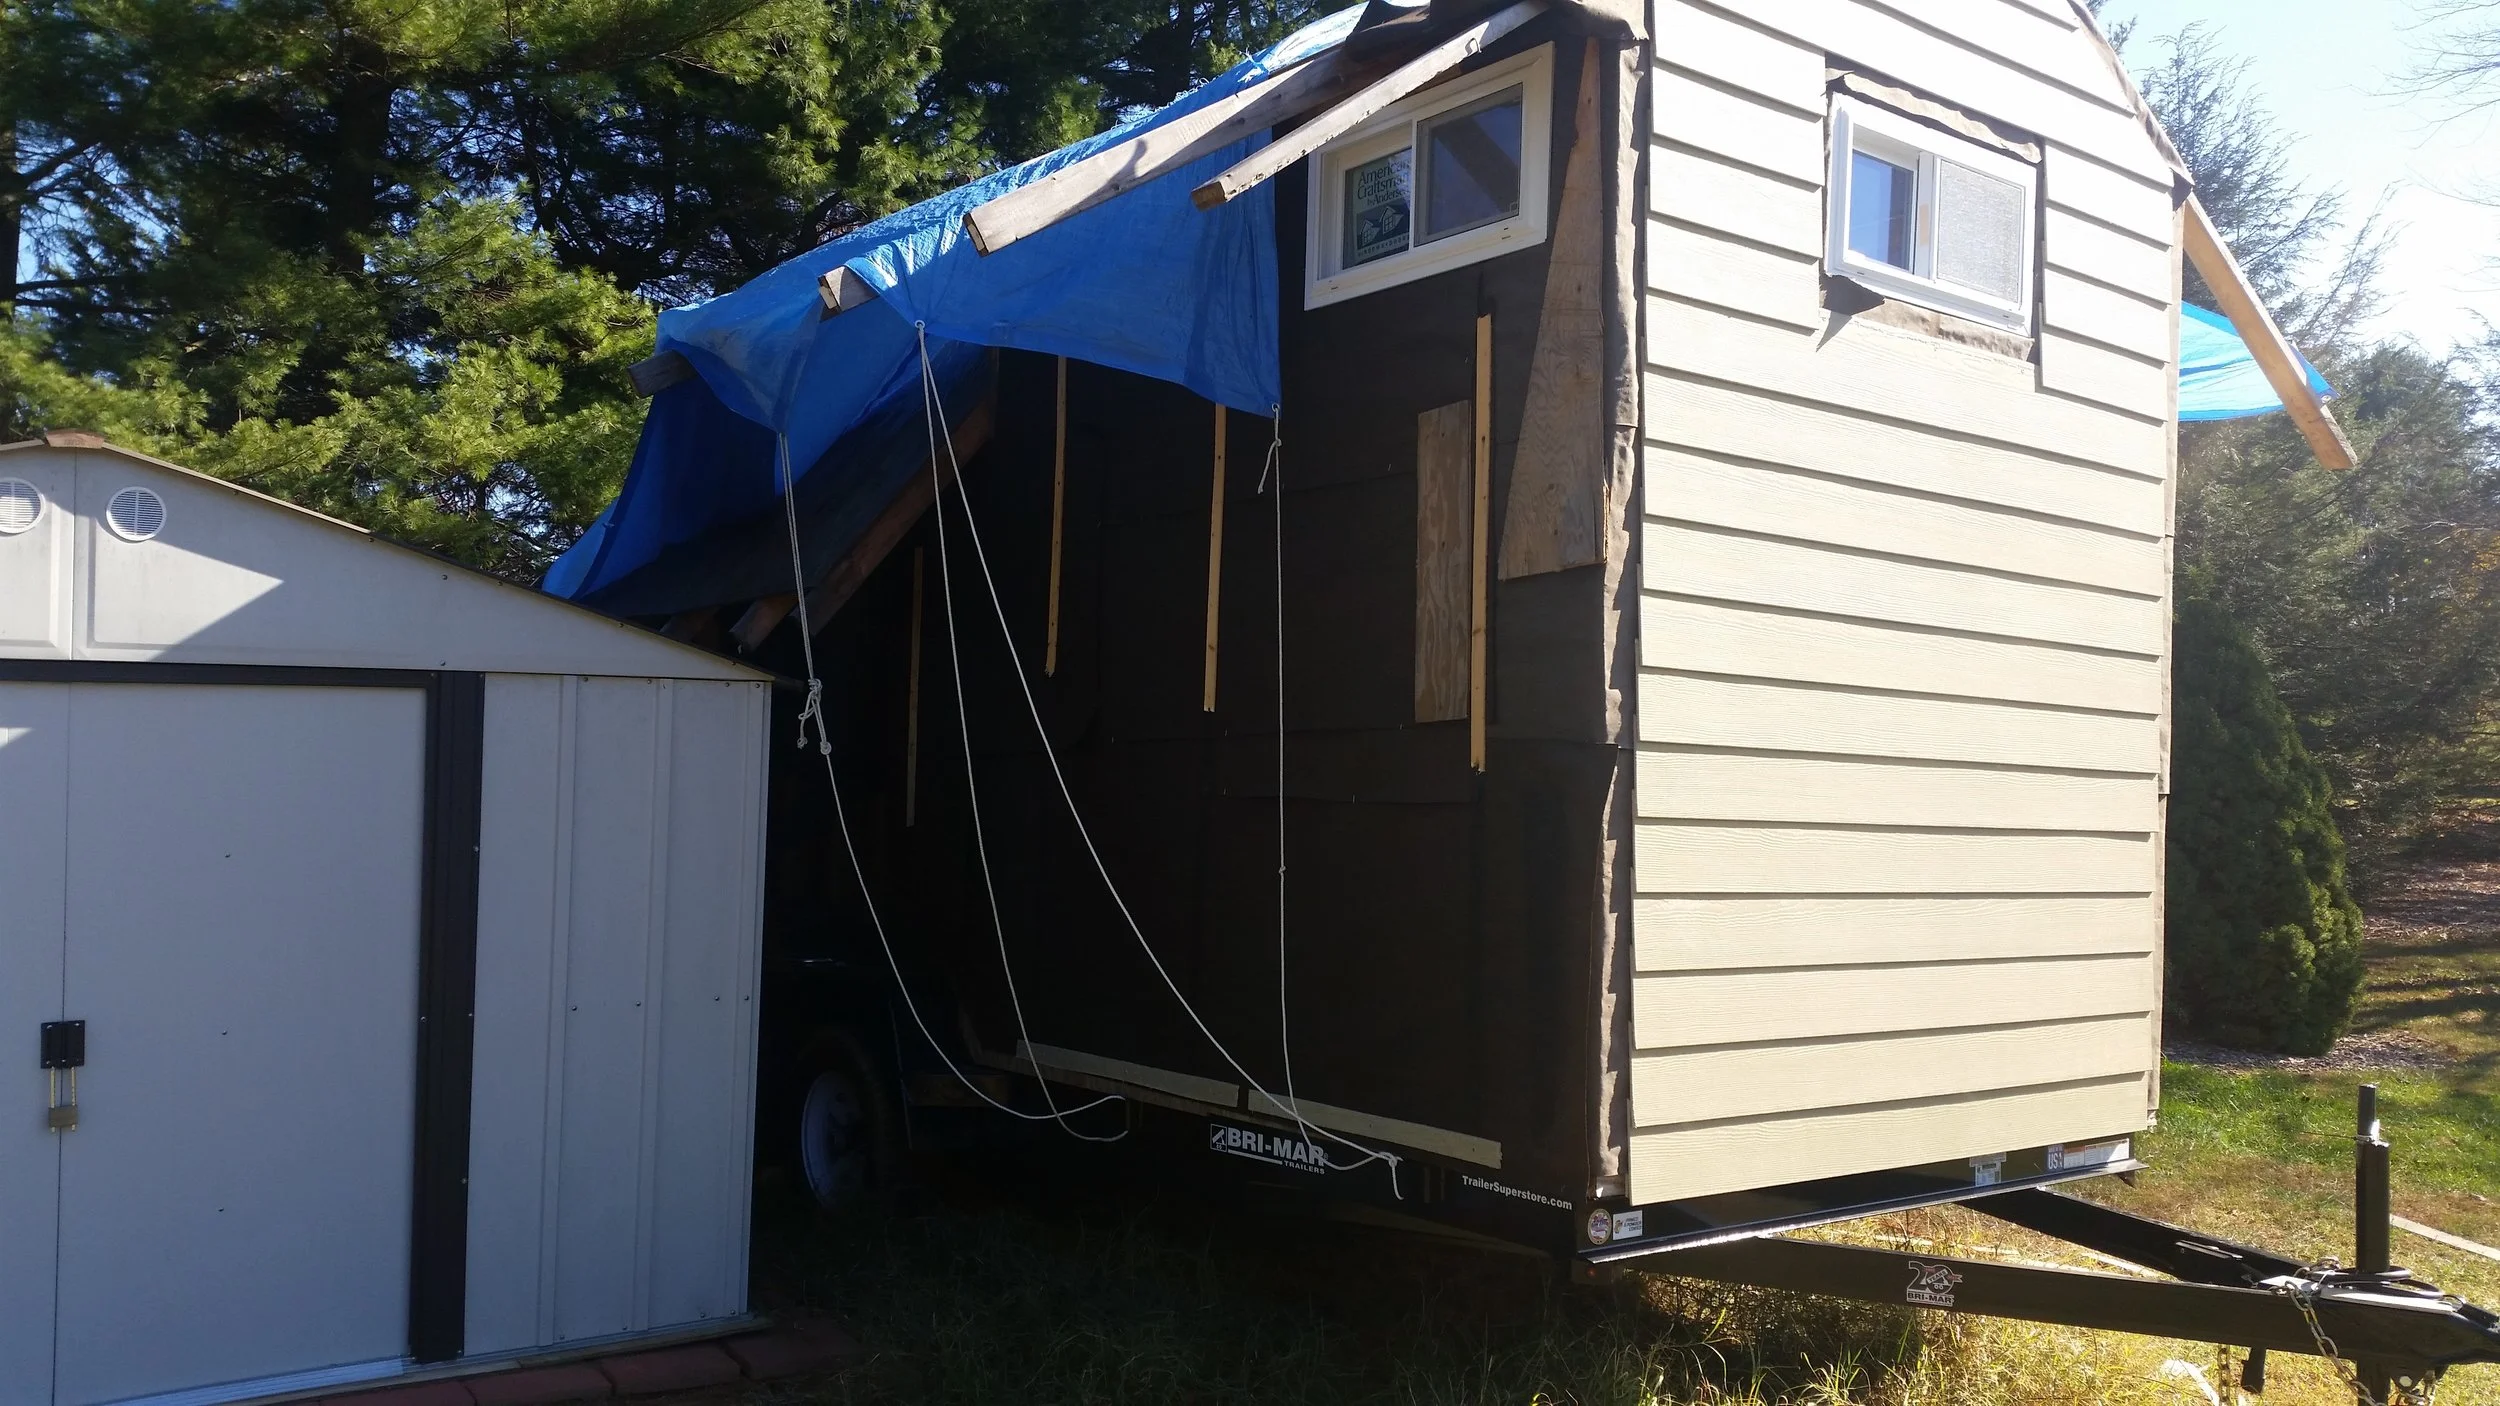
With three of the four walls sided, it is time to wrap up this project and transform the tiny house from a pile of peeling tar paper into a pretty to look at tiny house from all sides.
Once again, the starter strips are placed at the bottom with gaps in between them to allow water to drain out, should any rain get between the siding and the tar paper.
With the starter strips screwed to the wall, the lower portion of the battens was removed to make room for the siding to go on. Long straight planks made planking the side very fast and easy. The boards were all cut to measure and then assembly proceeded. I was able to plank the side of the tiny house very quickly using the hooks and a cordless drill.
The siding went on quickly, and then I ran out! I had a little more to go and I would be finished. I calculated that I needed two more boards from Lowes to finish the job!
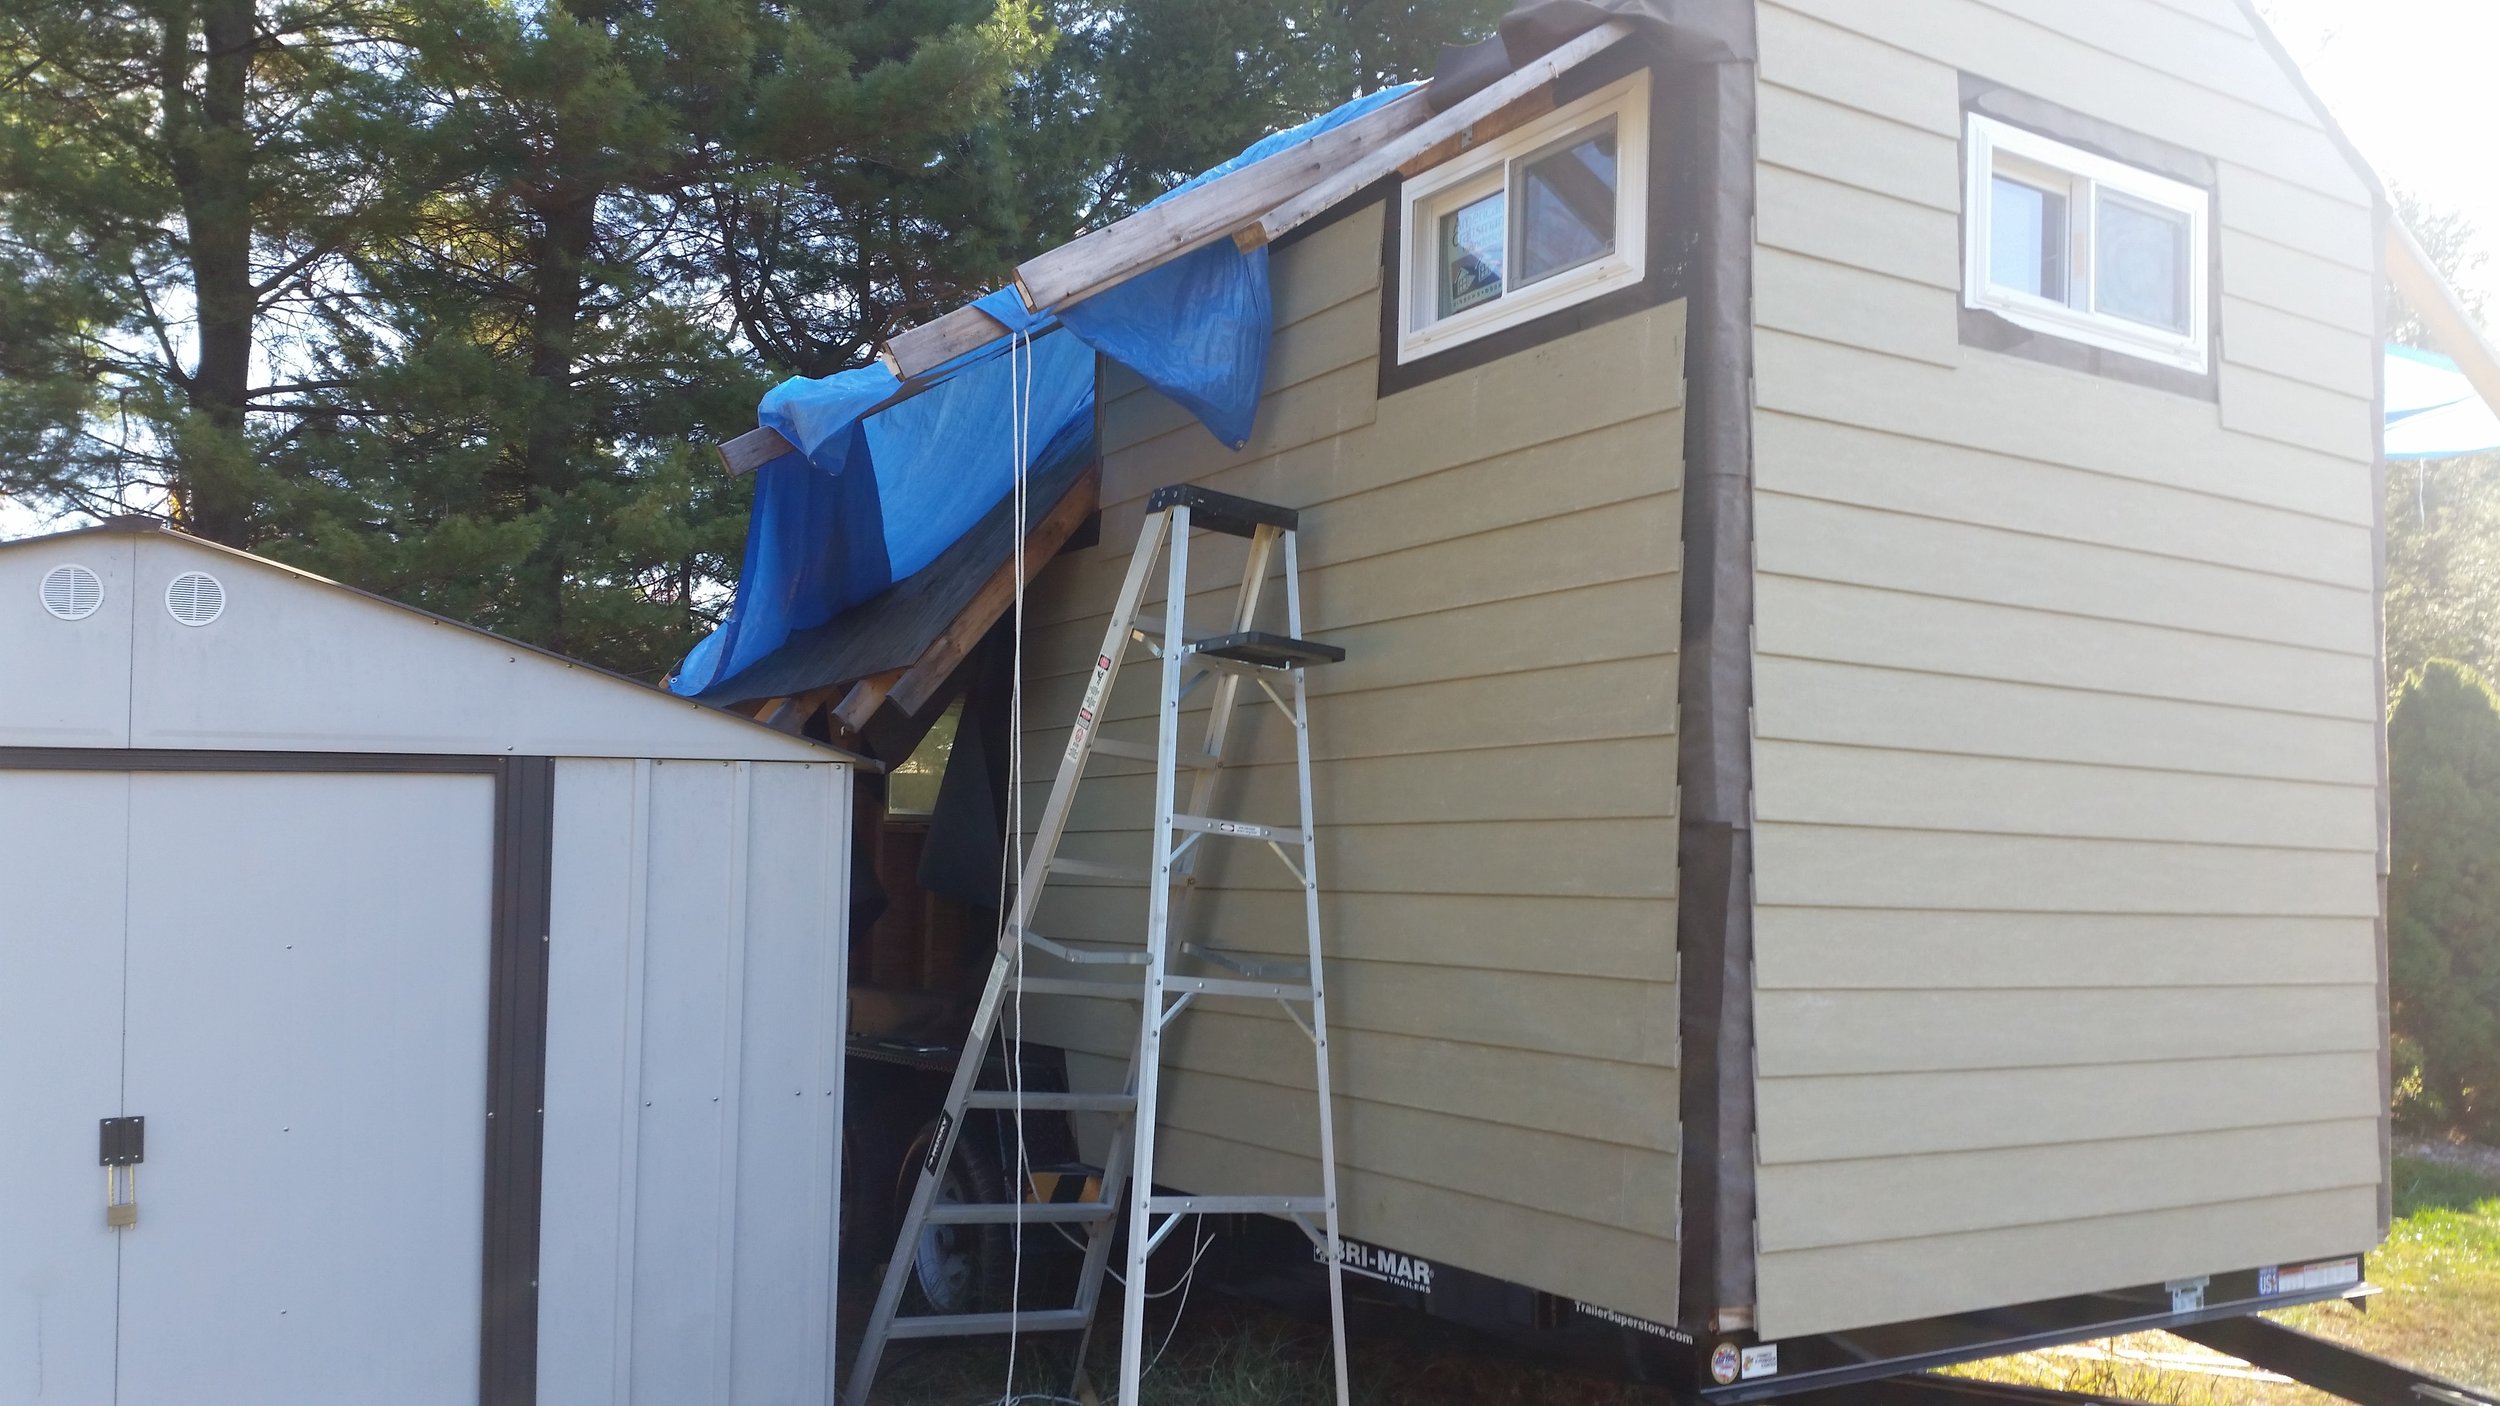
With the two extra boards, I was able to finish the siding around the window! The siding between the large window and back of the trailer was able to be sided using offcuts that were laying around in the scrap pile.
