Chafe

Ocean Crossing and Chafe

Ocean sailing differs greatly from coastal cruising. In a coastal situation, you can afford to be risky. You can fly too much sail, heel over too far, maybe even push the envelope of what the yacht is capable of. If something breaks, the penalty is rather costly and small, as a repair facility is always at hand. Should your mast break, a sail tear, or a sheet part, the result is the same: the boat broke and will be fixed promptly at a nearby facility.

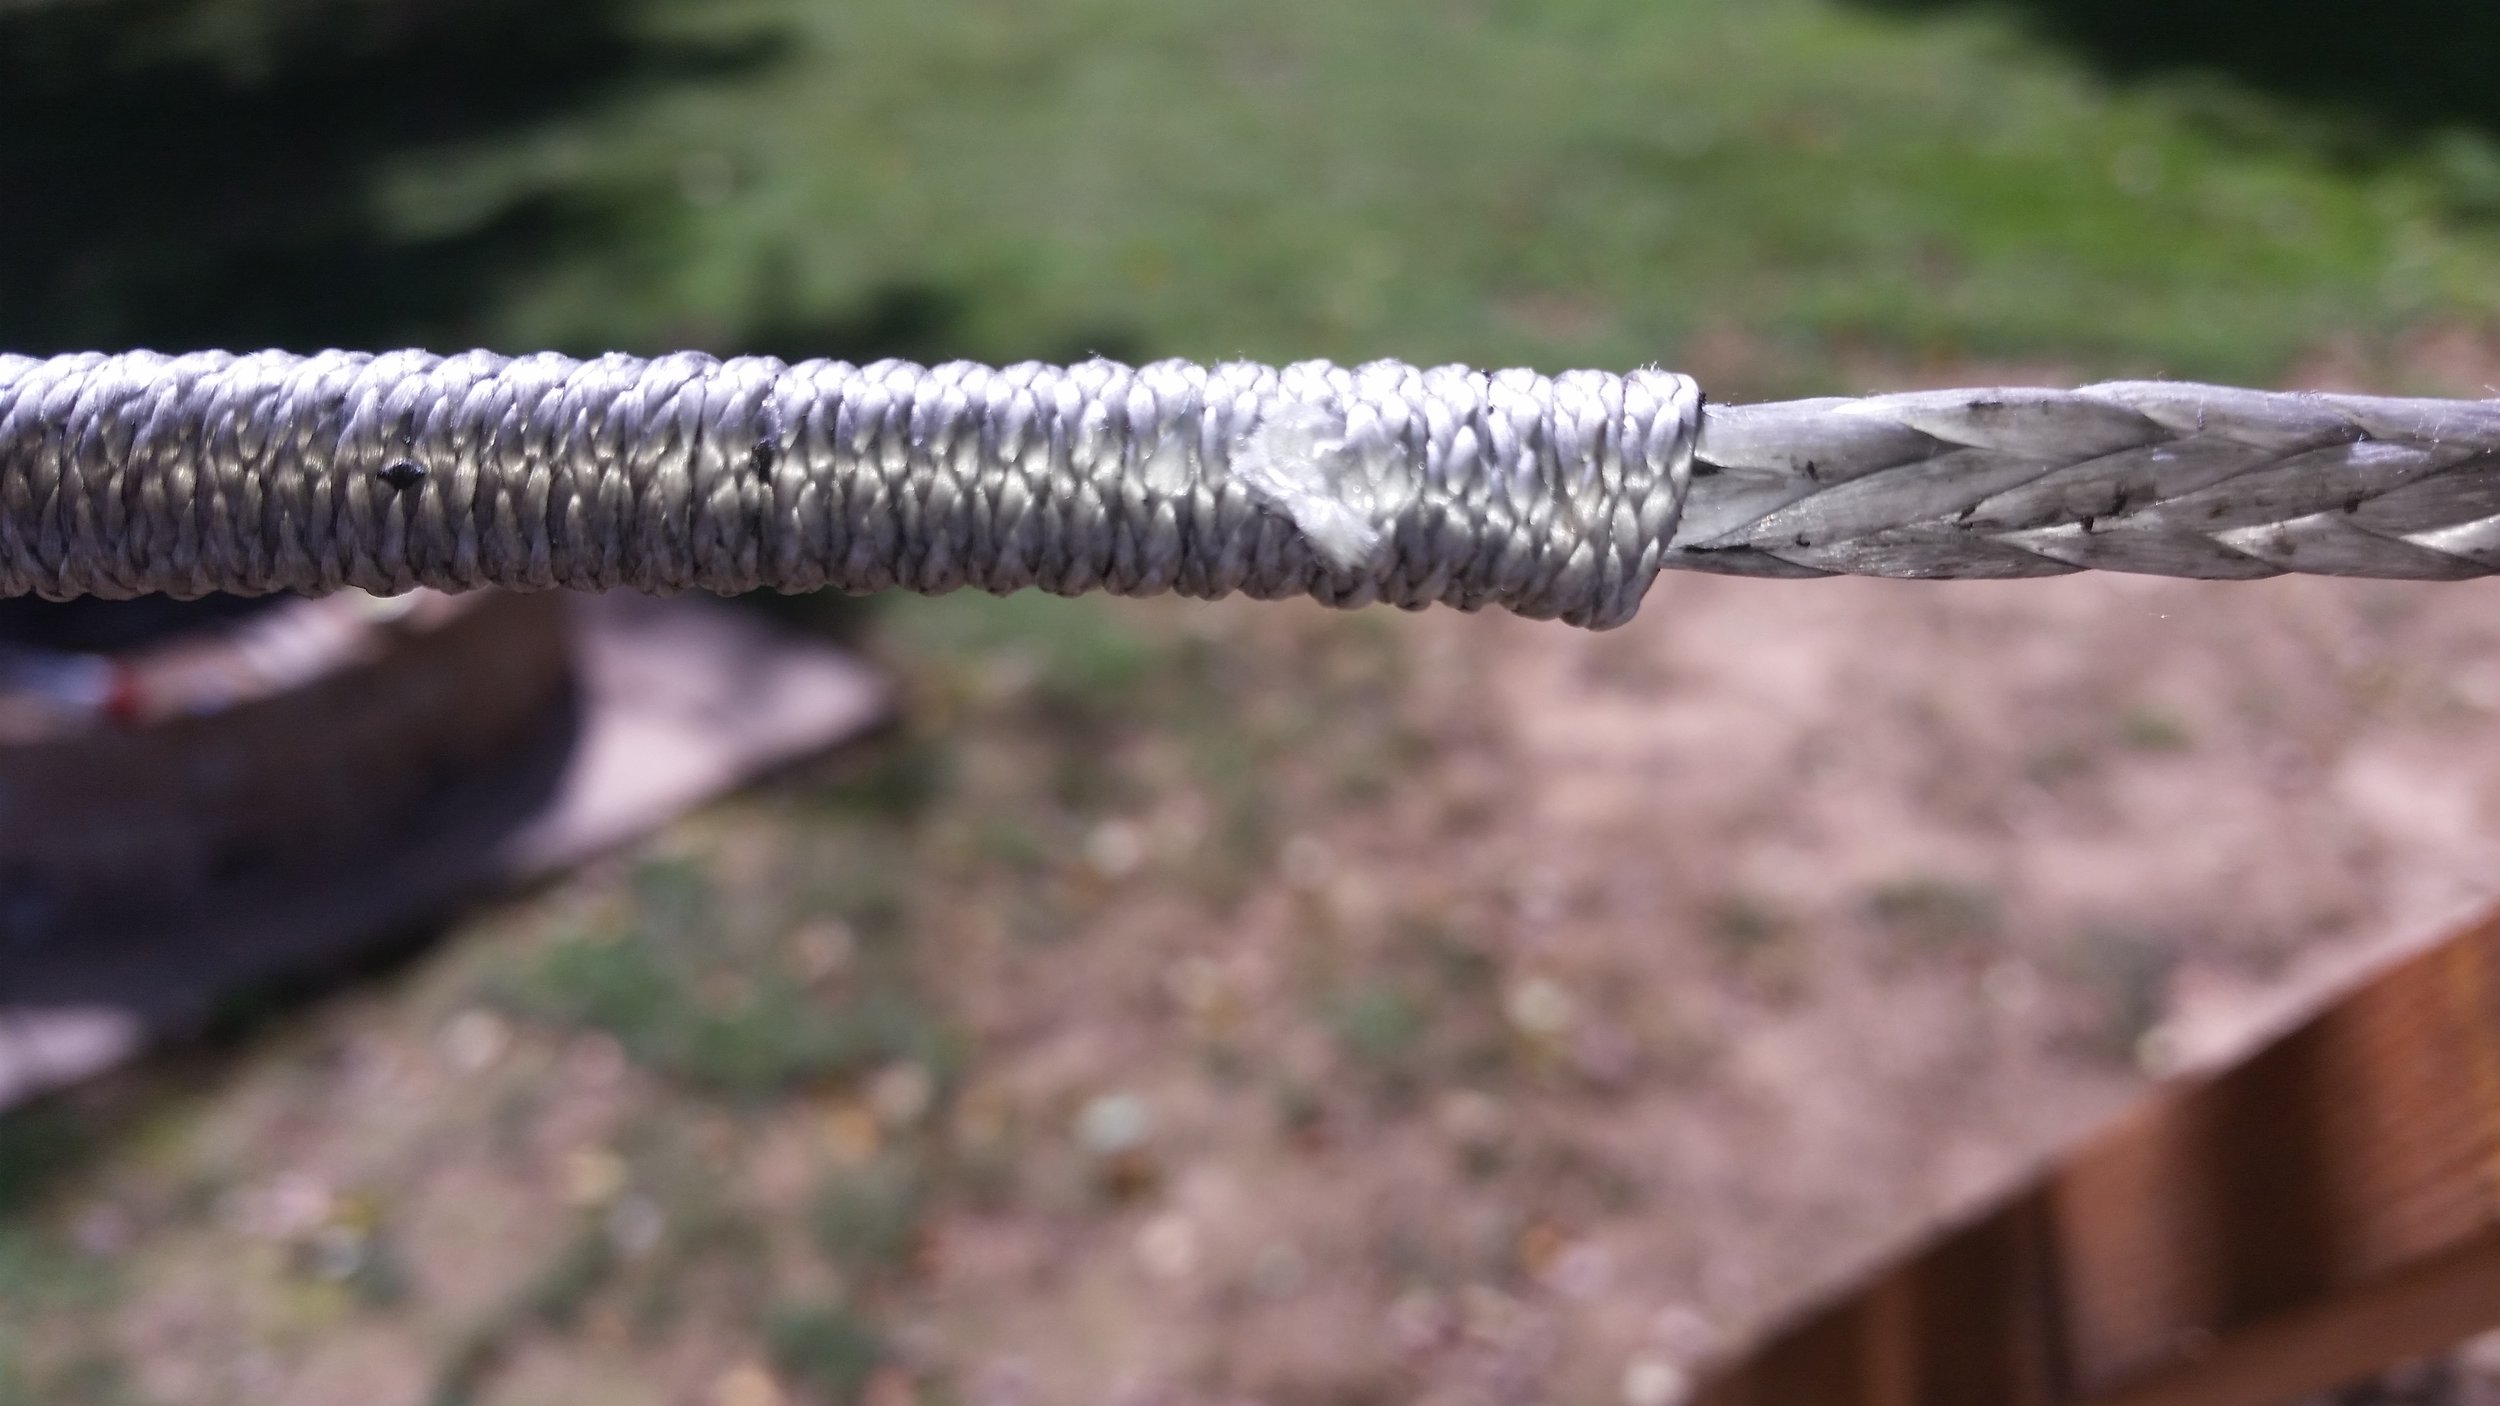
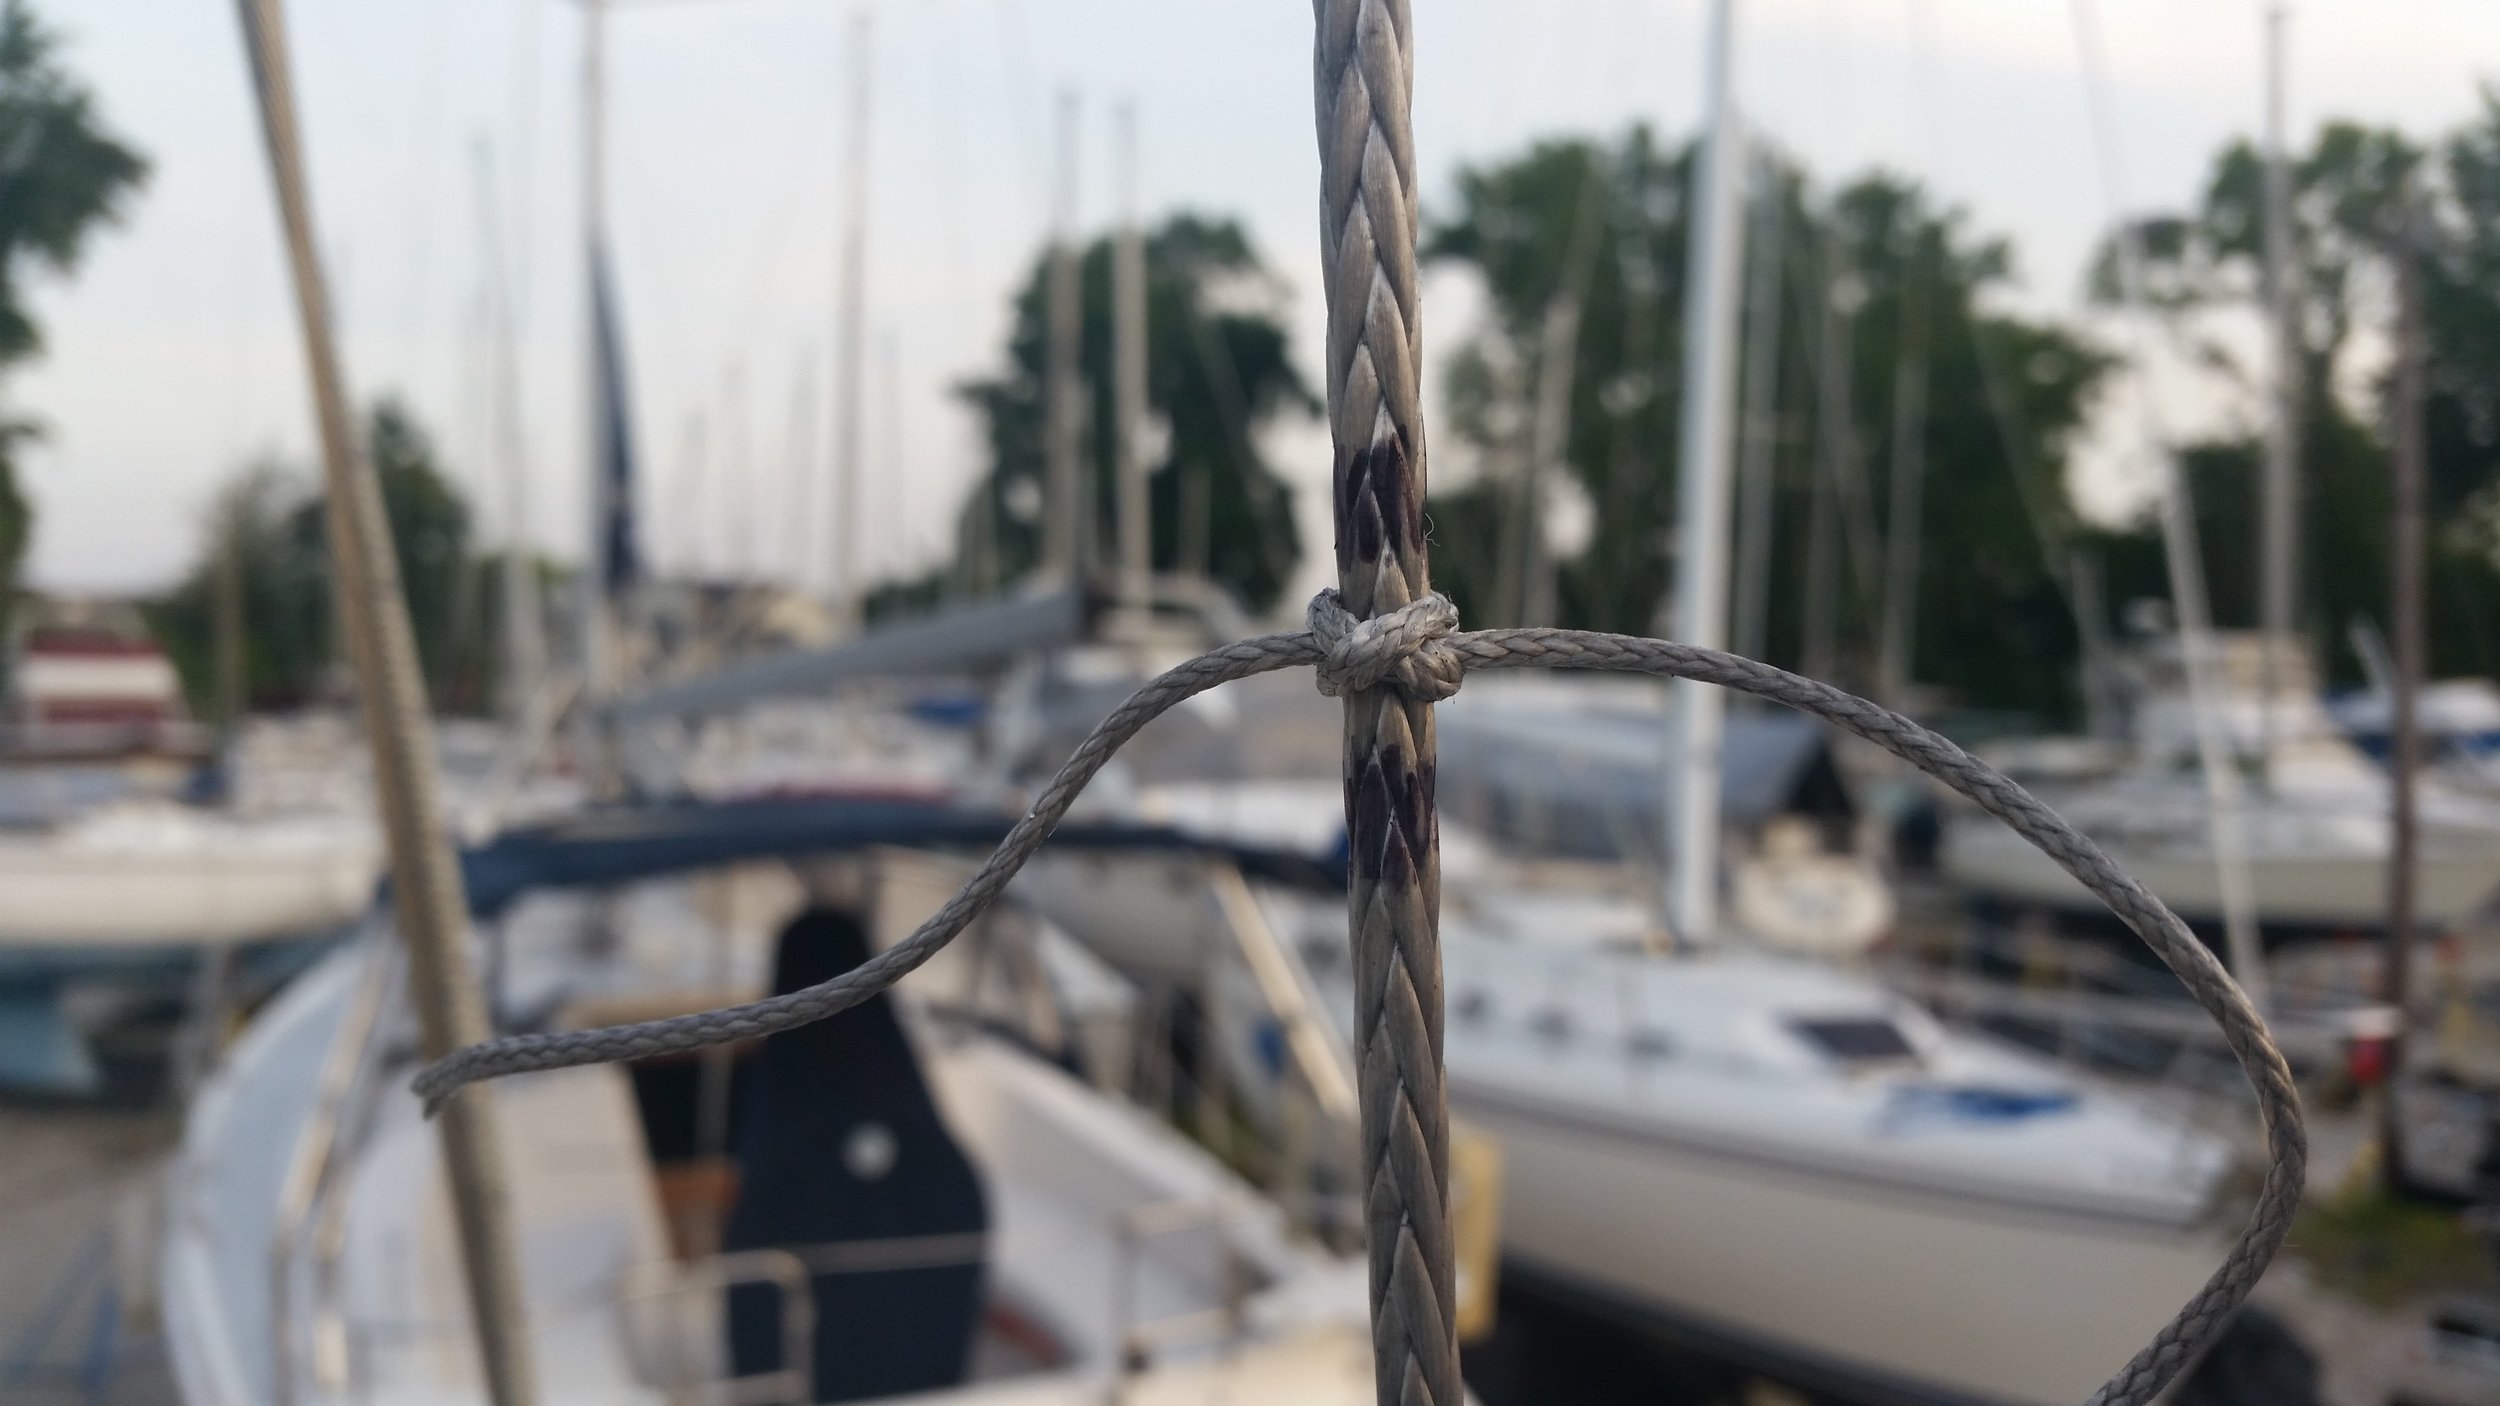
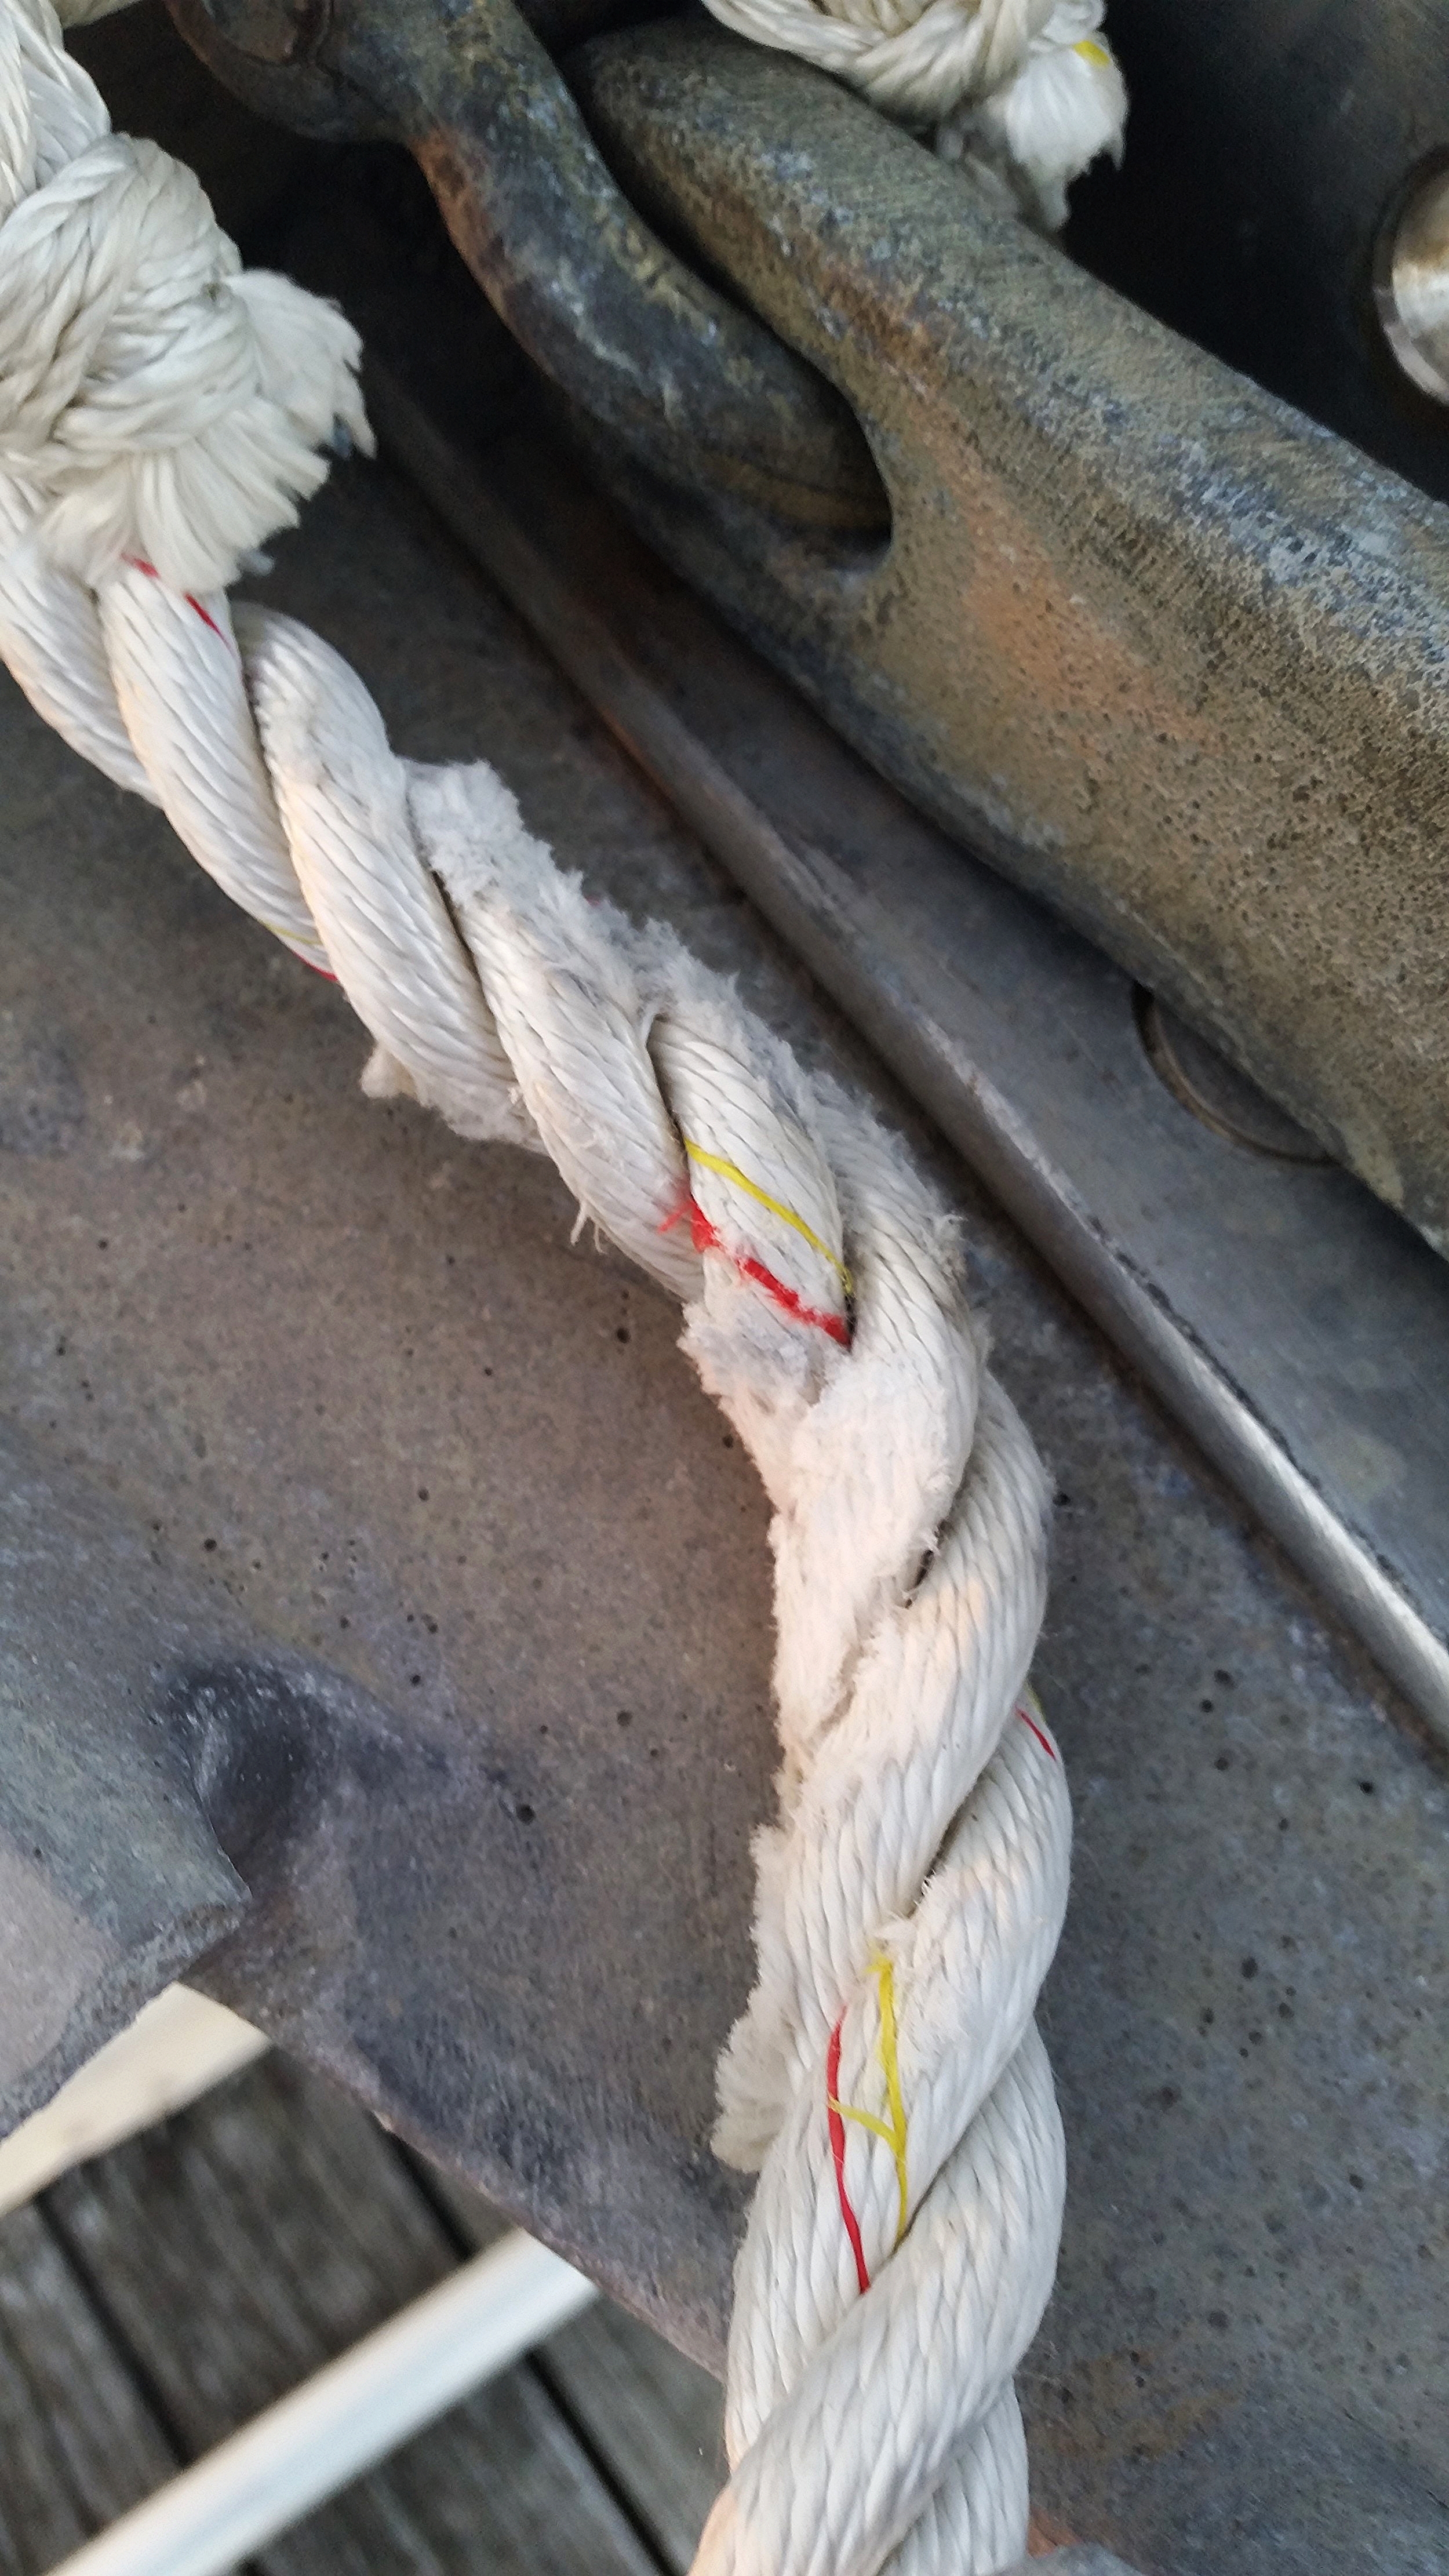
In the ocean, there is no nearby facility. If something on the boat breaks, you are left to your own devices to repair it. Carrying too much sail can risk tearing the sails with no sail loft for a thousand miles and no way of getting your yacht to shore! Setting the sails against the rigging will also cause them to chafe, and that will lead to a gash forming in the sail cloth.

On a deep broad reach or run, you may be tempted to ease the main all the way out and let it drape against the rigging, but each wave and puff of wind will cause the sail to shimmy up and down on the stay, sawing through the cloth.

Instead of trimming the sails to perfection, it is more important to trim the sails to longevity. Keep them set in a way that they do not contact any part of the boat or rigging. This will keep them from chafing and will almost guarantee that your sails will make it across the ocean and be ready to carry you back home when the time comes.

This might not be the fastest way, nor the most efficient, but it certainly is the safest and most frugal way to trim your sails.

Deadeye Torture Test

Synthetic standing rigging, made out of Dyneema, is stronger than steel rigging but several times lighter. This allows your yacht to have less weight aloft while having more strength to hold the mast upright. The result of this is your yacht will become less tender and perform better in all wind conditions. 

As if all of these facets of synthetic standing rigging were not wonderful enough, it has yet another shining attribute of greatness, it can't corrode!

Dyneema is made out of UHMWPE, which stands for Ultra-High-Molecular-Weight-Poly-Ethelene. The important part in that long word is Poly-Ethelene, another word for plastic. We all remember those commercials from the 1990's when they would show some miracle being performed, like saving a premature baby, or transporting clean drinking water, and they they would finish with "Plastic makes it possible." Once again, the world of plastics has had yet another breakthrough and can now create fibers that are stronger than steel, weigh next to nothing, and (since they are plastic) never corrode.

Your standing rigging faces a harsh life on a yacht. It is often ignored or overlooked while constantly bathed in moisture and salts. The stays are all crushed at the ends, making them grasp the wires as they slowly but surely begin to rust. In time, the corrosion will become so severe that the stay will break and fail, all because of a little moisture on its surface. 

Synthetic stays are immune to this issue, as they will not absorb, nor will they interact with moisture on their surface! While freeing your mind from the concern of corrosion may sound grand, there is one weakness specific to synthetic standing rigging: chafe. 

Chafe will break individual fibers on the stay, gradually weakening it until it will fail under the load it is frequently subjected to. Chafe, however, is easily avoidable. If you see your sheet rubbing on your stay, simply re-route your sheet to avoid this contact. If you know the stay will be chafed to carry out its task, simply add a chafe sleeve to it, or if the chafe will be severe, add service wrappings to provide an even more durable layer of sacrificial protection. 

This is all well and good, but what happens if you overlook something? What if a part of your rigging becomes chafed quite severely before you notice it? How bad can it get?

While sheets chafing on your stays is bad (in the long run), they are not your worst of concerns. You should look at all items on your yacht as potential chafe offenders and secure them in a way that they can not cause any harm. I protected my headstay against chafe from the hanks, but I neglected to consider what could happen if chafe between the deadeye and the anchor occurred.

IMG_1793.JPG

In this destructive experience, the anchor lept out of its roller and laid against the deadeye for 3 days while in a storm. The results were quite devastating. 

IMG_1839.JPG
IMG_1861.JPG
IMG_1837.JPG

First, the thimble that produces a nice and appropriately radiused bend was bent fiercely by the shank of the anchor. The Dyneema of the deadeye was the next piece in this destructive path. Several strands of the grommet were chafed through completely, making this component severely weakened and in immediate need for replacing. 

IMG_1865.JPG
IMG_1847.JPG

The damage only occurred on one side of the deadeye, as the anchor only laid on one portion of it as it chafed away. This did mean that several of the strands were still intact, though they were weakened by the tight radius bend through the toggle. The toggle itself also appears a bit flustered by the entire situation, as surface rust is present (thankfully, the surface rust is actually rust from the anchor that rubbed off on the toggle) and the corner of the toggle is a bit rounded from the constant pounding. This constant impact will work harden the metal in the toggle and make it more prone to cracking in the future.

Now, while this damage may seem severe, it was easily avoidable by properly securing the anchor, and it was also easy and inexpensive to repair. 

The cost of materials for a new deadeye are merely the cost of 4 feet of dyneema in the size you used. This particular deadeye was made out of 9mm SK-78 dyneema and the materials only cost around $20. The deadeye itself takes about an hour to make, making the entire repair not that intrusive on the wallet. Should a situation like this arise, I carry a "pre-made" deadeye in our box of spares, that way I can get straight to work and not worry about taking the time to manufacture one should the need arise.  

While synthetic rigging is stronger than steel, it is quite fragile by comparison. Special care should be taken to ensure that no chafe occurs. If a component becomes chafed, you can always refer to this post for guidance as to its continued serviceability. 

https://www.riggingdoctor.com/life-aboard/2015/10/16/how-much-chafe-is-too-much

Chafe is a fact of life on a sailboat, but thankfully it is an easily inspectable problem that shows signs externally, unlike steel rigging which can corrode away internally and only show problems that are detectable to a trained and professional eye.  

One last point about the durability of Dyneema. This deadeye became severely chafed during a gale that lasted for 3 days. After the gale, we sailed 80 miles around Cape Hatteras in winds ranging from 30-45 knots and the deadeye remained functional, holding the mast up. We did not load the headstay with a sail, as that might have pushed it beyond its remaining strength, but we did fly a staysail and double reefed main in these wind conditions as we beat to windward. The deadeye was under intense and severe load during this ordeal, and yet it remained intact during the whole event. If chafe is a concern in your mind, let my misfortune of a mangled deadeye demonstrate to you that even in a disfigured state, Dyneema is rediculously strong and will stand up to the abuse to get you home safely! 

Islander 36 Conversion: Shroud Service

Service is tightly wrapped line that protects the underlying rope from damage caused by chafe. Service is applied using a serving mallet which is a tool used to create incredible amounts of tension on the line and install the service line in a very organized and methodical fashion.

The spreader location is marked on the shrouds, indicating the location of the current spreader tip. This position may not actually be the ideal location, so the mark should be considered a guide and not an absolute. Spreaders vary in position by a few degrees, which translates to a few inches at the spreader tip. 

For the sake of numbers, if a spreader tip can vary by 6 inches (up or down) and you do not know where it is in its range, its position could be +/- 6 inches. This becomes a 1 foot span of possible spreader tip contact points. For the sake of safety, I plan +/- 1 foot to the marked position, that way the spreader tip doesn't contact the edge of the serviced section. 

Service is started and finished by hand, meaning that the ends of the serviced section are actually the weakest parts. To ensure that the section contacting the spreader tips is very strong, I start and end the service 1 foot beyond where I need it to be. This translates into a +/- 2 feet of the marked spreader tip position. Basically, each spreader gets a 4 foot section of service to ensure that the tip lies on a very strong and protected section of the shroud. If your yacht has exceptionally long spreaders, consider increasing this distance to ensure that your shrouds are protected.

The setup is rather simple. All you need to do is stretch the stay out and connect some stakes to the stay to avoid twisting the whole thing up, then begin servicing! I measure 24 inches in either direction from the marking and indicate this position with some masking tape. The tape is easily removed later, but provides an easily seen indicator of where the service needs to start and stop.

The stakes are lashed to the stay to keep the twisting force limited to the serviced area. You can see how the section being serviced is twisted while the rest of the stay beyond the stake is untwisted. The twisting doesn't harm the synthetic stay, but it can wreck havoc at the ends where the stay is tied. 

I tied the ends to two strong tree branches, and a strong twisting force could damage the bark and injure the tree. Using these stakes protects the rest of the stay from twisting while letting you work in a controlled environment.

With the stay staked and secured, it is time to begin the service. Beginning service is rather tedious. I wind the tail of the service line 10 times around the stay and then pass it back through the first 5 loops, leaving the tail exposed and pushed forward. With a marlin spike, I tighten the loops and get the service underway so I can connect the serving mallet. 

With 10 tight loops present, the service will stay in place while I connect the mallet. The mallet is lashed to the stay with many wraps around the handle adding resistance to the service line. This resistance allows me to control the tension in the service line as it is wrapped onto the stay. More resistance means a tighter and stronger wrap. Too much can cause the service line to break, too little is not very strong. Balancing the tension is crucial as it will directly relate to the quality of the service.

I gauge the service by the temperature of the freshly serviced part of the stay. Too loose and the service will be cold, too tight and the stay will twist without accepting any new line, just right results in warm service. By keeping a hand trailing the serving mallet, I can monitor the temperature with my hand to ensure that it is going on properly.

If you attach the spool of rope to the end of the serving mallet, the entire process will be greatly expedited. Service becomes a simple task of spinning the mallet around the stay thousands of times. As the mallet spins, the spool will travel with it and feed the mallet along the way.

When you get to the end of the service section, you will tie it off in the same way you tied off the beginning of the section. I disconnect the serving mallet and cut the line with a few inches of a tail.

With the tail stretched out, make sure you have enough to tie a marlin spike hitch later in the process.

Unravel 5 loops while keeping tension present on the 6th loop to avoid it from coming loose. If it does come loose, don't worry, just unwrap the last loop so that you still have 5 loops present and ready.

Now slip the tail through the raised loops and hand tighten the loops back down. Pull the tail by hand as well to help tighten the knot. Be sure that the tail remains straight and doesn't begin to twist under the wraps. Keeping it straight will make  a tighter and stronger knot later.

With a marlin spike hitch, pull on the tail to fully tighten the knot. This will result in a very tight knot that can not be undone with ease. This will keep the ends from unraveling when high up on the mast.

After it is tied tightly, cut the tail off flush with the service using a sharp rigging knife. I fuzz the end of the tail to avoid any potential chafing points on the service.

Following these steps, you can properly install service on a stay that will protect against chafe and wear while increasing the service life of your standing rigging.

Islander 36 Conversion: Marking the Shrouds for Service

With steel rigging, death comes in the form of corrosion; with synthetic rigging, death comes in the form of chafe! By protecting against chafe, you can give your synthetic standing rigging a long service life.

Avoiding chafe is simple, you just need to avoid any contact with your stays. This mean sails and sheets are not to rub against your shrouds while you sail, and gear on deck should be stowed in a way that no movement against your rigging occurs. Easy!

What about the spreaders? They are a point of constant contact and they move ever so slightly as you sail! Add immense pressure to this situation and you have the equivalent of a dull knife sawing into your shrouds!

To negate this problem you just need to apply a strong chafe covering. Applying service to the shroud where it passes through the spreader tips will protect the stays and avoid any chafe related damages. 

Service is great, it wraps the stay in a protective layer that can be replaced when it is significantly chafed while the structural stay remains unharmed and untouched. The problem is figuring out where the service should be placed on the stay to make sure it lines up perfectly with the spreader tip.

You could measure this distance and then calculate where it should fall, or you could mark the location on the mast and apply service from there.

20160909_185937.jpg

The spreader holds the shrouds out, increasing their angle to the mast and increasing their effectiveness at holding the mast true. The spreader is supposed to bisect the angle of the shroud running through it, meaning that the angle between the spreader and stay should be identical above and below the spreader. Spreaders are rarely located in their correct position, making it hard to determine exactly where the shroud should be serviced. After factoring in stretch, you will find that it is nearly impossible to empirically determine where the spreader tip will contact the stay.

The next best thing is to estimate where the spreader will fall and try it out. After getting the constructional stretch out, tie a small line to the shroud with a constrictor knot. This will give you a reference point of where you expect the spreader to contact the stay. Simply attach the stay to a halyard and raise the stay up the mast until it is parallel to its attachment point on the mast and observe where the constrictor knot falls in relation to the spreader. 

If the knot is lower than the spreader, lower the stay and push the knot up a bit. If the knot is higher than the spreader, lower the stay and push the knot down a bit. Once you get it very close, tighten the constrictor knot and raise the stay one more time to verify that it is in the correct location. 

After I get the knot in the perfect location, I mark the upper and lower sides of the stay with a thick marker. If the knot moves, the markings will remain and the location will not be lost. 

With single spreader stays, the process is rather straight forward: mark the location on the shrouds where it contacts the spreader. On double spreader rigs, you need to mark where the stay contacts the lower and upper spreaders. It is very important to seat the stay over both spreaders when measuring as the angle will affect the length and position of the contact point.

When you finally get both of the spreader tips marked, tighten the constrictor knots and verify that the knots didn't move during the raising or lowering process. 

Once all the spreader tips are marked, you can proceed to the next step of installing service on the shrouds in their appropriate positions. On single spreader rigs, you will only need to apply service in two areas. On double spreader rigs, such as this one, you will need to apply service in six areas!

Dealing with chafe: Other areas on the boat

Chafe on the standing rigging is a true structural concern to have. We have discussed many ways to mitigate these problems and how to assess and repair them as they arise. What about chafe on other areas of the boat?

The life lines will be subjected to chafe from crew leaning on them, things hanging from them, and where they pass through stanchions. 

On board Wisdom (1968 Morgan 45), the mainsheet contacts the top lifeline when broad reaching or running. The chafe is very minimal (Grade 1) after over 1000 miles. I have not serviced this section of the lifeline because it is only Grade 1. The fuzzy layer that forms will actually protect the remaining line. For this reason, I have not removed the fuzz either. If the lifeline degrades to Grade 2, then I would service the lifeline before it reaches Grade 3.

The soft shackles that attach the gangplank to the toe rail also undergo a lot of chafe as the boat is always moving around and the sharp edges of the toe rail wreck havoc on the dyneema.

While it may look rather bad, the fuzzy layer protects the rest of the line. In this case, it would appear as a Grade 5, but since the loads placed on this soft shackle are minimal, they do not need to be replaced.

Other places that suffer chafe are dock lines and anchor snubbers. 

3 strand nylon is very resilient to chafe damage. As you can see, the starboard bow line is chafed, but the chafe is spread over a wide area, only involving one of the three strands the worst. There are still 2 intact strands present. The chafe present here developed in the first few months, but then stabilized and has not gotten any worse over the past year. If it were to get worse, I would replace that strand with a mending splice and then service that section.

The port bow line had similar chafe develop, but over two of the three strands. For this reason, Service was applied before the chafe became serious. The black present on the dyneema serverice is the adhesive from the friction tape squeezing through. The service also looks smooth, with no hills and valleys since this line was wormed, parceled, and served.

The anchor snubber is tied to the chain with a magnus hitch directly to the chain. The chafe present is very minor, which is why the line does not need to be retired yet. 

As you can see, we are all able to assess if a chafed line on our boat is damaged or if it is just superficial and cosmetic damage. We simply need to look at synthetic standing rigging the same way.