Stays

Stay Angle to the Mast

Your standing rigging is there to support your mast and hold it up high into the sky. To do this, the stays need to be strong enough to withstand the loads and also setup at the correct angles to properly transmit these loads through the yacht. 

The minimum angle of a stay approaching a spar is 12 degrees. If the stay approaches the spar at an angle less than 12 degrees, the stay will not be able to exert the needed force on the spar to resist movement.  

Lowers are able to travel directly from the chainplate to the spar without any guidance because they approach at a wide angle, greater than 12 degrees. The further up the mast you go, the lower the angle would be and the less effective the stay would act. 

To fight this problem, spreaders are used to hold the stay out, allowing it to rise up vertically and then turn towards the mast, reaching it at an angle of at least 12 degrees. 

This same engineering tacktic can be seen on other areas of boats. Long bowsprits will have "Dolphin Strikers" which are spreaders for the bobstay, as well as spreaders for the whisker stays. These are all there to help achieve the needed minimum angle of 12 degrees of approach between any spar and stay. 

2 Year Headstay Inspection

Wisdom, our 1968 Morgan 45 was re-rigged with synthetic standing rigging back in 2015. The headstay has endured use, abuse, and a lot of weather over these two years. Our headstay's deadeye got severely damaged by our anchor and needed to be replaced, giving us a wonderful opportunity to evaluate how the stay is holding up at the bow.​

The bow is known to be the harshest place on a yacht for rigging. Every single wave that splashes up will wet the stem and the lower part of the headstay in a fine misting of salty moisture. This mist will work its way into the tiniest nooks and crannies in your headstay, causing devastating corrosion from the inside out.​

IMG_1830.JPG

To make life for your stem fittings even harder, being up at the tip of the bow, they are often ignored and forgotten, as the rest of the boat gets cleaned regularly, but the headstay might only get a quick splash with a hose.​

On most yachts, the headstay lives inside the furler, where it is forgotten and ignored until something breaks. On yachts with hank on sails, the headstay is easily inspected, but still neglected.​

Synthetic rigging prevails in these hardships, as the Dyneema fibers are made out of plastic and are immune to corrosion caused by moist salt spray. Let us see what lies beneath the surface of our headstay!​

IMG_1873.JPG

Under all those wraps, you will find the true knot that holds the entire stay in tension: The Shroud Frapping Knot. This knot pinches and seizes the lashings together with such ferocity that even slippery Dyneema can not escape its hold.

IMG_1846.JPG

This knot is tied while the tails of the lashings are under tension with the entire tensioning system. While the lashings are tight and under load, the Shroud Frapping Knot pinches them in place, allowing you to remove the tensioning lines without losing any tension in the headstay. 

IMG_1848.JPG

This relatively simple knot can be a bit time consuming to tie, taking me close to 20 minutes, but it will hold steadfast for years, never yielding nor giving way as you sail. 

IMG_1868.JPG

On stays that will require a significant amount of tension, it is best to use oversized thimbles as they will accommodate more wraps with the lashings, giving you significantly greater mechanical advantage to properly tension the stay. They also provide a wider radius turn which imparts less stress on the fibers of the lashings.

IMG_1852.JPG

With the tension removed and the lashings untied, you can see the inside of the eye splice at the end of the stay. The fibers have flattened out as they have been pressed into the thimble for two years. There is some slight corrosion staining that appears on the eye splice, and this is from slight surface rusting that occurred on the stainless steel thimble. 316 Stainless Steel is famed for being corrosion resistant, yet in two years on the bow, it has begun to corrode in places that are not visible to external inspection. Imagine if this were a steel headstay with steel fittings swaged together up here. Corrosion would have already set in and it would be a countdown until something failed in a catastrophic manner. 

Synthetic standing rigging is immune to these sorts of problems and the steel components utilized are small and easy to inspect, making their impact on the entire situation much less grave. 


Synthetic Headstay Weakness

Dyneema is a wonderful material for use on a sailing yacht for standing rigging. It is immune to rust and corrosion, and it is incredibly light weight! Placing it at the stem of your yacht, where salt spray and moisture are a daily fact of life is a wonderful idea as this powerful plastic will take the charge and never let you down.  

While it may seem that synthetic standing rigging has no weaknesses, this would be false. Synthetic standing rigging has one tragic weakness that can destroy it in a moment: chafe! 

IMG_1812.JPG
IMG_1804.JPG

In a gale, our 65 pound Mantus anchor broke out of its roller and gnawed on the deadeye for three days. The damage suffered to the headstay was extensive and precluded us from using our headsail as we limped along for 80 miles to return to shore. 

IMG_1798.JPG
IMG_1794.JPG

The shank of the anchor chewed and chafed on the dyneema deadeye while also mangeling the thimble inside the lower part of the deadeye.

If the damage to the dyneema had been less extensive, it would still had been risky to load this stay as the thimble was no longer in function.  

The purpose of the thimble is to smooth the bend at the bottom portion of the deadeye. Dyneema is strong, but sharp bends will cause the fibers to crack and break, leading to premature failure. 

We have a cutter rig, meaning that we have a second headstay further inboard, but it is by no means destined to resist the forces of the backstay and sails while trying to power to windward. These forces fall onto the headstay and are rather extreme, especially when the stay is further loaded with a large jib in high winds.  

Our rigging was crippled and we were 50 miles off the coast in a gale with another more powerful gale on its way! 

Now, to ensure this doesn't happen to you, there are a few suggestions I would like to make. 

First, if you are going off shore, stow the anchor somewhere away from the headstay. We keep various anchors that we use infrequently tied to the boat, and when heading off-shore, your bow anchor should be treated like any other anchor as you won't be using it for some time.  With your anchor secured and tied up very well, it won't be able to leap out of its roller and chafe away on your standing rigging.

Another trick would be to install a sacrificial piece in front of the deadeye. This would take the damage of anything that wants to destroy your rigging by getting destroyed first and hopefully you will find the problem and correct it before it gets worse. This line could be attached through the eye of the headstay and simply run down to a further forward hole in your stem fitting. 

To ensure that you will be able to make it home, it would be a good idea to carry a spare deadeye, already assembled with its thimbles and the fairleads needed to tension your rigging. If you lose your headstay, you are at the mercy of the currents! Having the tools and parts on board with you will grant you the ability to make it back to port on your own. 

The reason to have a deadeye already made is because they are rather tedious to make. I take about an hour to make one in calm conditions, at home, with no stress of a storm situation. Imagine trying to make one of these while out at sea as you worry about where and how fast you are drifting? Having it already made will also reduce the amount of time it will take to install the new deadeye, which sadly is a rather lengthy process. Headstays require a lot of tension and can take close to an hour to setup with a deadeye. 

Now, if you would allow me to lead by example on this front. This damaged headstay occurred on my own personal yacht that I rigged several years ago with synthetic standing rigging. I carry all the tools and parts needed on board to rig her again at sea if we needed. I also feel that I take every precaution possible to ensure the longest life for the rigging. This situation occurred and I can not guarantee that it won't happen again, so I am converting my headstay with a deadeye to a turnbuckle. I feel that a piece of bronze with stainless steel screws will hold up better should this freak occurrence happen again. We will certainly be restraining and stowing the anchor differently from now on to hopefully eliminate any other anchor related damages, but accidents are never planned and I feel that a piece of metal is a better security blanket than a piece of rope at the lower part of the stem. 

Synthetic standing rigging is awesome and deadeyes take away any fear or concern of corrosion, but the pulpit is a dangerous place when laying right next to the anchor. If you have a racing sailboat where the anchor is not stored on the bow, or your anchor roller is far away from your headstay, then by all means, keep with the peace of mind of deadeyes. If you have a similar setup to mine, then strongly consider setting it up with a turnbuckle and be sure to oil and inspect it regularly and frequently for any signs of corrosion. 

Combining Steel and Synthetic Stays

When converting your standing rigging to systhentic, you might feel inclined to change "some of the stays now, and some of the stays later" as the budget allows. I strongly recommend against this, as combining steel and synthetic standing rigging can lead to more problems than solutions.

Yes, changing the stays one by one as time and money allows may seem fine from a theoretical standpoint, but they will not play well together.

As temperatures change, steel and aluminum will expand and contract at a similar rate, meaning that the steel stays will always remain around the same tightness. Synthetic standing rigging actually expands when it cools, making the stays just a bit longer than they were when initially setup. As the air heats up, they contract and get tighter.

If you setup your rigging at 80F, and then decide to go sailing on a day that is 60F, you will find that your mast will be out of tune! The steel stays will be tighter than your synthetic stays, making the whole system out of whack.

When I converted to synthetic standing rigging, I switched all the shrouds except for the check stays (that run aft from the height of the inner forestay). I didn't swap these stays out simply because I ran out of time before we were going on a long sailing trip. I figured that I would swap them out when we got back.

It seemed that I had to tune the rigging as the temperatures changed, especially the cap shrouds. As fall approached, the check stays (which attach about 3/4 of the way up the mast) remained the same tightness while the cap shrouds at the top of the mast were a bit looser. This meant that the mast would be in column and then bend sharply at the check stays. All I had to do was tighten the cap shrouds and this issue would resolve! The problem was this tight bend that was occurring at the check stay tang.

I was worried that if the temperature was cool enough and the shrouds loose enough, that the mast might bend far enough to buckle and cause serious damage to the spar! This kept me always adjusting and tuning the rigging for quite some time.

Eventually, I replaced the check stays with dyneema and all these problems disappeared! Now, all the shrouds expand and contract at the same rate, meaning that the mast will always remain in column.

On warmer days, the mast is obviously straighter as the rigging is tighter. This gives us the ability to point very well! On cooler days, the mast leans over slightly until the windward stays become tight and the leeward stays hang limp. The headstay also hangs a bit slack and our ability to point is degraded slightly.

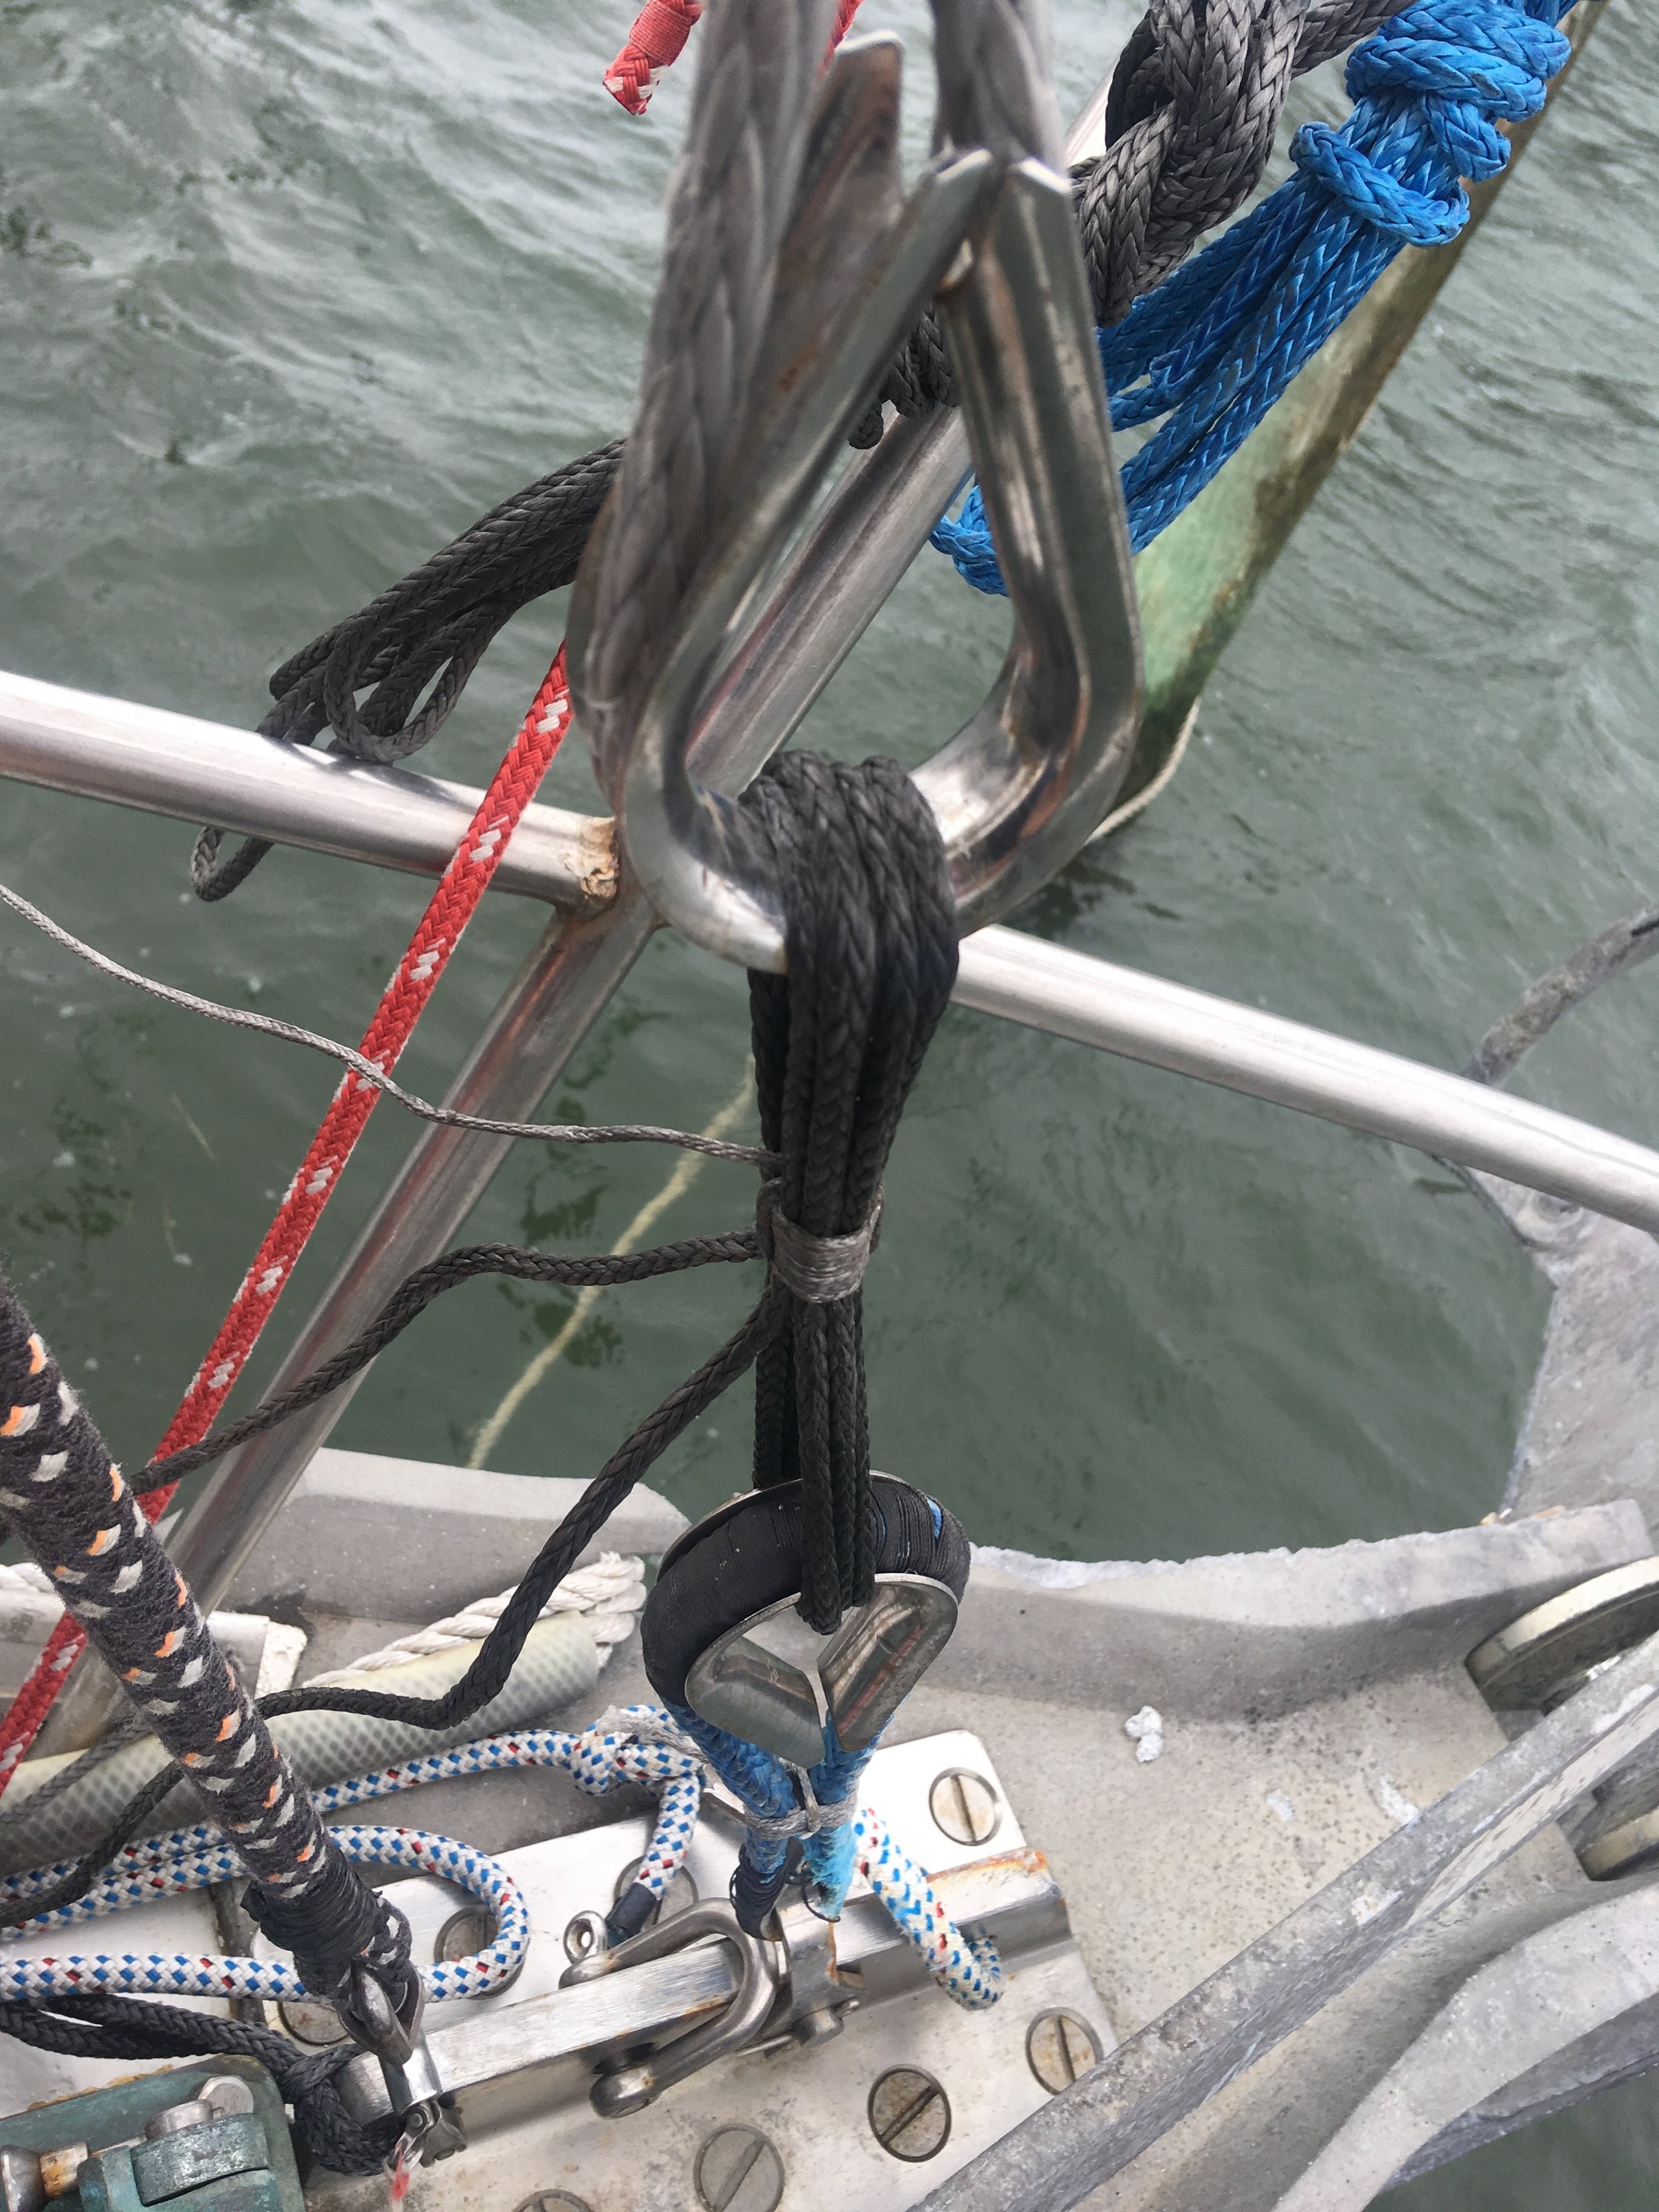
While mixing steel and synthetic shrouds is not ideal, there seems to be no problem with having steel or synthetic headstays. Our setup is currently a synthetic headstay and backstay, with a steel inner forestay.

The reason the inner forestay was not replaced with the rest of the rigging is it is still new! The inner forestay was only 3 years old when I converted to synthetic standing rigging, and the cost of materials to swap out that additional stay just wasn't justifiable! When the inner forestay reaches 10 years old or starts to show signs of deterioration, it will then be replaced with a synthetic stay. Until then, it will remain.

On our setup, where we are a cutter rig with all synthetic standing rigging (except the inner forestay) the mast is able to remain in column and we are able to sail very well in all conditions! Having an adjustable backstay is a huge help for taking up some of the slack in the headstay on cooler days while trying to beat to windward.

Synthetic standing rigging is a wonderful and easy setup that you can create and install yourself. The weight savings will make your yacht less tender and the resistance to corrosion will give you peace of mind. If you decide to make the switch, make sure that you convert all your shrouds at the same time and not a few at a time to see how it works on your yacht.

Oversizing Your Rigging

You often hear people suggest that you should oversize the stays of your yacht if you want to go ocean voyaging. They make it sound like if the stays are the weak point and making them larger will turn any sailboat into a blue water yacht.

The reasoning behind this is in the ocean, you will encounter storms with no place to hide. You will be forced to sail through weather you would only encounter in a nightmare, and your rigging will need to hold all of this abuse. By increasing the size of your stays, you are also increasing the strength of the wire, making the entire system stronger! Or so the common thought would lead you to believe. 

The problem with increasing the size of your steel standing rigging is two fold. First, the added wire size directly translates into added weight aloft. This will make your yacht much more tender and life during a storm will be far less than deplorable. The second reason is the wire size of your rigging is not the weak link in your standing rigging. Your entire rig is a calculated design where everything shares the responsibility. Increasing the wire size but not increasing the size of the clevis pins that hold the terminals is pointless. Now you have heavier rigging of the same strength! Remember, a chain is only as strong as its weakest link, so increasing the size of one link will not make the chain any stronger. True upsizing of your rigging would entail increasing the size of everything involved in your standing rigging. 

With steel rigging, there is a severe weight penalty for increasing the size of the wire. Synthetic standing rigging doesn't carry such a weight penalty; instead it carries a financial penalty. Increasing the size of the line used will increase the cost per foot dramatically! For example, 6mm New England Ropes STS-HSR costs $2.79 per foot. 7mm New England Ropes STS-HSR costs 3.49 per foot. That is a $0.70 increase for each foot of line you need to buy! If you take it a step further and go to 9mm New England Ropes STS-HSR, you are now looking at $6.09 per foot! Now you are looking at an increase of $3.30 for every foot just so that you can upsize your rigging by 3mm! 

Windage is another concern with increasing the size of your synthetic standing rigging, as it is suddenly a larger stay to pass through the wind. This is only a real concern for racers, as the average cruiser has enough junk on the deck to nullify any penalty from larger stays. 

After the financial burden, increasing the size of your synthetic standing rigging does offer one major advantage, it decreases the amount of creep you will experience. Having larger stays means that each stay will be loaded a lower percentage of its maximum. If you apply a static load to synthetic standing rigging, it will creep. If the load is greater than 10% of its maximum breaking load, you will experience significant creep. If the load is less than 10%, you will experience less creep. As you increase in size, the strength of the line increases dramatically, and so would the decrease in creep. 

Increasing the size of your steel rigging is pointless, as this will simply add weight aloft and cause you to heel over more while sailing. Increasing the size of your synthetic standing rigging will cost a lot more but it will also give you less creep. 

Ideally, you should try to keep your yacht's rigging at the designed size. When the rigging was designed, the designer factored in the heeling forces of the wind and the ballast in the keel. Altering from this would mean deviating away from an expertly calculated state into an experimental state.