
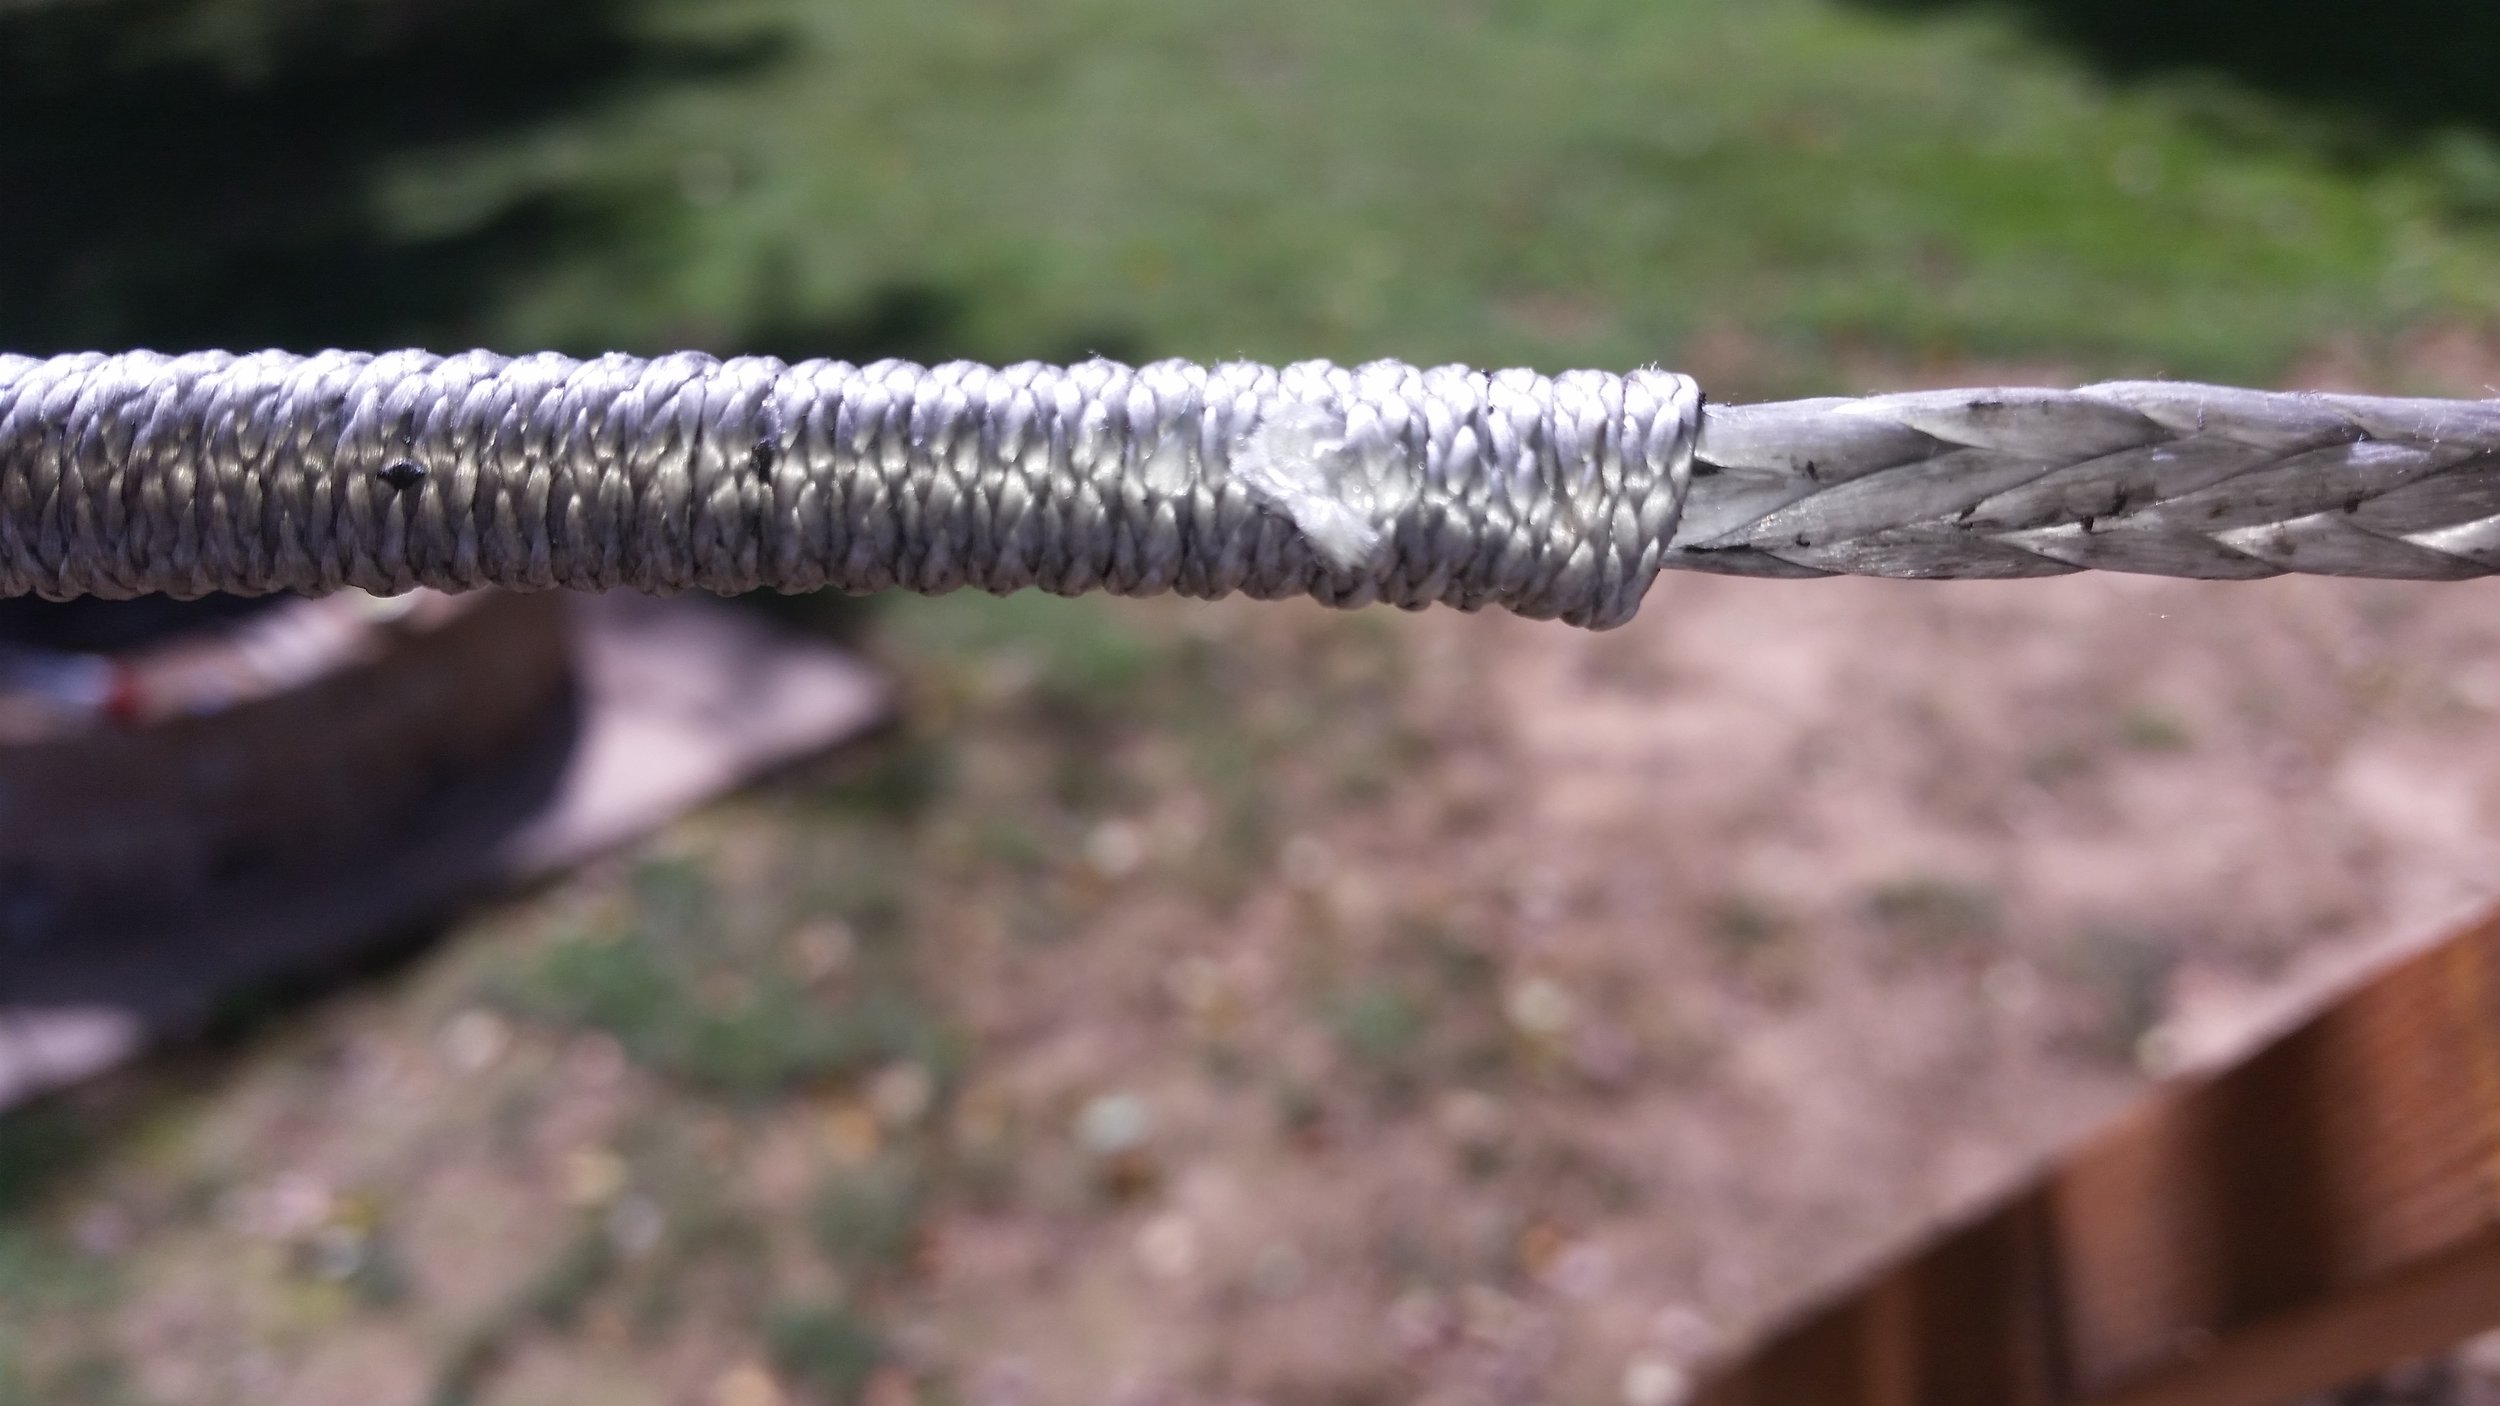
Service is tightly wrapped line that protects the underlying rope from damage caused by chafe. Service is applied using a serving mallet which is a tool used to create incredible amounts of tension on the line and install the service line in a very organized and methodical fashion.
The spreader location is marked on the shrouds, indicating the location of the current spreader tip. This position may not actually be the ideal location, so the mark should be considered a guide and not an absolute. Spreaders vary in position by a few degrees, which translates to a few inches at the spreader tip.
For the sake of numbers, if a spreader tip can vary by 6 inches (up or down) and you do not know where it is in its range, its position could be +/- 6 inches. This becomes a 1 foot span of possible spreader tip contact points. For the sake of safety, I plan +/- 1 foot to the marked position, that way the spreader tip doesn't contact the edge of the serviced section.
Service is started and finished by hand, meaning that the ends of the serviced section are actually the weakest parts. To ensure that the section contacting the spreader tips is very strong, I start and end the service 1 foot beyond where I need it to be. This translates into a +/- 2 feet of the marked spreader tip position. Basically, each spreader gets a 4 foot section of service to ensure that the tip lies on a very strong and protected section of the shroud. If your yacht has exceptionally long spreaders, consider increasing this distance to ensure that your shrouds are protected.

The setup is rather simple. All you need to do is stretch the stay out and connect some stakes to the stay to avoid twisting the whole thing up, then begin servicing! I measure 24 inches in either direction from the marking and indicate this position with some masking tape. The tape is easily removed later, but provides an easily seen indicator of where the service needs to start and stop.

The stakes are lashed to the stay to keep the twisting force limited to the serviced area. You can see how the section being serviced is twisted while the rest of the stay beyond the stake is untwisted. The twisting doesn't harm the synthetic stay, but it can wreck havoc at the ends where the stay is tied.
I tied the ends to two strong tree branches, and a strong twisting force could damage the bark and injure the tree. Using these stakes protects the rest of the stay from twisting while letting you work in a controlled environment.

With the stay staked and secured, it is time to begin the service. Beginning service is rather tedious. I wind the tail of the service line 10 times around the stay and then pass it back through the first 5 loops, leaving the tail exposed and pushed forward. With a marlin spike, I tighten the loops and get the service underway so I can connect the serving mallet.
With 10 tight loops present, the service will stay in place while I connect the mallet. The mallet is lashed to the stay with many wraps around the handle adding resistance to the service line. This resistance allows me to control the tension in the service line as it is wrapped onto the stay. More resistance means a tighter and stronger wrap. Too much can cause the service line to break, too little is not very strong. Balancing the tension is crucial as it will directly relate to the quality of the service.
I gauge the service by the temperature of the freshly serviced part of the stay. Too loose and the service will be cold, too tight and the stay will twist without accepting any new line, just right results in warm service. By keeping a hand trailing the serving mallet, I can monitor the temperature with my hand to ensure that it is going on properly.

If you attach the spool of rope to the end of the serving mallet, the entire process will be greatly expedited. Service becomes a simple task of spinning the mallet around the stay thousands of times. As the mallet spins, the spool will travel with it and feed the mallet along the way.
When you get to the end of the service section, you will tie it off in the same way you tied off the beginning of the section. I disconnect the serving mallet and cut the line with a few inches of a tail.

With the tail stretched out, make sure you have enough to tie a marlin spike hitch later in the process.

Unravel 5 loops while keeping tension present on the 6th loop to avoid it from coming loose. If it does come loose, don't worry, just unwrap the last loop so that you still have 5 loops present and ready.

Now slip the tail through the raised loops and hand tighten the loops back down. Pull the tail by hand as well to help tighten the knot. Be sure that the tail remains straight and doesn't begin to twist under the wraps. Keeping it straight will make a tighter and stronger knot later.

With a marlin spike hitch, pull on the tail to fully tighten the knot. This will result in a very tight knot that can not be undone with ease. This will keep the ends from unraveling when high up on the mast.
After it is tied tightly, cut the tail off flush with the service using a sharp rigging knife. I fuzz the end of the tail to avoid any potential chafing points on the service.
Following these steps, you can properly install service on a stay that will protect against chafe and wear while increasing the service life of your standing rigging.
