
The last stays that were fabricated were the cap shrouds and intermediate shrouds.
These stays are the longest and will be the shrouds that will hold the most force. When wind heels your yacht over, what is actually happening is your sails are pulling your mast over, which transfers the force to the shrouds, which transfer the force to the chainplates, which transfers the force to your bilge and keel. The true reason you heel over is your shrouds are pulling the windward side of your hull up! That is how much force the shrouds are under.
The farther up the mast, the more force is placed on the shroud due to the increase in leverage. This is why the lowers are never under much load while the cap shrouds are under immense tension. To create a very safe and secure splice I used a Mobius Brummel Eye Splice with a much longer tail buried into the stay.
A longer tail buried into the stay will provide more security against the unlikely event of the Mobius Brummel splice failing. While the splice alone is very strong, the extra security of a longer tail is a small price to pay when manufacturing new synthetic standing rigging.
The minimum length of the tail is 72 times the diameter of the line. In our case, we are using 6mm New England Ropes STS-HSR.
72 x 6mm = 432mm
432mm / 25.4 = 17 inches
In our case, 17 inches is the minimum length we need to bury to produce a very secure eye splice. To further strengthen this splice, I buried 36 inches of tail, which is the equivalent to 152.4 times the diameter of the line.

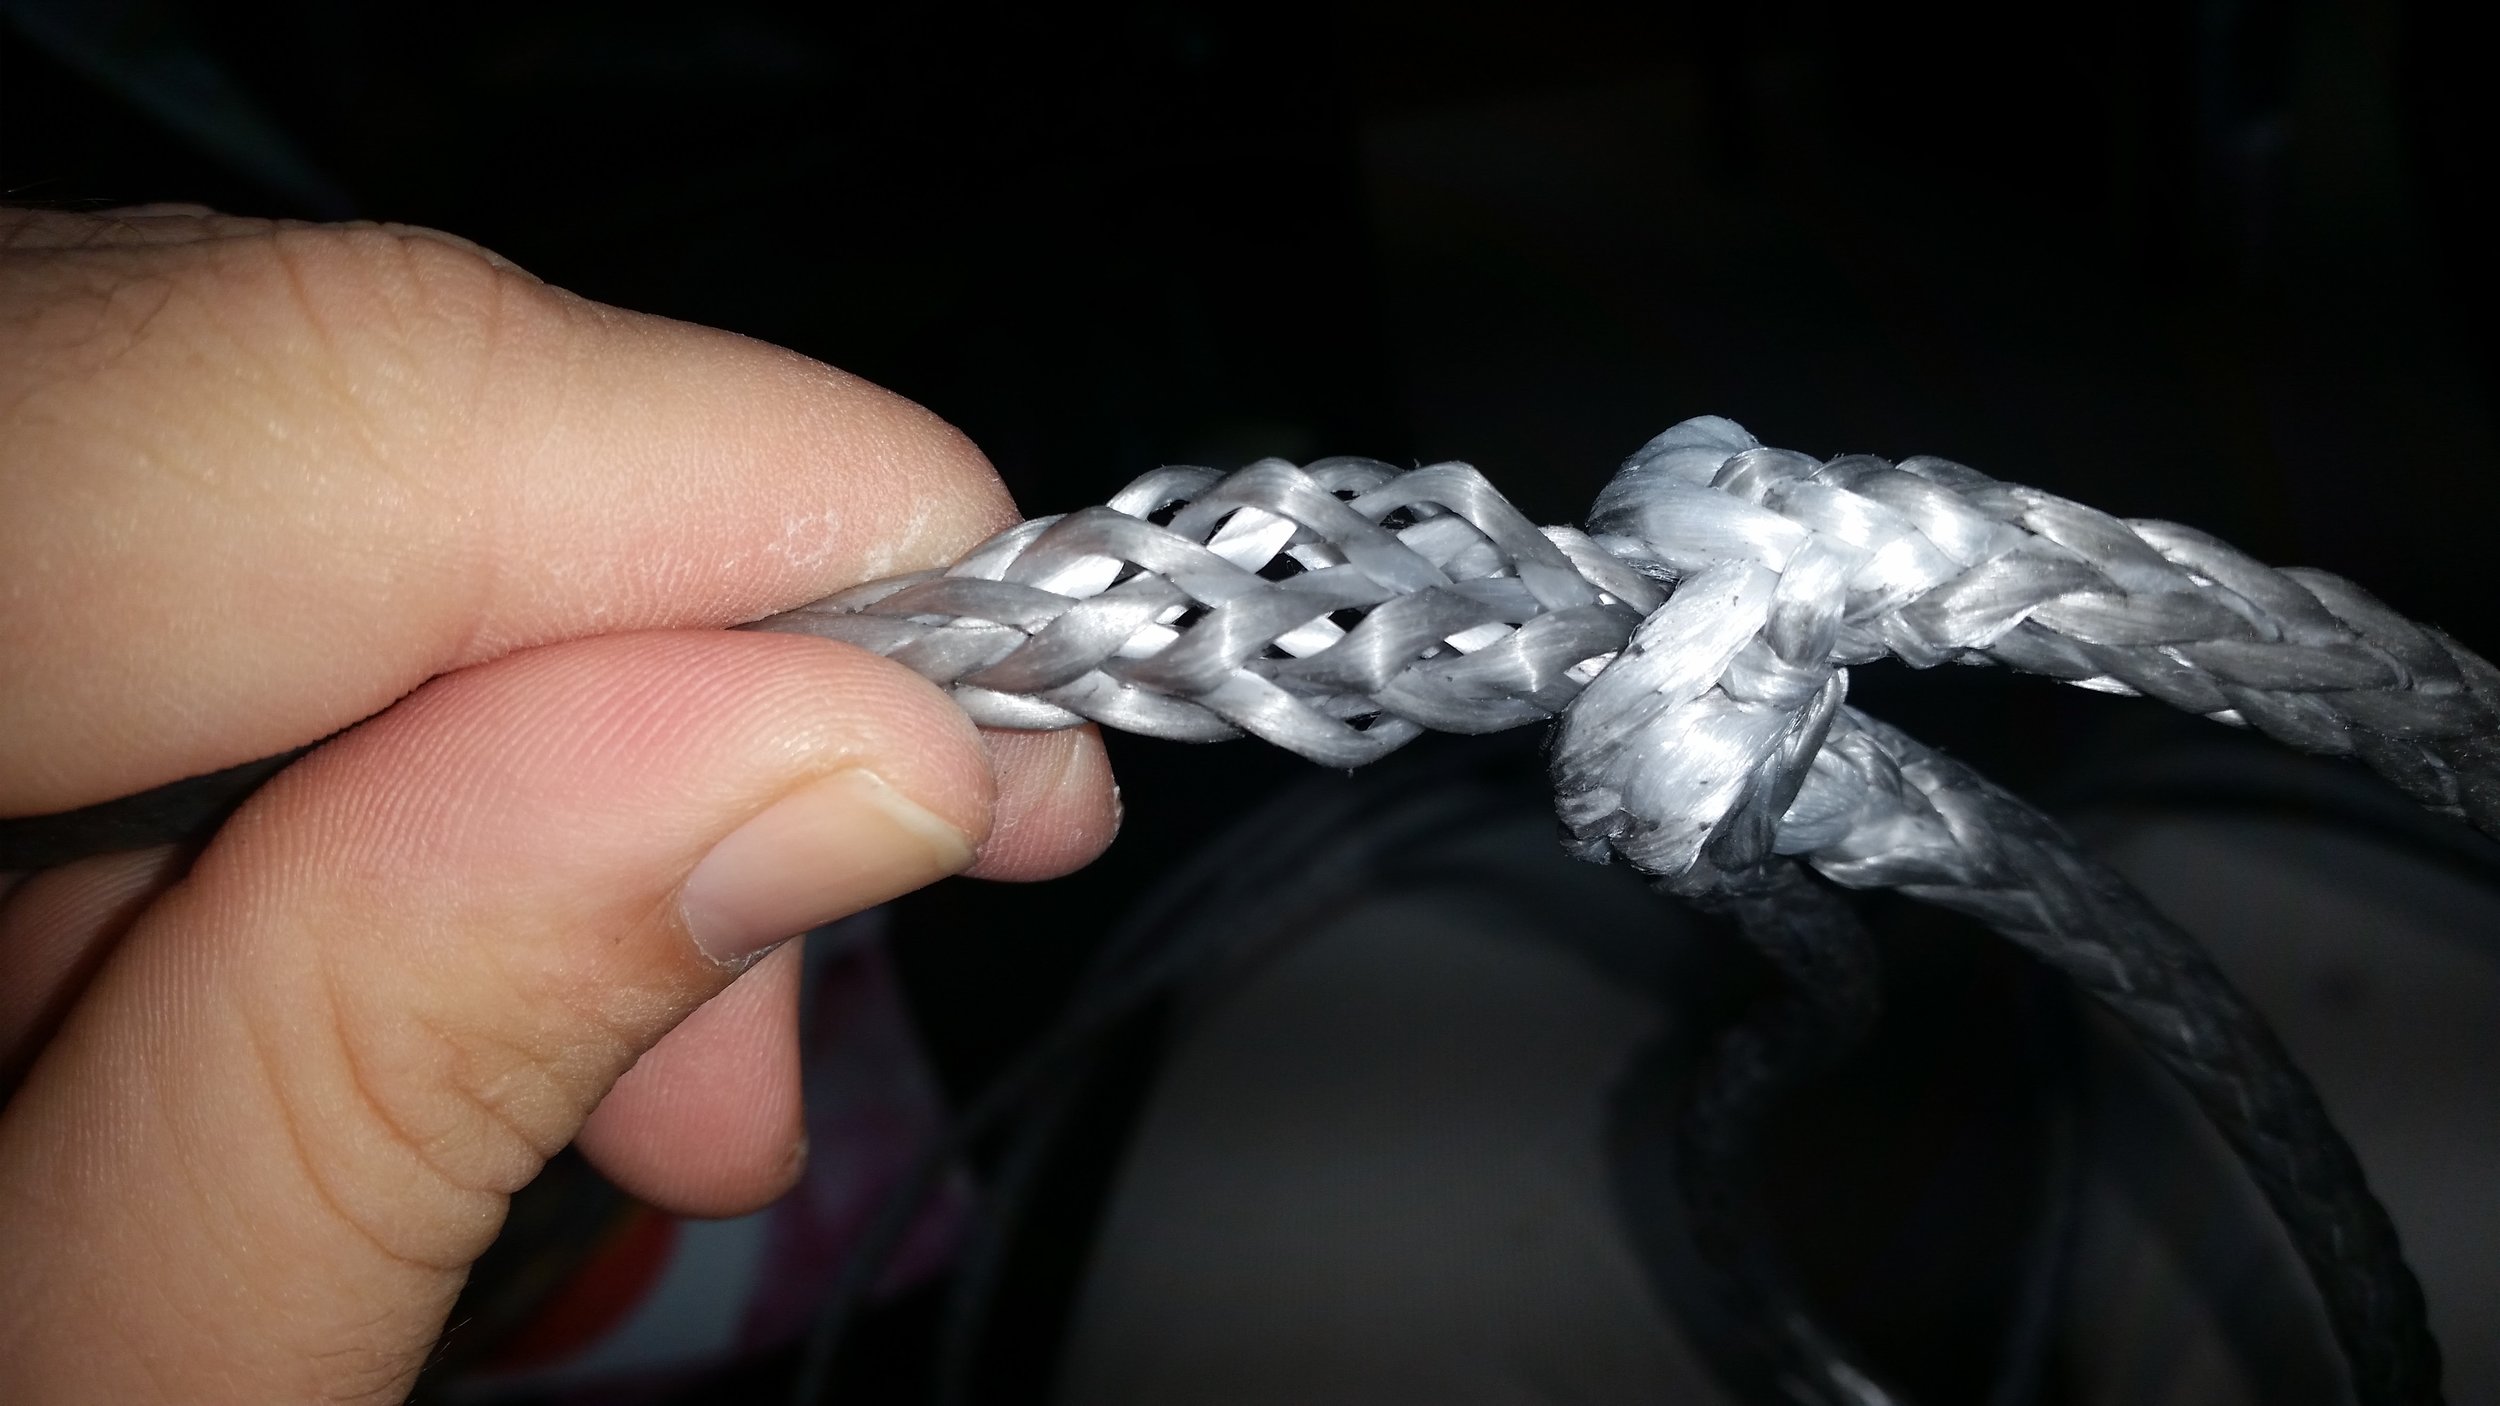
When the stays were measured and cut, I marked the locations for the splice with a marker across two strands. When you mark 12 strand dyneema, be sure to mark across two strands in a parallel fashion. This will ensure that your splices come out even and along the prescribed lengths. If you only mark one strand, you will have to choose which area of that strand you want to pass your fid. A single strand difference will make your stays drastically different. When you mark two strands, you know exactly where to insert your fid.
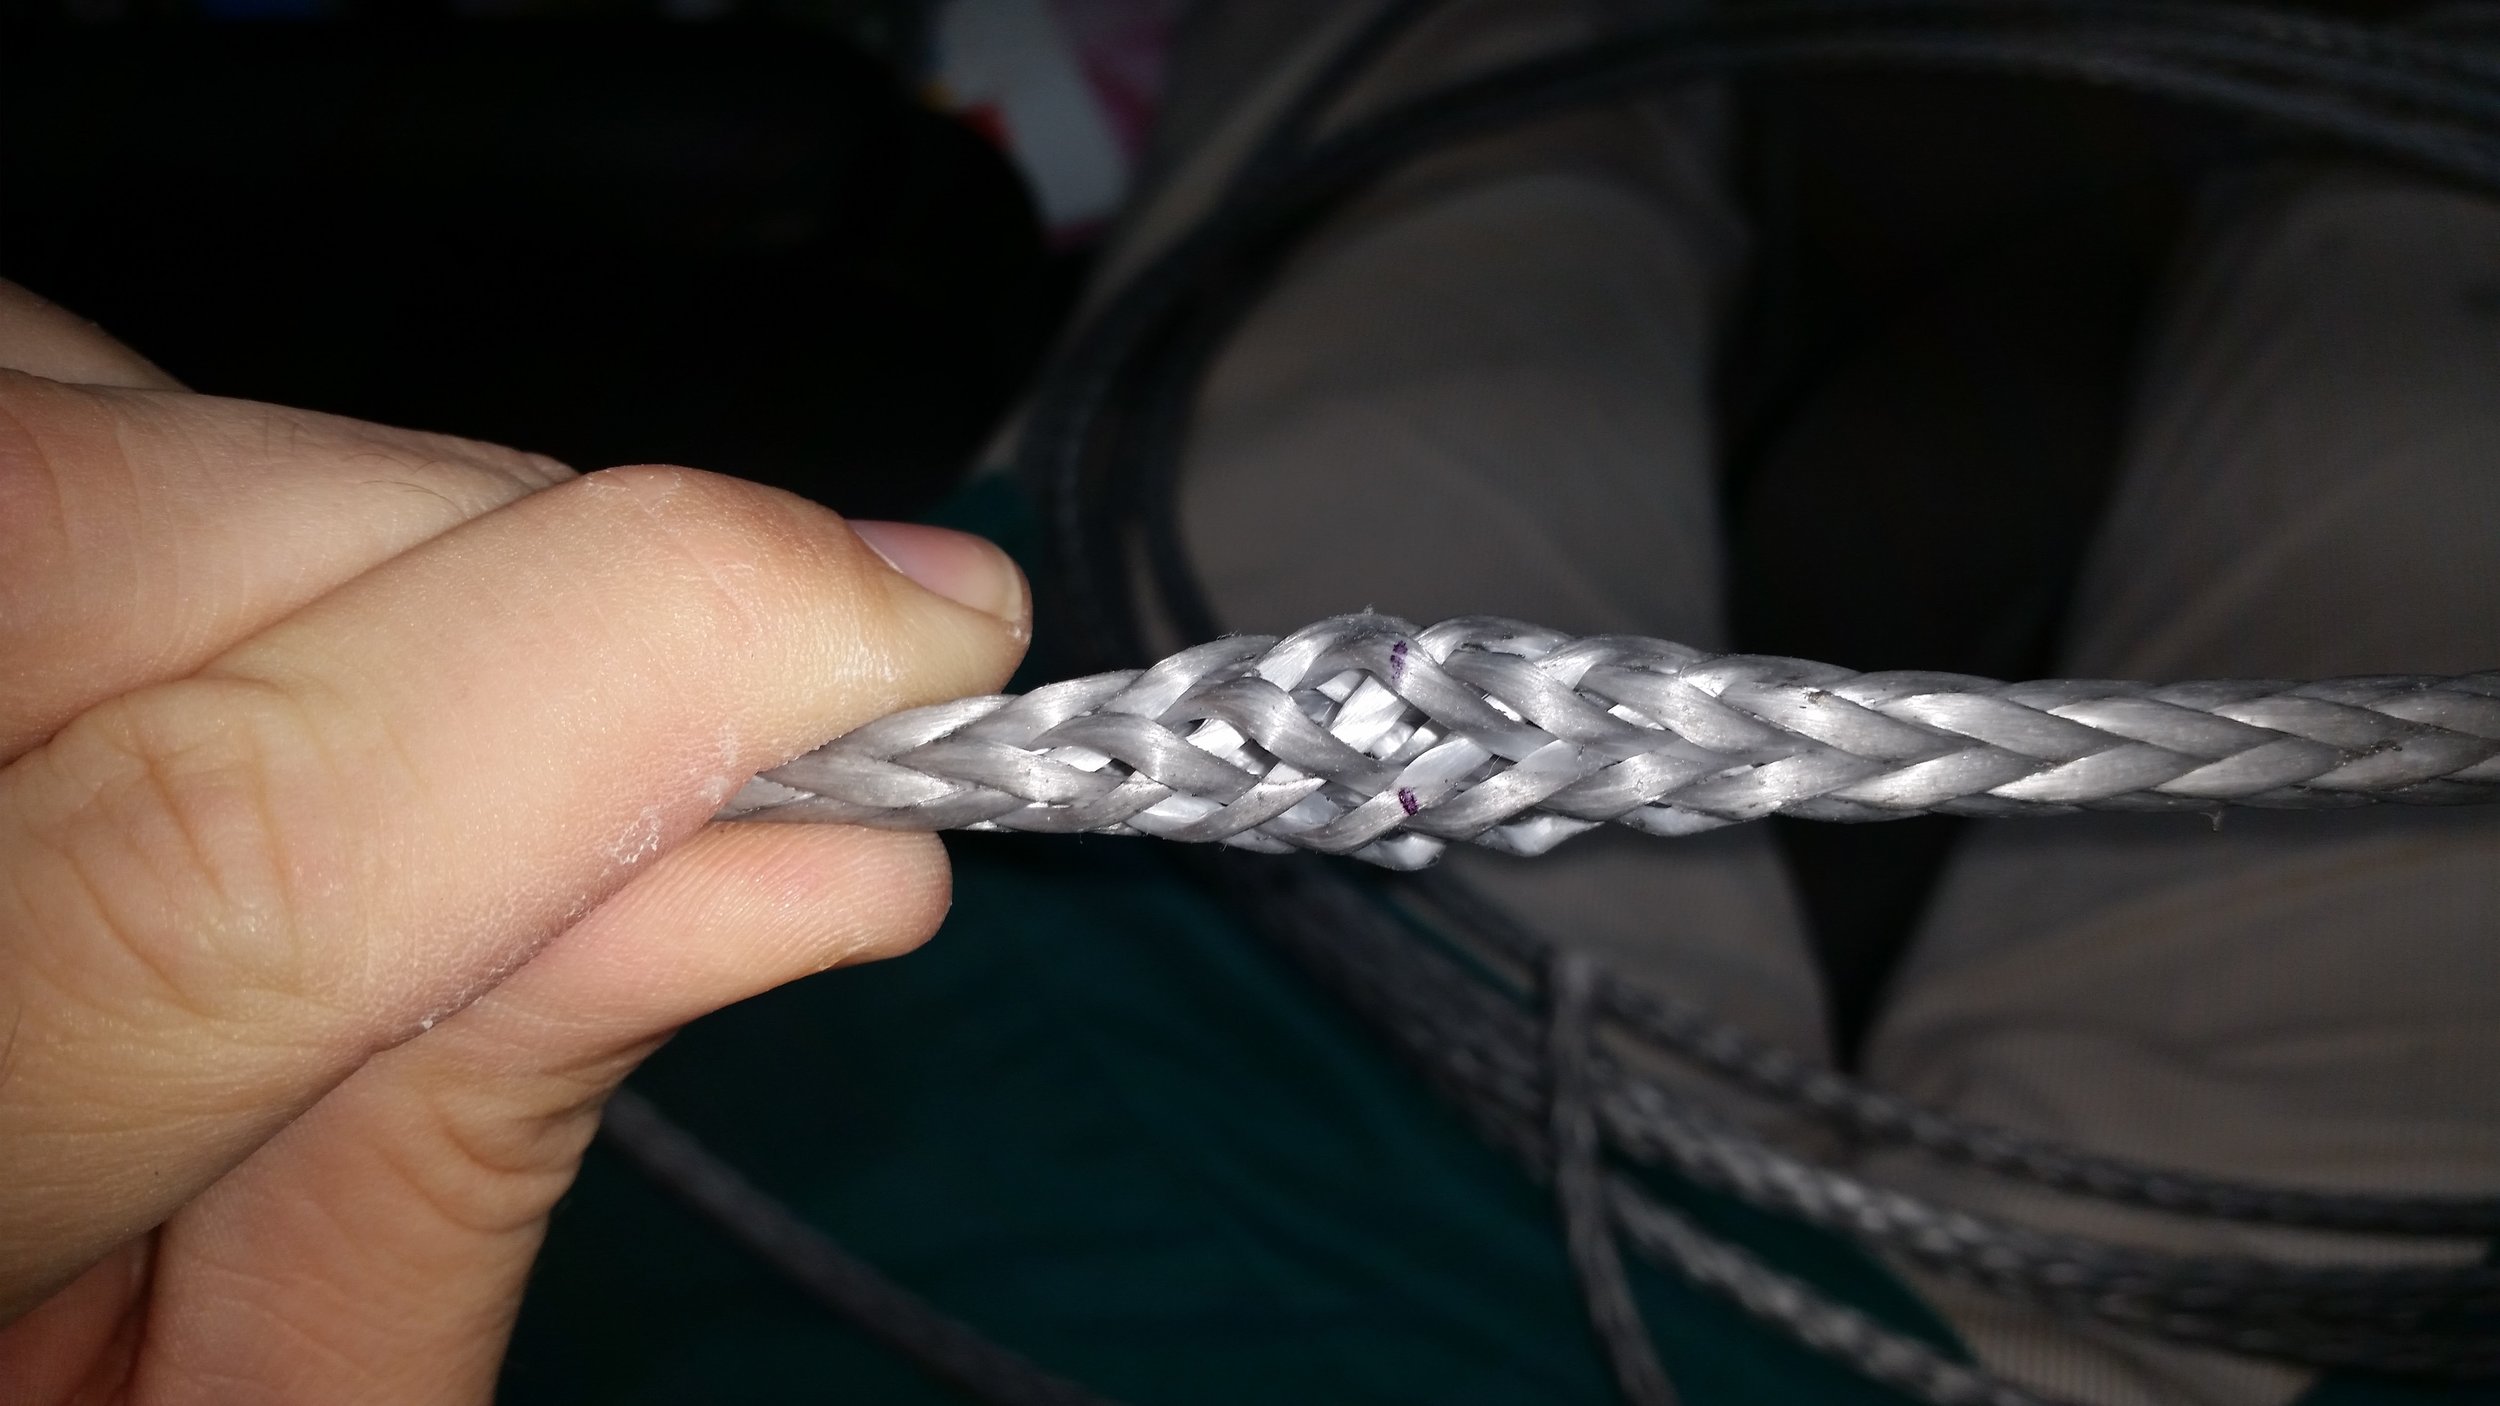

Now you will be able to pass your fid through the correct location every time you make a splice!

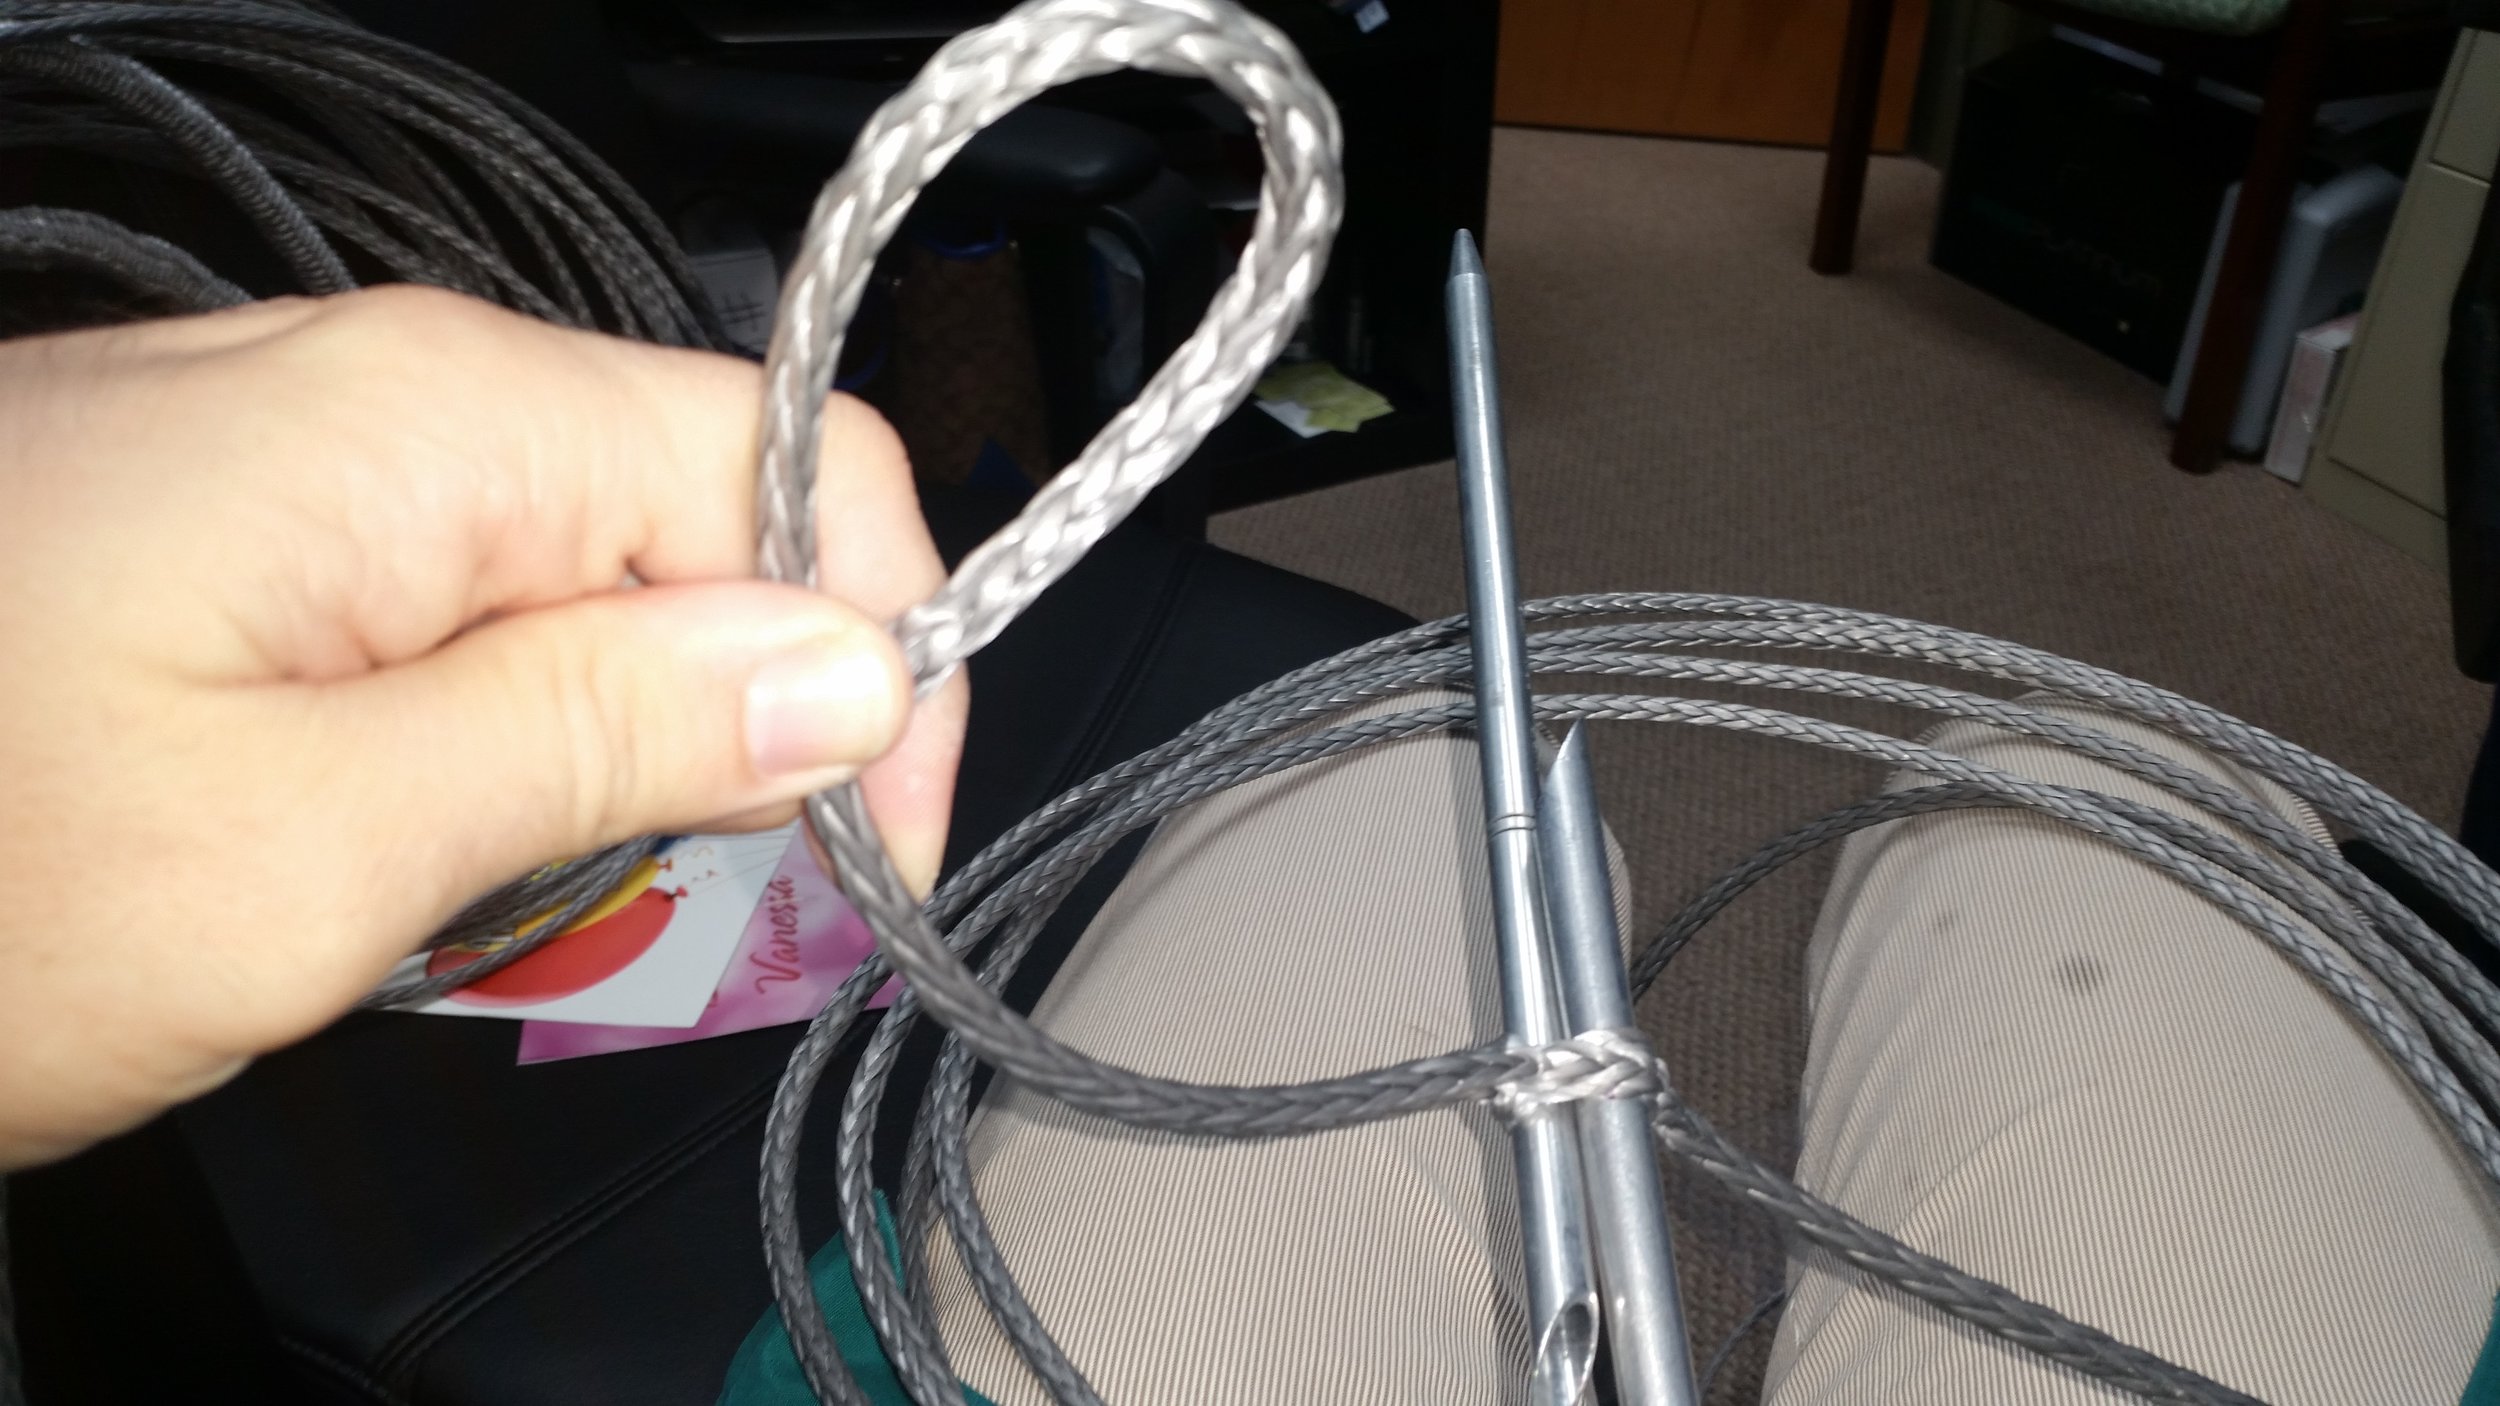
The first pass is simple and straight forward. Simply open the weave and pass the fid through, then feed the tail through the fid to form a loop. The next loop is a bit more complicated, but it will form a Mobius Brummel Eye Splice with only one free tail.


Heat set dyneema is a bit stiffer than regular dyneema, making it a bit difficult to perform the splice. To loosen the dyneema up a bit, insert two fids through the same hole in the weave and twist them. This will stretch out the opening in the dyneema and allow you to complete the Mobius Brummel Eye Splice.

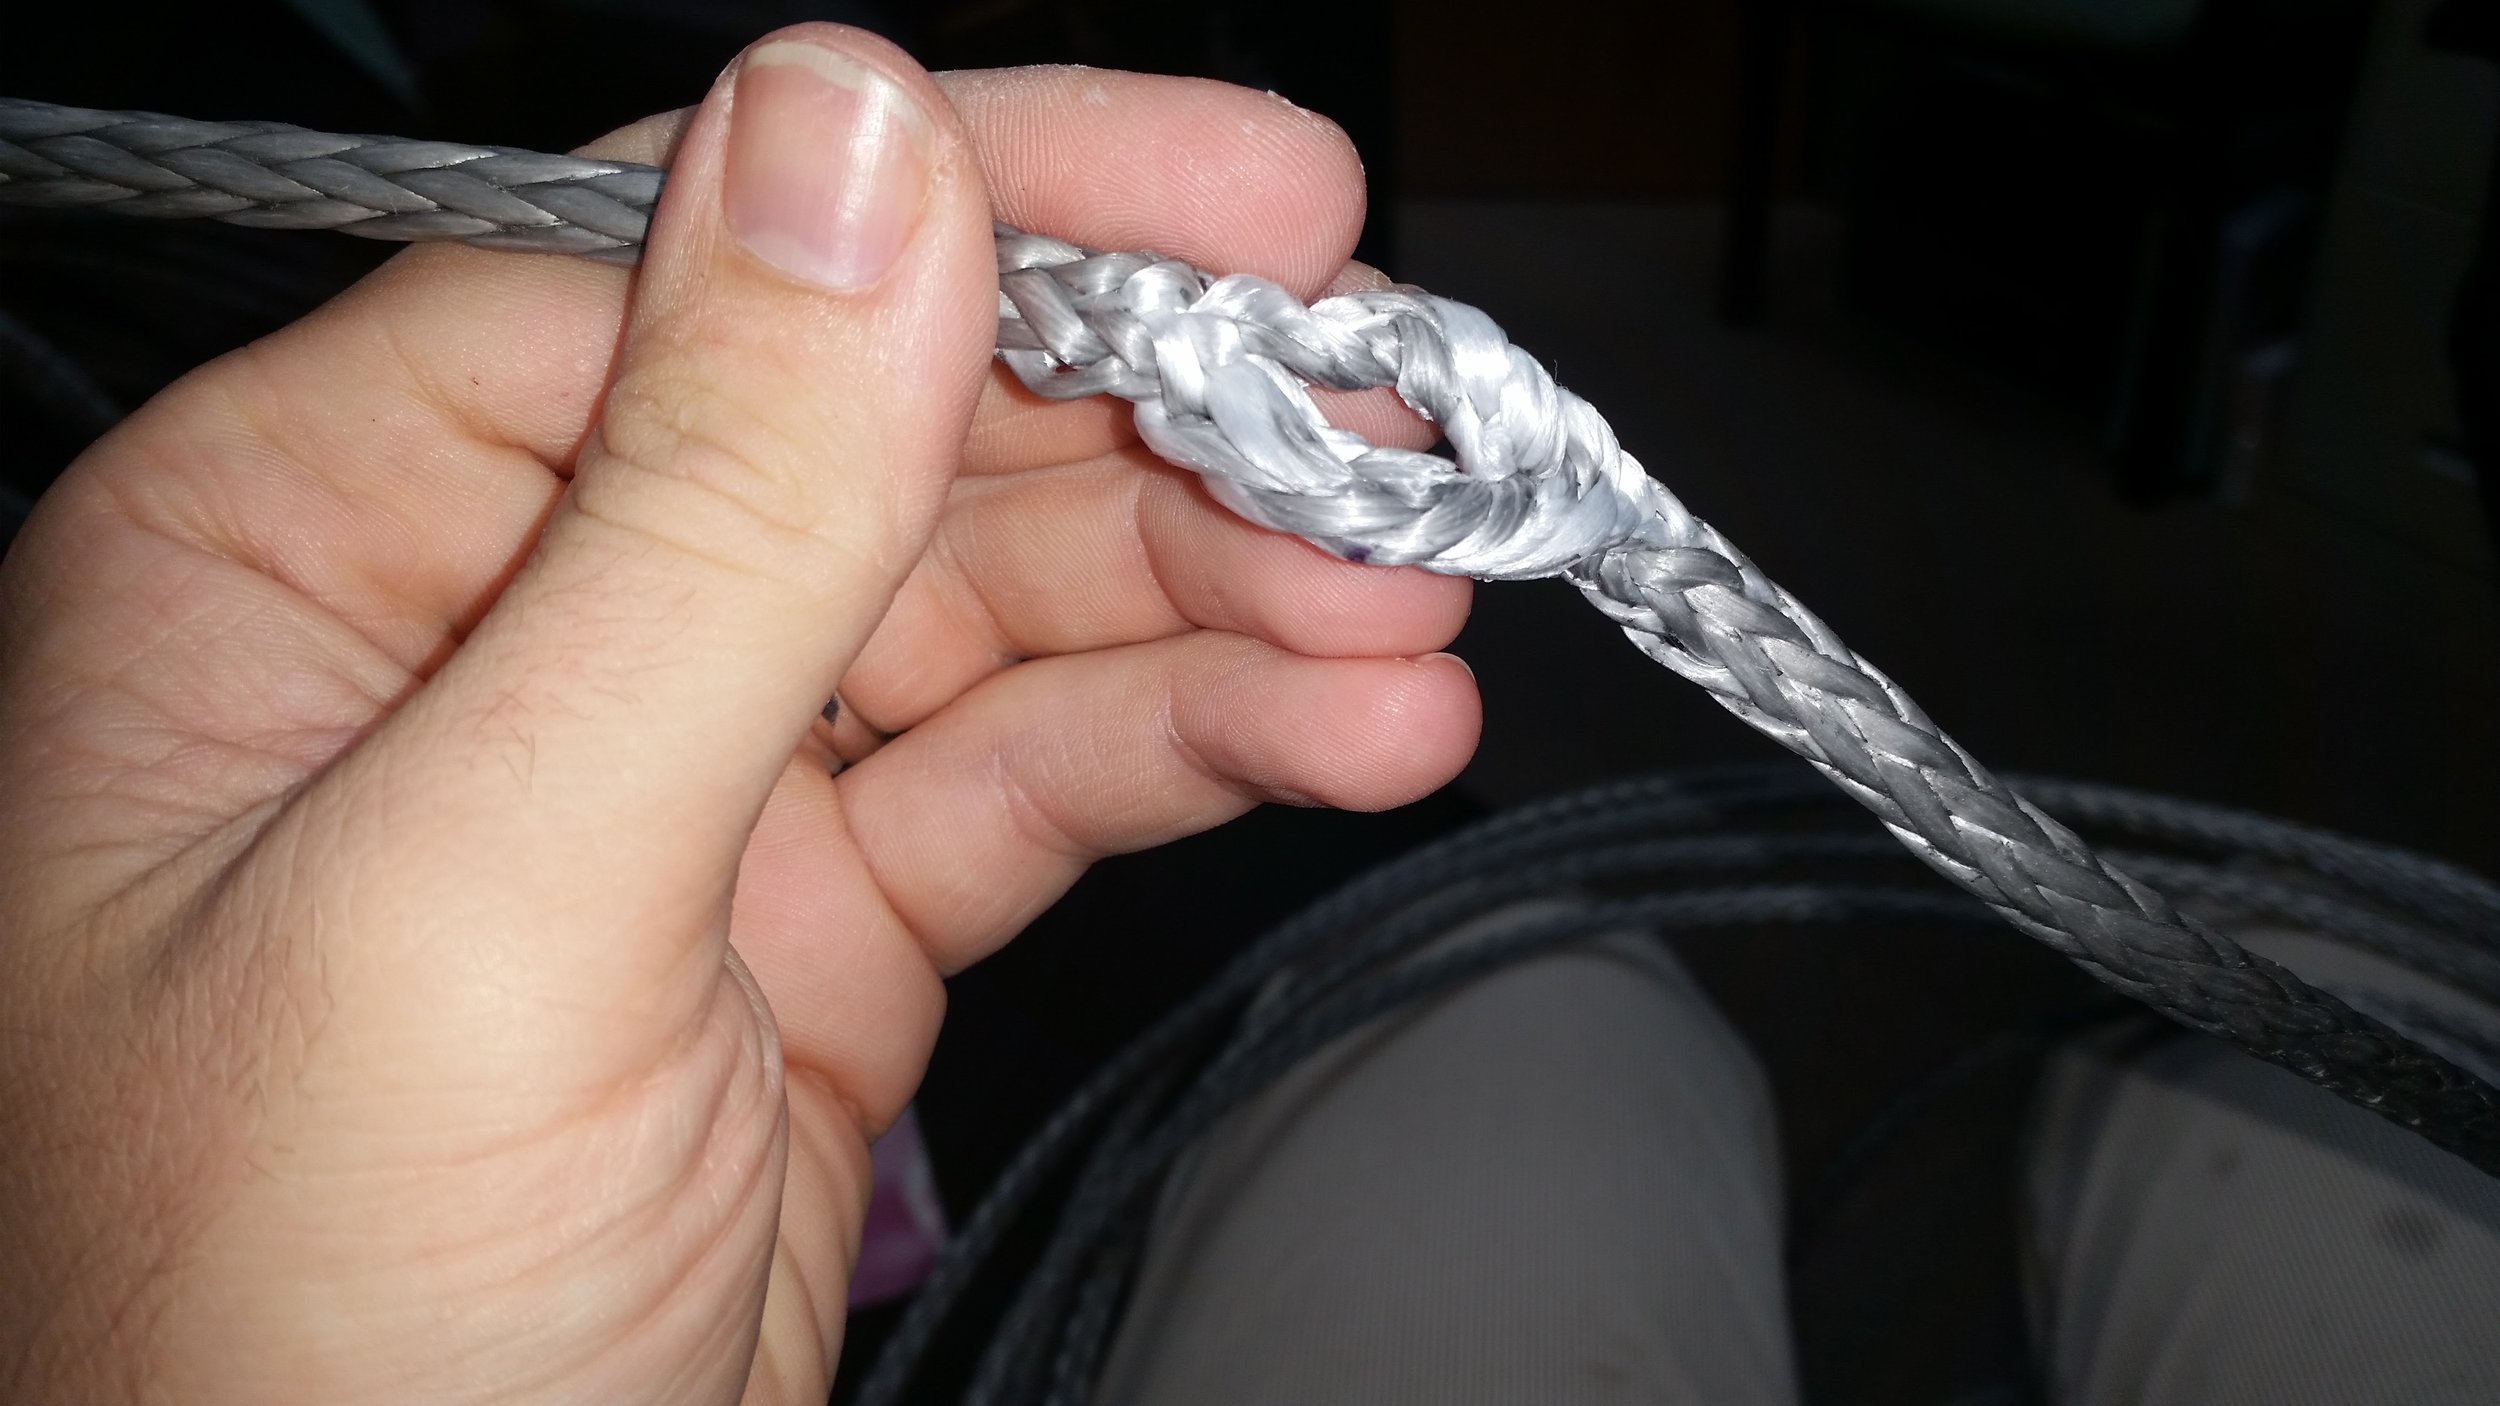
Pass the tail through the enlarged opening in the weave of the dyneema and pull it all the way through. The loop will pull through and twist the dyneema. This twist we be removed in a moment, so don't be concerned with any losses in strength due to the twisted fibers. If you didn't perform this twist now, the final splice would have a twist in it which could lead to premature failure of the stay.

Passing the twisted opening over the loop will complete the splice and take out the twist in the fibers. Regular dyneema is much softer, so the opening doesn't need to be exaggerated since the fibers will squirm and allow the formation of the splice. Heat set dyneema is very stiff, so twisting fids in it is necessary to expand the opening and allow all of this twisting to occur.

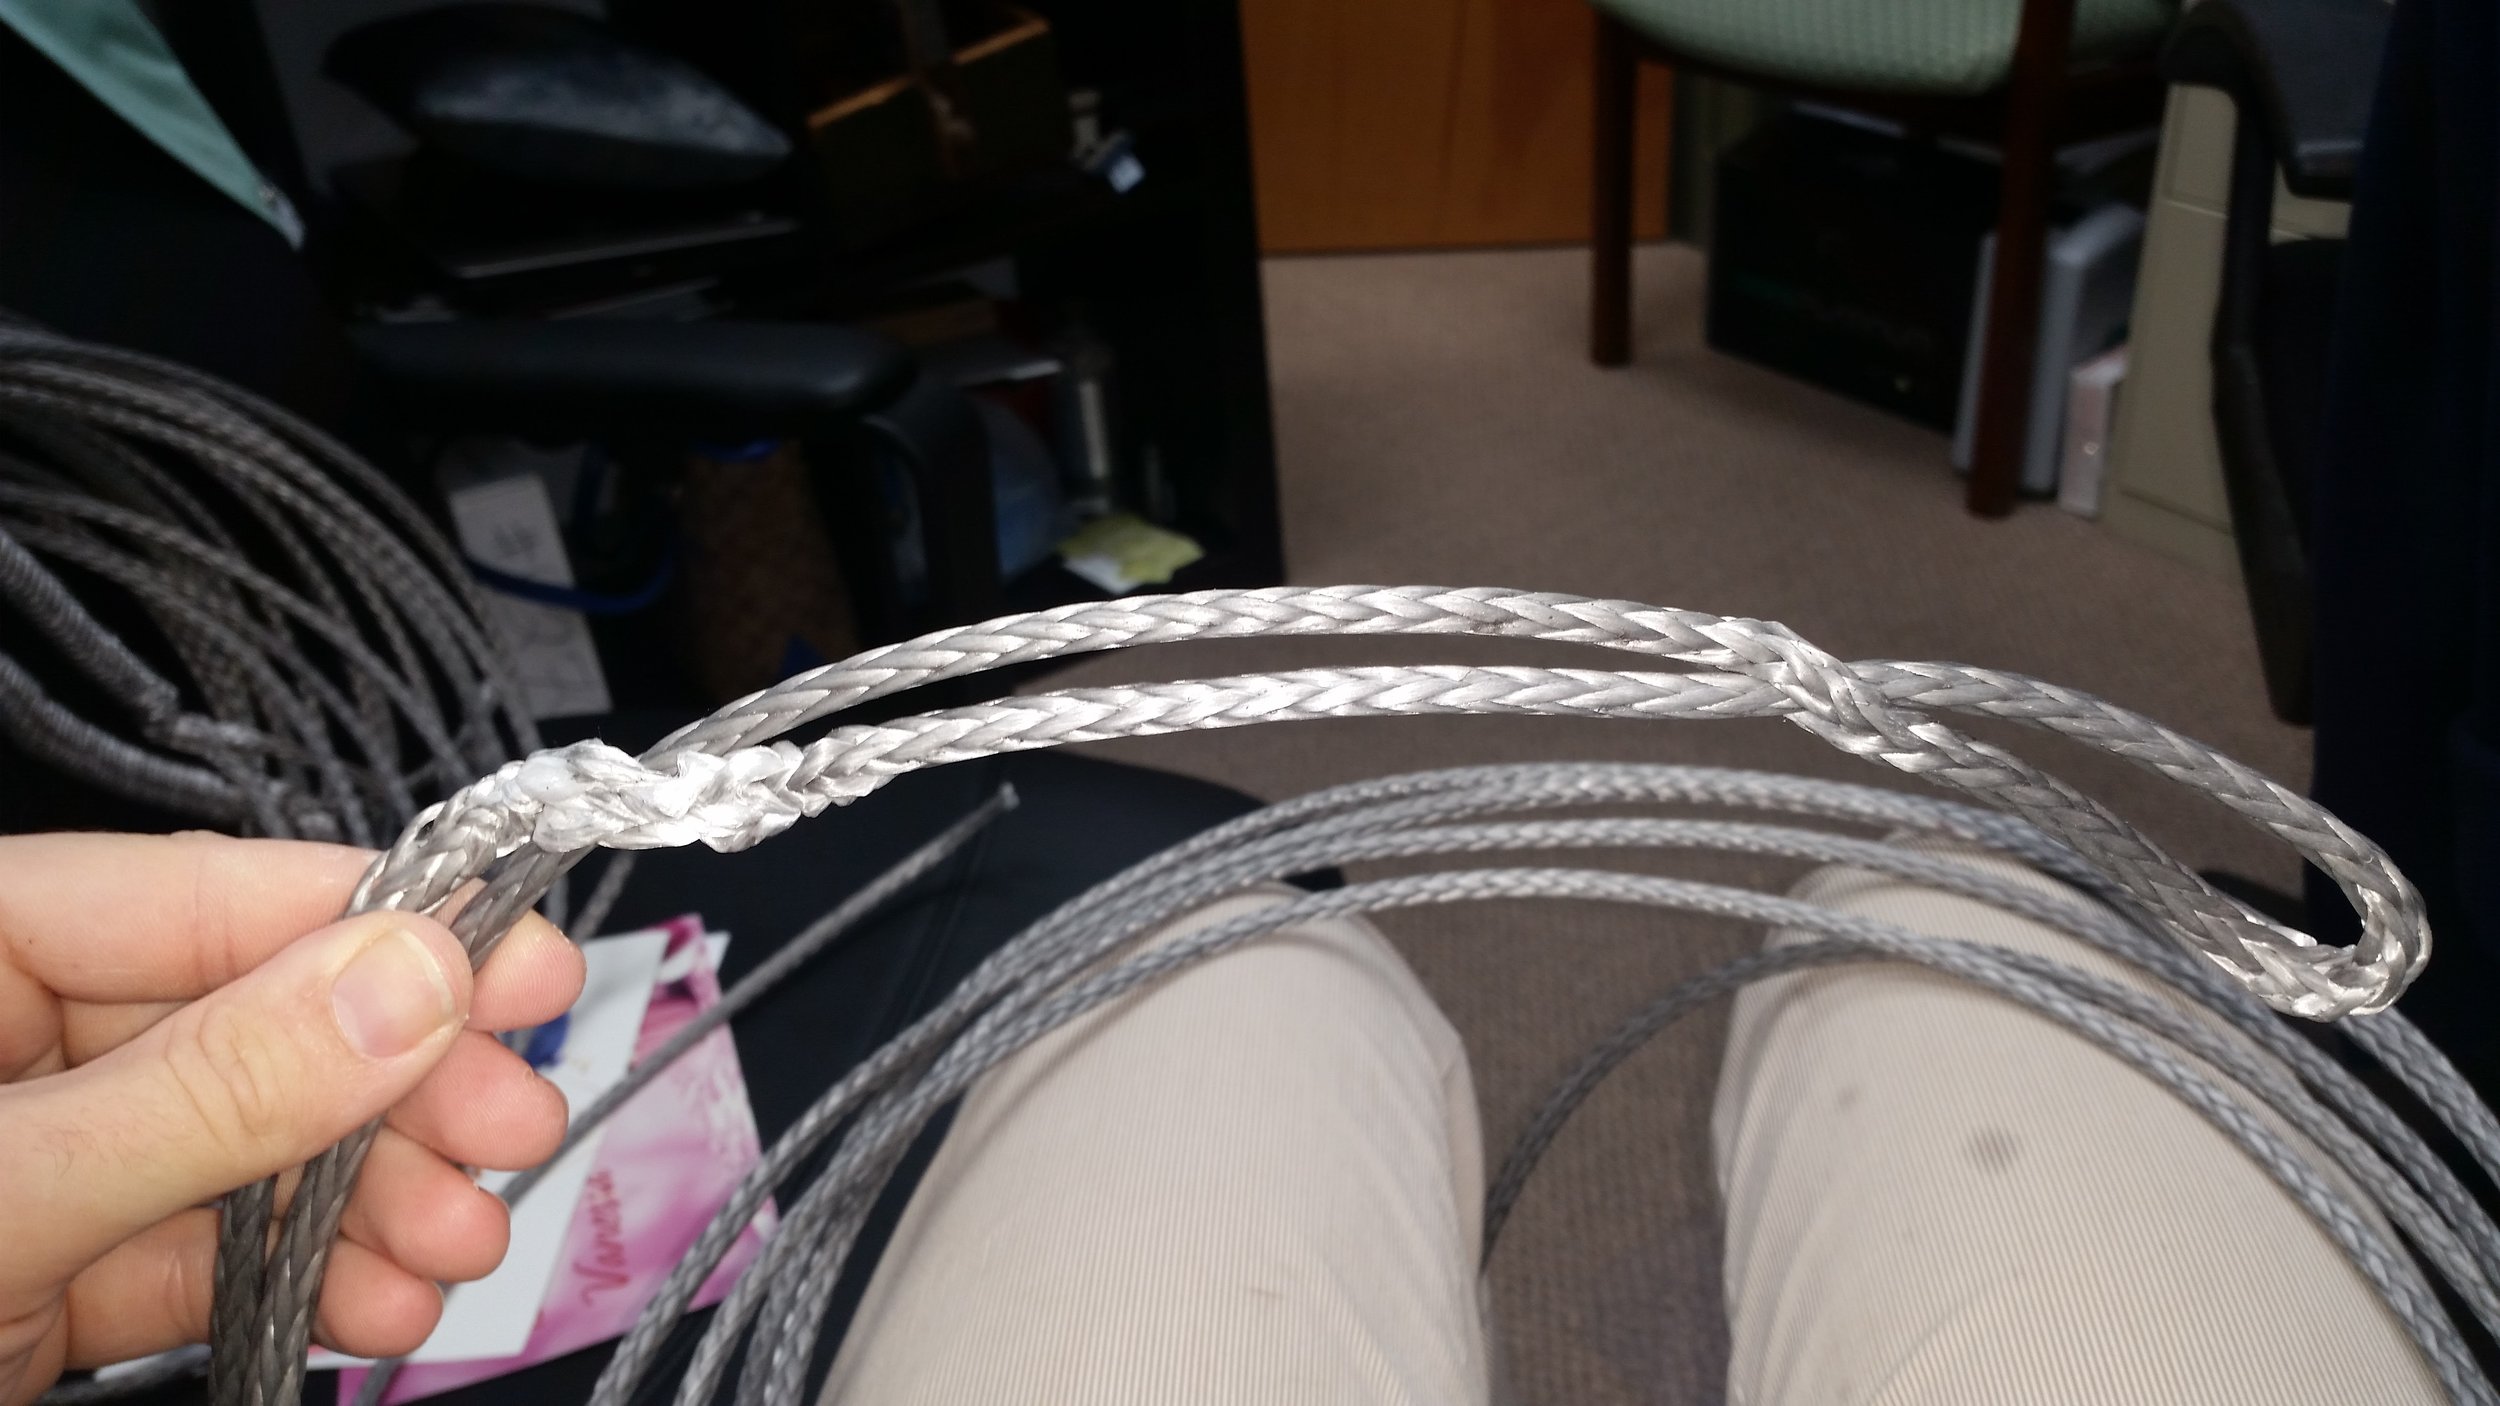
Sliding the twisted opening down all the way will eventually take you to the end where the twist will invert and the splice will be formed without any twisted fibers.

Working the fibers back into place will reduce any signs of the expanded opening in the immediate moments following the splice. Once the stay is under tension, all the fibers will settle back into place.

As with any 12 strand splice, expand the weave by pushing on it and insert the fid through the opening that is directly under the tail. This will make certain that the tail is buried into the stay with minimal twist.

Now pull the tail all the way through and out further down the stay. You want to make certain that the entire tail will be buried after you milk the splice. To ensure that no strands remain un-buried, simply bury the tail further into the stay than the length of the tail. This will ensure that you don't have to try and bury a tapered tail (which can be rather tricky).
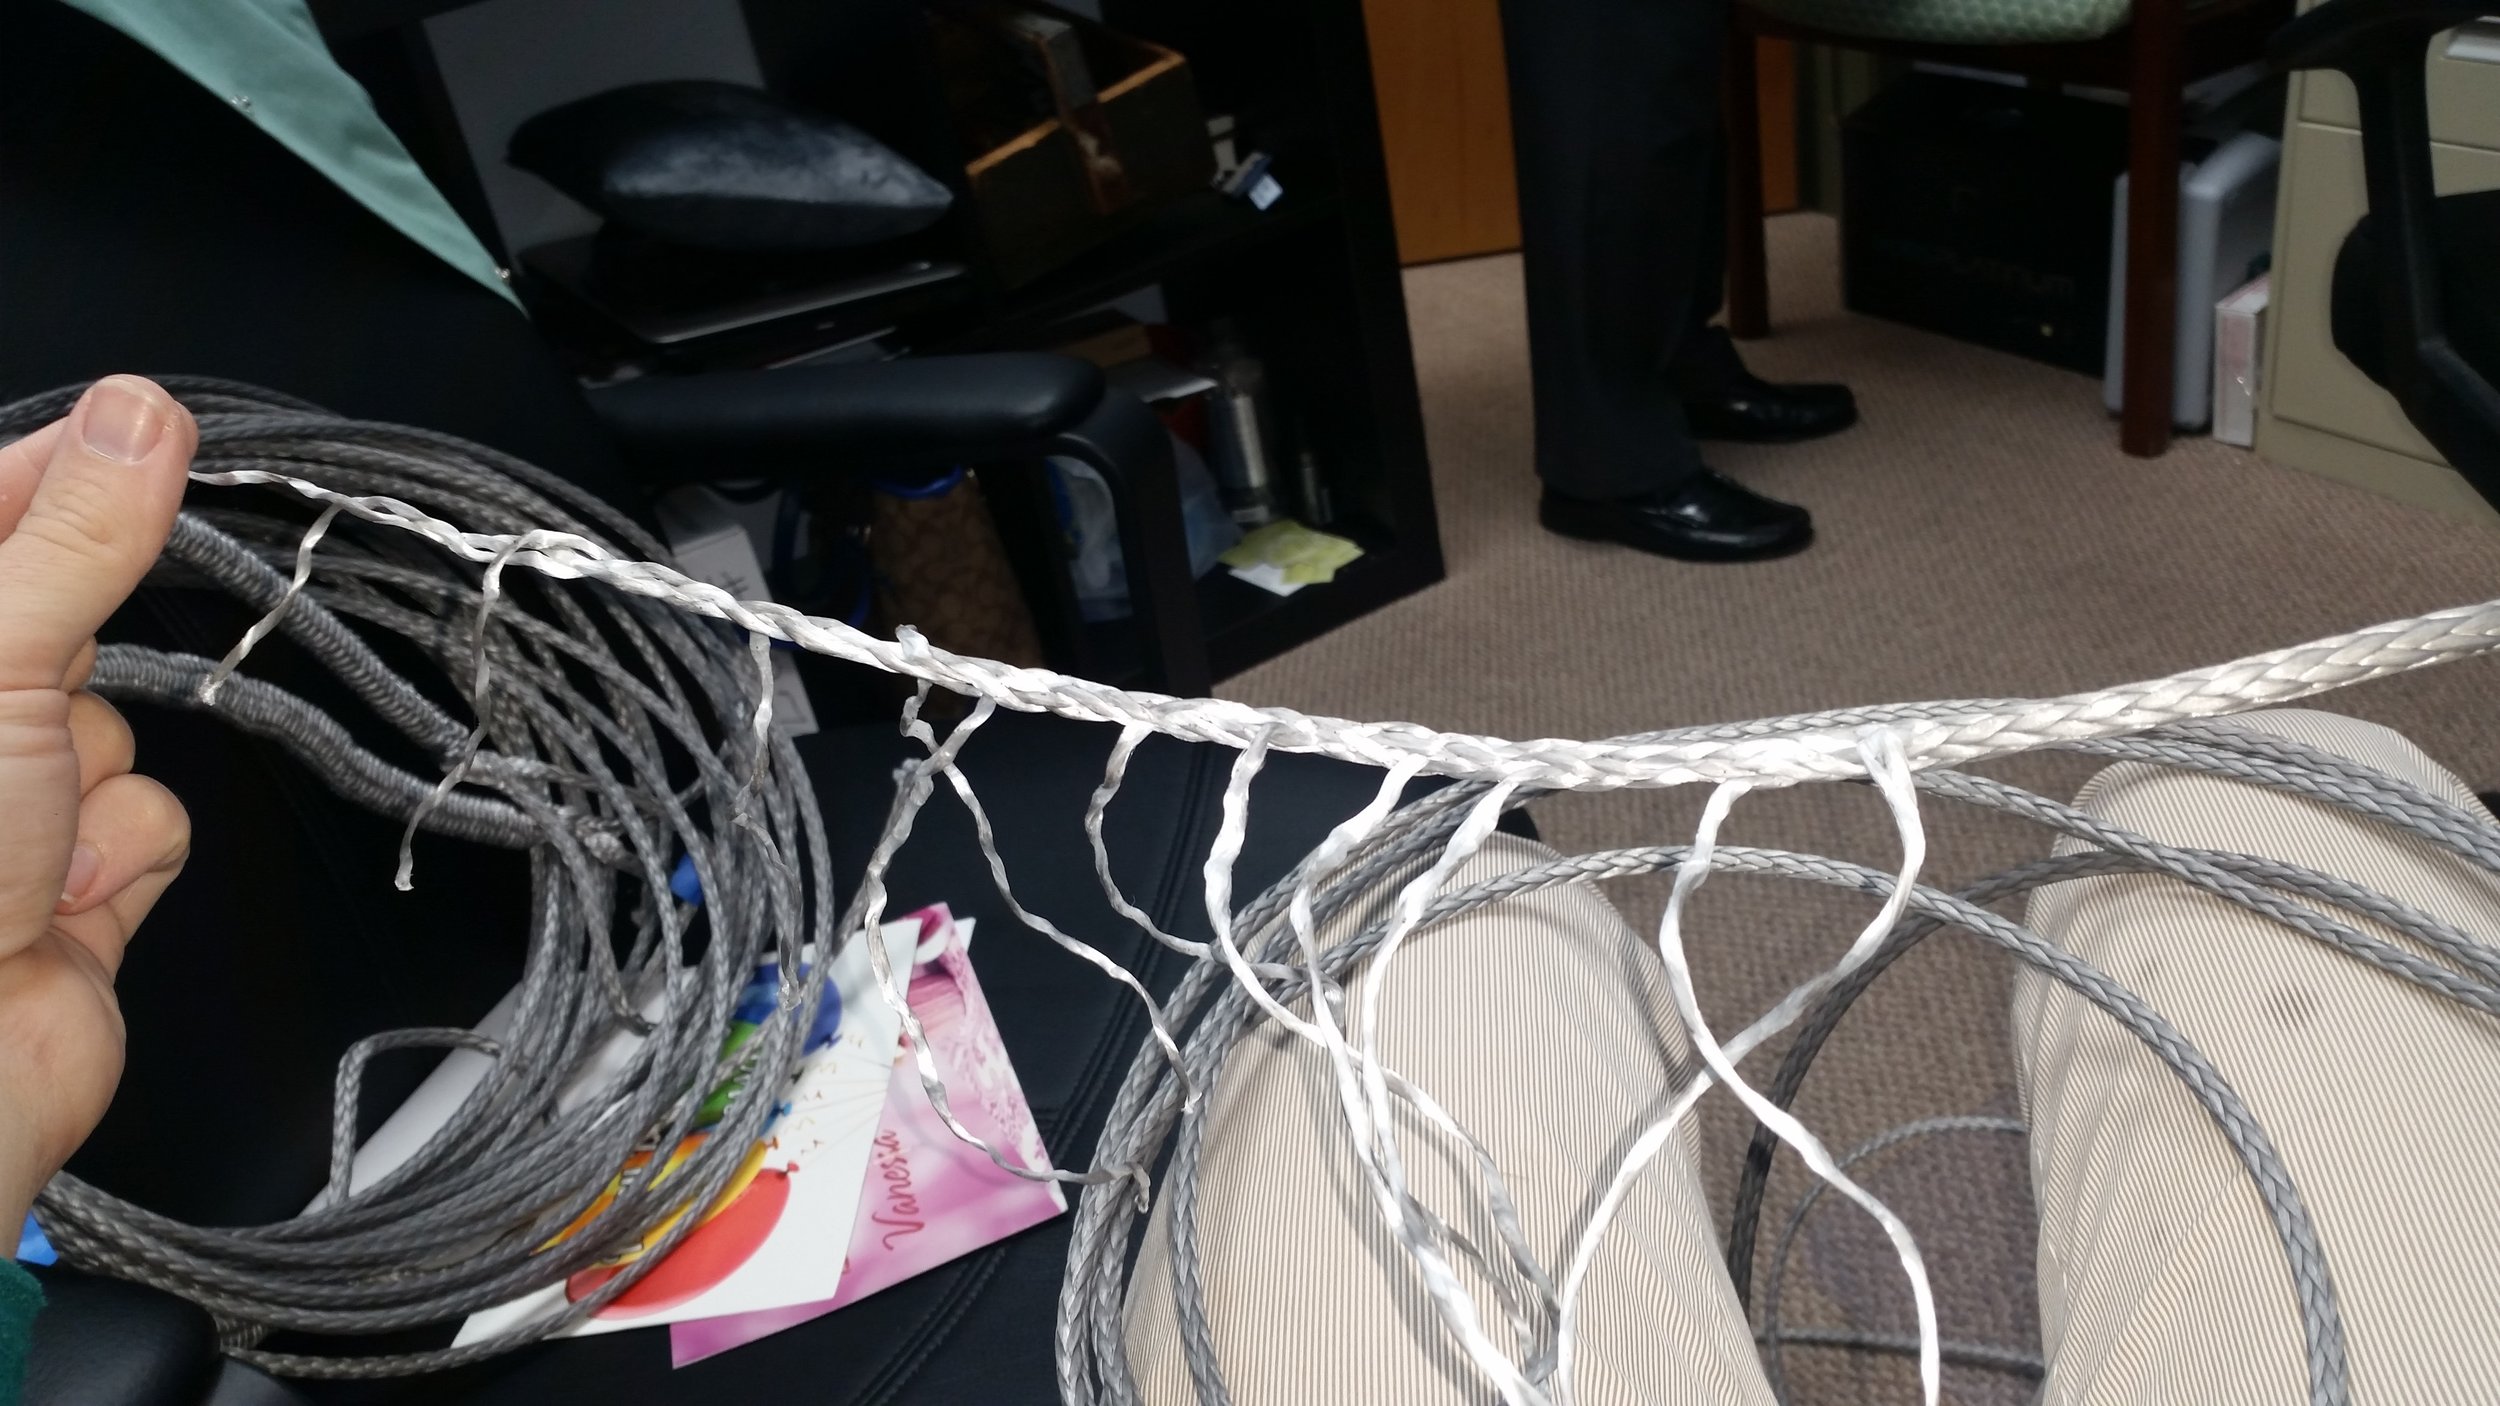
Finally, taper the tail and milk it back into the splice. For these stays, I tapered the tail every third strand. This means I counted 36 strands back from the end and then pulled out every third strand. After they are all pulled out and the taper looks even, I cut the strands and milked the tail back into the splice.
Repeat these steps a few times and you will have yourself a set of stays that is ready to replace your old steel stays!
