
The wall frames are going to be taller than the car port roof that I'm building under. This means that I need to get everything completed before the walls go up. Once the walls are up, I have to work very quickly to complete the exterior to avoid water damage to the tiny house.
All the studs for the walls have been cut to length, so when assembly time comes, I can just nail it all together without much thought or calculation. To further the assembly process, I have assembled as much as I can of the wall frames under the car port (pretty much all the horizontal pieces).
The bottom piece of the wall frame is 18 feet long, the length of the house. The problem is the 2x4's only come in 8 and 12 foot lengths. I didn't want to butt joint the bottom, because the butt blocks would be bulky and unsightly. I decided to scarf a 12 foot and an off cut together to give me the desired and required length.
Scarf joints are very strong way to connect two pieces of wood. They also come in varoius shapes and styles. The most simple method is called a "Plain Scarf", which is simply a diagonal cut on the two pieces. This gives a very long faying surface for the glue and screws to hold it all together.

Source: https://en.wikipedia.org/wiki/Scarf_joint#/media/File:Woodworking-joint-scarf.gif
The disadvantages of this scarf are the pieces can slide past each other, stressing the joint. The answer to these problems is called a "Nibbed Scarf". This is the same as the plain scarf, but the ends are nibbed vertical. When the board is compressed, the nibbed ends hit a vertical and positive stop, preventing the edges from sliding.

To perfectly execute a nibbed scarf, you need to cut and then plane the faying surfaces to make them absolutely perfect! This takes a lot of time, and the frame bottoms are going to sit flat and flush on the subfloor. Because of this, I did not properly finish the scarf joints, and instead just stopped when it was "good enough".
The joint was glued using Titebond III, a waterproof wood glue which is the next best thing to Resorcinol glue and much easier to find in the Untied States. Titebond III also has gap filling properties, which mean that a poorly mated surface will still hold very well. These joints were secured with nails while they dried into their final long lengths. The ends of the boards will be cut once the framing begins and I can set the joint in a hidden area that is not directly under a stud.
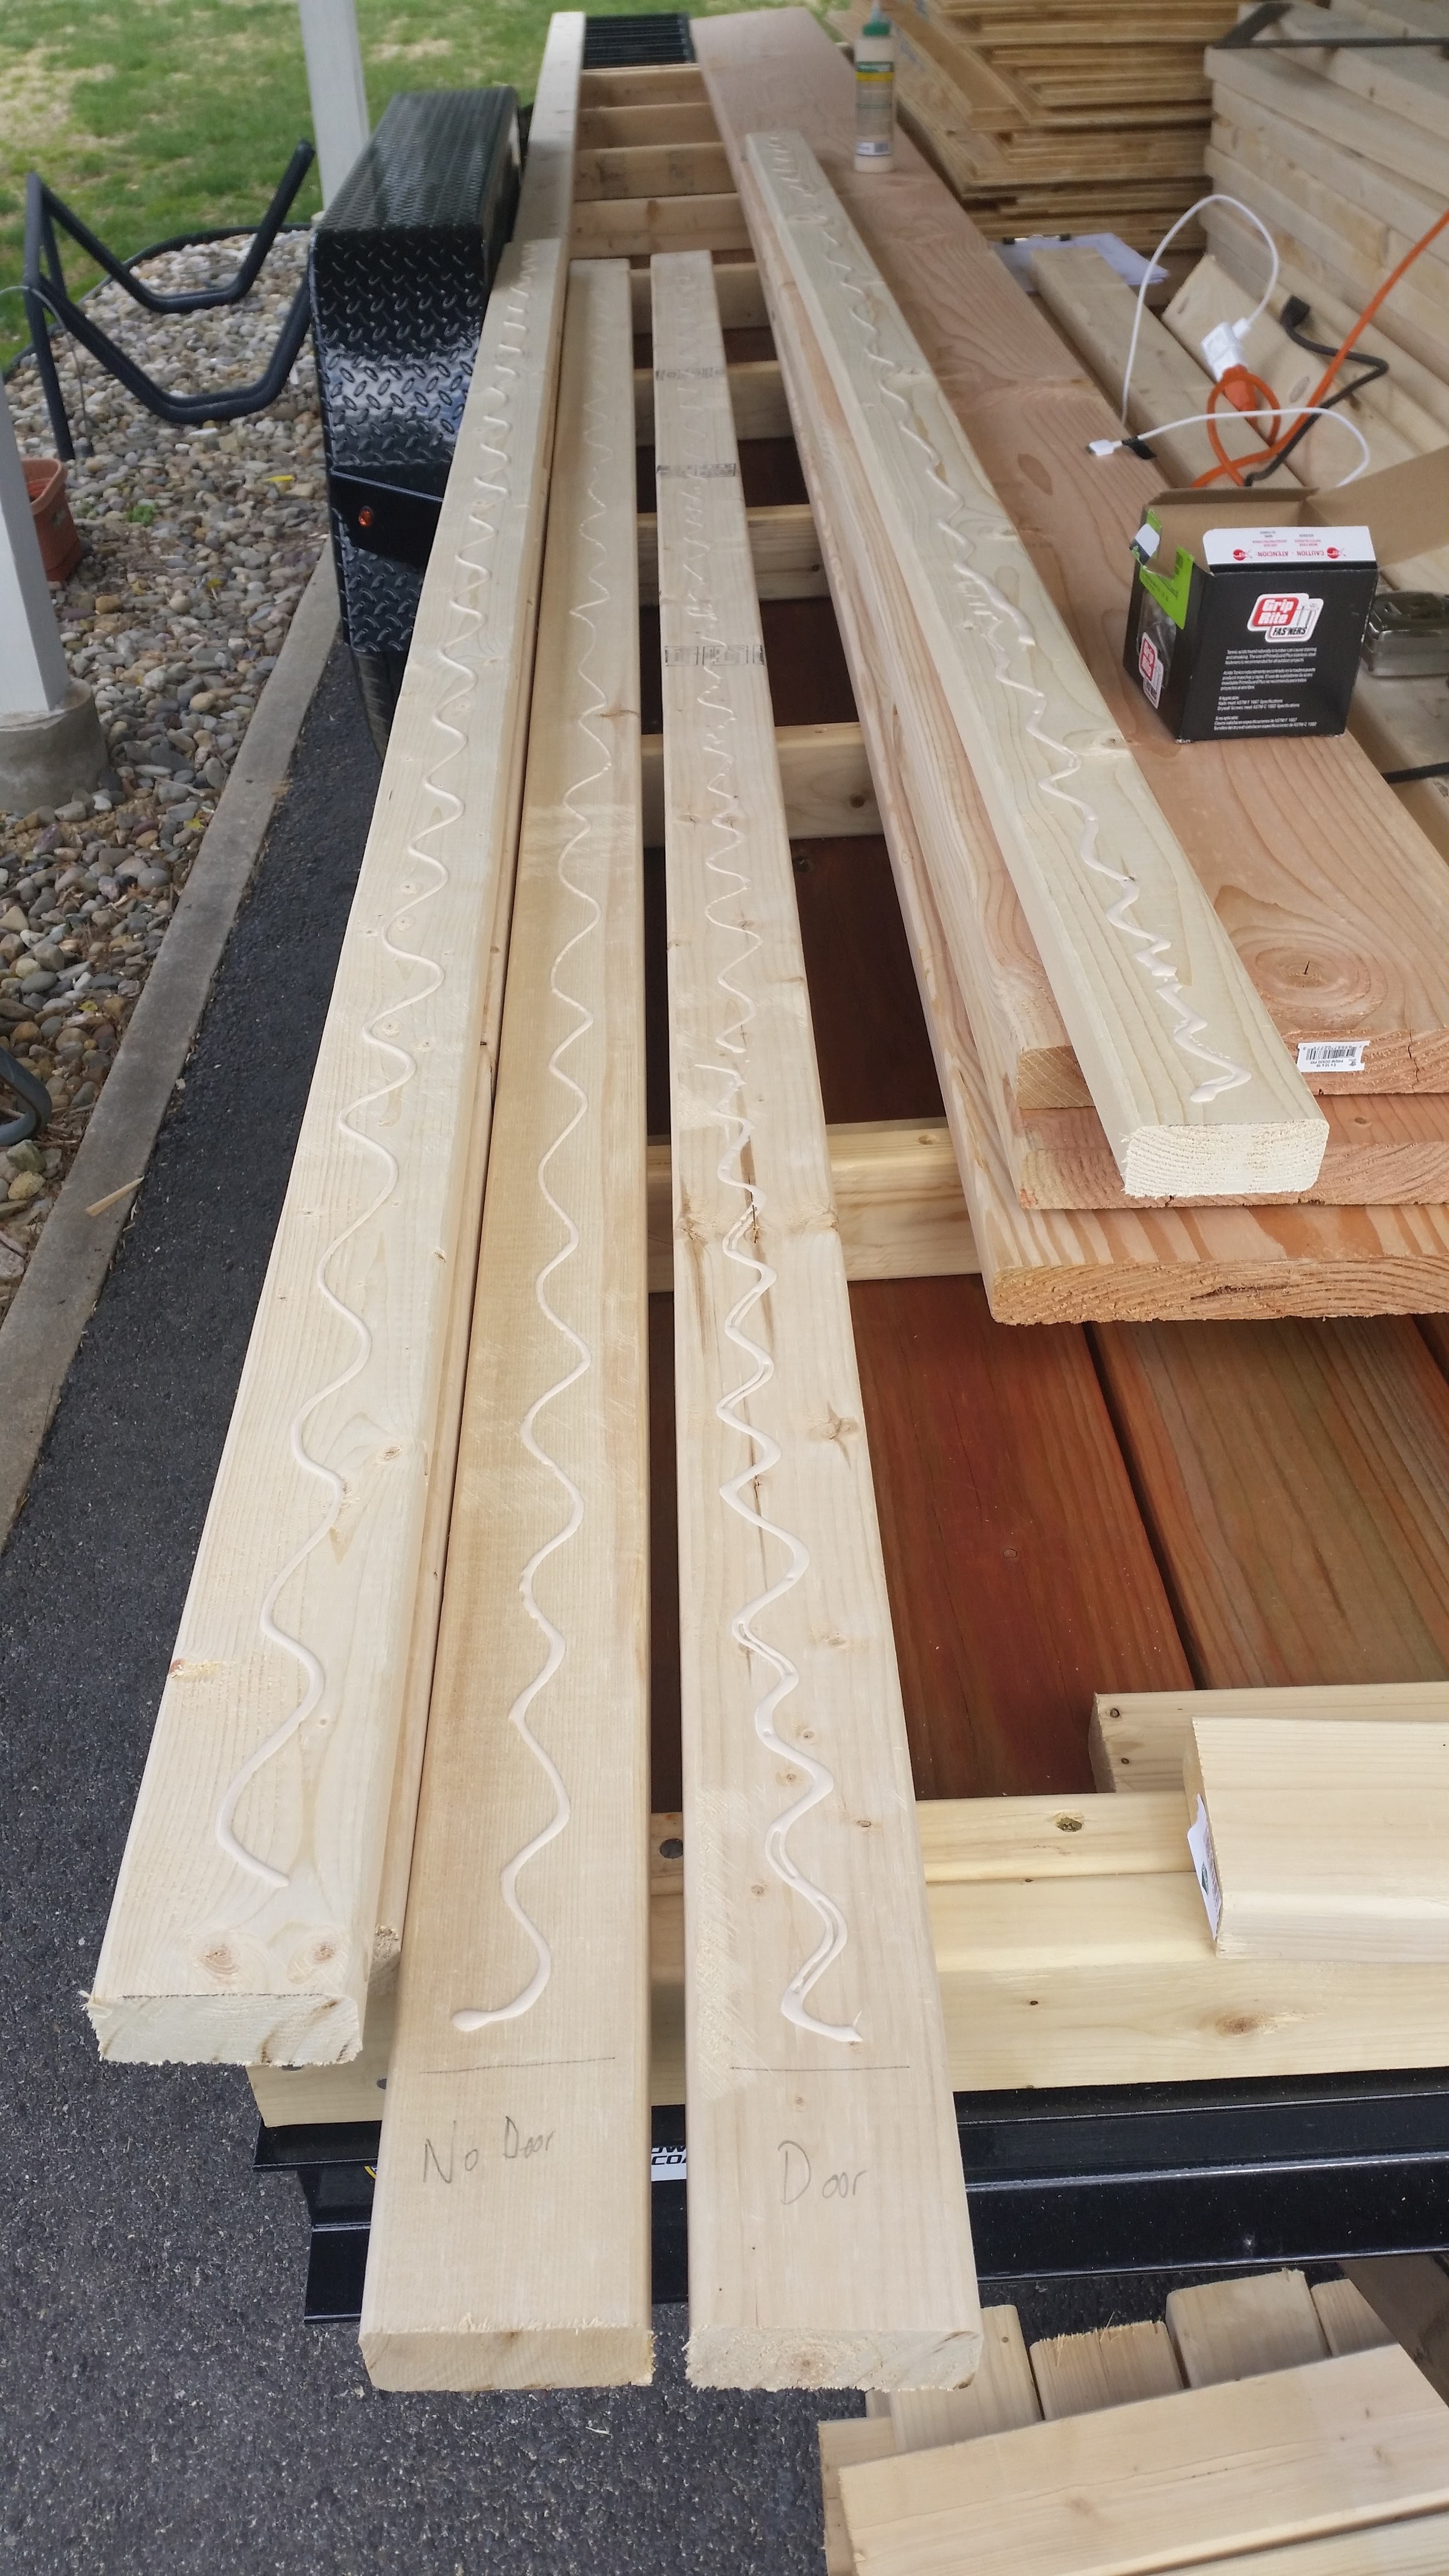

On the other extreme, the tops of the wall frames needed to be assembled as well. The boards were glued and then nailed, holding them secure.
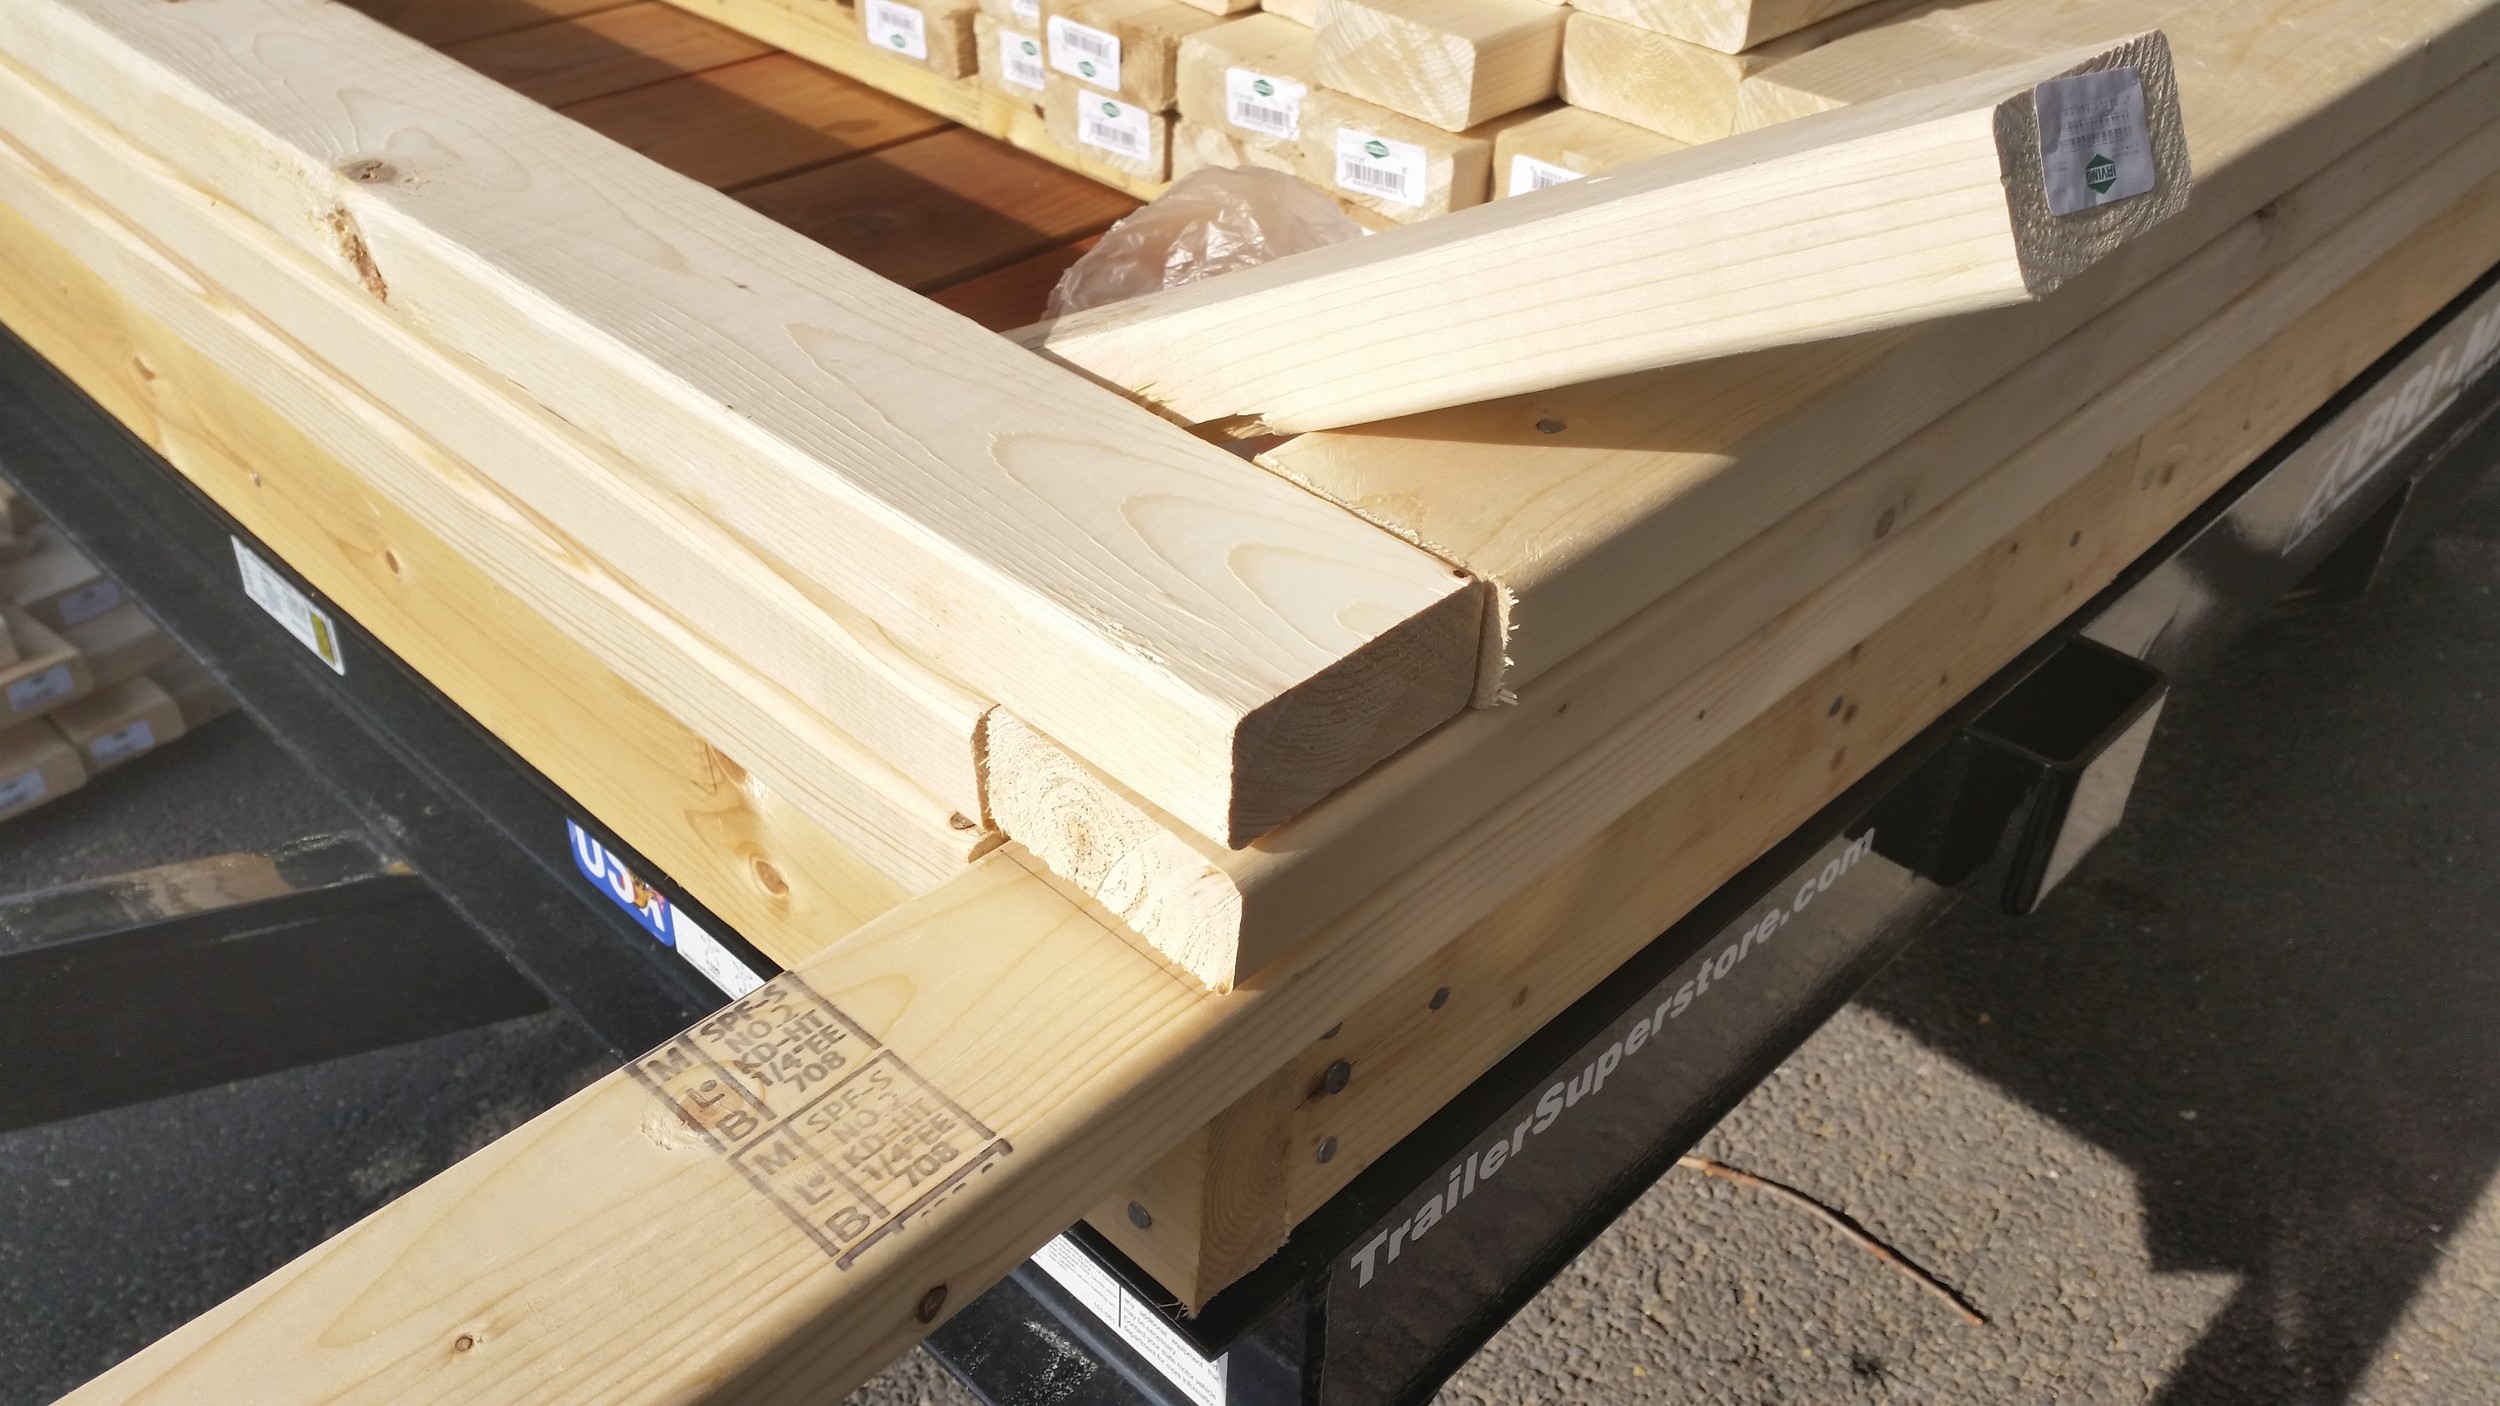
The ends of the top two pieces have staggered ends, this will allows the corners to overlap and be nailed together, making the corners much stronger. This will help tie the whole structure together.
Now the bottoms and the tops of the wall frames are completed and all the studs are cut. The next step will be to build the end trusses to set the pitch of the roof and then begin assembling the studs between the top and bottom of the frames.
