
The solar panels are to be mounted on the stern rail, supported by a strut to hold them towards the sun, as well as able to be folded down when docking or during storm conditions. Now we have to turn this goal into a reality!
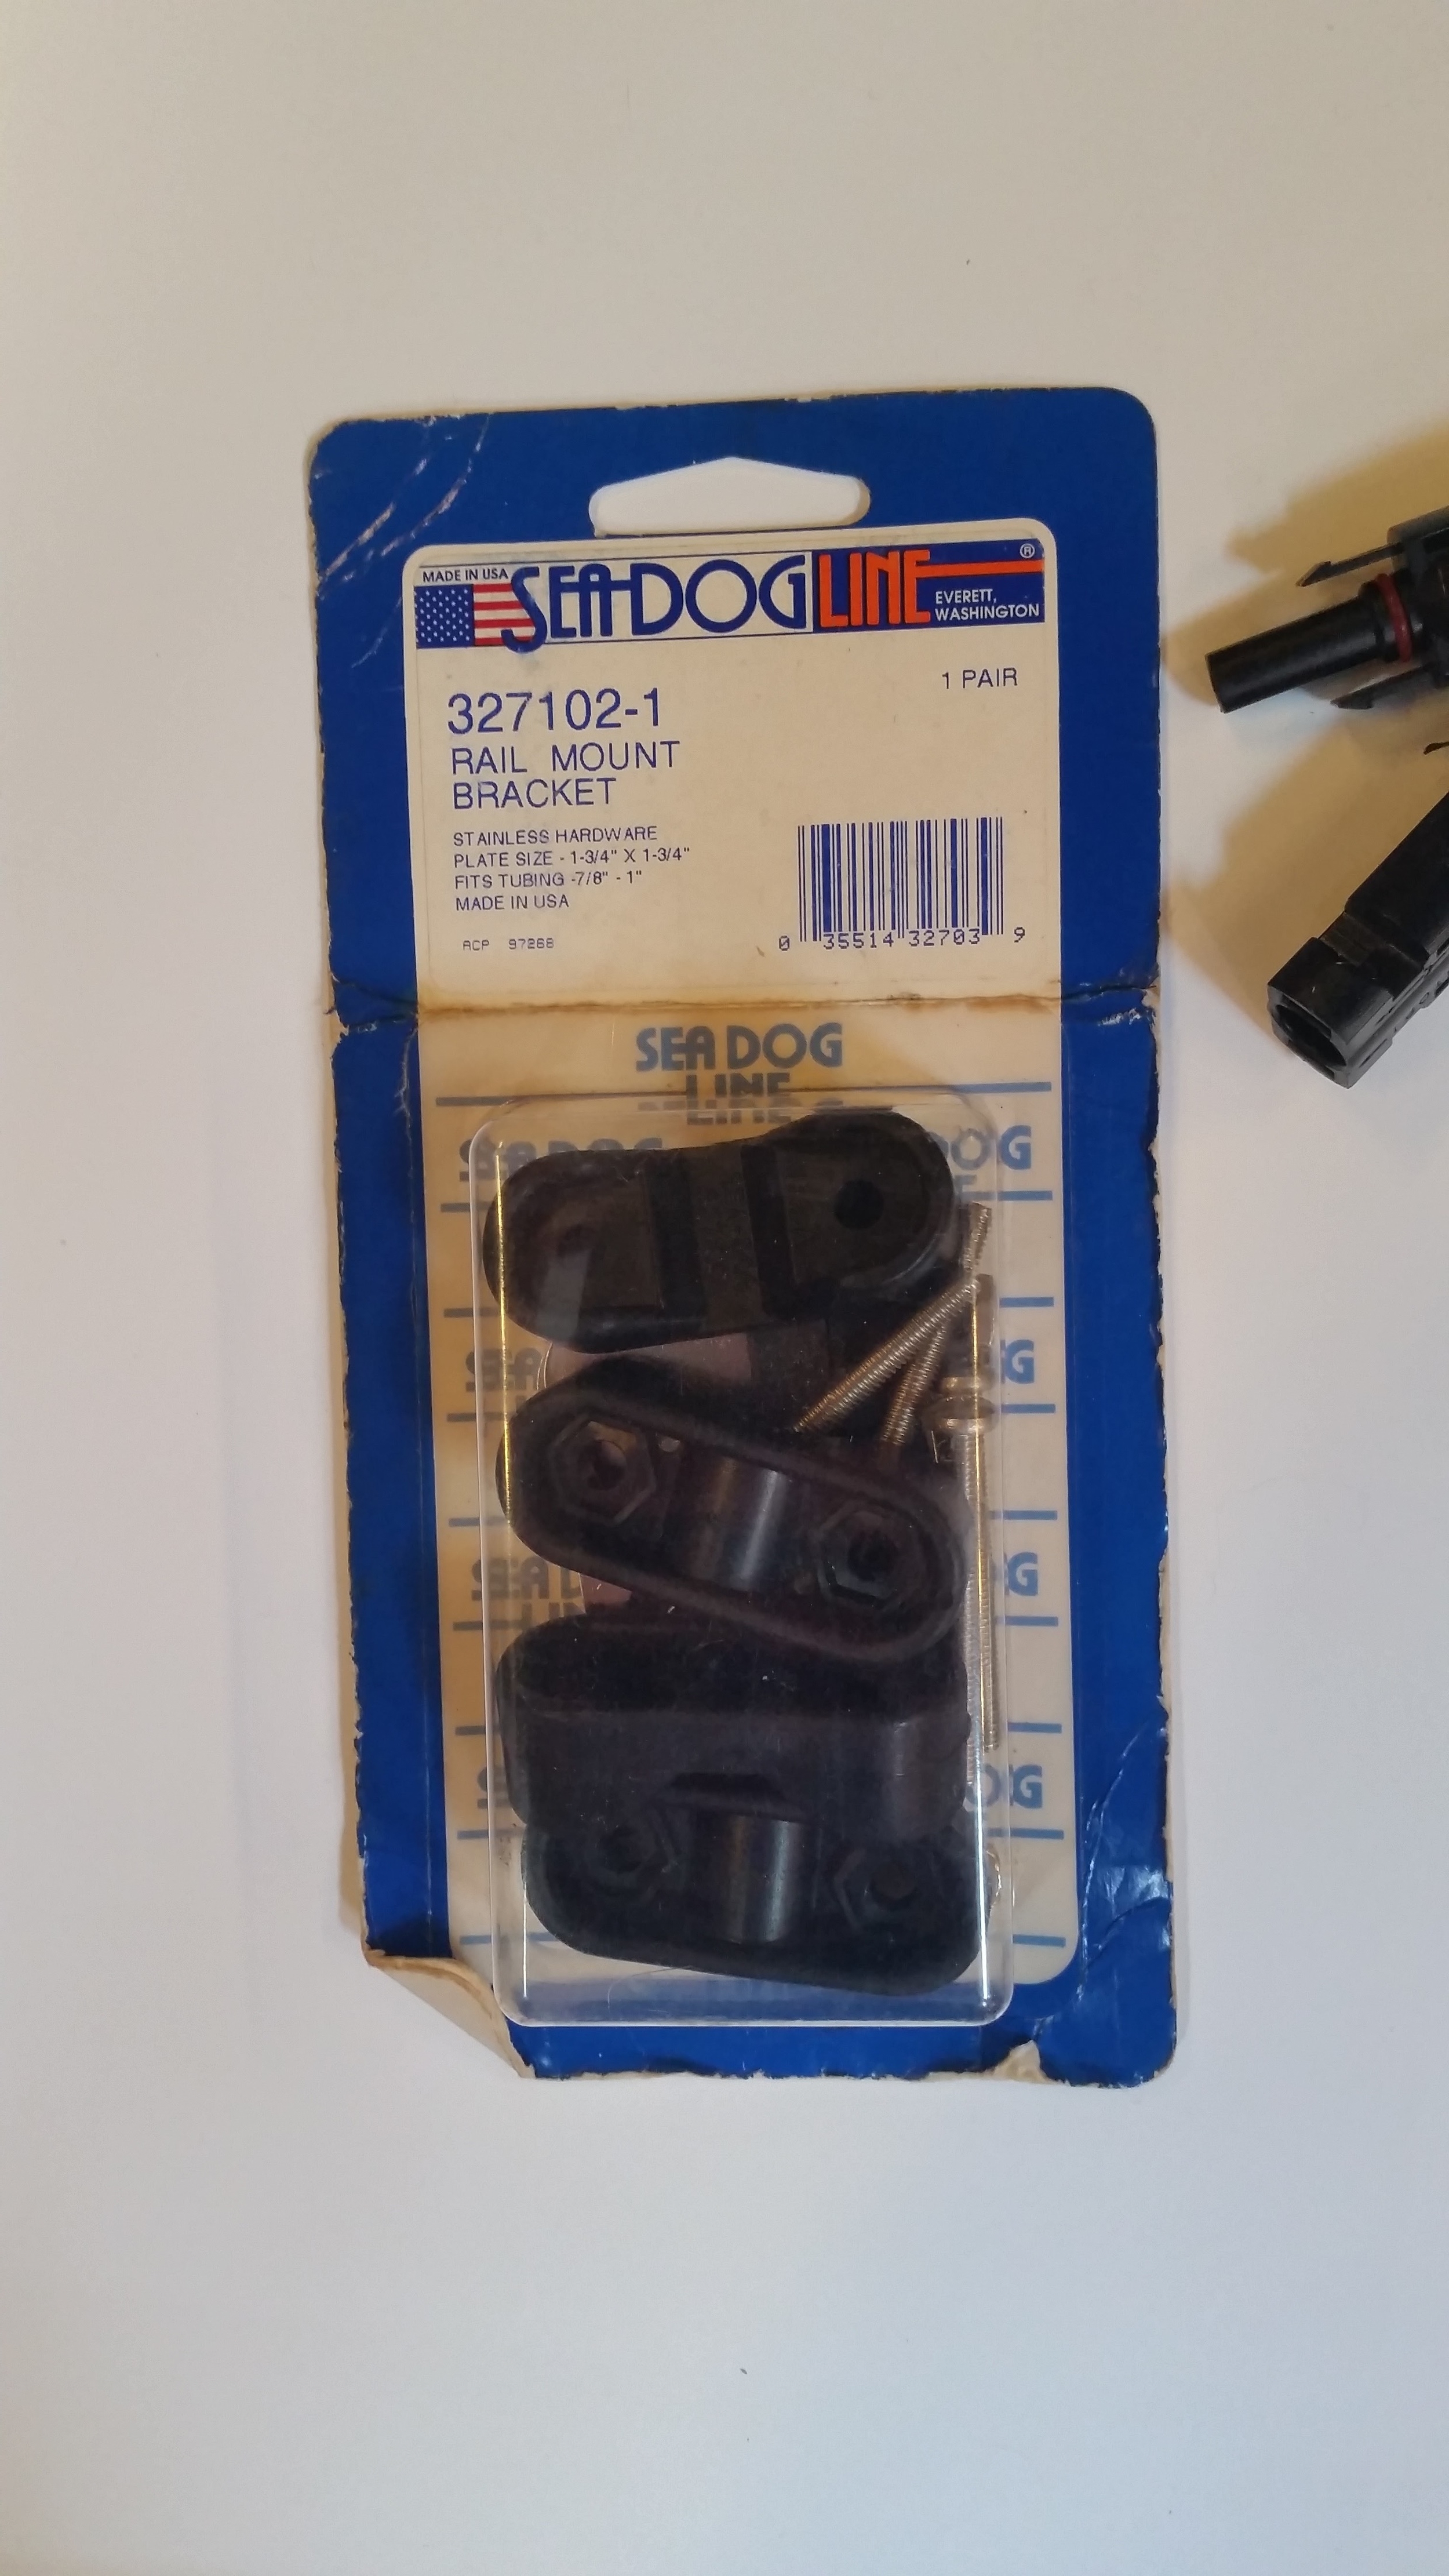
These clamps were in a locker on the boat when I bought her. I have no idea how old they are, but they worked great!
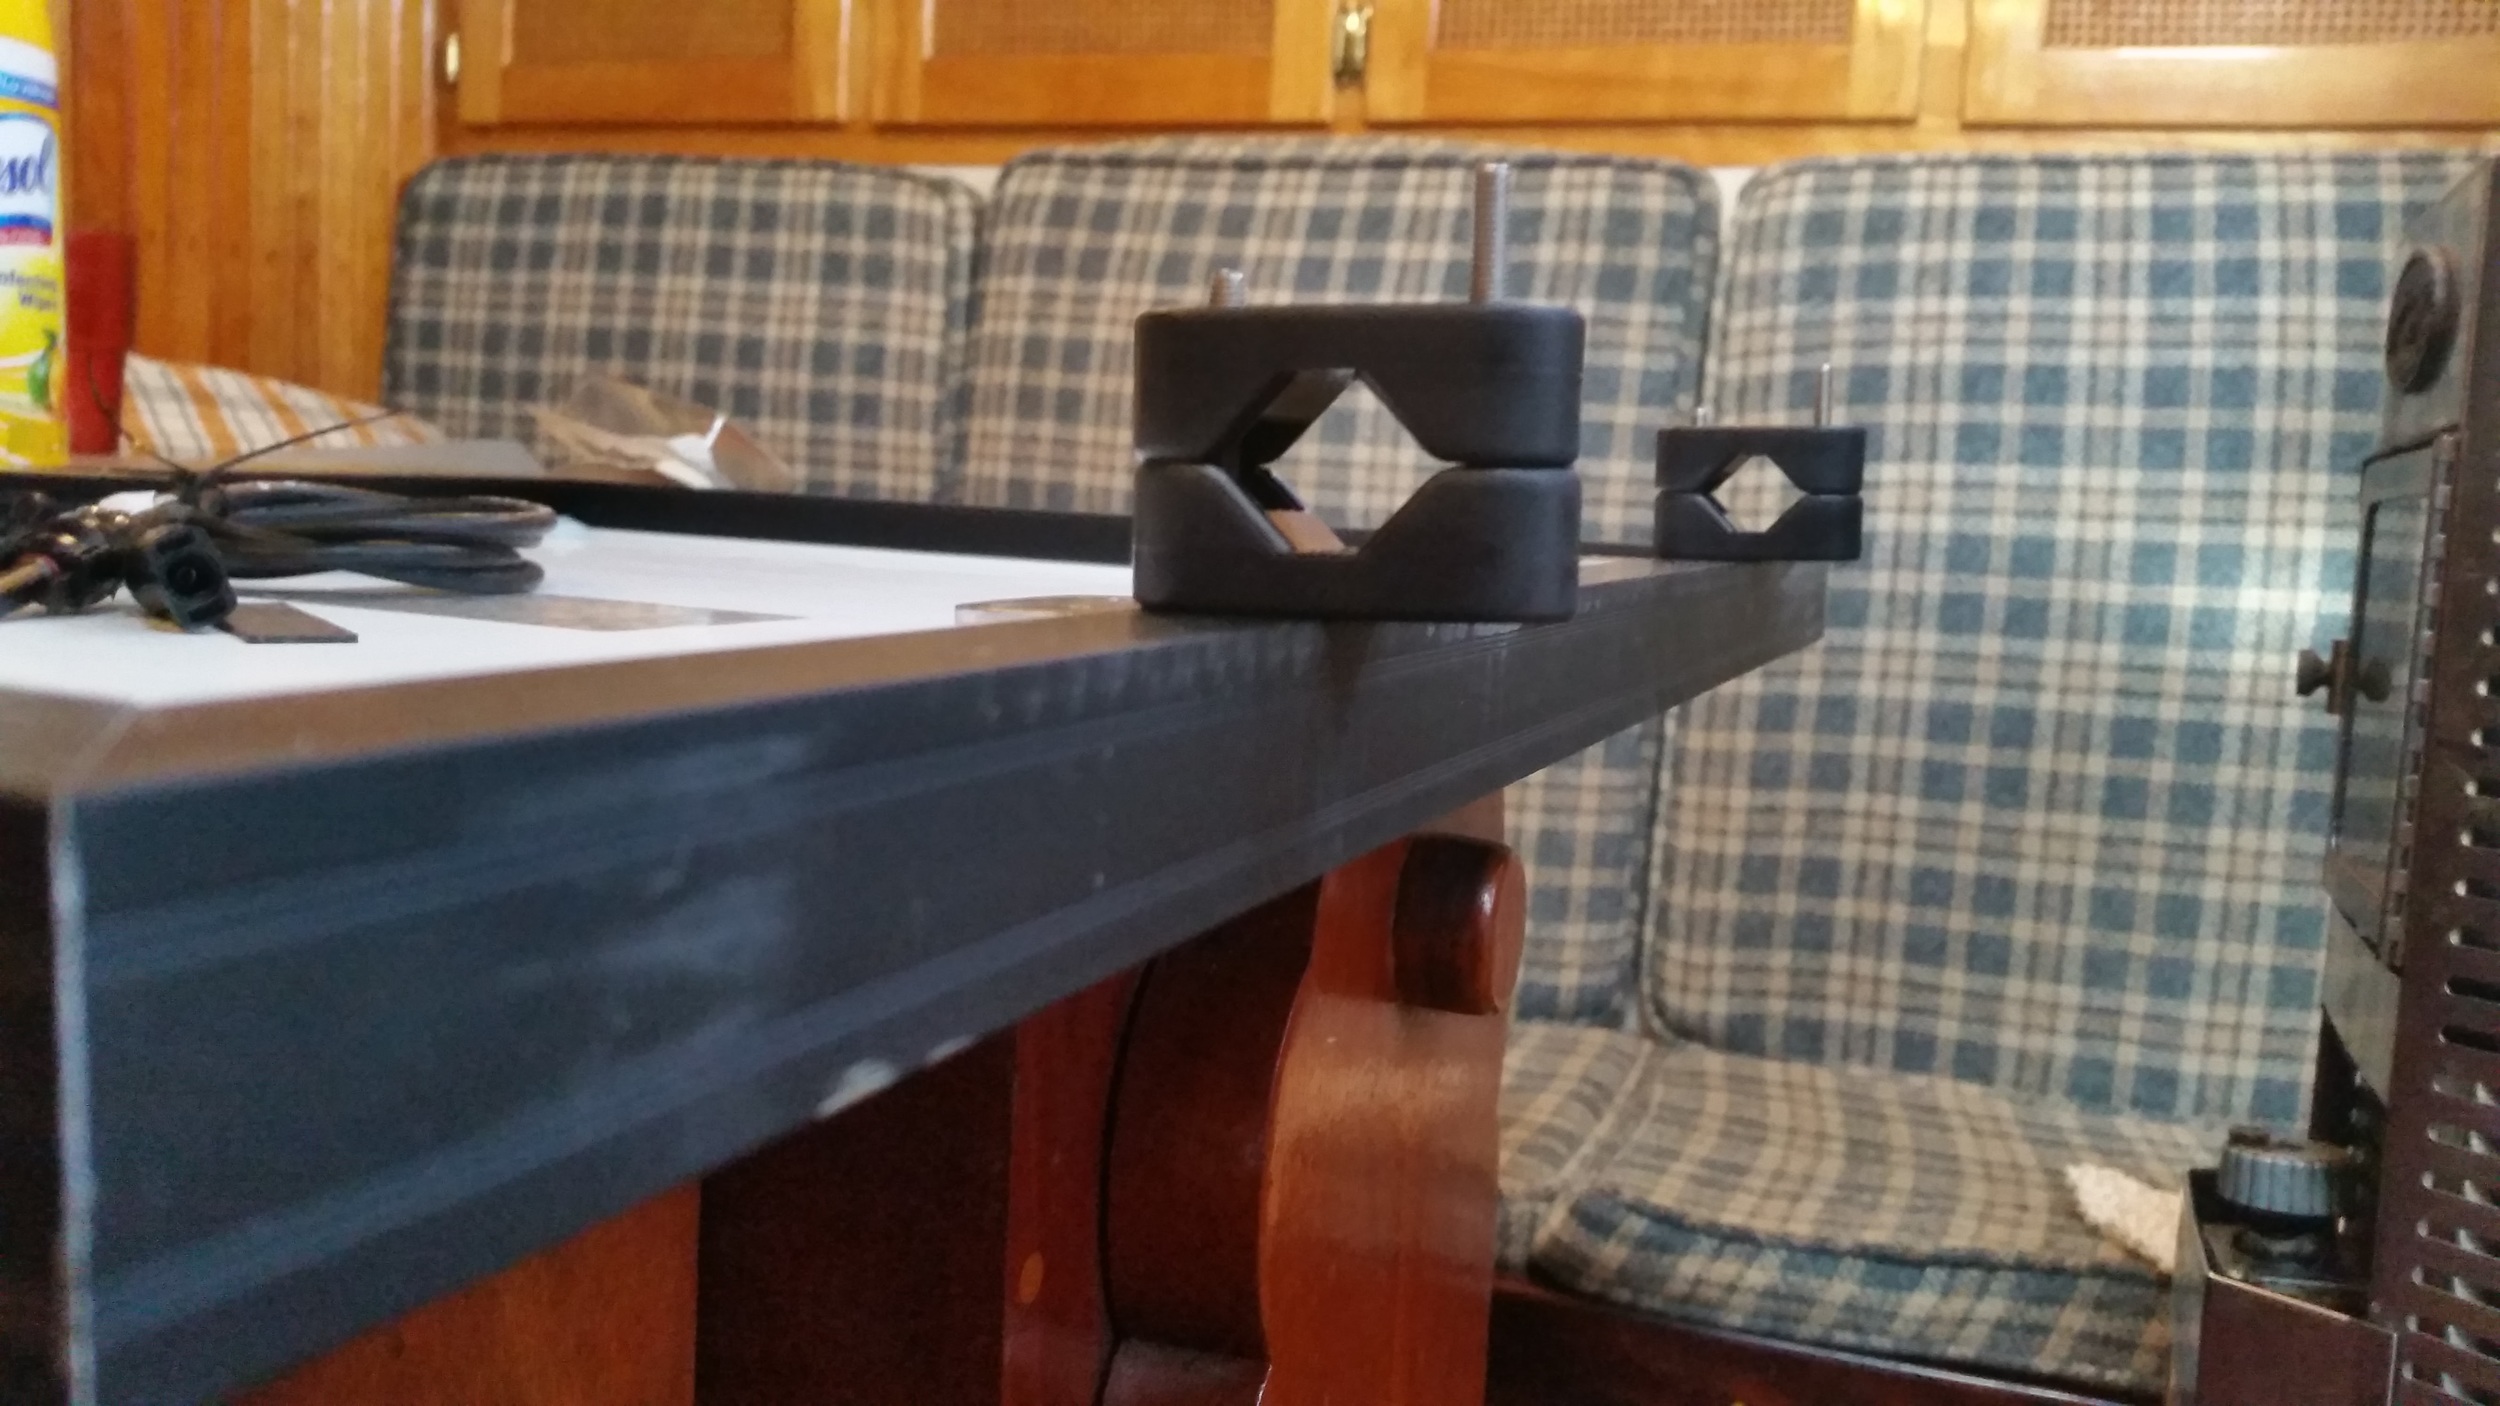

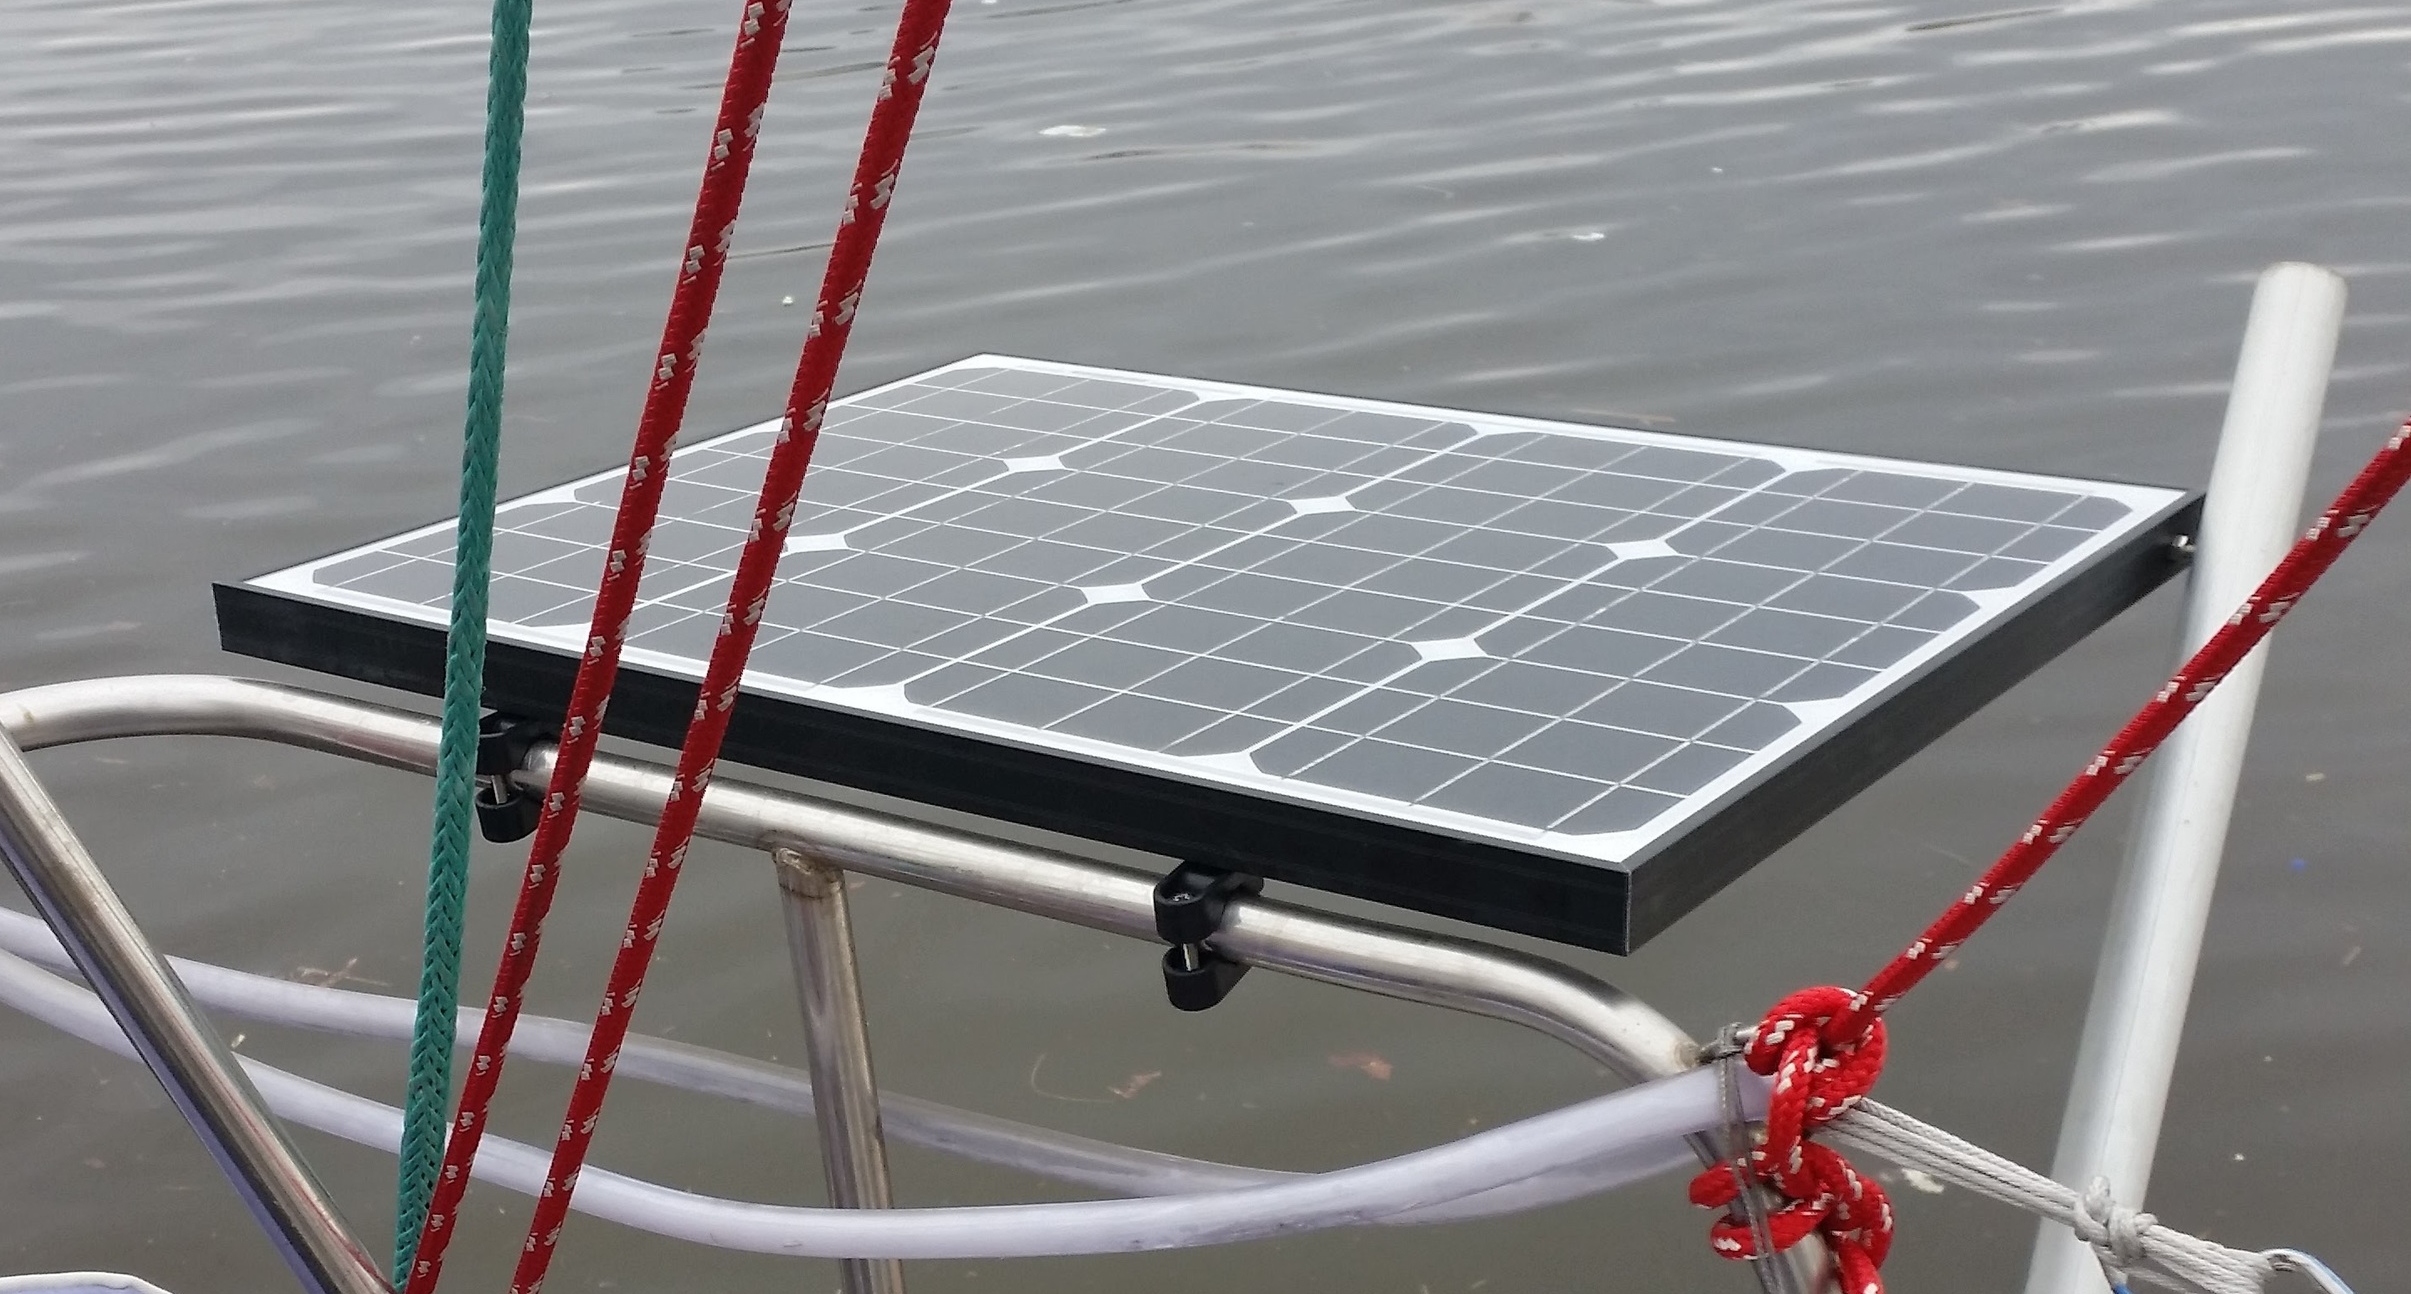
To mount the panels on the rail, I used Sea Dog Rail Clamps. These nylon rail fittings will allow the panel to bolt up to the rail, while still allowing the whole assembly to pivot and hinge. This was accomplished by not tightening the clamps all the way and by not using the rubber insert (which would keep the clamp from rotating around the rail).
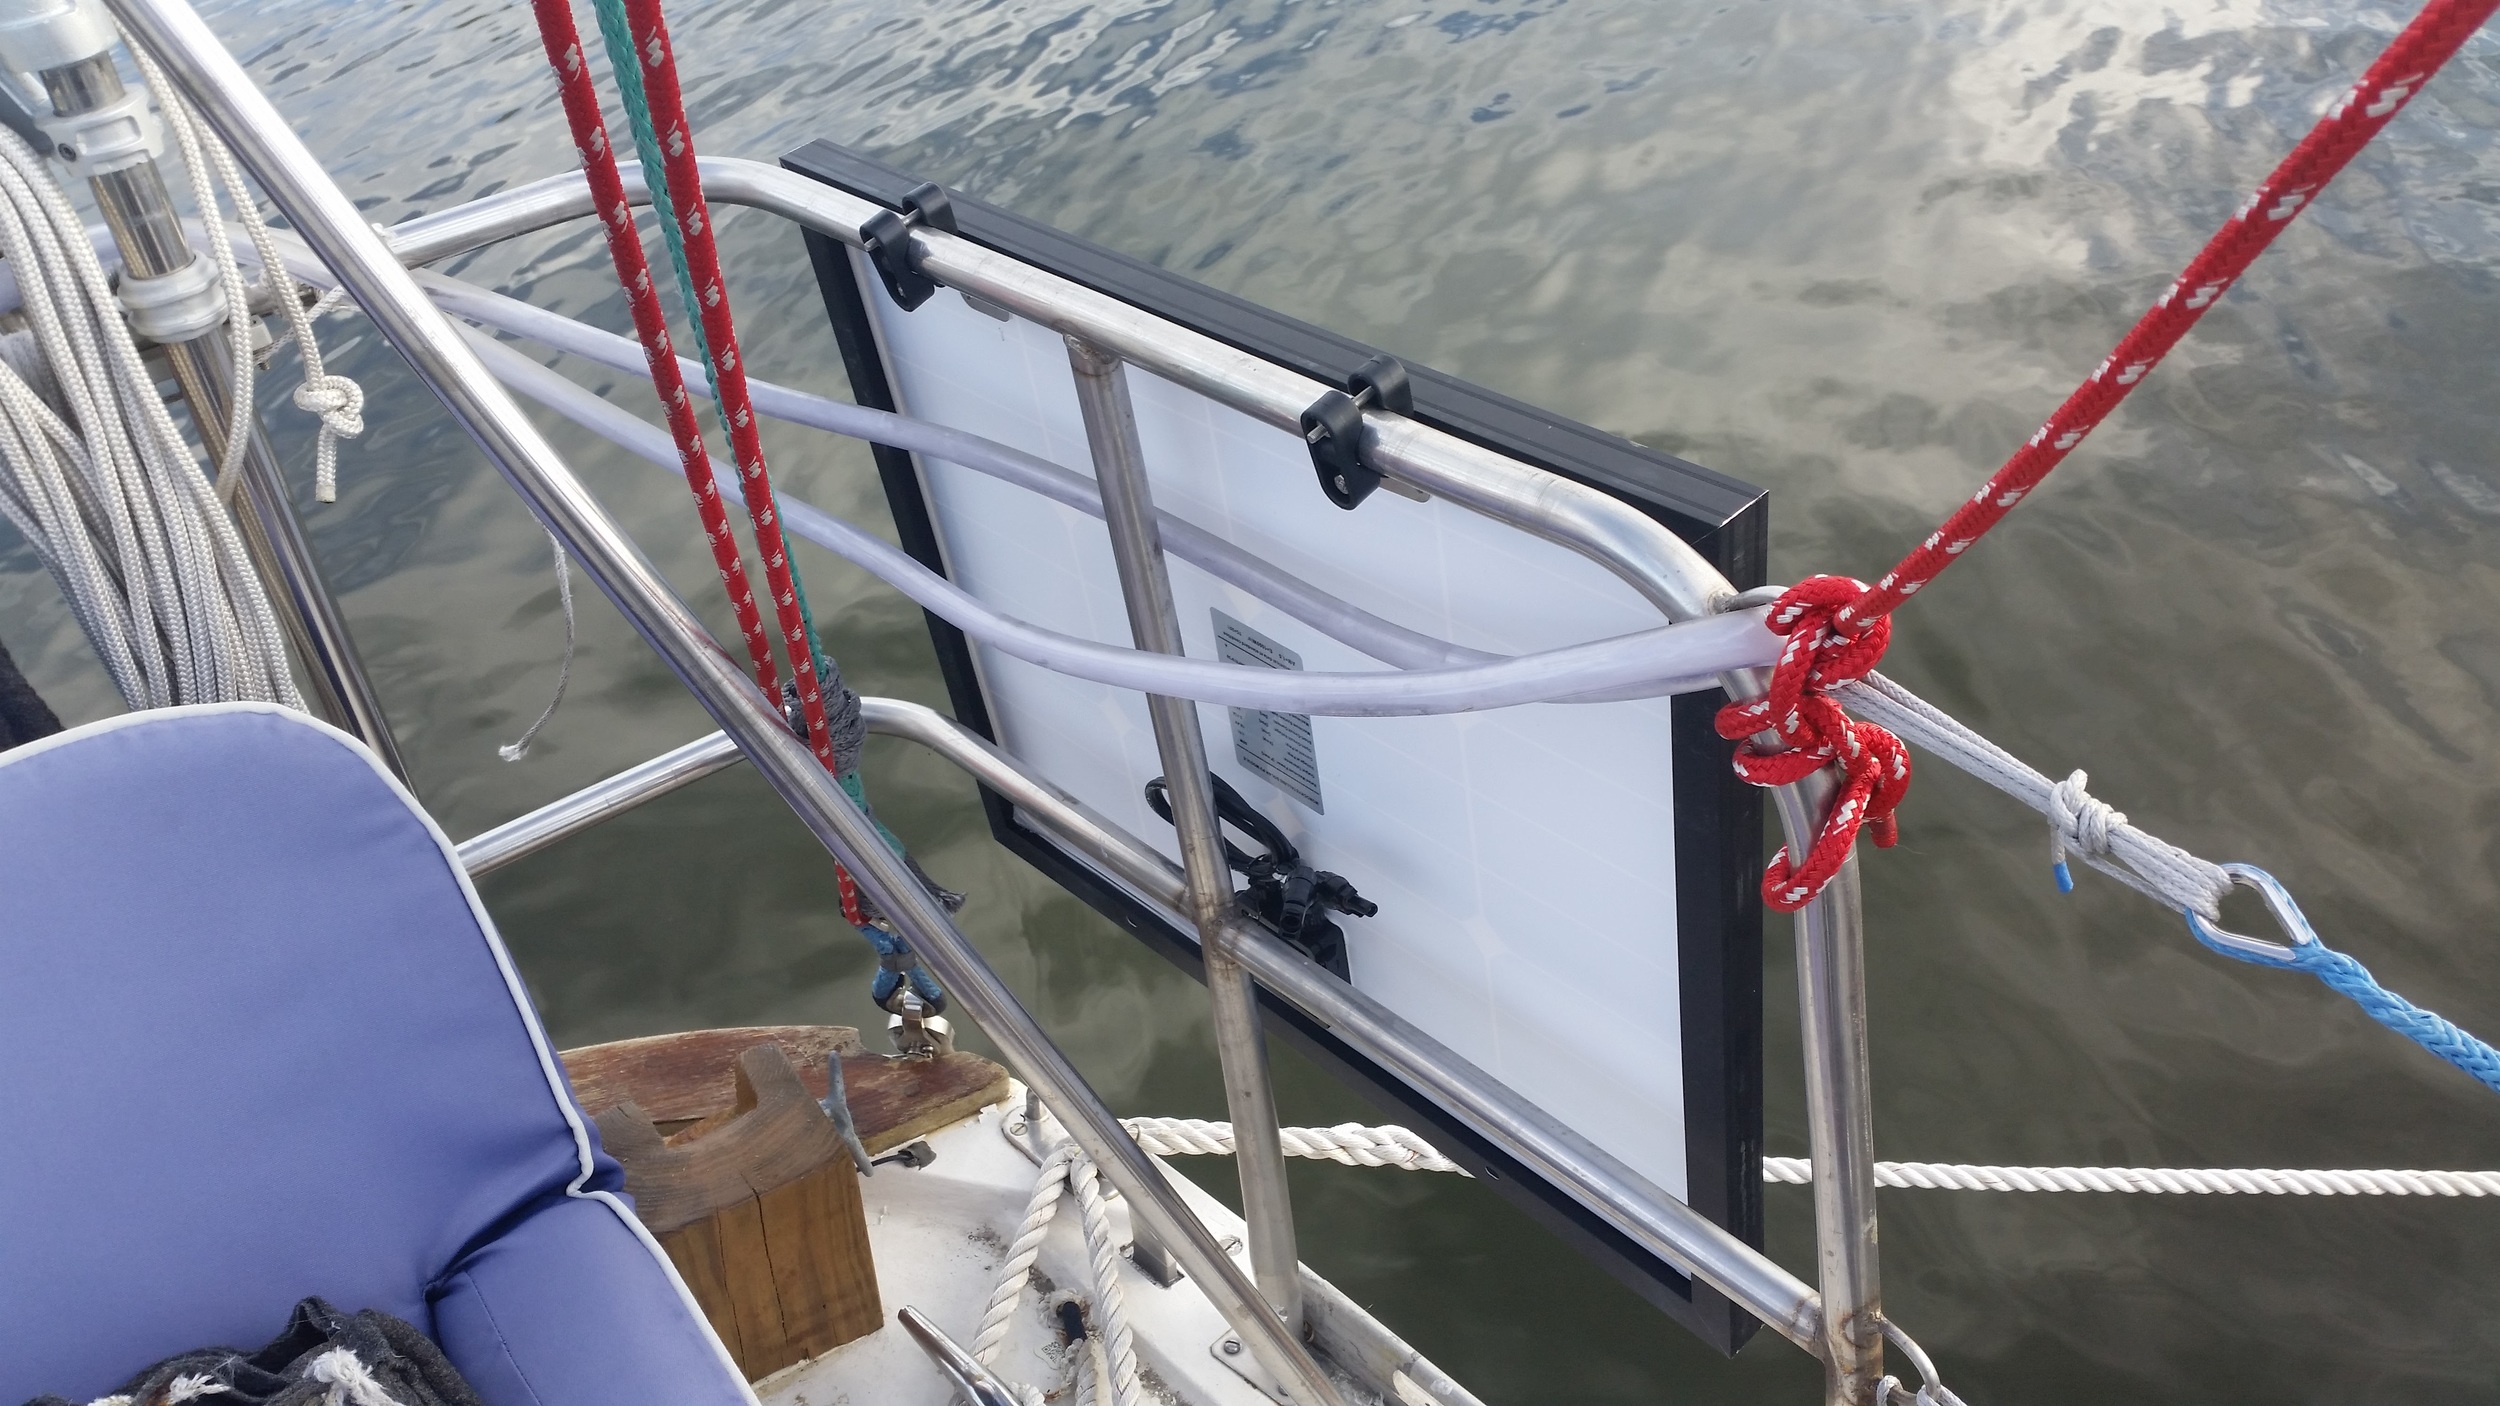
The solar panels fit well, and still allow access to the stern cleats when in the folded position. By folding down, they are safely hidden inboard of the rub strake, keeping them safe during docking and close quarters maneuvering.
While the rail clamps allow the panels to hinge, they offer no help to keeping the panels deployed to collect the suns rays. This is where the support strut comes into play!


I drilled out the rivets connecting each extrusion, allowing me to separate the furler extrusion into more manageable pieces.
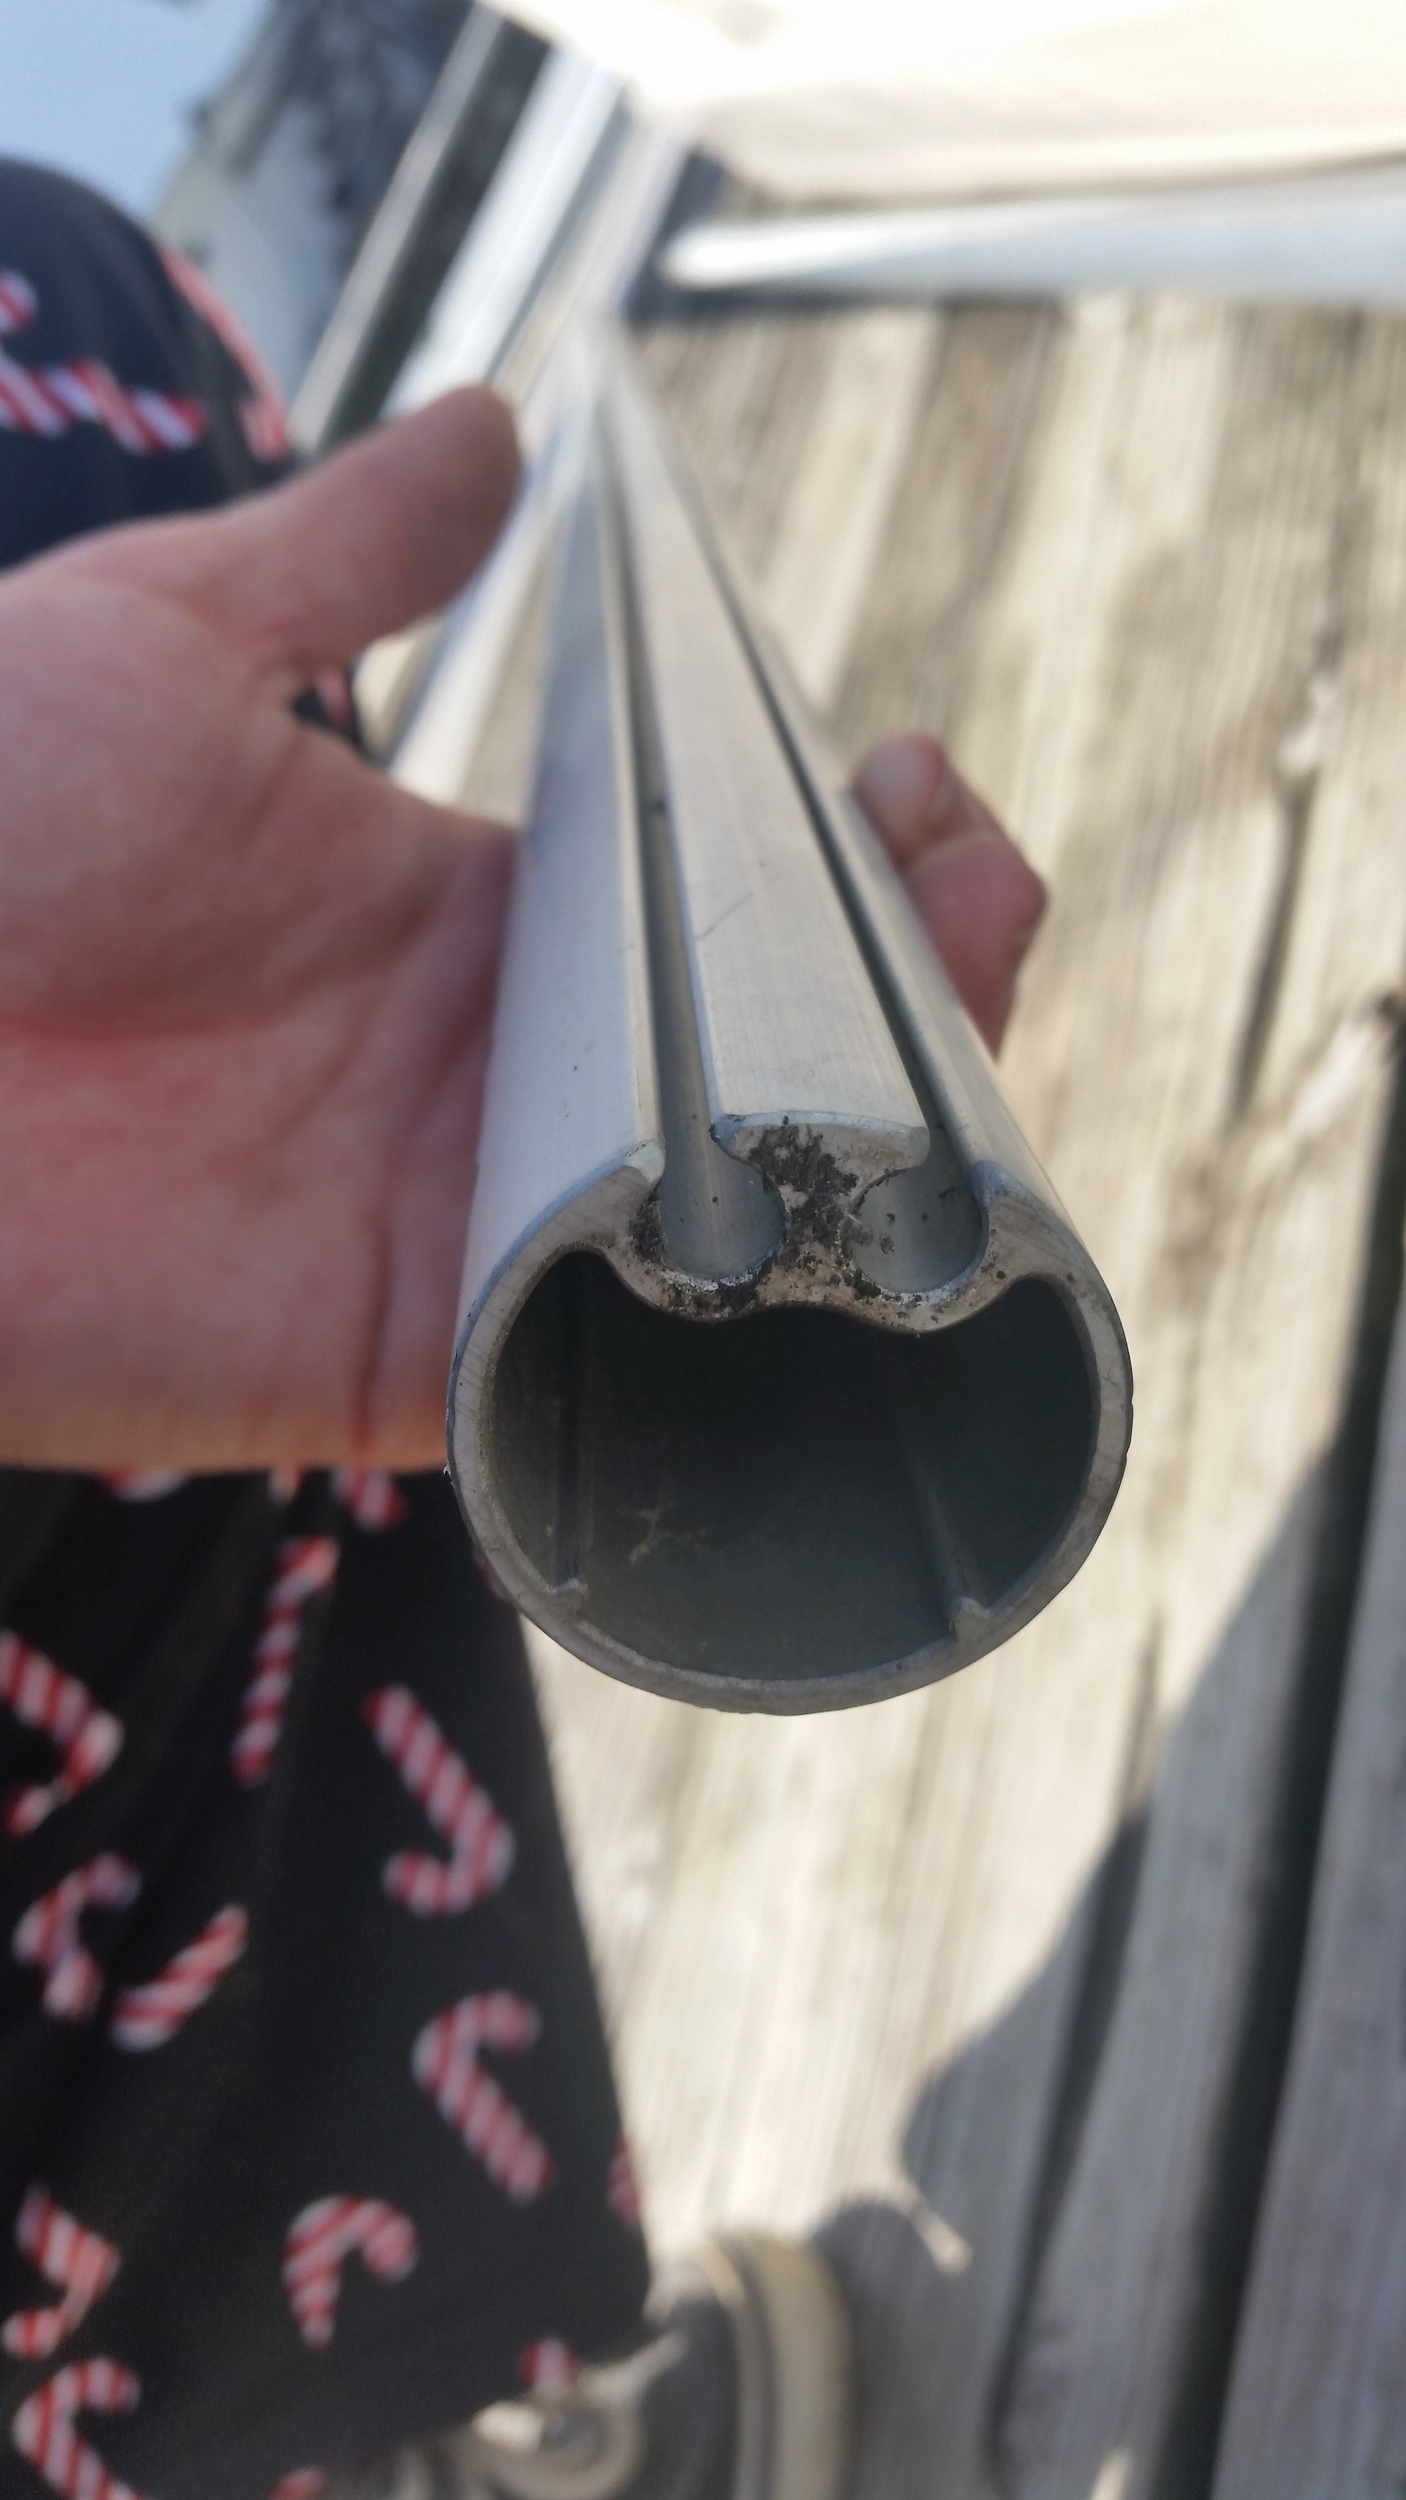

After disasembly, I had a whole bunch of really strong aluminum pipes for random projects around the boat.
I kept the furler parts from my headstay when I converted from from roller furling to hank on because I figured these pieces of hardware would come in handy at some point! Today was their day to shine! The aluminum extrusions would serve as a very stout (and free) support arm for the solar panels. I just needed a way to attach them to the panels and to the boat.
To connect the support arm to the solar panel, I used a stainless steel bolt that I had already. This bolt was mounted on the side of the panel sticking out to the side. The support arm has holes drilled in the side of the tube where the bolt can rest. I will add a safety line that will tie the support arm to the solar panel to prevent it from popping loose. This solves the problem of keeping the panel deployed for the sun, now I just needed to connect the support arm to the boat.
I need a connection that will firmly support the tube while allowing it to move about freely while minimizing the number of holes I need to put in the deck during installation. I decided to use a knot instead of a metal fitting. It uses no holes, and can be created to achieve what I need with the ability to be tweaked if necessary.

This knot is simply a modified flat seizing knot. The line was loosely looped around the support arm and stanchion various times, then brought together by the frapping turns. The frapping turns were tightened up by using a marlin spike hitch and all of my strength! This holds the support arm in space while allowing it to move around and articulate freely without a single hole in the deck for a bracket.
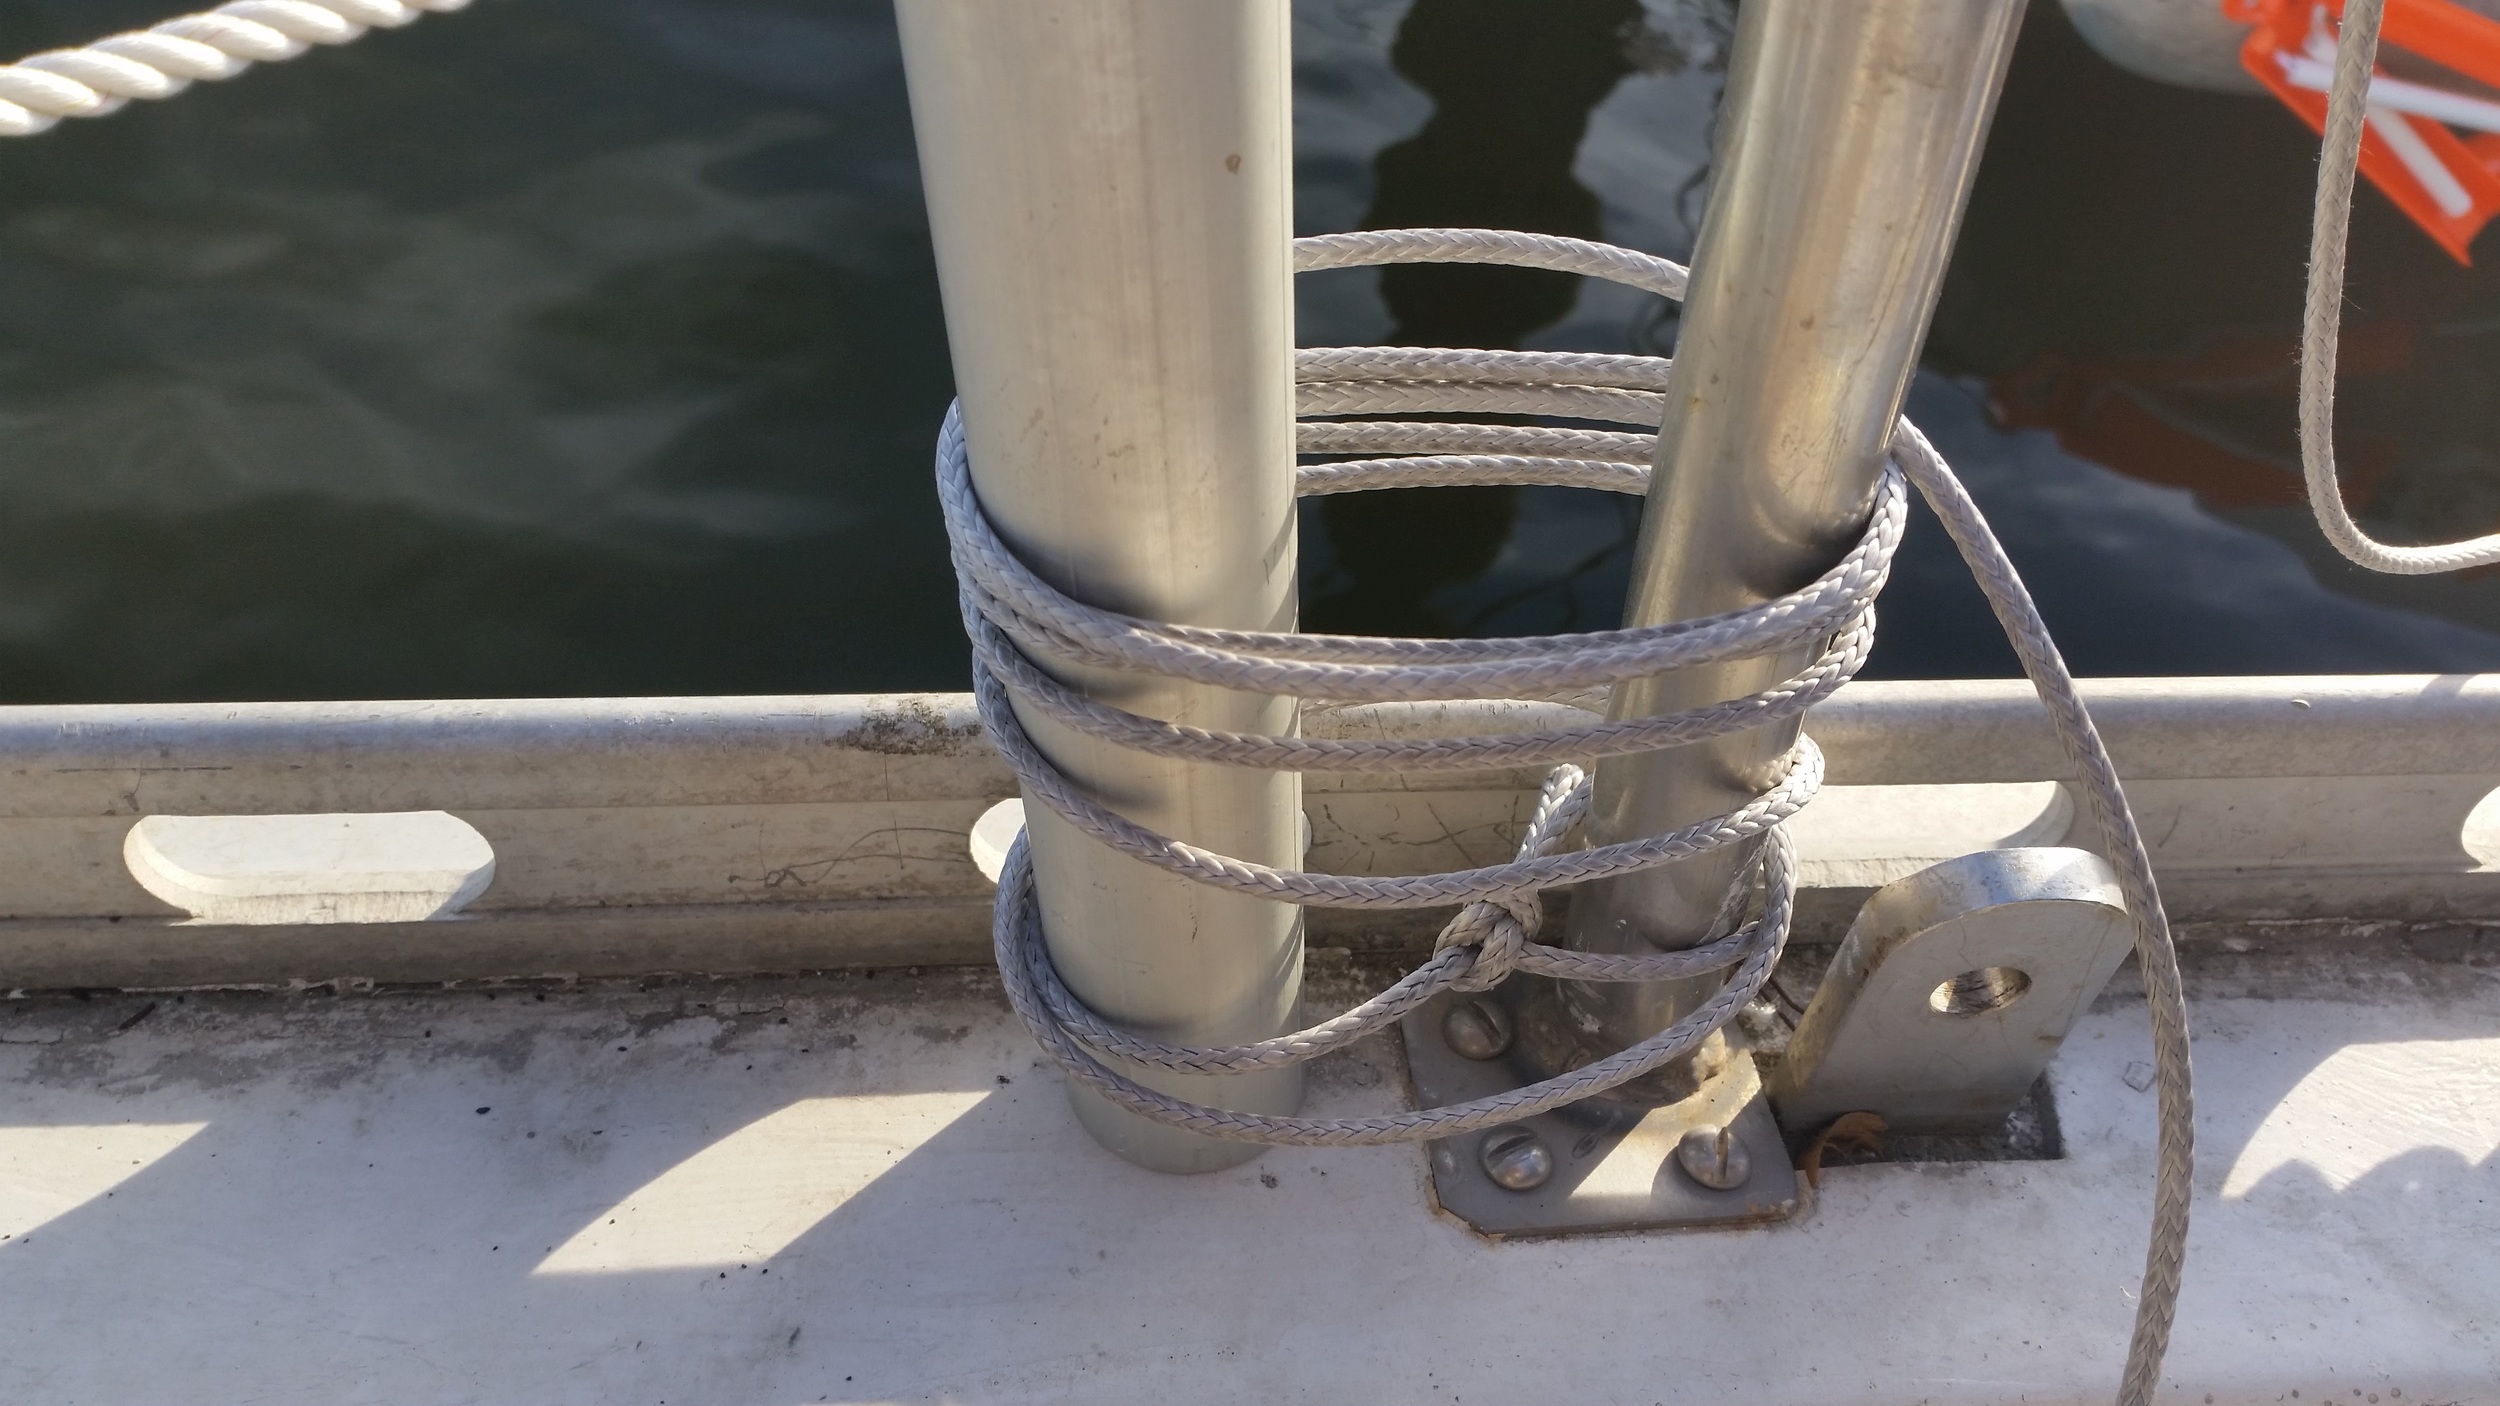


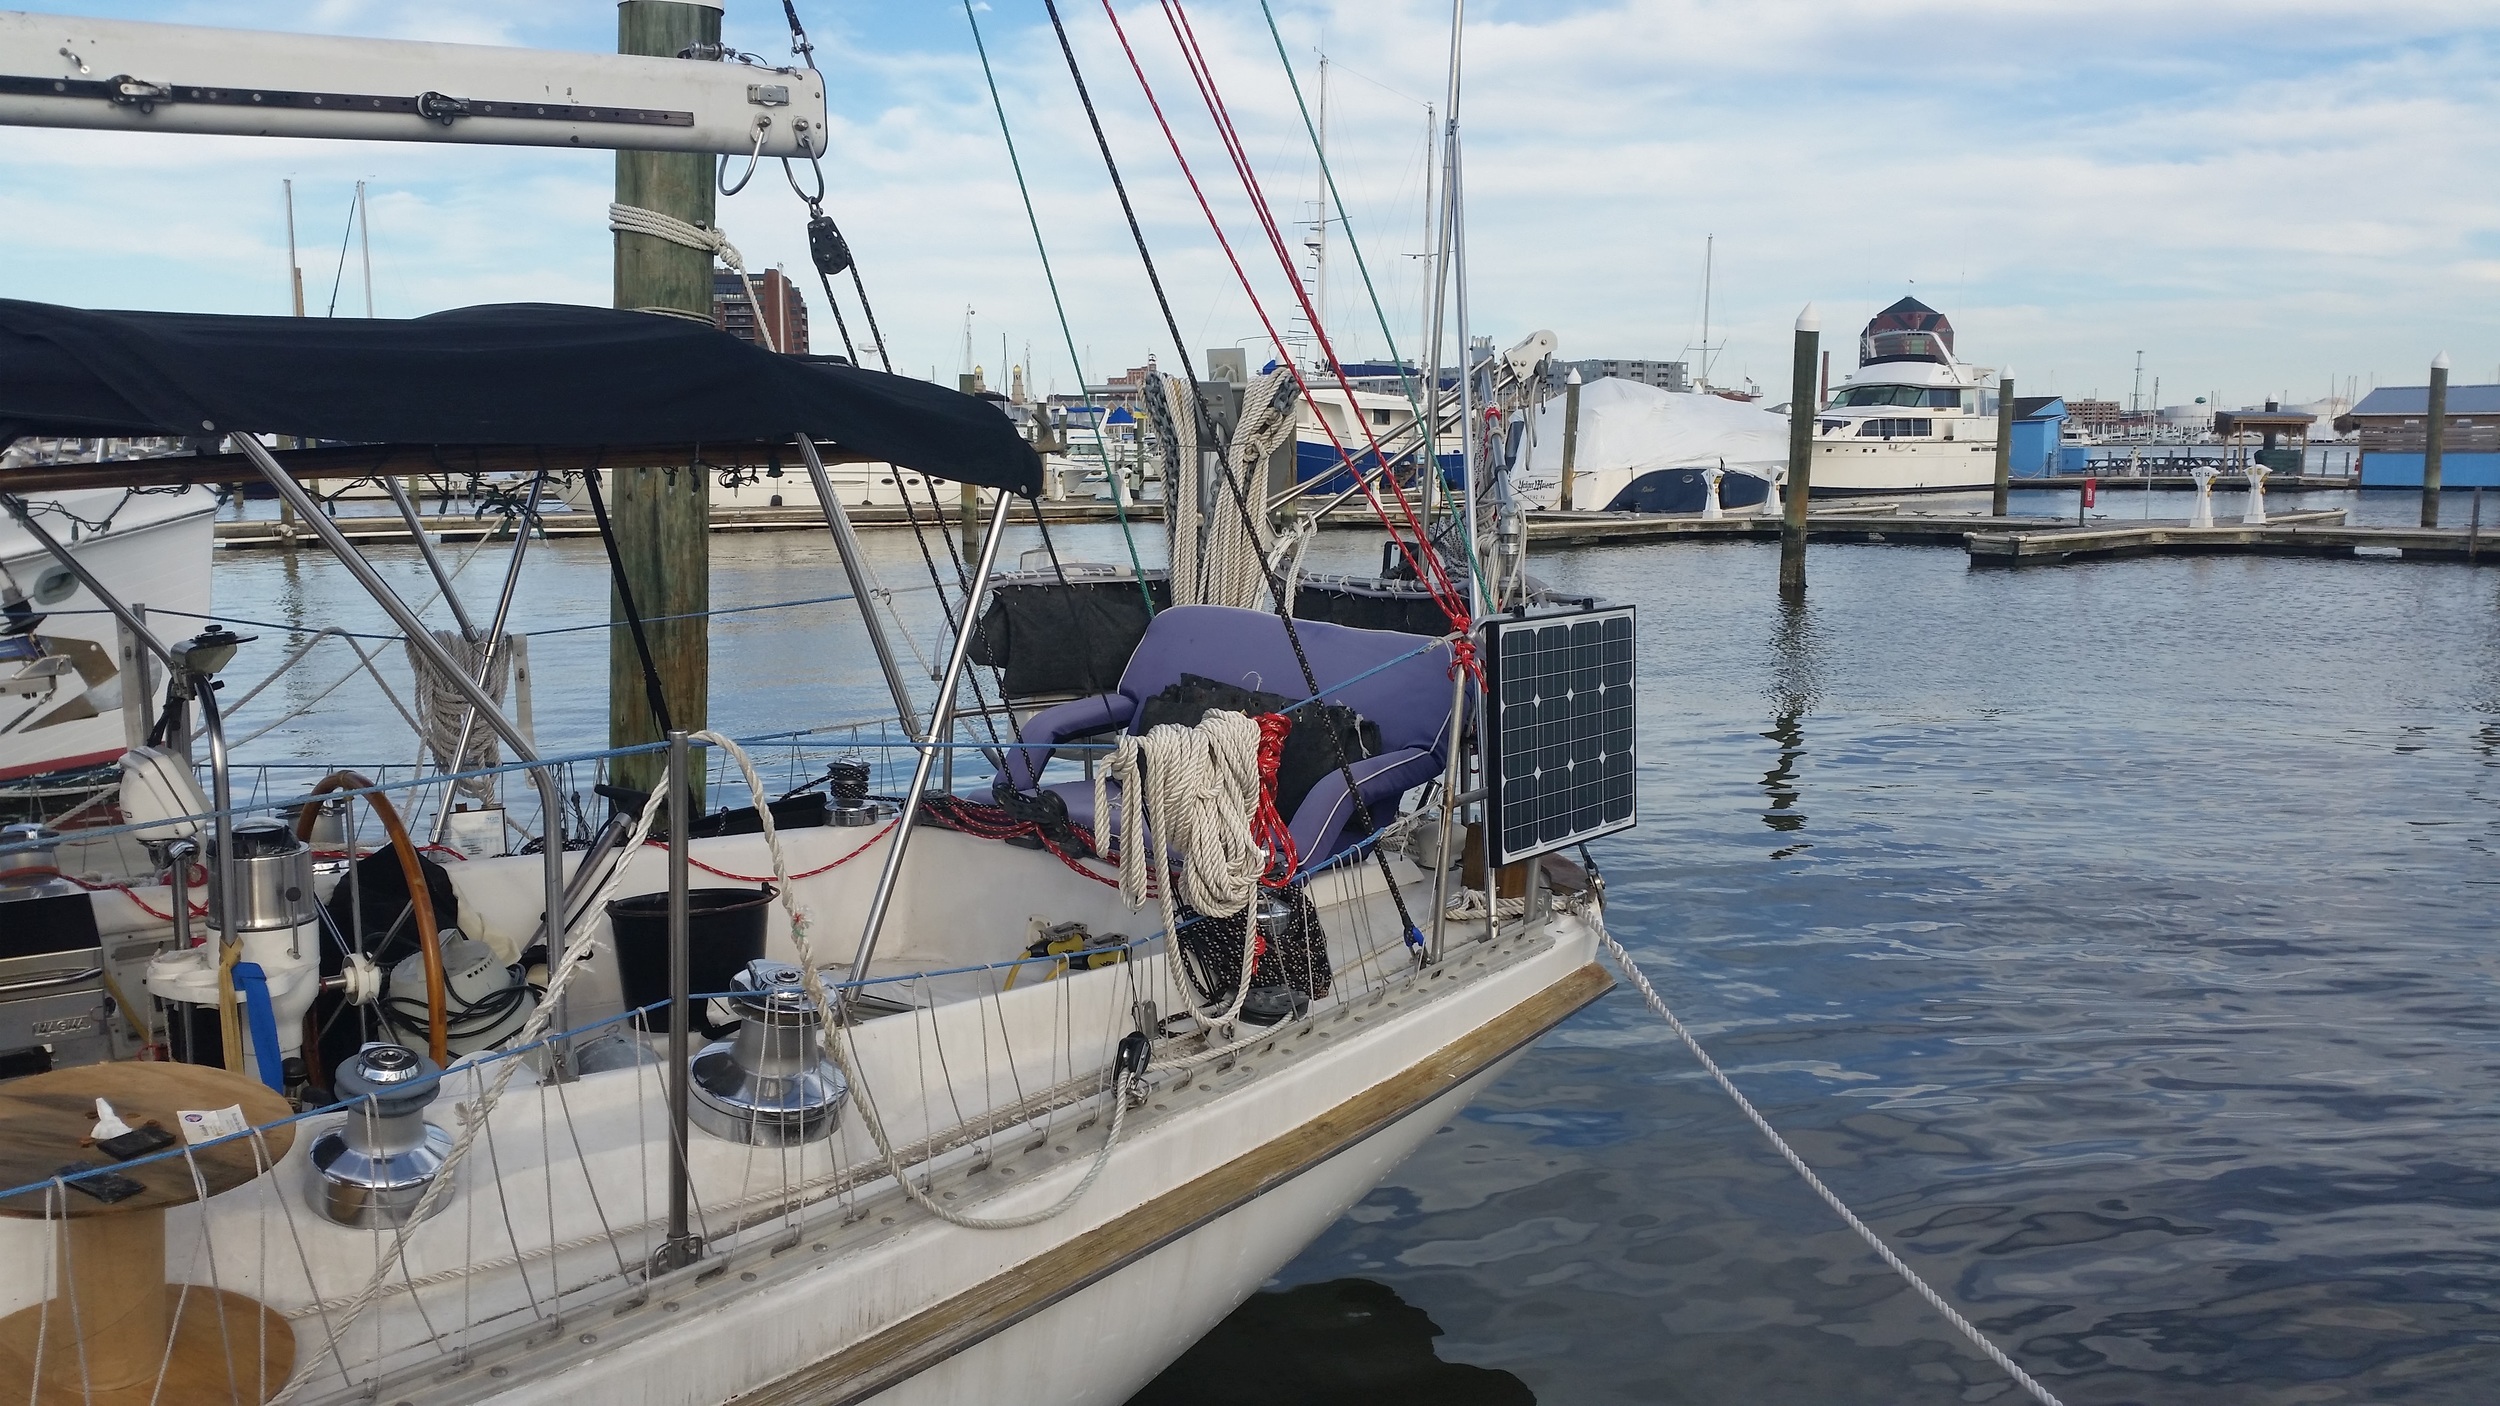
This rope contraption worked well to support the panels and allow them to be easily collected and deployed.
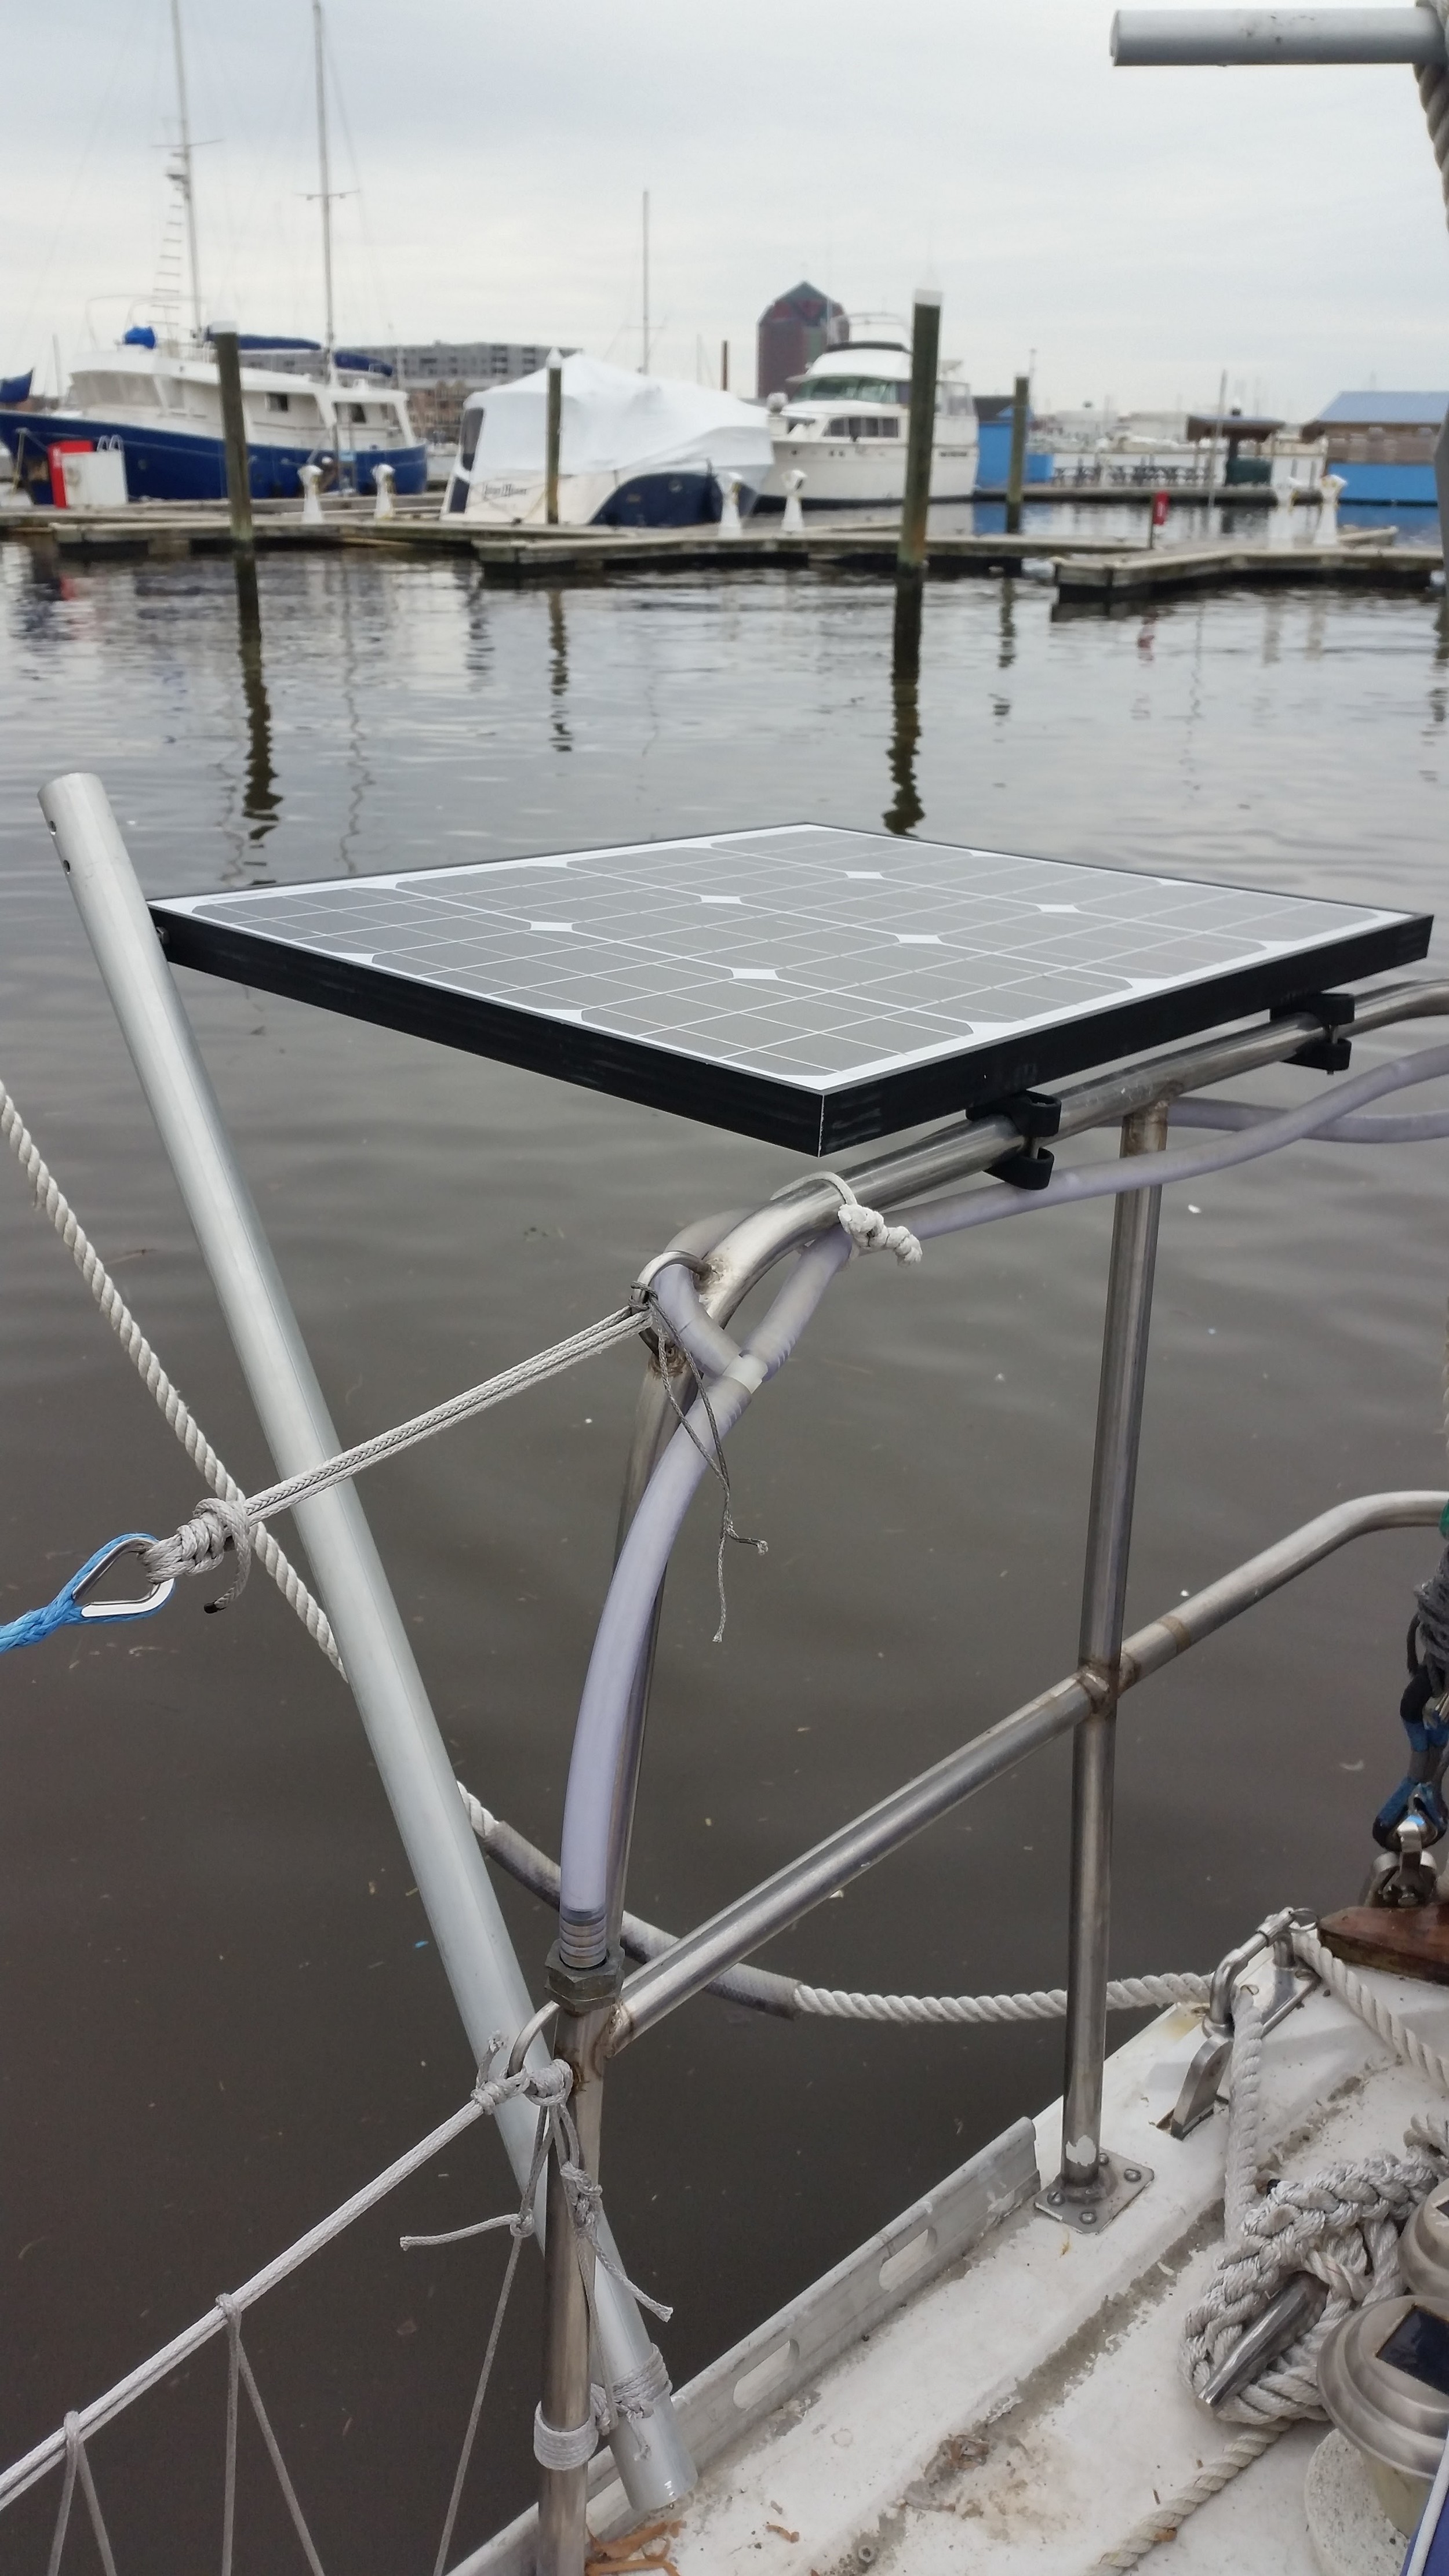


The solar panels blend in nicely with all the other contraptions on the Stern of the boat without drawing too much attention to themselves, like a radar arch with panels mounted over top would have caused. Maddie and I were concerned that a large solar array would end up being an eyesore, this small solar array blends in nicely with the lines of the boat. Now we just have to wire them up to the charge controllers and batteries.
