Hitch Knot

Marlin Spike Hitch

A Marlin Spike Hitch is a very useful tool that can be used to tie other knots better. It allows you to pull much harder on a small line and actually create incredible amounts of tension in a line with ease.

This video shows you step by step how to tie a Marlin Spike Hitch.

Toe Rail Cleat Hitch

A cleat hitch is nothing more than a clove hitch tied around a cleat. Just as a Sampson Post Hitch is a clove hitch tied around a Sampson Post.

If you have a perforated toe rail, you can use this trick to tie a cleat hitch anywhere on your toerail, whether you have a cleat available or not! 

IMG_2412.JPG

All you need to do is picture the toerail as a cleat, and begin from there. Now, the end that runs towards our dinghy painter is coming off the wrong side (the current switched and winds didn't) but I'm sure you won't make that same mistake.

Simply lead the line through the toerail and back along the side of the toerail just like you would make the first pass on a cleat. Then instead of going under the horns, you simply pass the line through the perforations in the toerail. The last step is a bit different, as you don't twist and slip over the horn, instead you have to pass the bitter end through the knot. 

If you picture it as tying a clove hitch on your toerail, you will easily and securely be able to attach any line at any point of your vessel. 

Backstay Flag Halyard

Flag halyards are small halyards designed to raise and support a flag. The backstay is a great place to fly a flag because it will allow the flag to fly clear of any obstructions that could otherwise tangle or snag the flag as the wind shifts. 

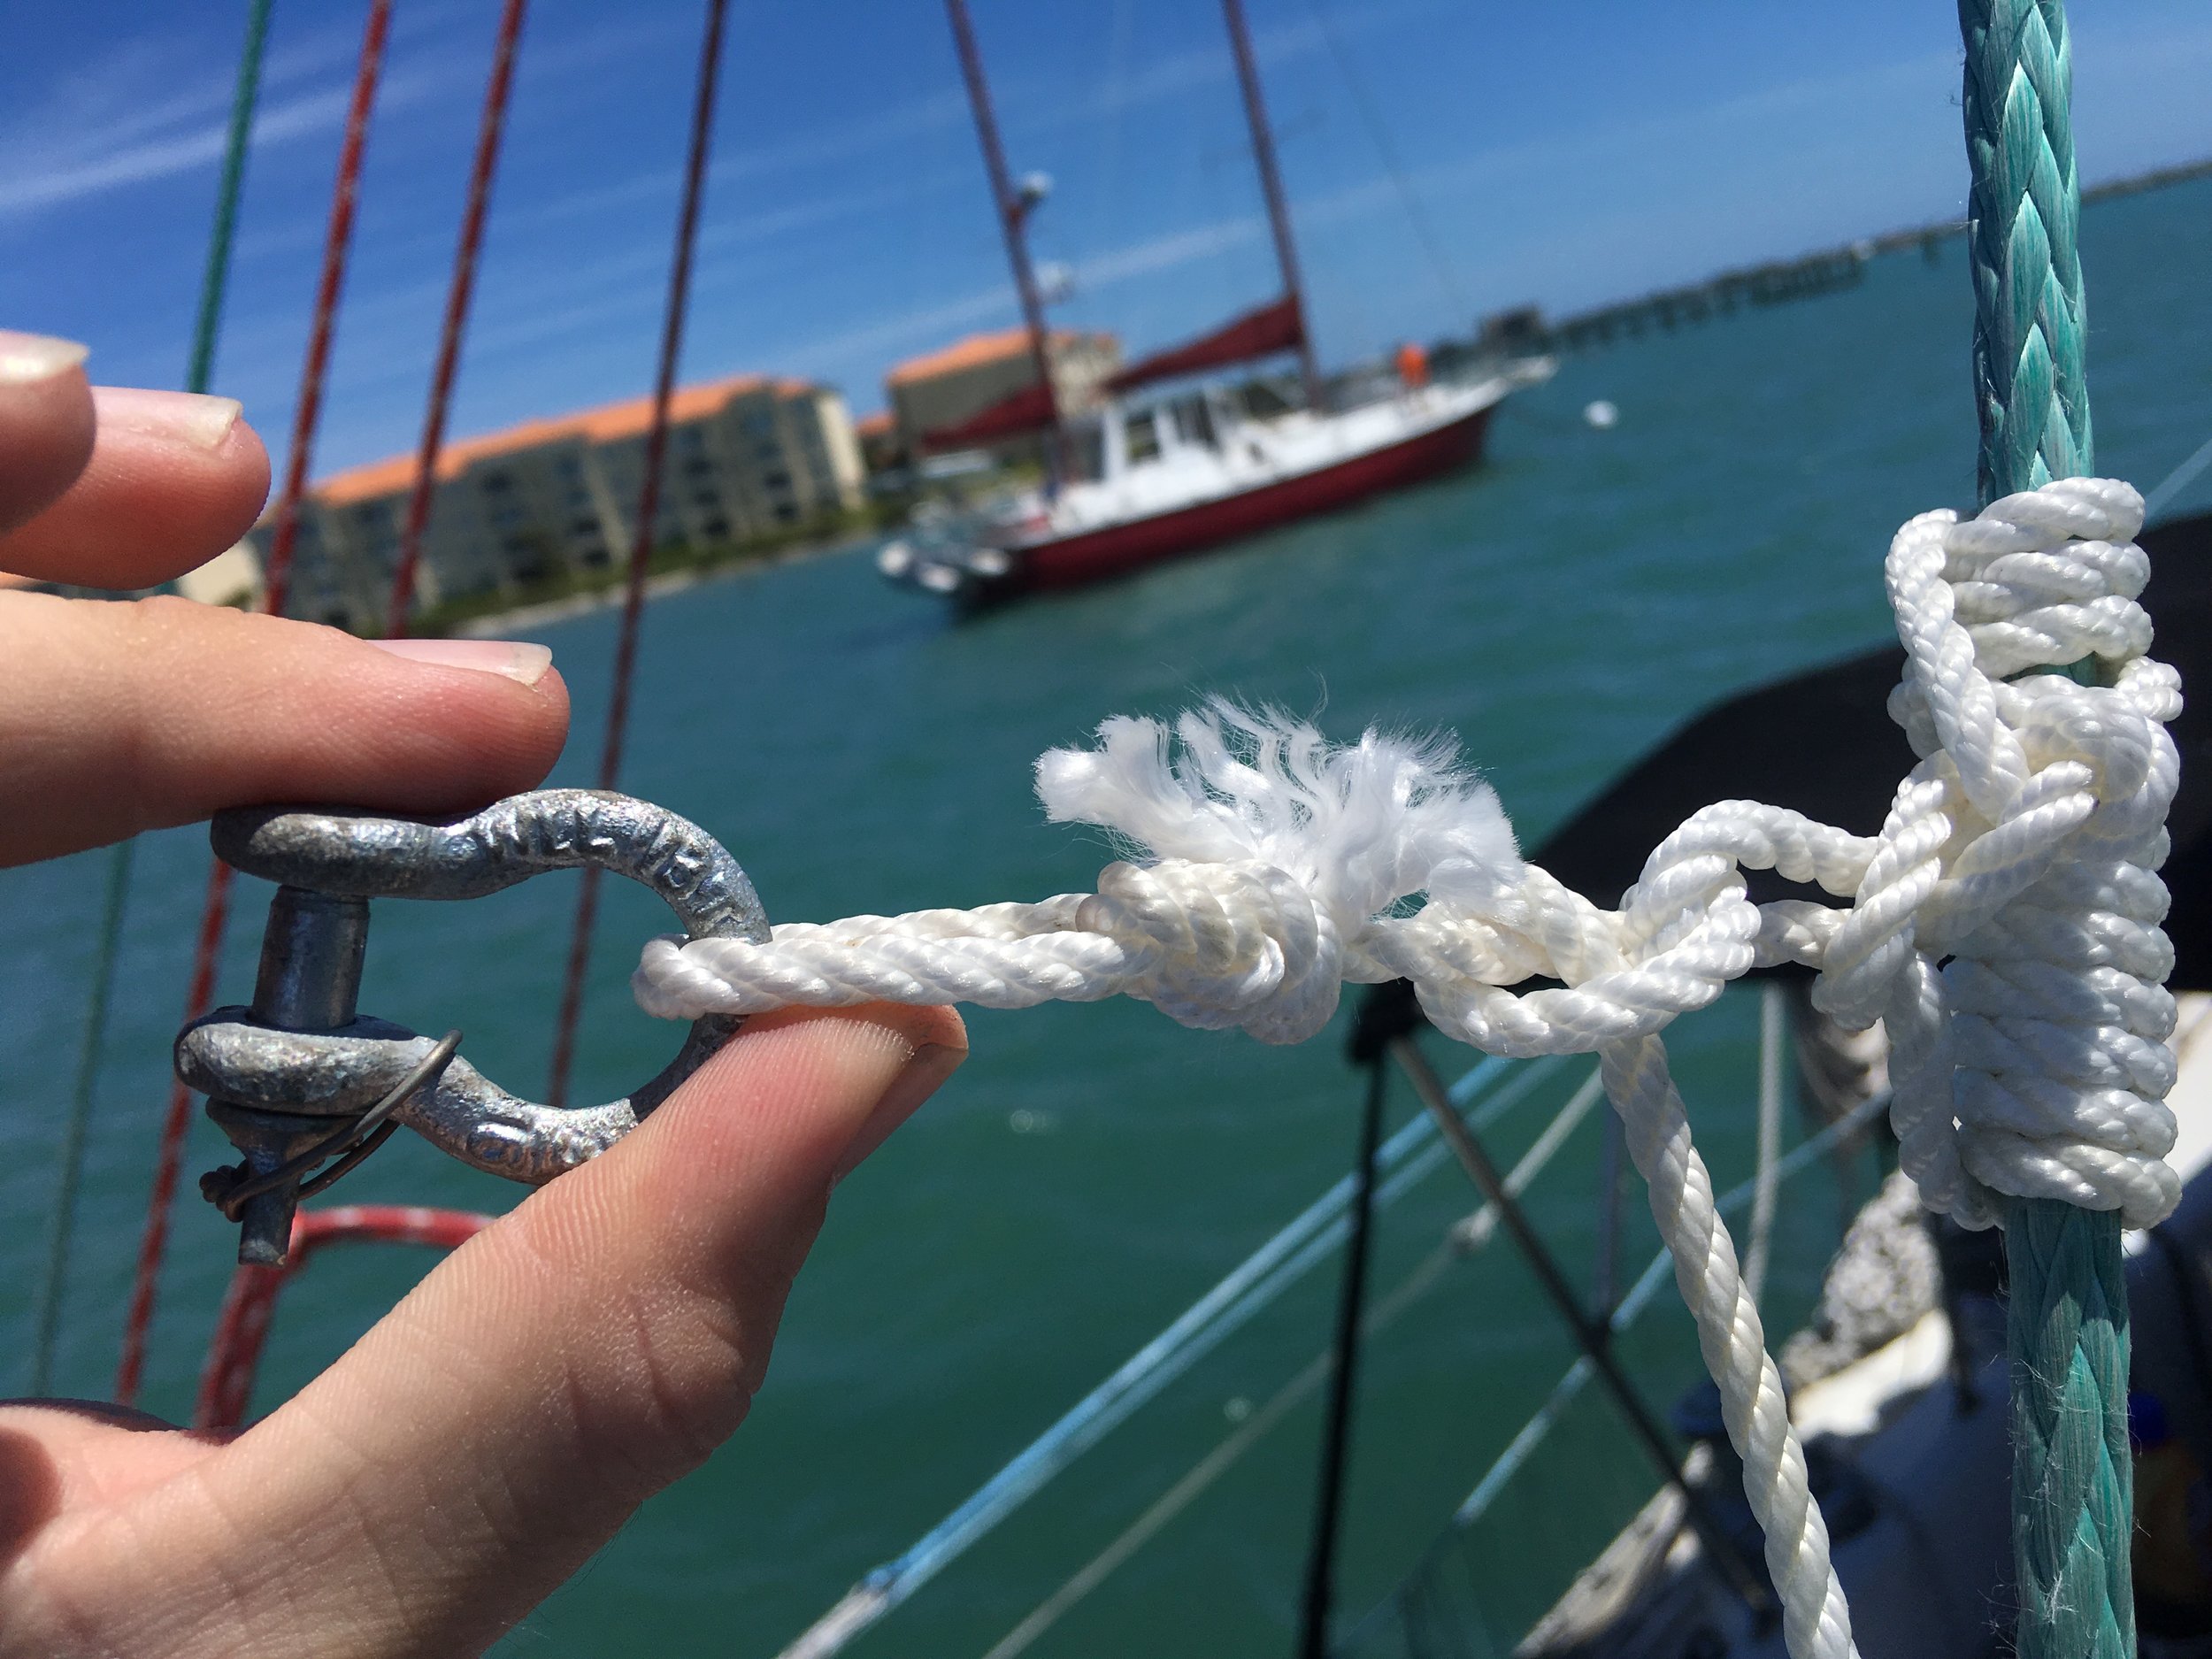
Now, to install a backstay flag halyard, you have to install a block of some sort high up on the backstay,. This will be the maximum height that the flag will be raised, and there are two options on how to do this. First, you can climb the mast (via the backstay) and attach the block on the backstay itself. The second method is to tie a hitch knot that will hold in one direction, and slide in the other.  

IMG_2157.JPG
IMG_2165.JPG

I opted for the second method, as we do not need the flag to be too high up, so by tying a hitch knot on the dyneema backstay, I was able to then simply push the knot up the backstay with a pole. This allowed me to raise this point without leaving the deck! (Be sure to install the halyard in the block before you push it up the backstay though). 

IMG_2161.JPG

This hitch knot will slide up but when the block is pulled down, it will bind on the dyneema and hold firmly in place.

IMG_2172.JPG

If you have a backstay adjuster, you want to make sure that the flag halyard remains lower than the lowest position of the backstay adjuster. This will keep the flag halyard from interfering with the more important function of the backstay adjuster. 

IMG_2171.JPG

With the halyard installed, you can fly your flag from the backstay!