
Time is short, let’s get gluing!
With the sink set in the area and the mahogany dry fitted onto the counter, everything was measured and fitted. Now it is time to glue up the four independent parts in place, but without getting glue on any of the galley components.
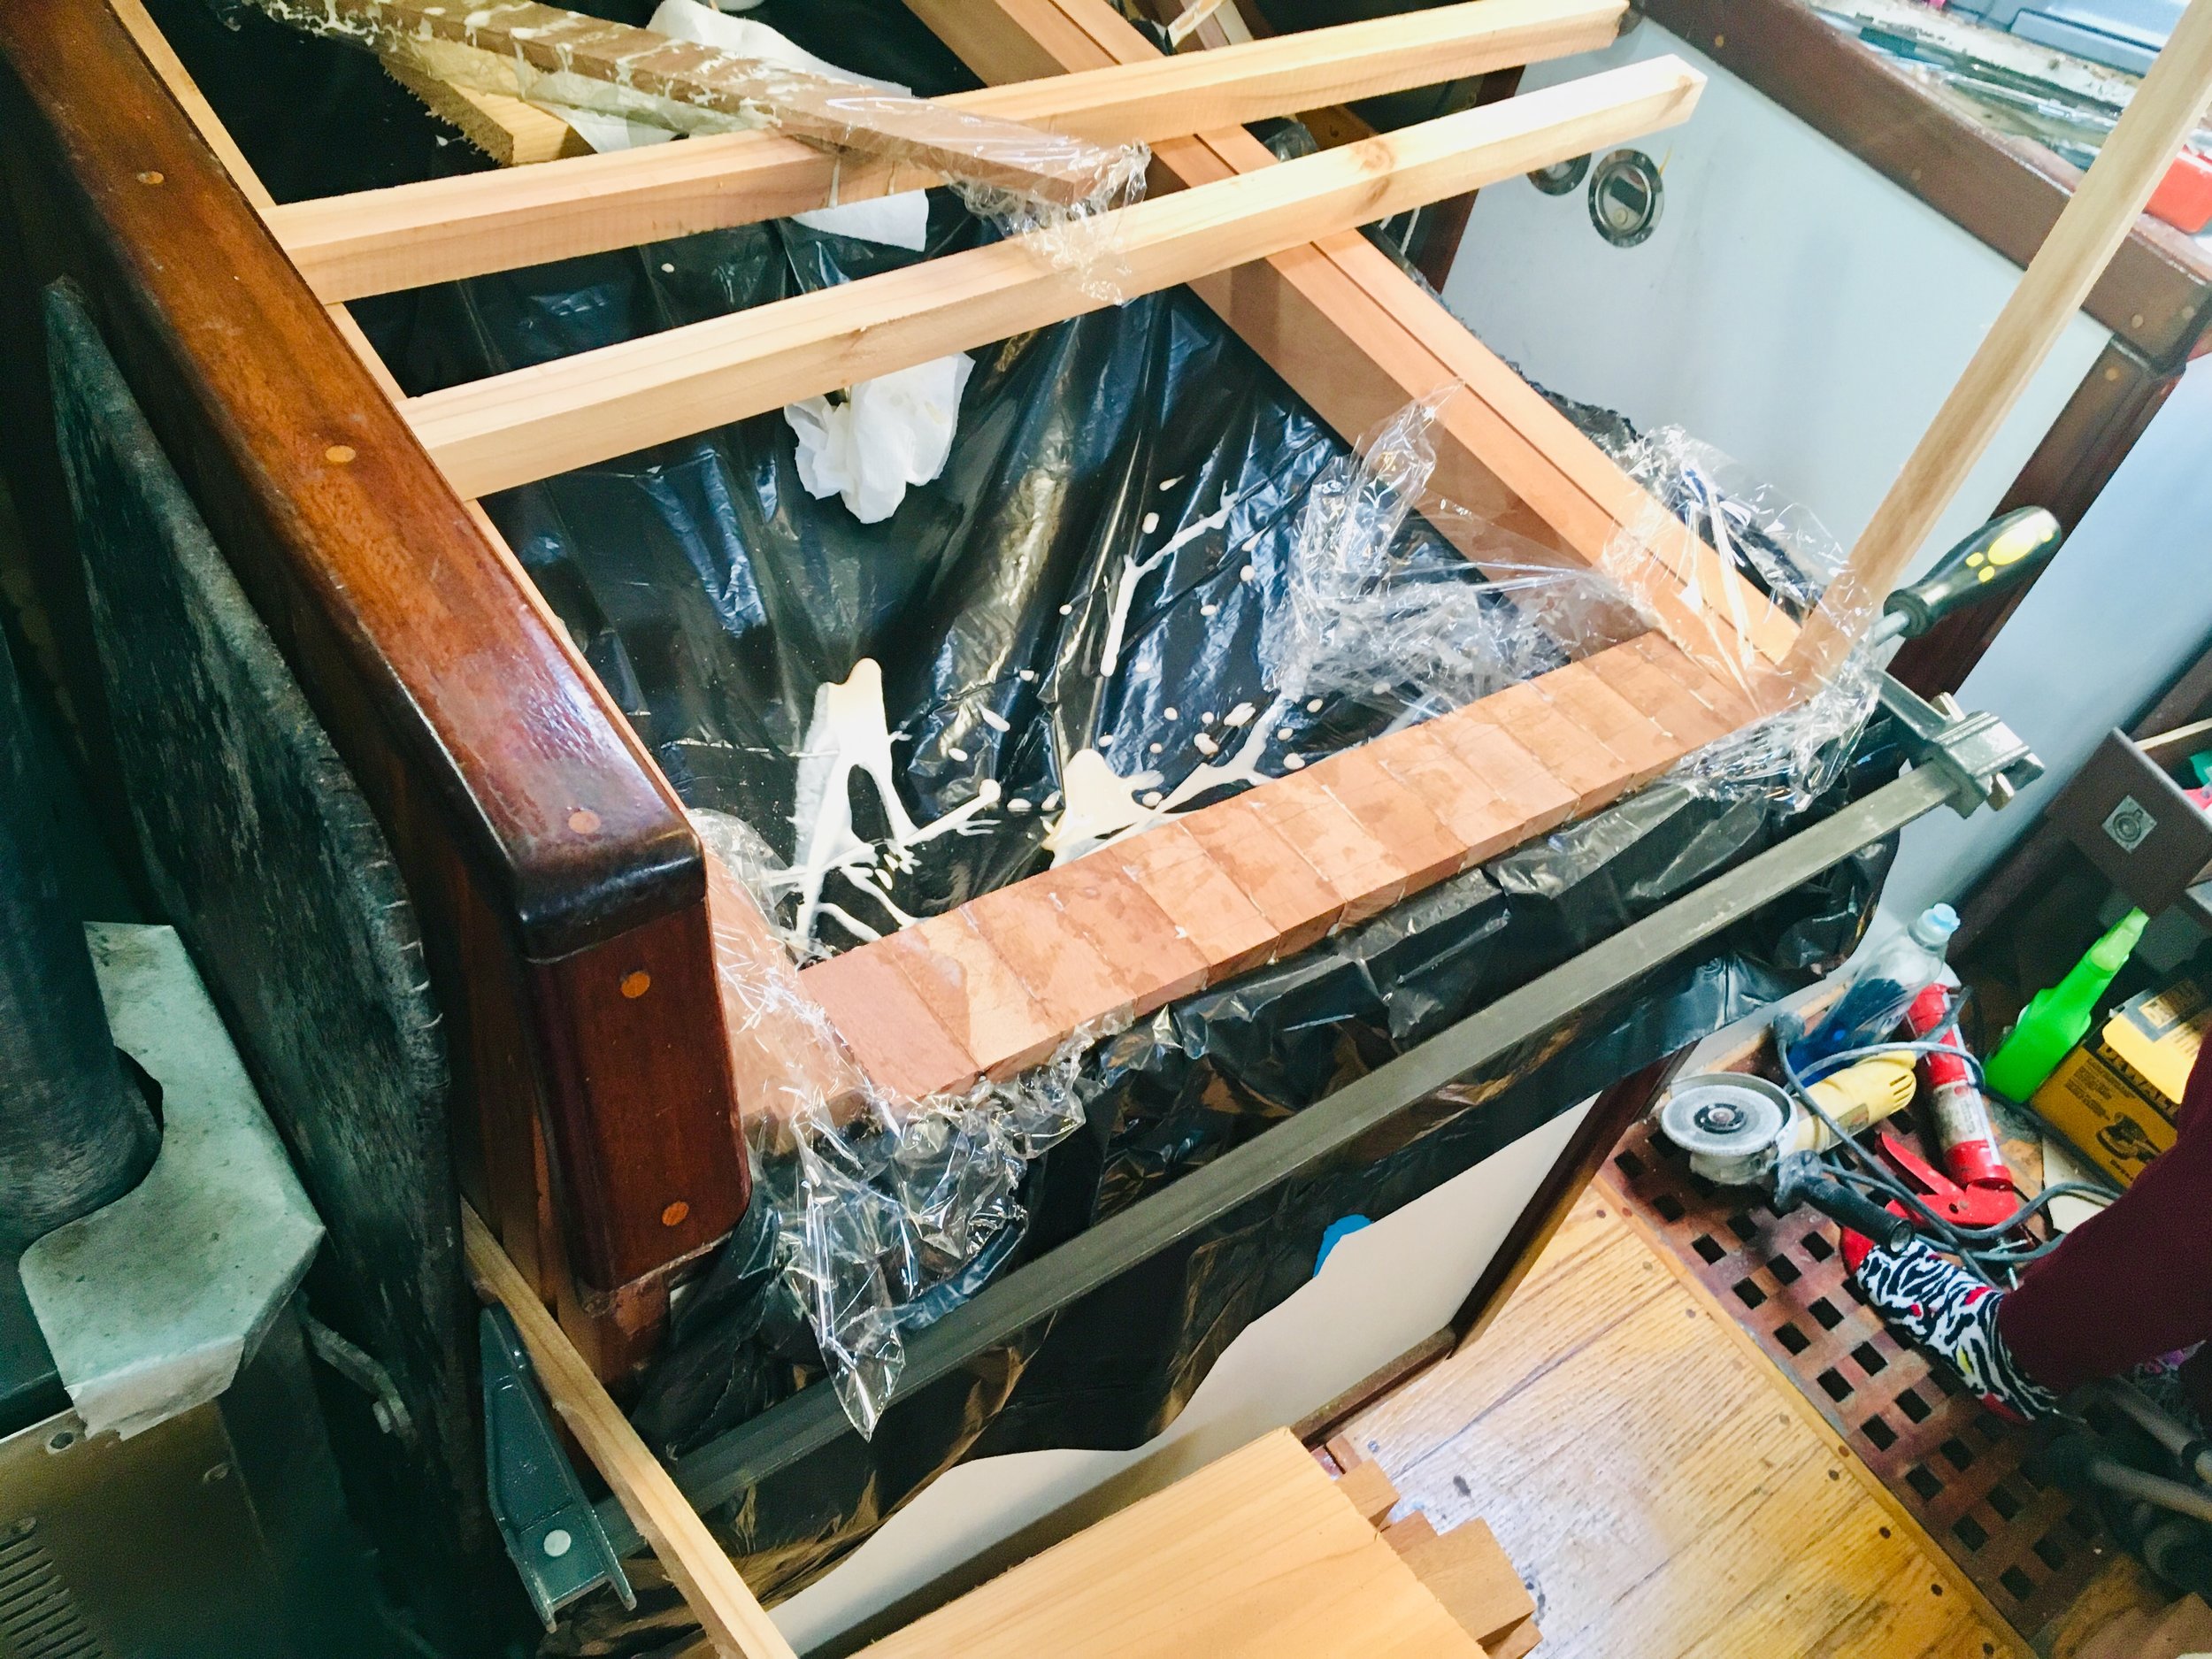
Like the old commercials used to say: “Plastics make it possible!” I cut open a large black trash bag and covered the sink with it, as well as the entire area that will live under the counter. Then the four independent pieces of the counter were isolated from each other with shrink wrap. Having everything in place makes the gluing process easier since I can assemble the whole counter top and just clamp the edge to the bulkhead, applying even pressure to the entire structure.
Titebond III was used to give a permanent and waterproof bond between the planks.
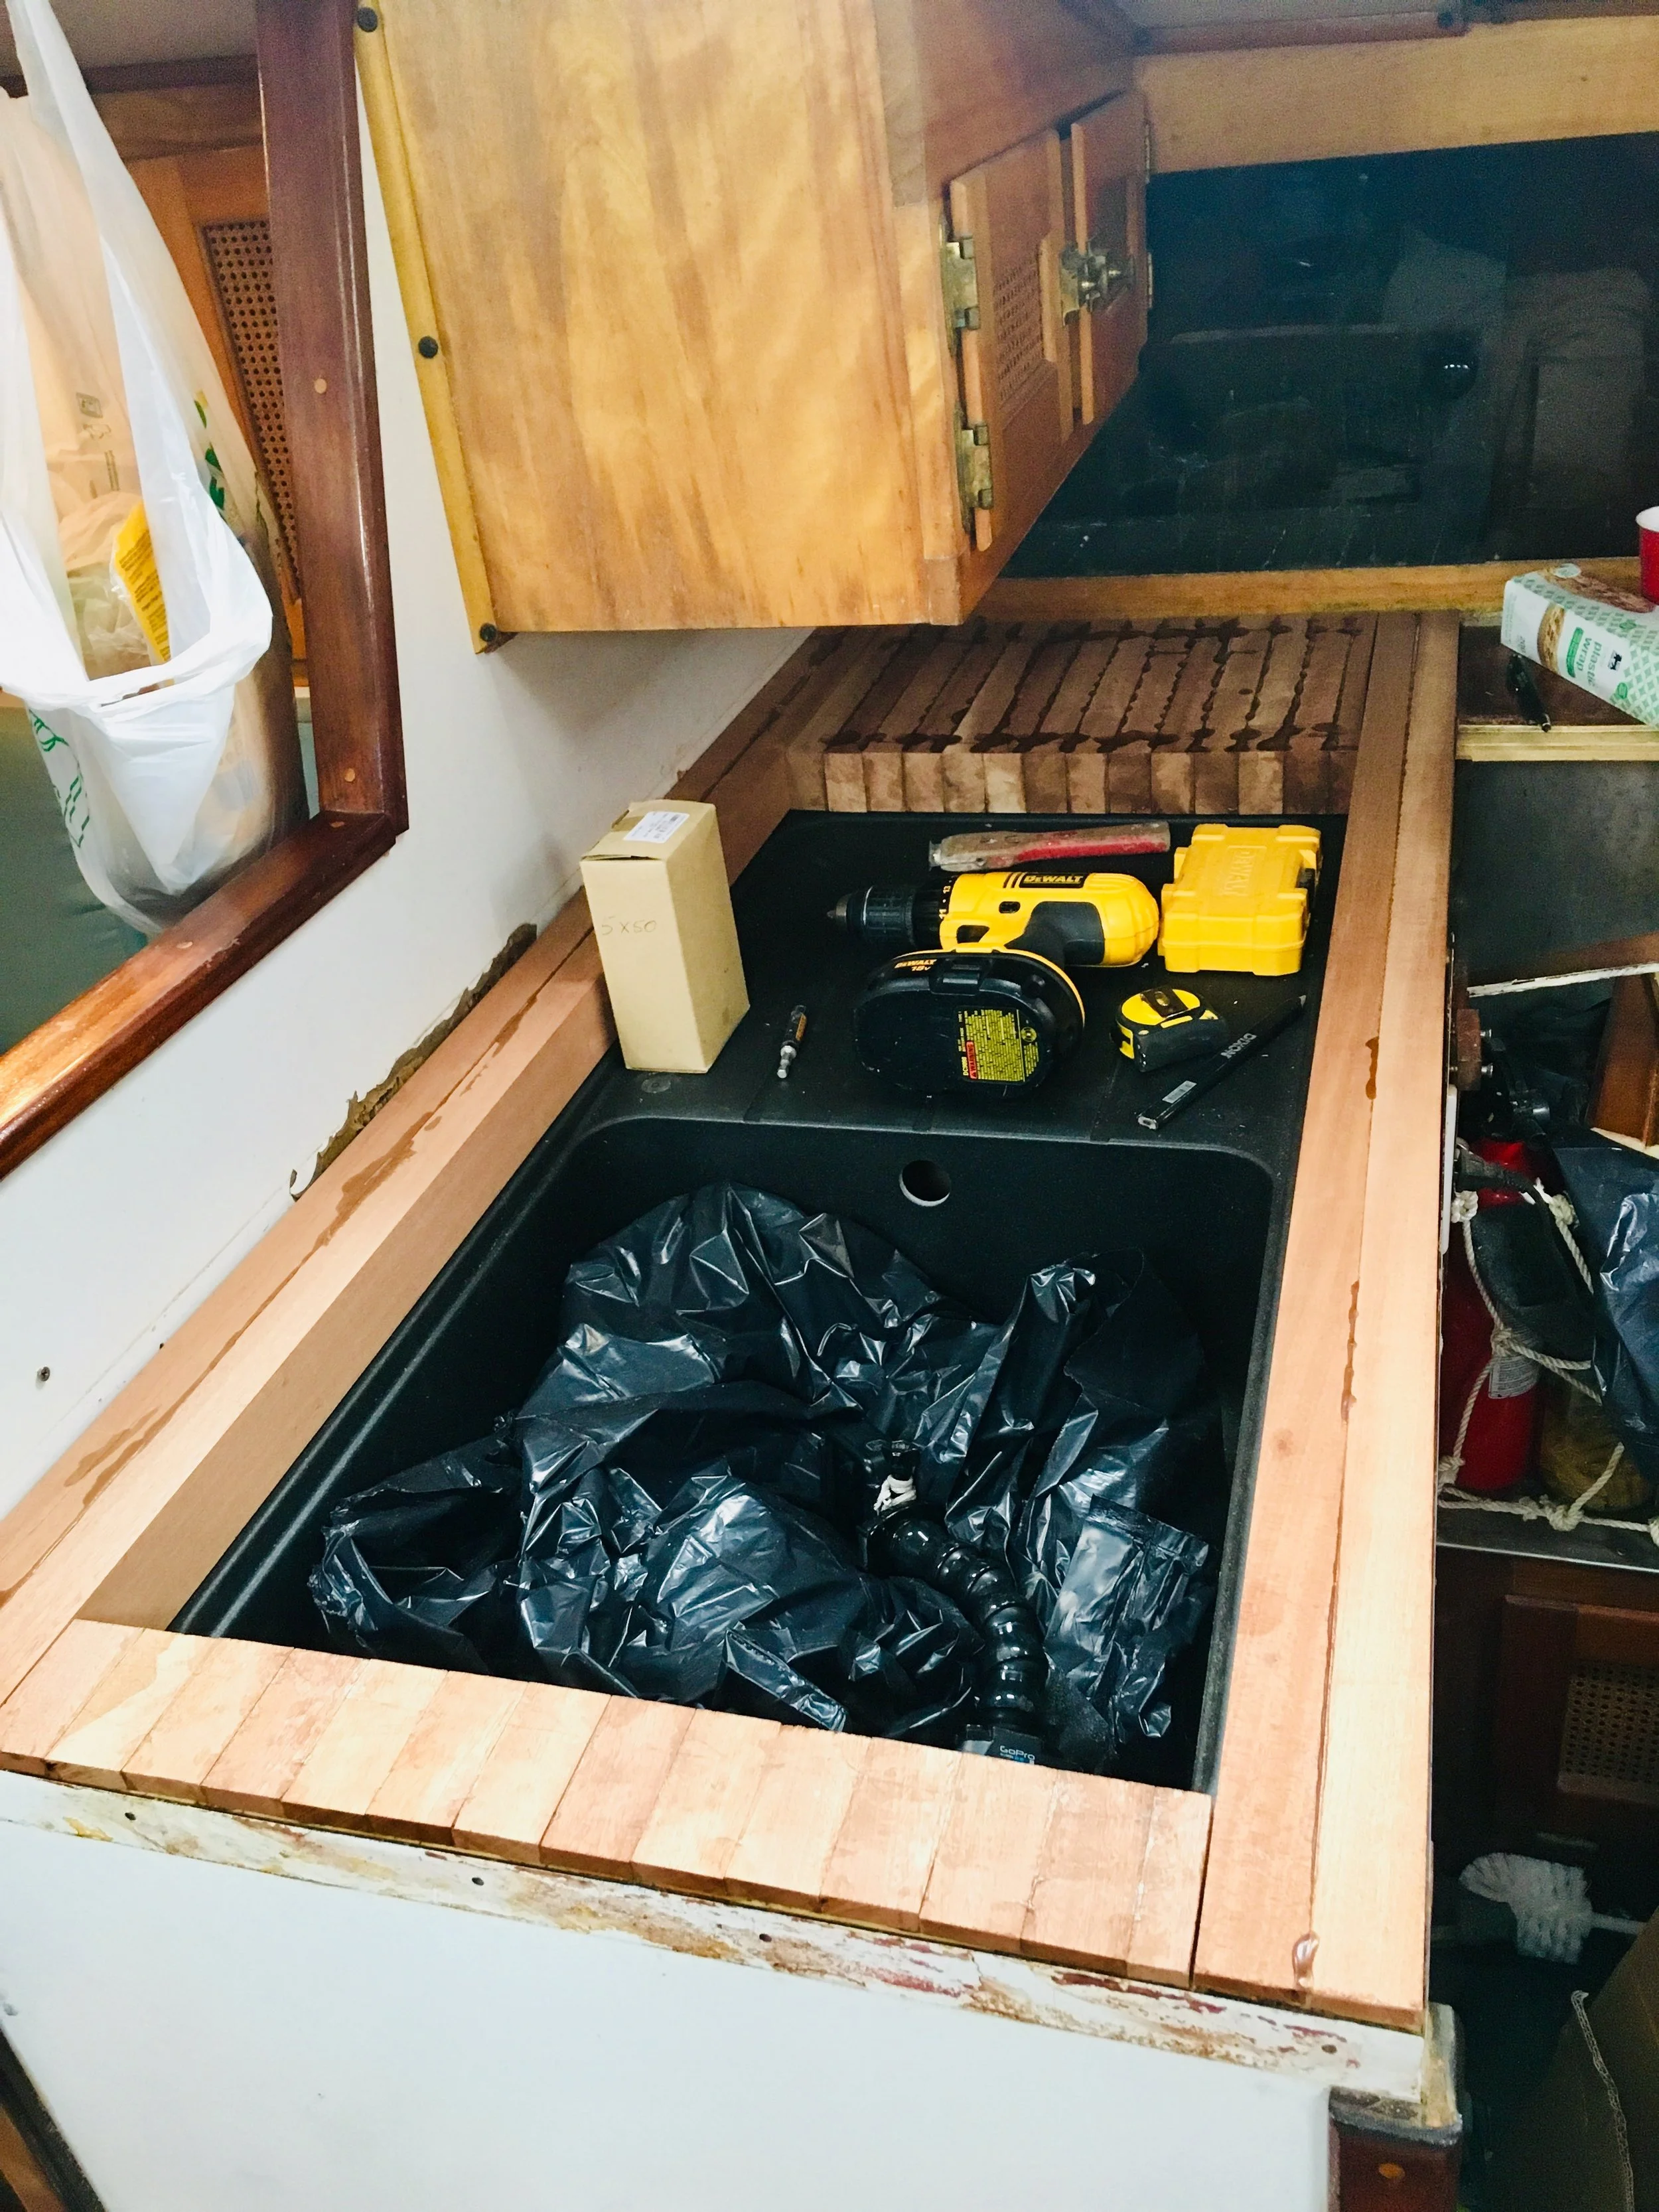
The pieces were allowed to cure overnight and then all the clamps and plastic could be removed from between them.
The inboard edge needed to have a rabbet cut into it to fit onto the edge of the counter’s plywood sheathing. The issue is I didn’t bring my rabbet plane to the Azores, so I had to use a table saw and carefully cut out the section of wood that needed to disappear in order to get it to fit flush up against the edge.
With the four pieces glued into solid pieces and everything test fitted, the next step is to glue the whole counter together, just like before but without the shrink wrap isolating the four pieces of wood.
