
With the template of the mast cut out, I traced the negative onto a new piece of paper to create a positive cross sectional copy of the mast. This analogue will allow me to visualize where I will be placing the holes in the mast and where the bracket will lay with respect to the mast. Having this information allows me to plan out exactly where I want the holes to end up with no surprises!
With the holes planned out, it was time to drill the holes in the stainless steel bracket that will attach to the mast. Drilling stainless steel is one of my least favorite activities, but following a few simple steps, it can be accomplished with ease and efficiency.
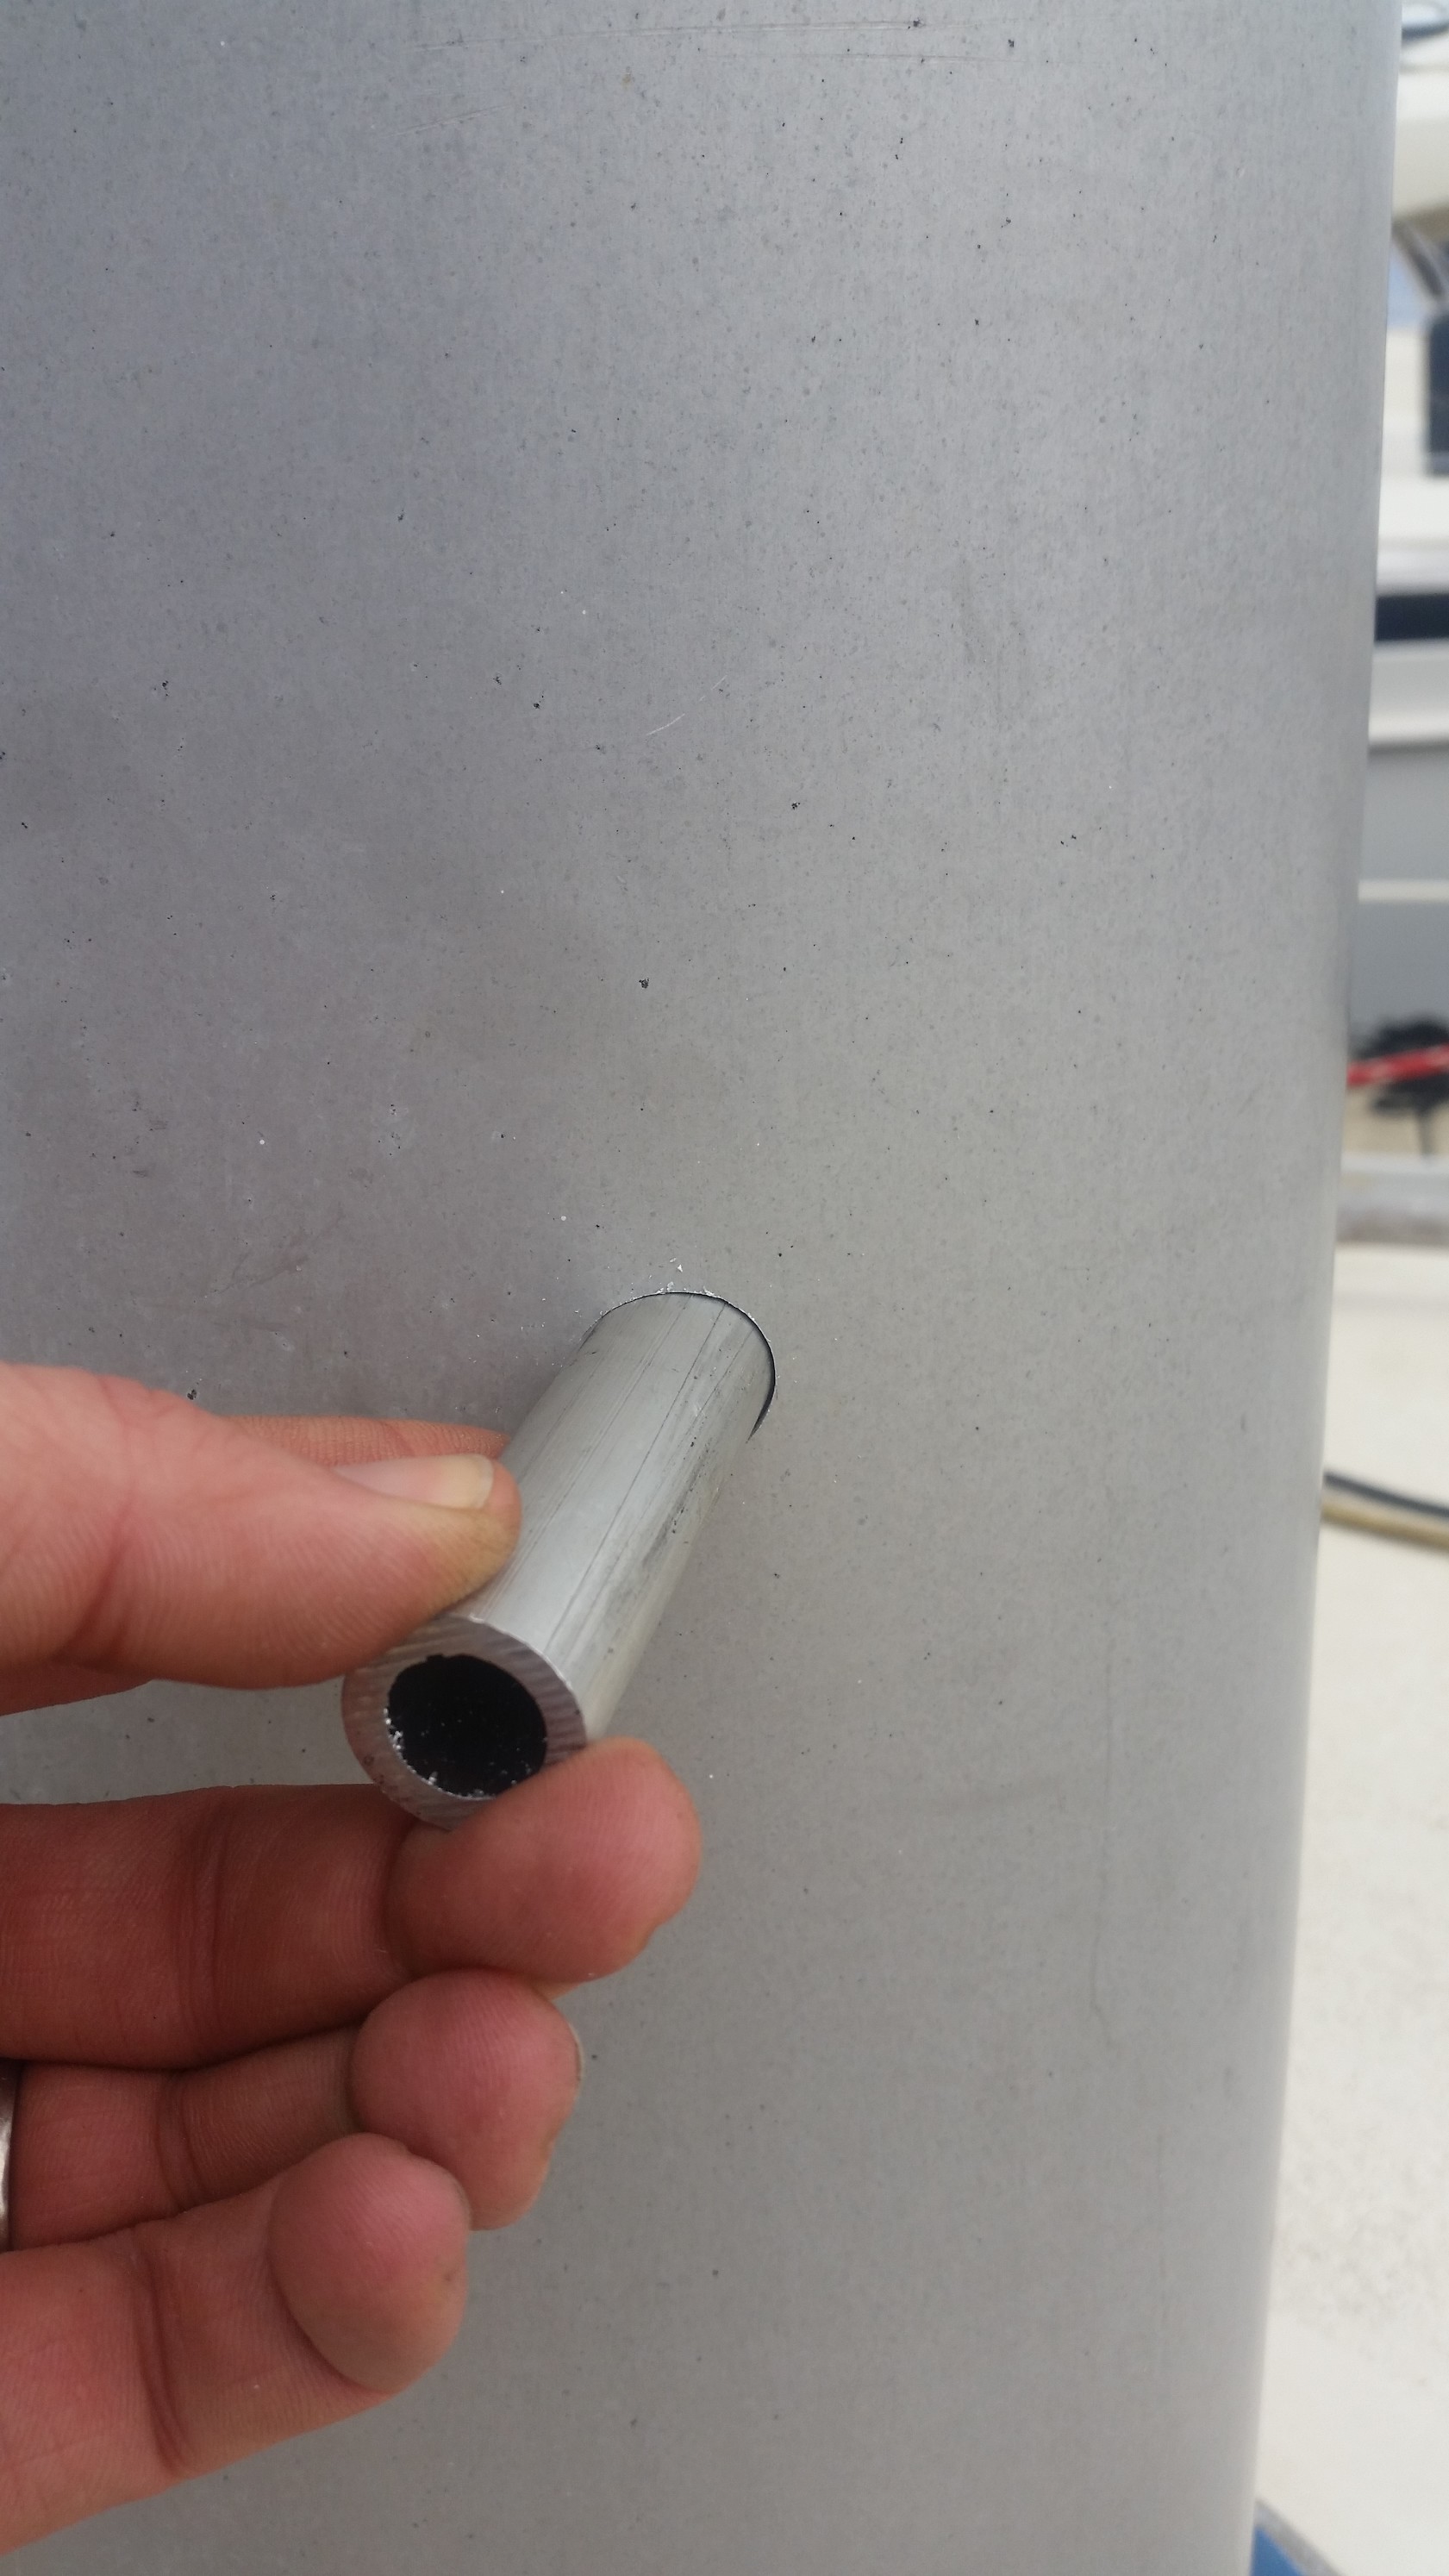
After the holes were drilled, the aluminum bushings and through bolts could be test fitted.

The aluminum pipes will run through the mast and house the stainless steel through bolts. To prevent galvanic corrosion between the stainless steel bolts and aluminum pipes, copious amount of grease will be used to protect the dissimilar metals.
The through bolts are needed to attach the bracket to the mast, but if you simply drilled and bolted the bracket to the mast, you would end up crushing the mast when you tighten the bolts. This would spell the end of that spar as the section right above the deck would be severely buckled! The aluminum pipes serve as compression posts between the head and nut and protect the mast from being crushed. This same setup is used where your stays attach to the mast.
If you look at your mast tangs, it might appear as if the stay simply bolts to the side of the mast. In reality, there is a small aluminum pipe that runs through the mast and sits just proud of the surface of the spar. When you tighten down, this pipe takes the compressive loads while sparing the sides of the spar to this un-necessary stress.
With the bracket fully drilled and setup, it is time to drill the mast to mount and install the bracket!

The bracket had its holes drilled on a drill press, far away from the mast. The holes were positioned based on the template of the mast that I had created. Now it is time to put holes in the real thing!
Drilling the mast is different from drilling the bracket because if I can always make a new bracket if I mess up. The mast, on the other hand, is not so easy to switch out if I mess up the hole! The bracket was positioned around the mast set up on 2x4's. This placed the bracket at a set 3.5 inches above the deck which is a smidgen past the mast boot collar. To adjust the tilt of the bracket, one block of wood was set at an angle, allowing us to adjust the angulation of the with respect to the mast and the deck.
Once everything was lined up perfectly, it was time to mark the points to drill the holes. This is the most important part of the job is. If you mark the wrong spot, everything from here will be misguided and will not end well. If you mark the right spot, the stress is then transferred over to the drilling step which now carries all the stress!

The hole is larger than the pen I used to mark the mast, so I simply traced the inside of the hole in the frame as it drew a circle on the mast. The pen was held directly arthwartships to make sure that there was no deviation in the direction of the hole.
While drawing the circle does not provide a specific point to drill your holes, it does give you a circle to drill in. Selecting a drill bit that is the size of the inner part of drawn circle takes all the guesswork out of it. In this case, a 1/16" drill bit was the perfect size. This hole is drilled perpendicular to the mast surface and not directly arthwartships.

Using a small drill bit has another advantage, as it will prevent the drill from walking away from the ideal hole and misguide your work. This hole will now serve to position and center the further drill bits that will be used to create the holes in the mast.

The next step is to position a 1/4 inch drill bit into the 1/16 inch pilot hole. This hole is first drilled directly perpendicular to the mast until the drill bit was buried, then it was rotated a bit to position the drill directly arthwartships. If I started the hole arthwartships, I would run the risk of the drill walking sideways and making the hole off center. By starting it perpendicular to the surface, the hole is guaranteed not to walk. Once there is enough hole to hold the drill bit, it is then safe to straighten everything out.

Once the hole is aligned arthwartships, you can then drill the 1/4 inch hole to completion. Be careful when drilling into the mast though, as you never know what lies on the other side. There is usually a conduit carrying electrical wires to the mast head or spreaders that runs on the forward side of the mast, but you never know if someone simply ran wires loose through the mast. If you drill into wires, you will add hours of work to this simple task! Drilling slowly will allow you to perforate the mast and come to a stop without plunging the drill bit deep into the mast. This is especially important for the next step when we will take a hole saw to the mast!

The four 1/4 inch holes are completed and and perfect, it is now time to drill the big holes!

When drilling large holes, it is preferable to use a hole saw. Regular twist bits have a tendency to create oblong holes in larger sizes, hole saws will keep the hole perfectly round as they have no ability to cut on their sides once it is past the teeth. I'm using a Milwaukee 3/4" Hole Dozer because I have found that the teeth will hold up well to the abuse I give them, be it drilling through aluminum, wood, fiberglass, or random fasteners that were present inside a bulkhead I was drilling through! These hole saws are serious about making holes and holding up to the abuses you can throw at them.


Since you are drilling arthwartships, the hole saw will contact the inner portion of the mast well before it contacts the outer portions of the mast. This is very important because the holes you are drilling are supposed to go directly through the mast, not into the mast's center.
Awesome! The first hole has been made in the mast! Only seven more to go!!
Before getting too far ahead of yourself, it is important to remember what the holes are for. The holes are to pass an aluminum pipe that will run through the mast and spread out the stress loads from the stainless fasteners through bolting the mast and to absorb the compressive loads of the through bolted fasteners. They need to pop in and poke out on the other side of the mast and line up with the hole on the other side of the bracket. This is where things get tricky!
When I marked the holes on the mast with my blue pen, I marked all eight holes. Now that I have the hole drilled on this side of the mast for the pipe, it is time to make sure that I am lined up with the hole on the other side of the mast. To do this, I simply need to sight the tiny pilot hole through the pipe in the mast.
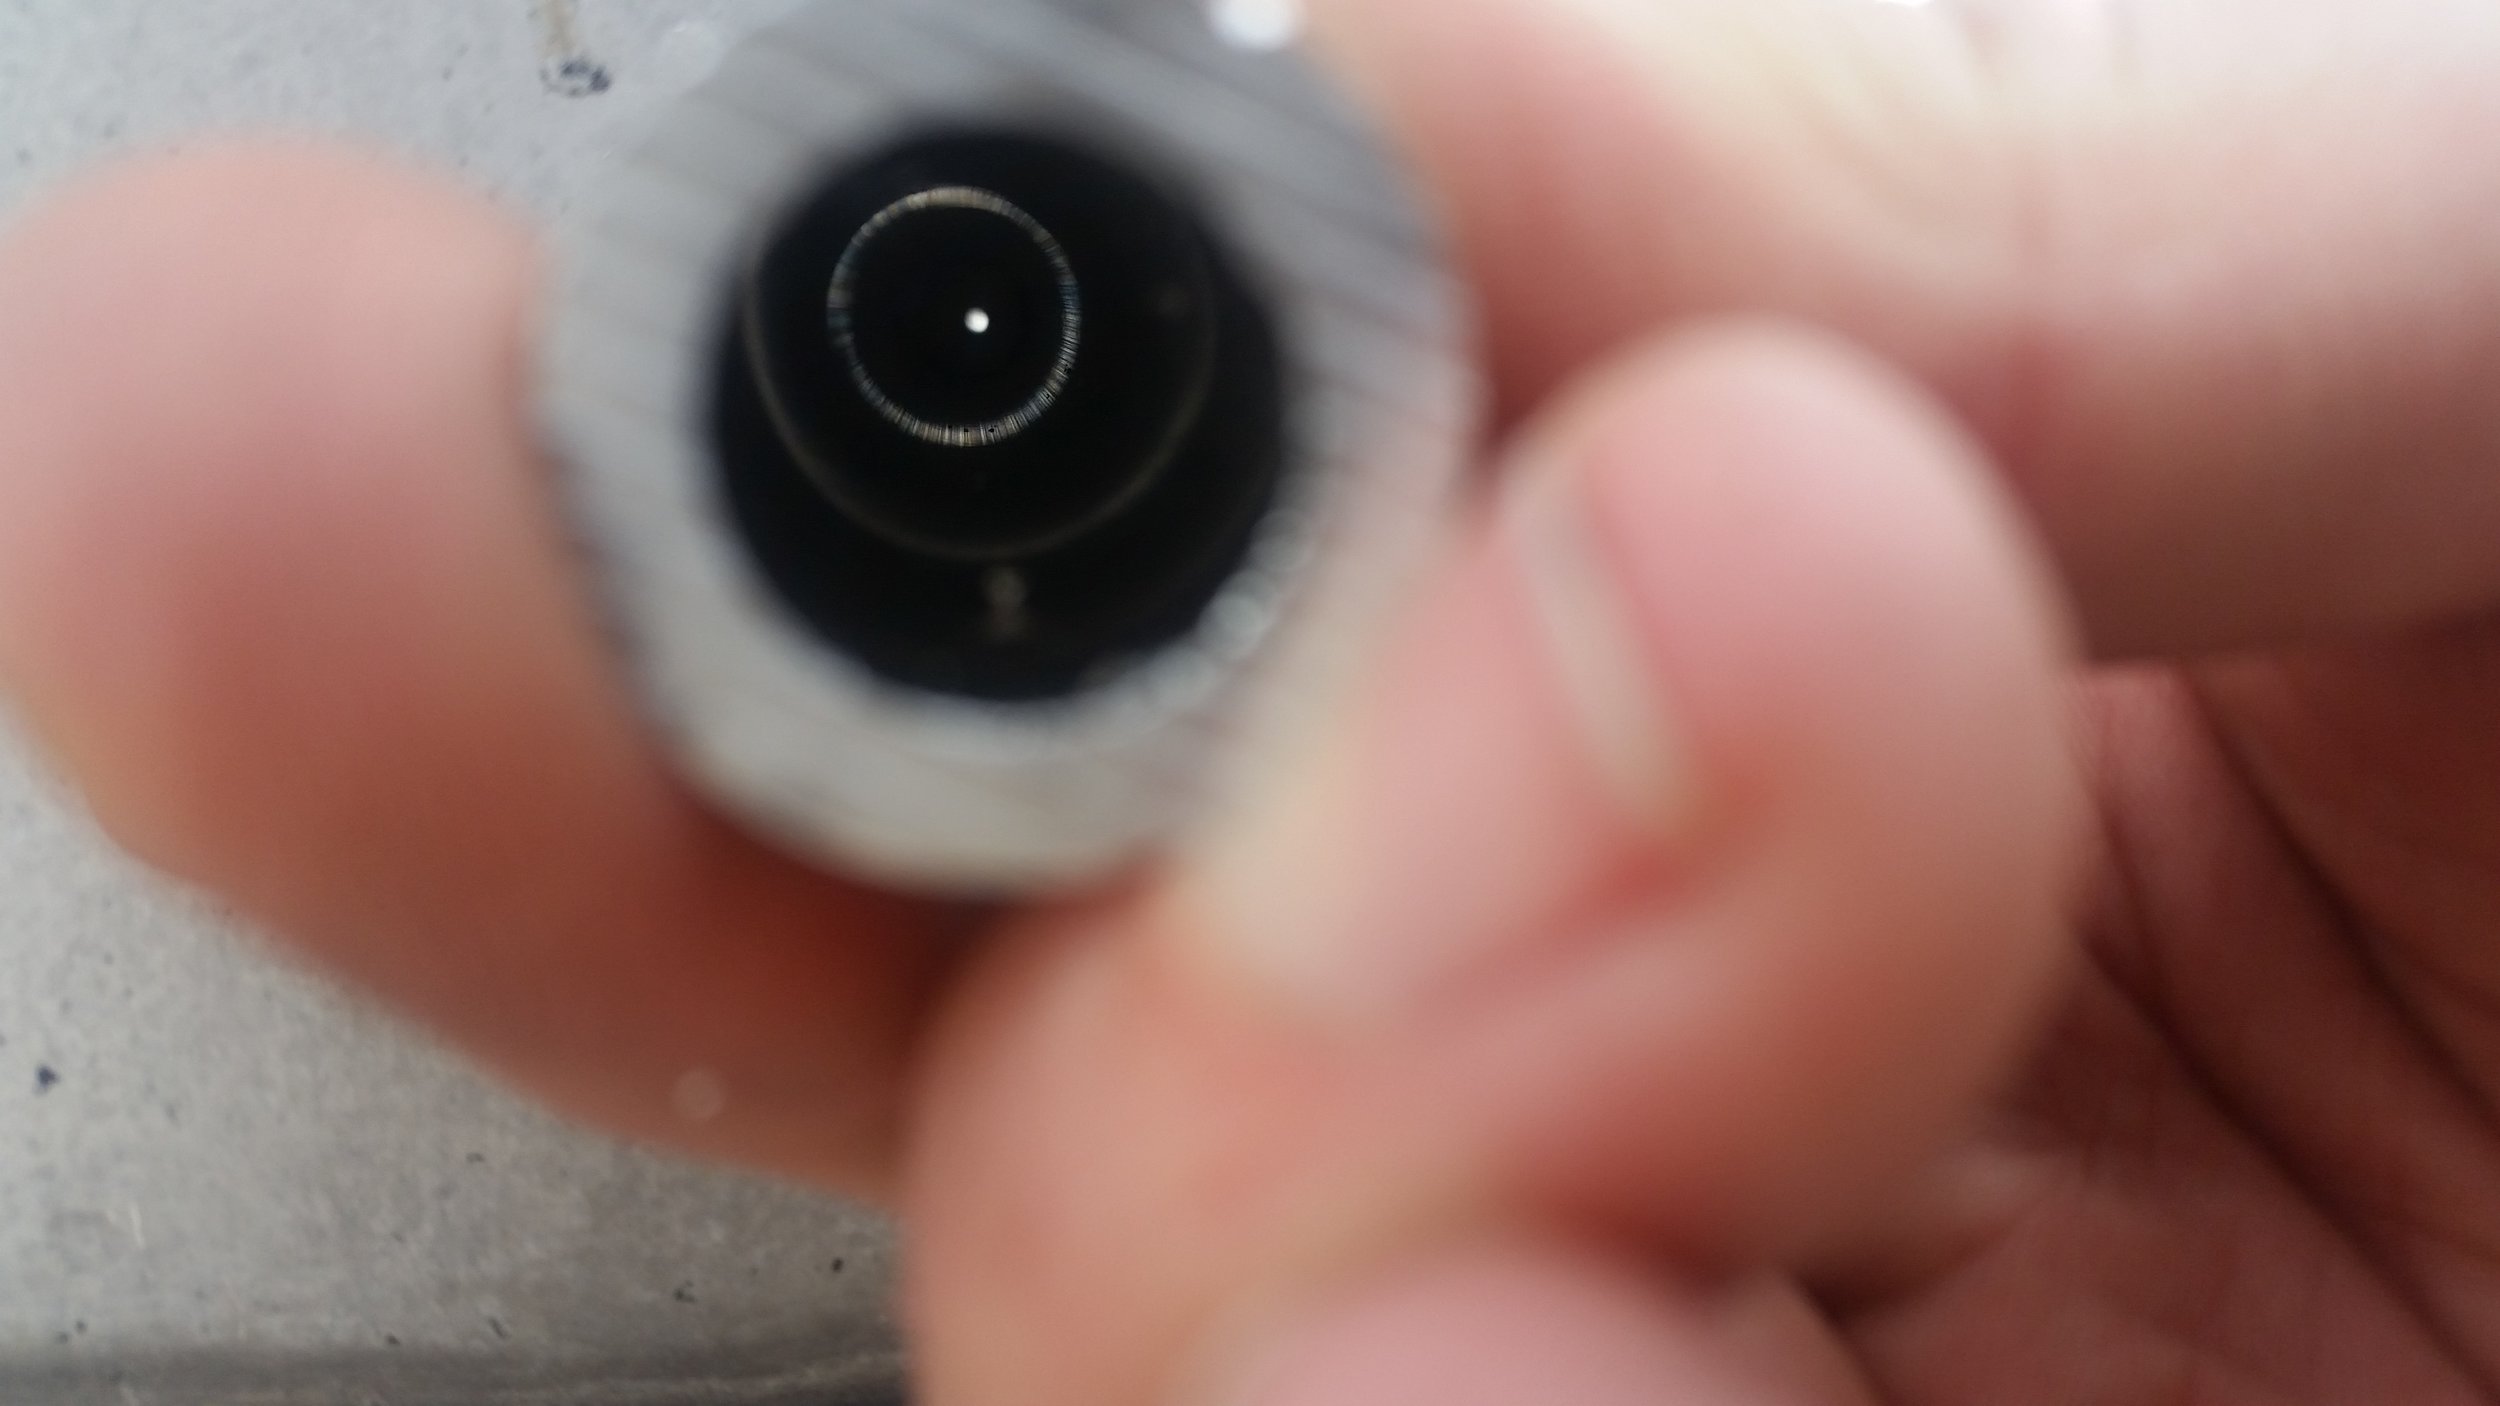
With the pipe in the hole, you want to be certain that it lines up pretty darn centered over the pilot hole on the other side. If you are way off, then you did something really wrong while marking the mast and have a very small mistake hole rather than a massive 3/4 inch mistake! Luckily, all our looking, sighting, and marking paid off and we are lined up with the pilot hole on the other side.

Success! The holes lined up and everything is perfect! Time for the truest test of it all, will the bolt pass through and all the holes line up?

Woohoo! One through bolt completed, now all we need to do is drill and bolt the other three.

You might think the stress has passed after the first one worked beautifully, but that is sadly not the case. The same roller coaster of emotions and stress occurred with each and every hole I made in this persons mast! Thankfully, everything lined up perfectly and the job was able to be completed in a timely manner.
If you are wondering why the bracket is not bolted in place at this moment, that is because we are far from ready to bolt the bracket to the mast. The holes with their pipes are merely there to fasten the bracket to the mast. We still have to drill the holes for the turning blocks that will lead the lines aft to the cockpit.
