
With the deck plates installed, the next item on the list was to install the water tank that will hold all of this glorious fresh water that has fallen from the sky and onto our tiny sailboat in the big blue ocean. Pretty much all the space in the boat is currently occupied as storage or tankage. There isn't really much space left to stash a large watertank, or is there?

The battery box for the electric motor was installed where the old diesel motor used to live. A platform was made for the batteries to rest on, but there was still a space under this battery box that went unnoticed. A small access hatch was made to grant access to this tiny cavern and to the bilge beneath the new electric motor, but no plans existed for this space and it remained empty for many years.

Making this space a water tank would be very difficult as there is little access to do work and I would loose access to the bottom of the electric motor. This would make the yearly maintenance where I grease two zerts fittings rather tricky to carry out. If I can't make the whole space a water tank, what if I put a water tank into the space?
The thought of stuffing a flexible water tank down through the hole and into the void seemed to be the easiest method of converting this lost space into a valuable resource container.

When this space was converted from motor holder to battery box, no efforts were taken to smooth the sides or clean it up. After a few years, this is what the location has become: a dusty dirty place where sharp fibers poke out waiting for a new flexible tank to puncture.
I contemplated the idea of grinding everything smooth and fairing up the surfaces. I could lay down new cloth and apply a smooth coat of epoxy to turn this roving bumpland into an ice skating rink! Then I realized that I would have to do all of this through a 6x10 access hatch.

On to Plan B! Stuff a bunch of thick fabric into the hole to line the edges and make everything feel smooth and soft. I used the felt I had leftover from when I made the hanging garden on the stern to line the walls. This felt is made out of recycled water bottles, so it won't rot in the dark and eventually moist environment of the bilge. I know water will get between the tank and the hull at some point and this felt will sit in that damp sandwich for a long time! Choosing a rot resistant cloth will make my life so much easier in the years to come.
The flexible watertank I used is by Plastimo. This is their 100L model which will fill up the space beneath the batteries. There are two sides to connect the inlet and outlet on the tank. Be sure that the inlet is on the top and the outlet is on the bottom (this is per the manufacturers recommendation).
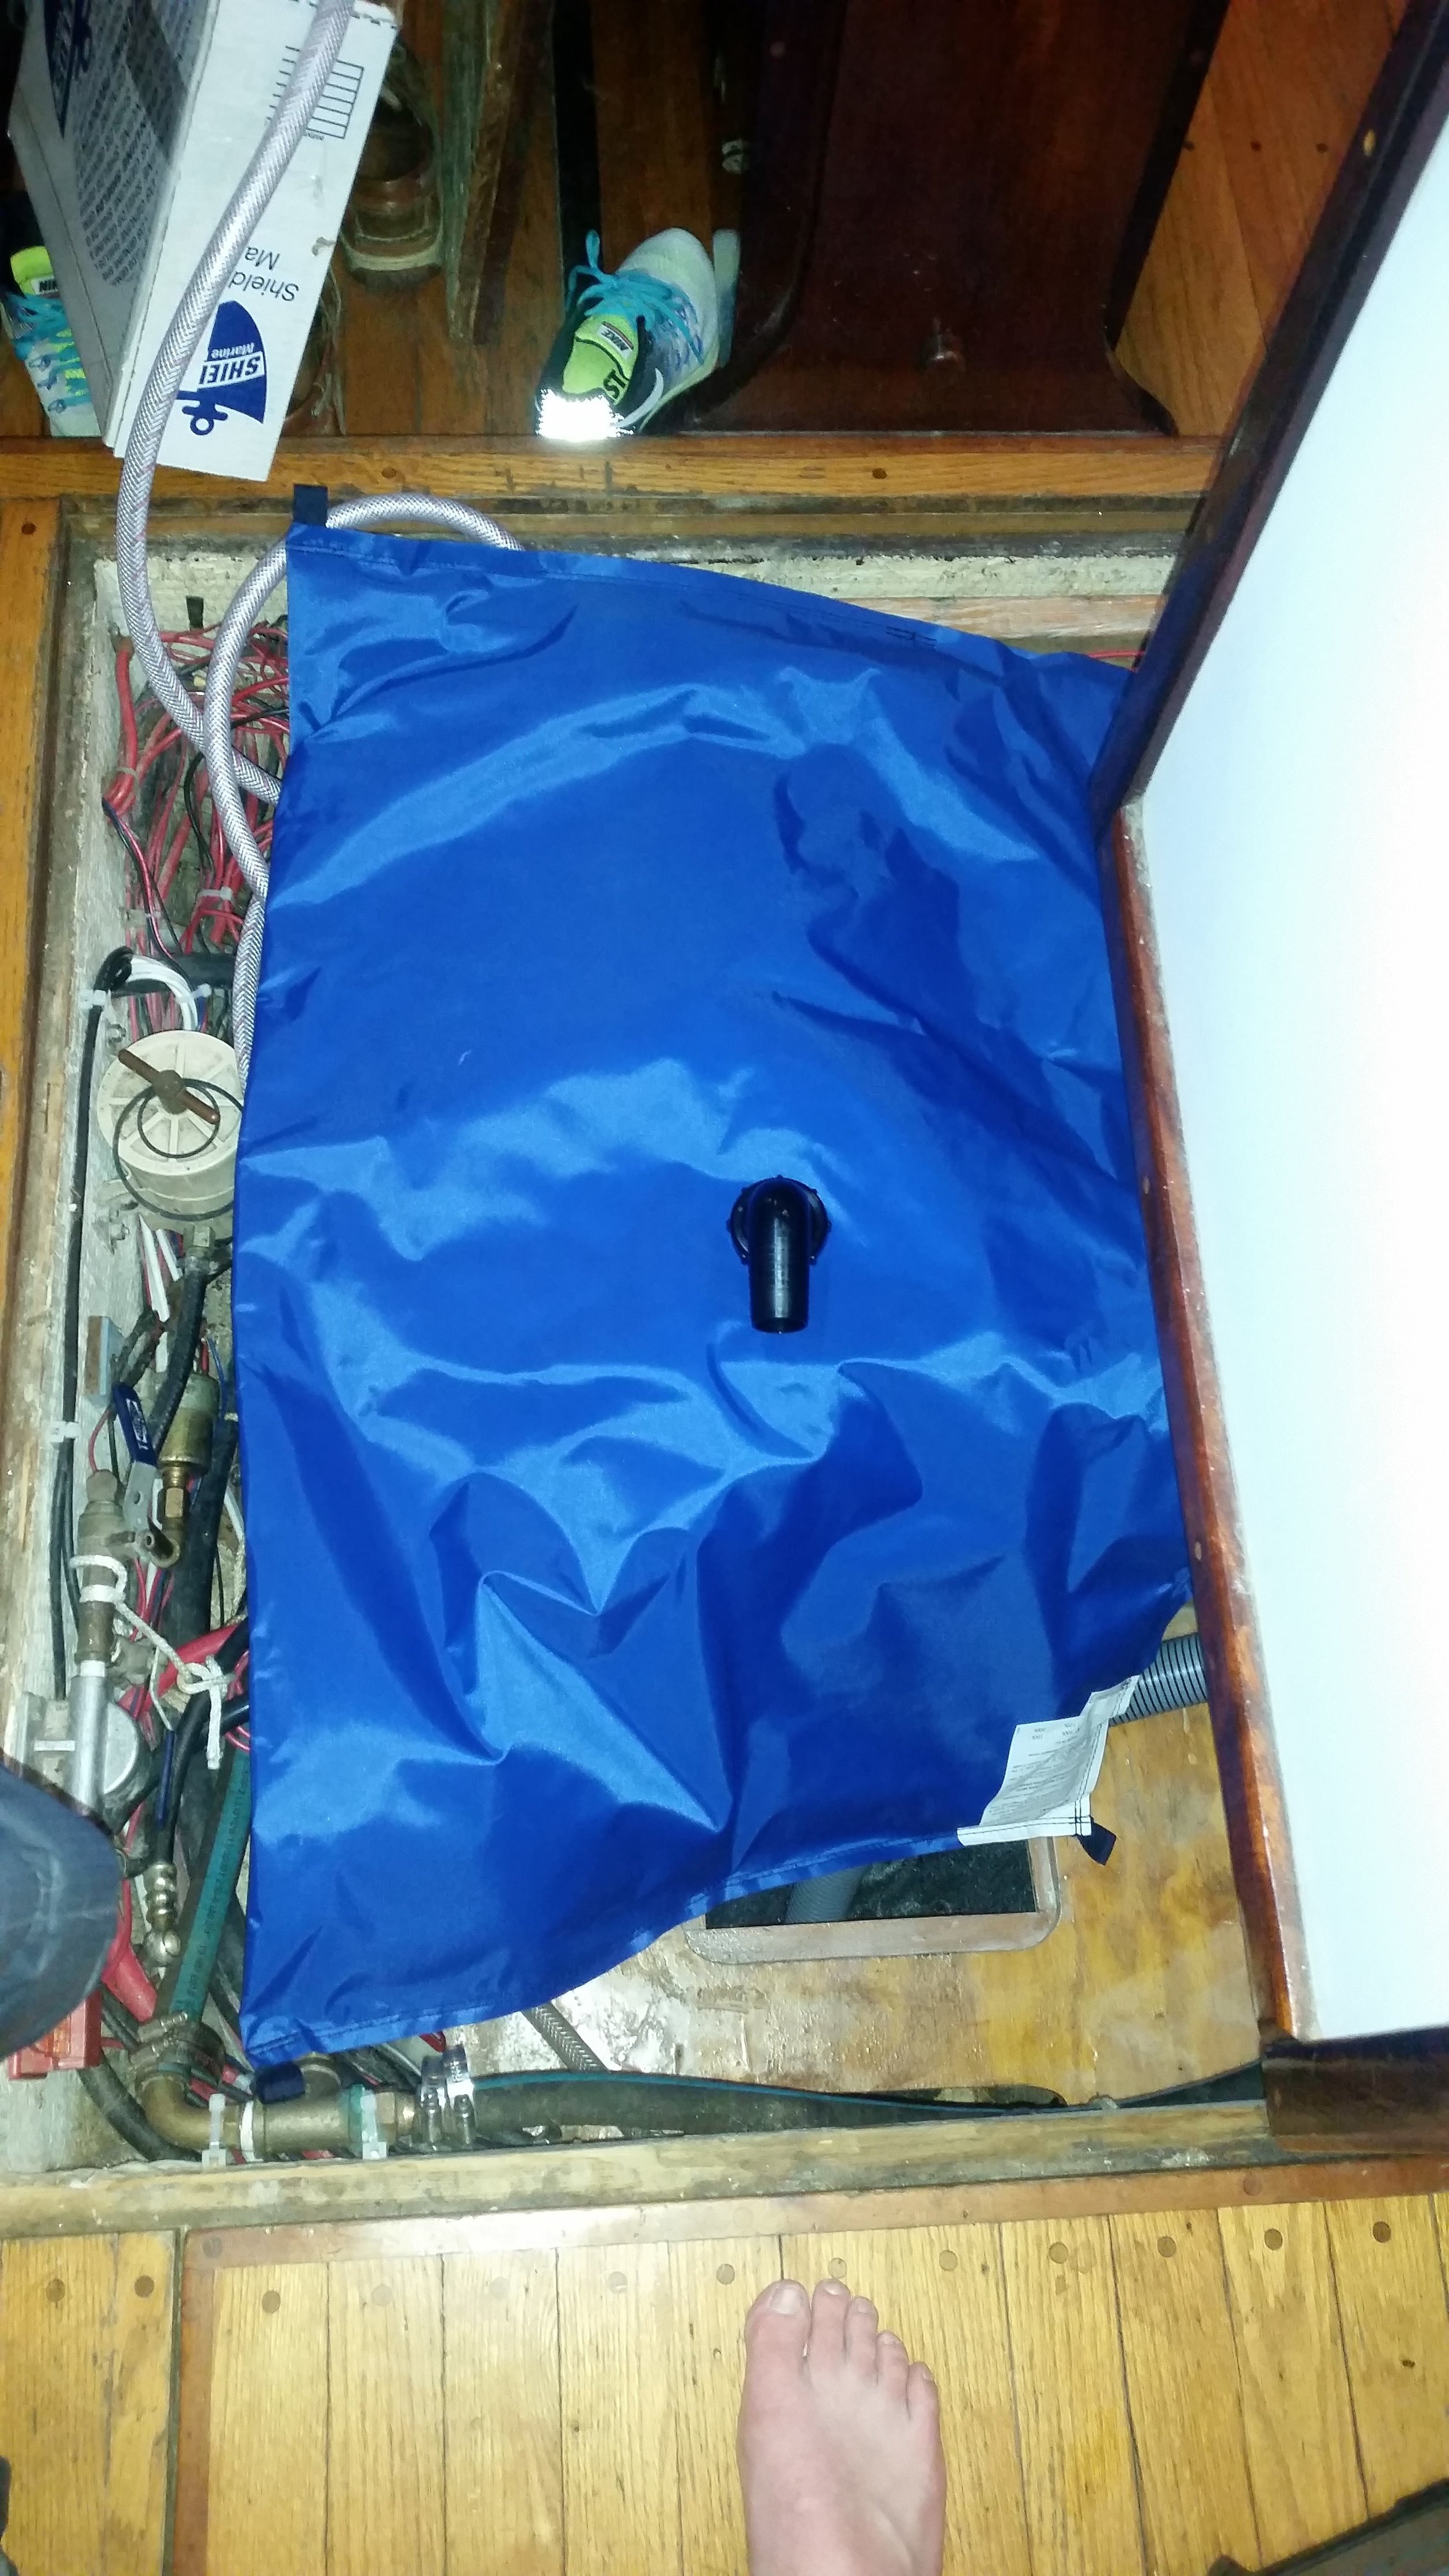
With everything ready and in place, it is time to fold up the tank and stuff it through the little hole. Once inside the hole, the tank can then be unfolded, oriented, and laid out flat.

The tank is in position, filling up most of the space available. I don't think we will be able to fit 100L of water into the tank because of the space constraints, but we will be able to carry as much water in there as we would have if we decided to build in a rigid water tank.
You may notice the batman tape on the small outlet hose. This is to fight chafe in the darkest of alleyways. I was worried that the hose clamp would dig into and cut the fabric of the water tank, causing it to fail us prematurely. Over the hose clamp, I tied a double constrictor knot. This knot pulled the tongue of the hose clamp down flush with the surface of the hose, making the whole assembly feel much smoother. The line also helped to soften any sharp edges of the hose clamp. To make sure that the line doesn't budge as we slosh around in the open ocean, I wrapped the whole thing in duct tape. Now the dark knight will protect our water tank against the injustices of chafe!
The next step will be getting the water to the tank and out of the tank.
