
Eye splices are a great way to connect a shackle to the end of a line. In this example we will be attaching a halyard shackle to the end of the line using an eye splice. The line we are working with is VPC which is a technora/polyester blend. Since some of the fibers in it are technora, the rope counts as a high tech line and requires the use of a Class II Double Braid Eye Splice.

In the begging, everything is simple. You have your shackle and your VPC line.

Then it all gets really complicated! But don't worry, it's not as wild and confusing as it might first seem.


Your first step will be to put a pin through the entire line about 12 feet into the line that way the shifting core and cover won't affect the rest of the line. This will make your life easier later on in the splicing process.
Your second step will be to remove the core from the cover for the portion of the splice that will be buried. Since this is a Class II splice, you need to bury 2.5 fid lengths. The reason for this long tail is Class II cores are slippery. The longer the buried tail, the more friction can be passed to the tail to hold the splice in place. If you want to err on the safe side, simply make the buried tail even longer as this will increase the strength of the splice.
At 2.5 fid lengths (or more if you want to be safe) you will bend the rope and extract the core from the cover. When you bend it over, the cover fibers will stretch a bit and you can work them apart with a blunt pin or a small fid. Once the cover fibers are separated, you can insert a small fid and lift the core out of the cover.

Once enough core is out of the cover for you to grab, you can simply pull the core completely out without the aid of any tools.

With the core removed from the cover, you might feel like proceeding with the splice! If you do, you will regret your life choices towards the end of the splice when the last bit of core doesn't want to go back into the cover and you are stuck with an unsightly bleb of core herniating out of the cover.
What you need to do now is equalize the core and cover. During the manufacturing process, the core and cover are woven at alarmingly fast rates. The result is a very tight core and cover that you might not be able to fit the fatter core after the splice into the cover. By equalizing the core and cover, the cover will be looser and it will help you later on to milk the core back into the cover.
To equalize the core and cover, you will pull the core out of the cover and then milk the cover back over the core. This is why the pin through the rope is necessary, as it gives you a stopping point during the equalization. You will push the cover back as you pull the core out, then milk the cover back over the core. Repeat this three times and you will be done with this step. When you finish equalizing the core and cover, you will find that the core protrudes out a significant amount of core extending past the cover.

With the core and cover equalized, now is a great time to slip the shackle on for the halyard. The most annoying thing that could happen during the splice is beginning to bury the splice and realizing that you forgot to put the shackle on! If you put the shackle on now, you won't have to worry about remembering to put it on later.
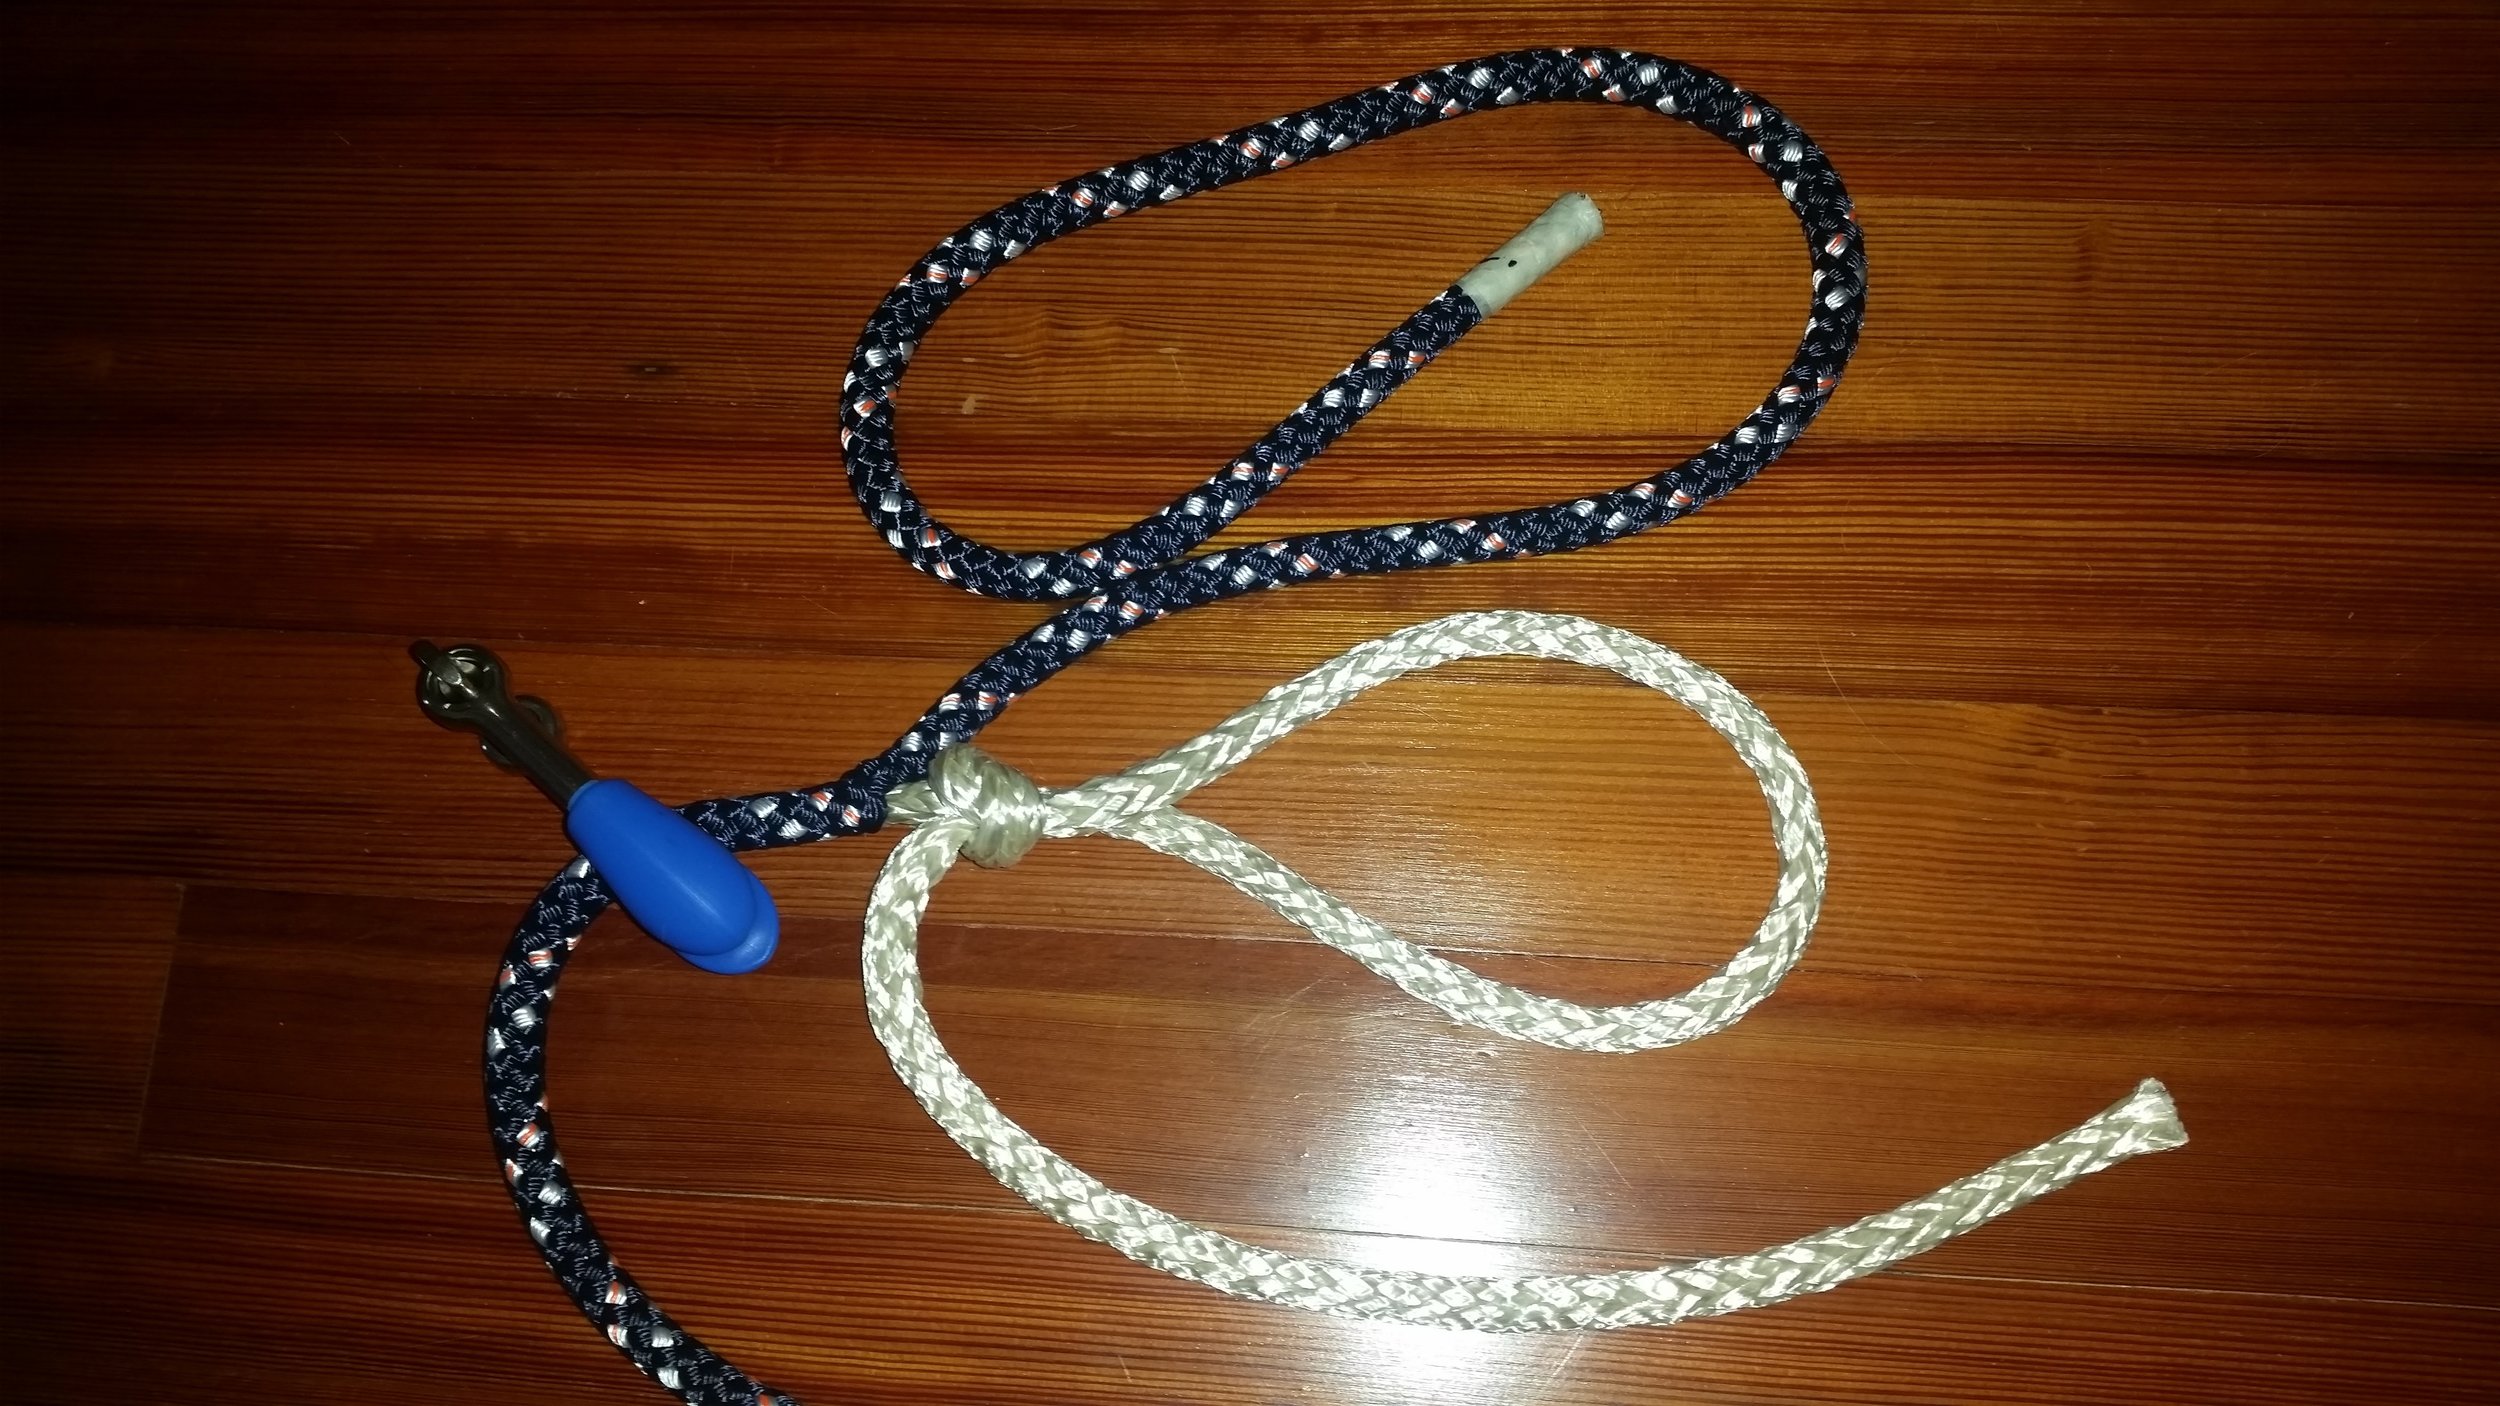
With the shackle on, you can tie a slip knot in the exposed core to avoid it from sliding back into the cover.

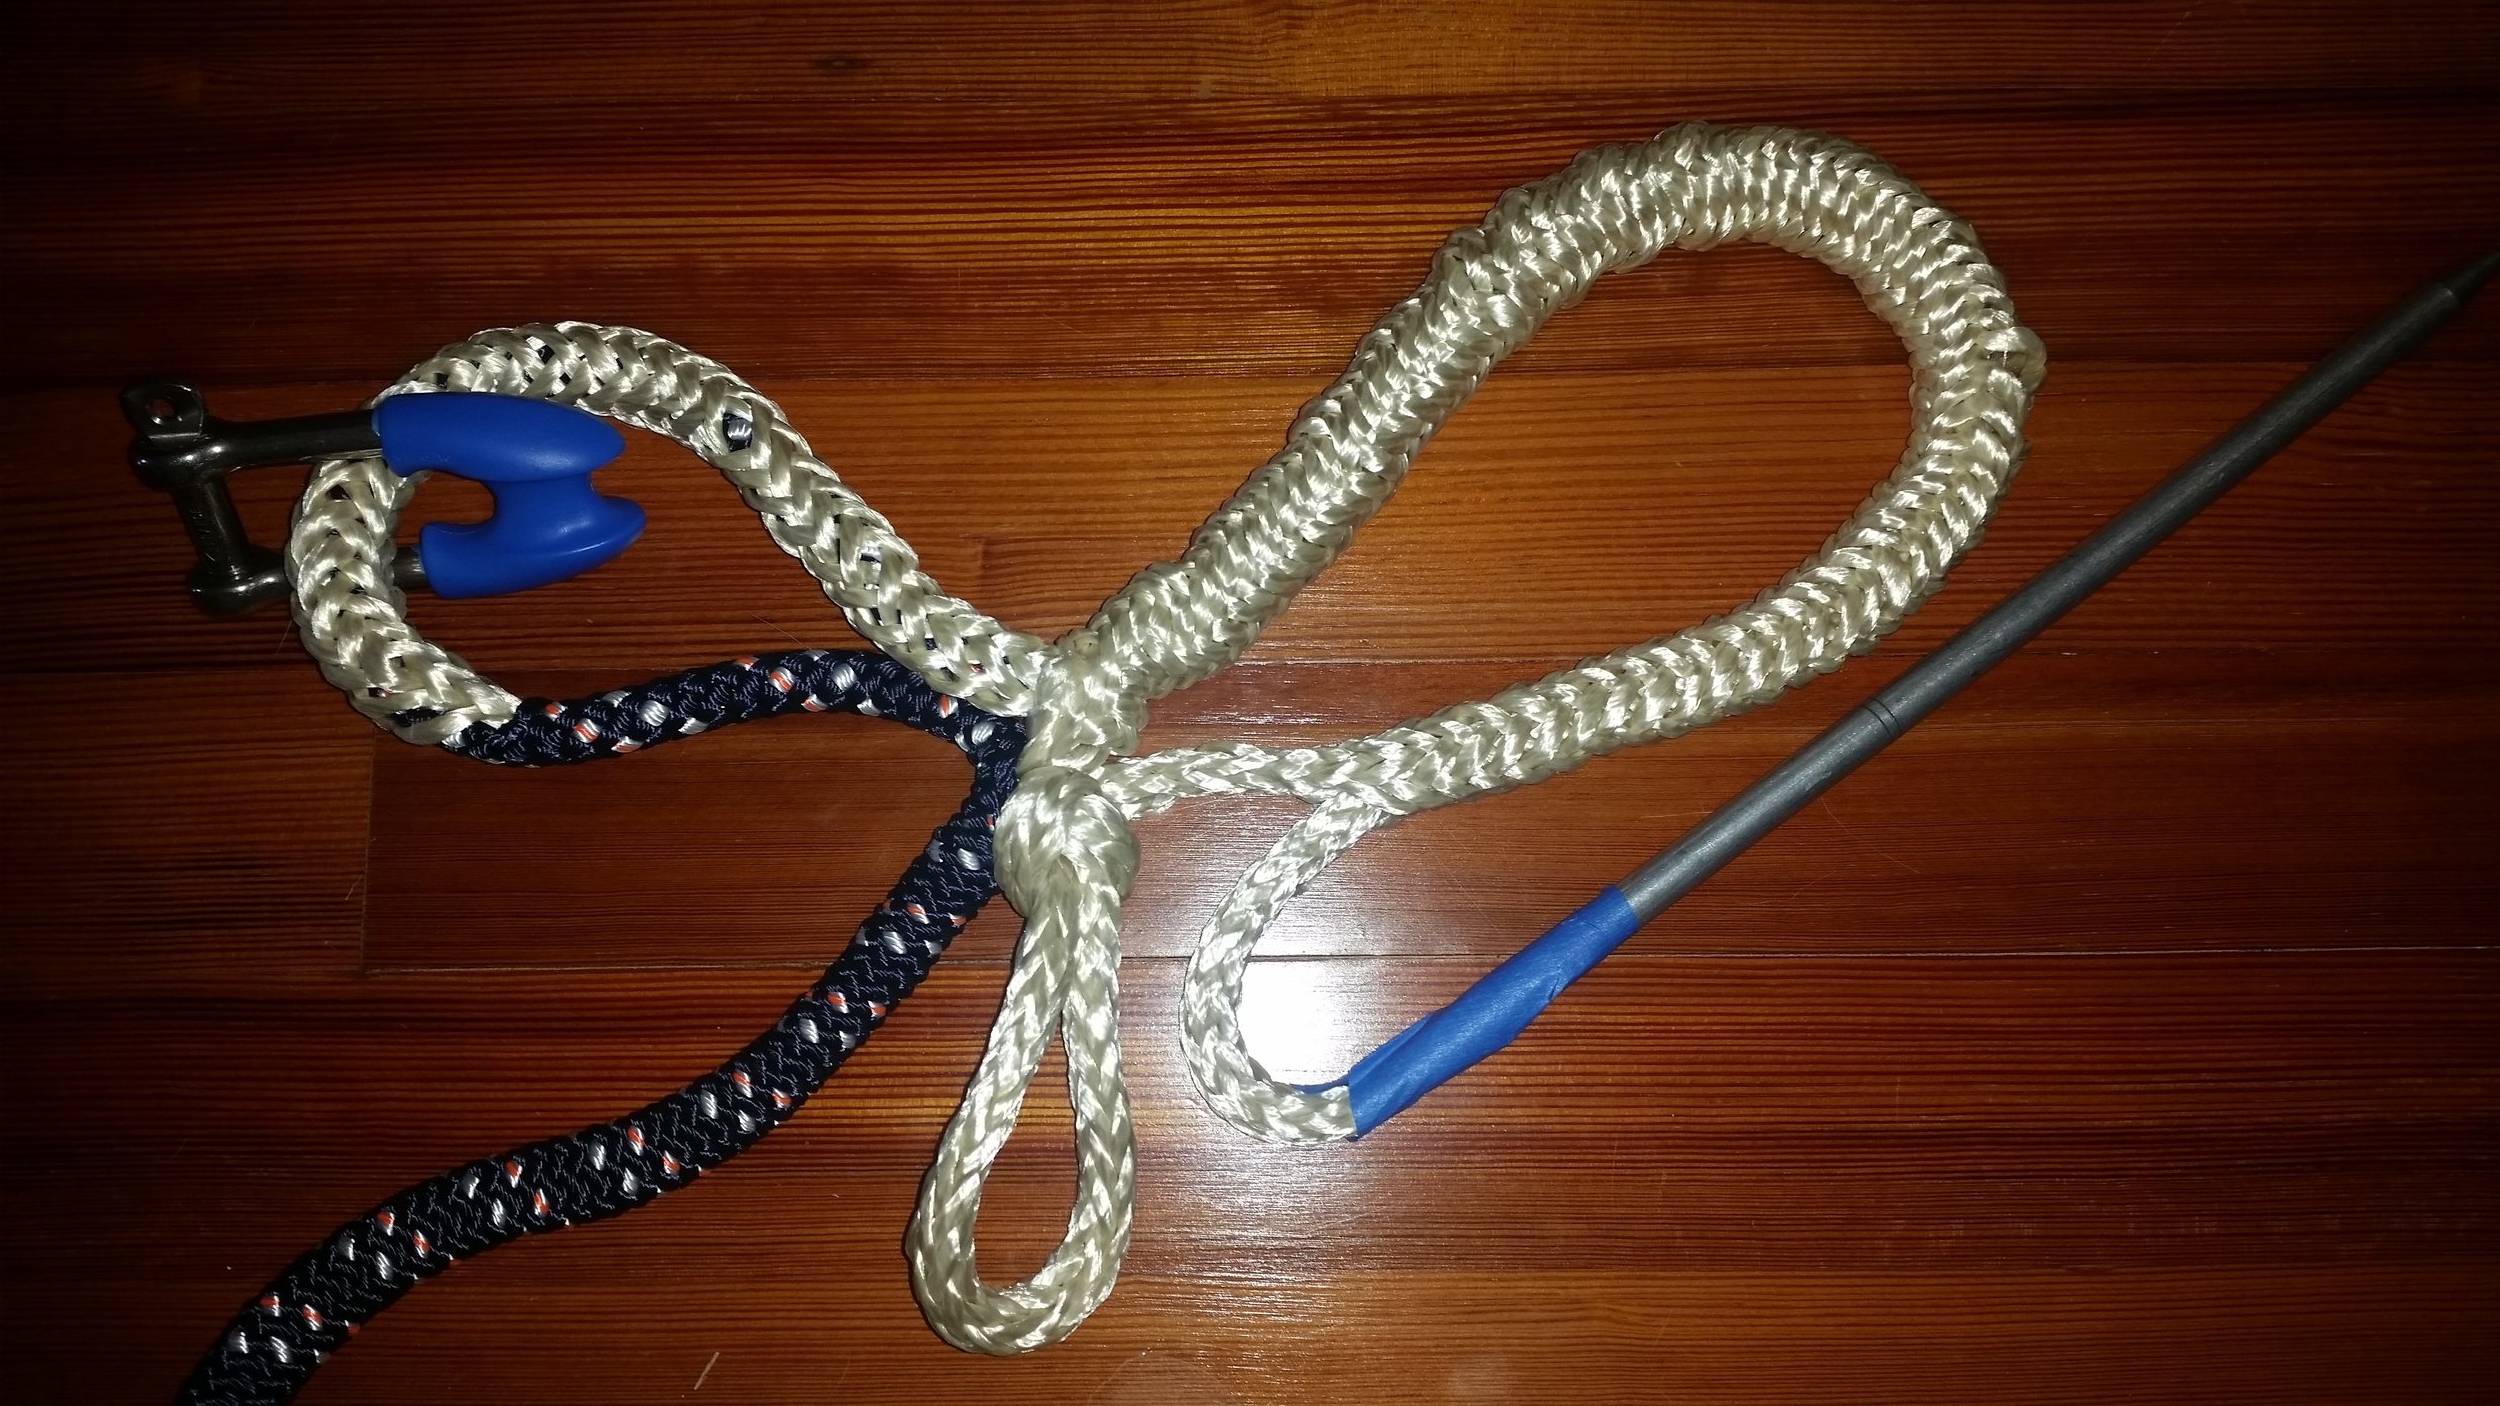
With the shackle in place, you can measure the desired size of the eye by wrapping the line around the shackle. I prefer a small eye as this keeps the eye splice out of the shiv if your halyard ends up at the masthead. If you like a larger eye, simply give yourself more line to wrap around the shackle. On the other side of the shackle, you will bend the rope and pull the core out the same way you did for the tail. The slip knot in the tail will prevent you from accidentally pulling "tail core" into the loop instead of "core core."

At this point, you have everything exposed to carry out the splice. The tail is tied off, the loop is tied off, and the shackle (remember to put the shackle on!) is in its place. It is time to start burying everything and wrapping the splice up.

Pass a fid through the tail core and bury the tail cover inside the tail core. This makes the entire splice look much neater and helps to taper the splice inside the line.

To make sure everything is tapered properly, you want to taper the cover inside the core that way the transition from cover over core to core over cover in the splice. This will keep stress on the individual fibers low and increase the strength of the splice.
The tail is now passed through the loop on the other side of the shackle with the fid. A portion of the loop is consumed by the slip knot, so you will have to end short of the full loop. This is not a problem as you will simply exit the loop shy of the slip knot and then stretch out the loop over the buried tail.

With the tail in the loop, and the loop stretched out, you can see that there is still a portion of tail that is not buried. This would be a problem, since Class II cores are slippery and you need all the friction from length that you can get.

This last bit is easily buried by simply inserting the fid back through the exit hole and passing it through the remaining loop once the slip knot has been removed. Now, the entire tail is buried, all that is left to do is to taper the tail and then bury it again.


The tail was tapered systematically, creating a very gradual decline in thickness that will produce a very subtle taper that will reduce any stress on the individual strands and produce a very strong splice.
With the tail buried, you can see the gradual taper in the line as it goes back into the cover. All that is left to do now is to milk the loop back into the cover and whip the splice. Since the pin is still in the rope, securing the position of cover and core, this process is relatively simple. The cover will slip over the spliced core easily at first, then it will become more difficult. The last bit will be a bear to bury, and if you didn't equalize the core and cover at the beginning, it might not actually bury. Having equalized, you should know that with enough force, it will bury.
To do the last bit, you need to tie the rope to a sturdy point, such as a cleat, and yank really hard on the end. The snapping force will bury the core into the cover in very small increments, but it will eventually complete the task.
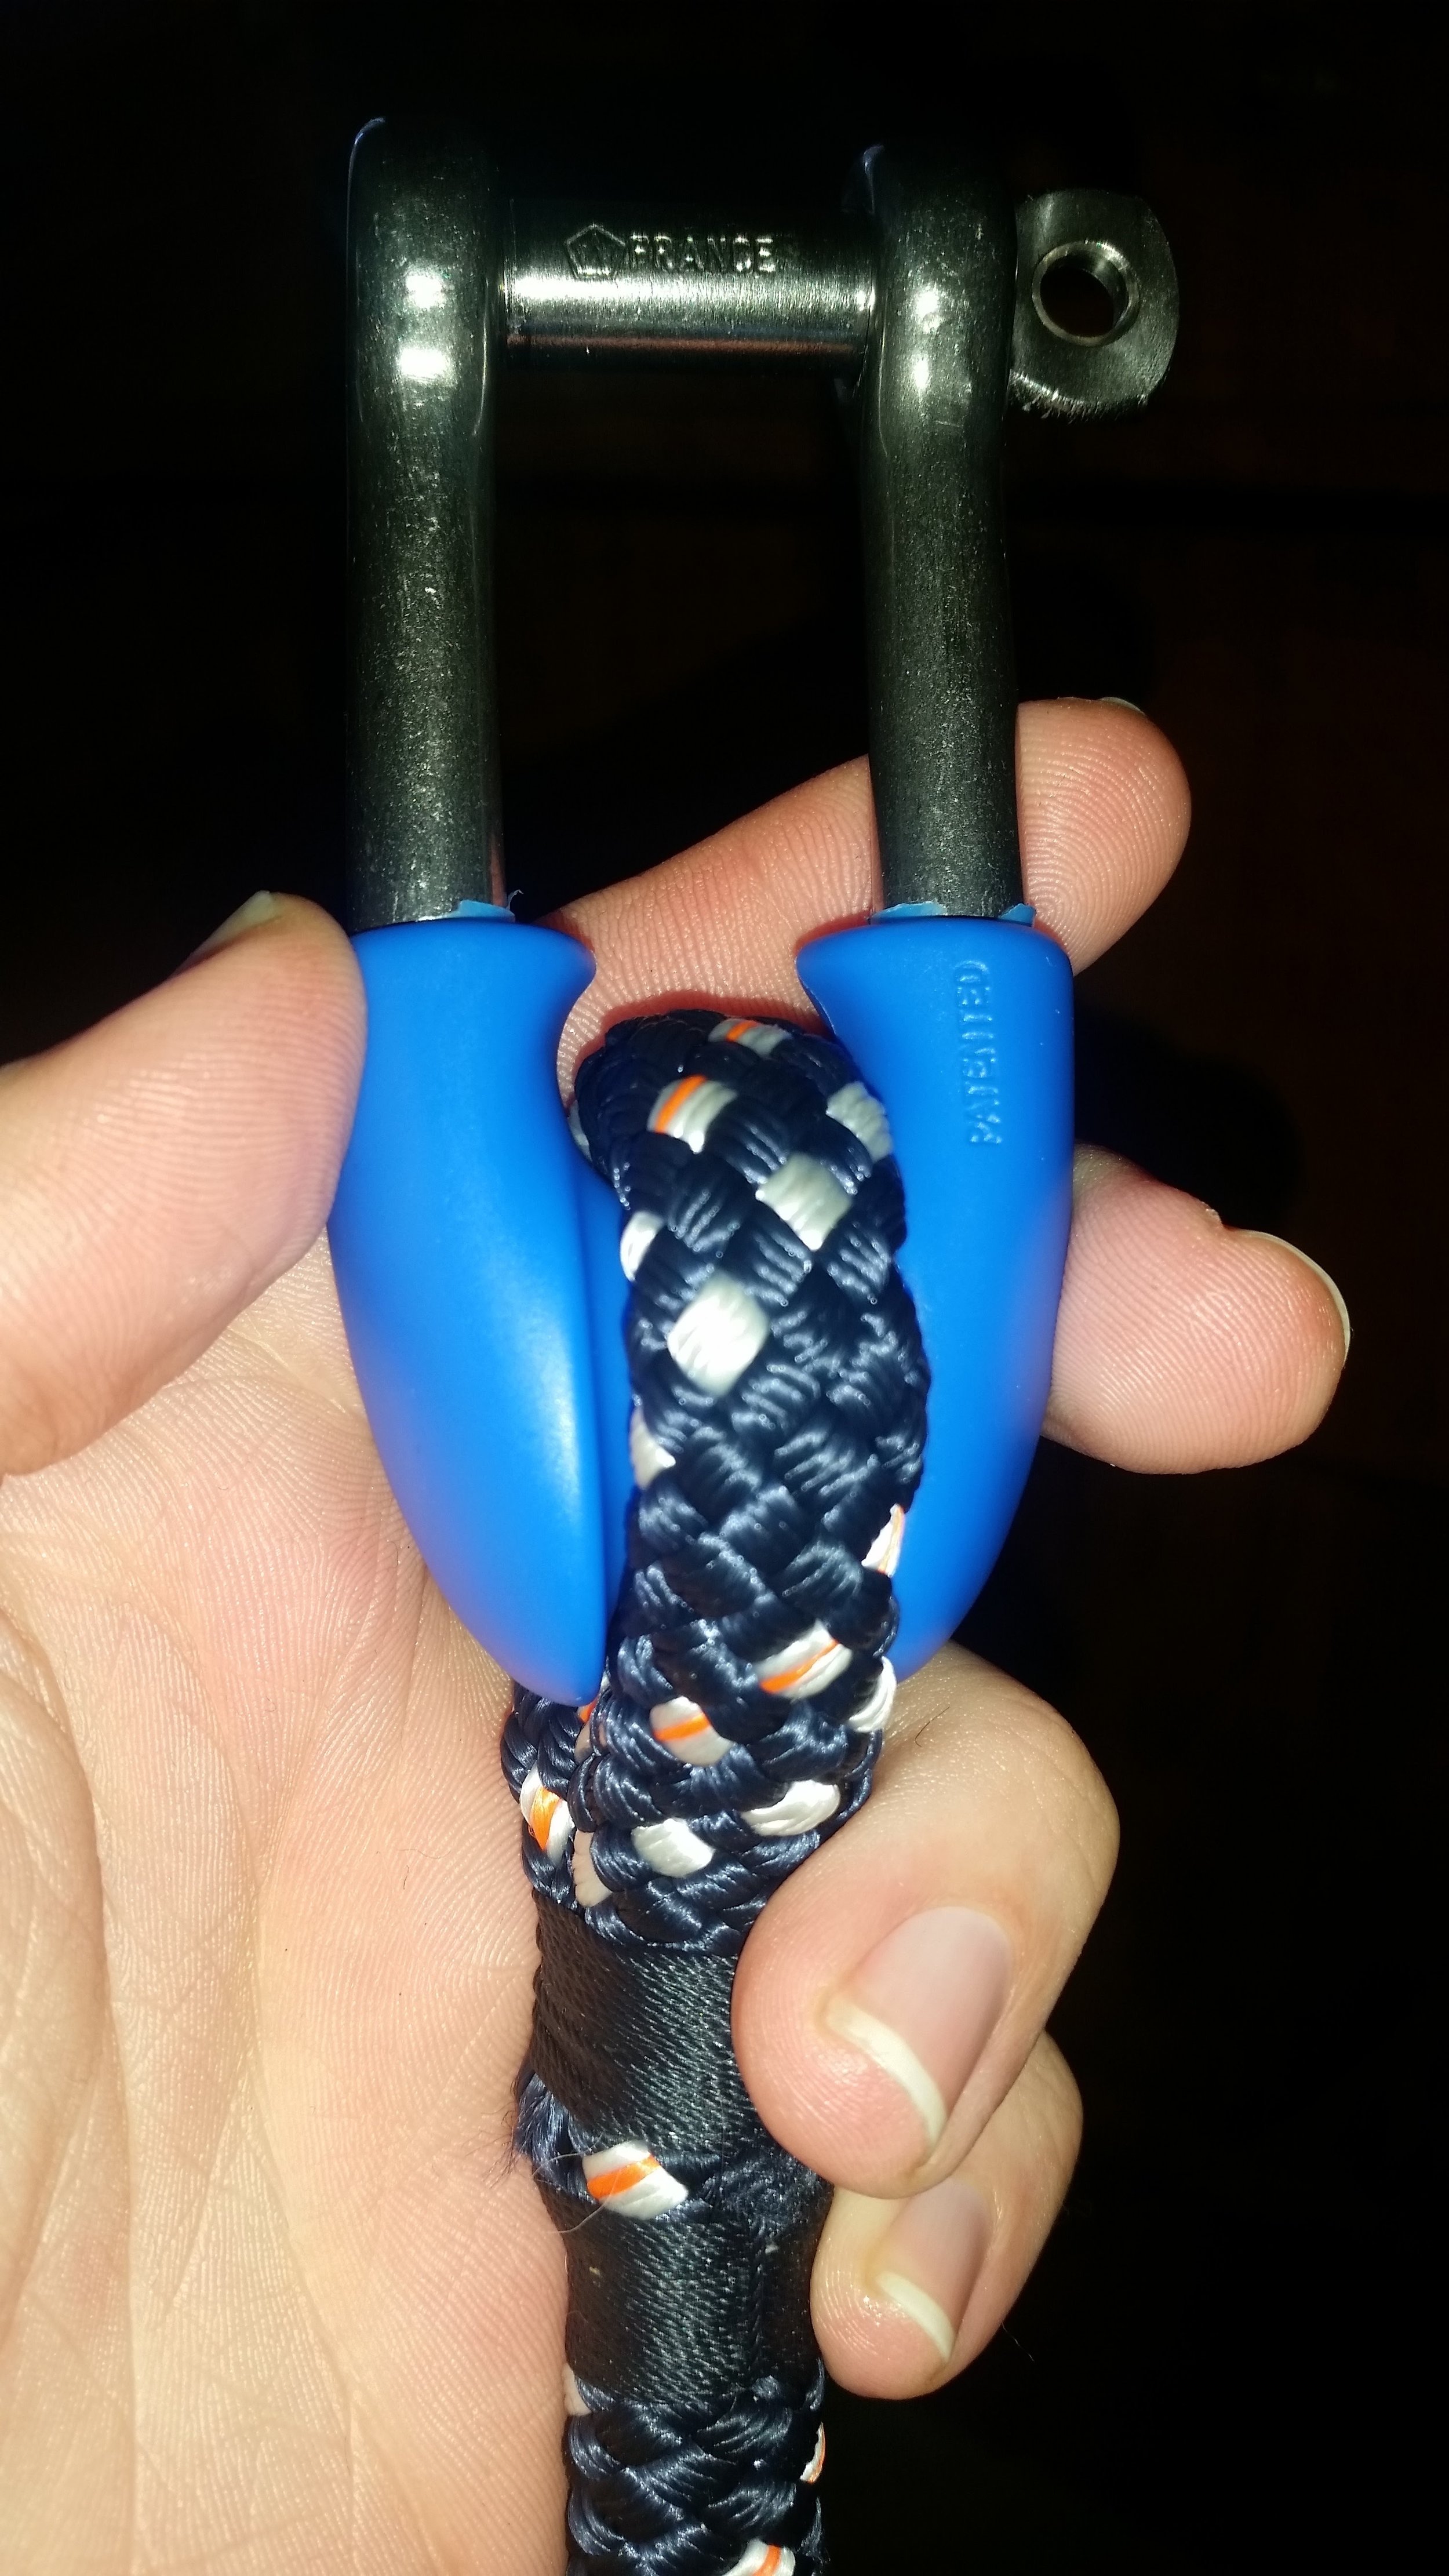
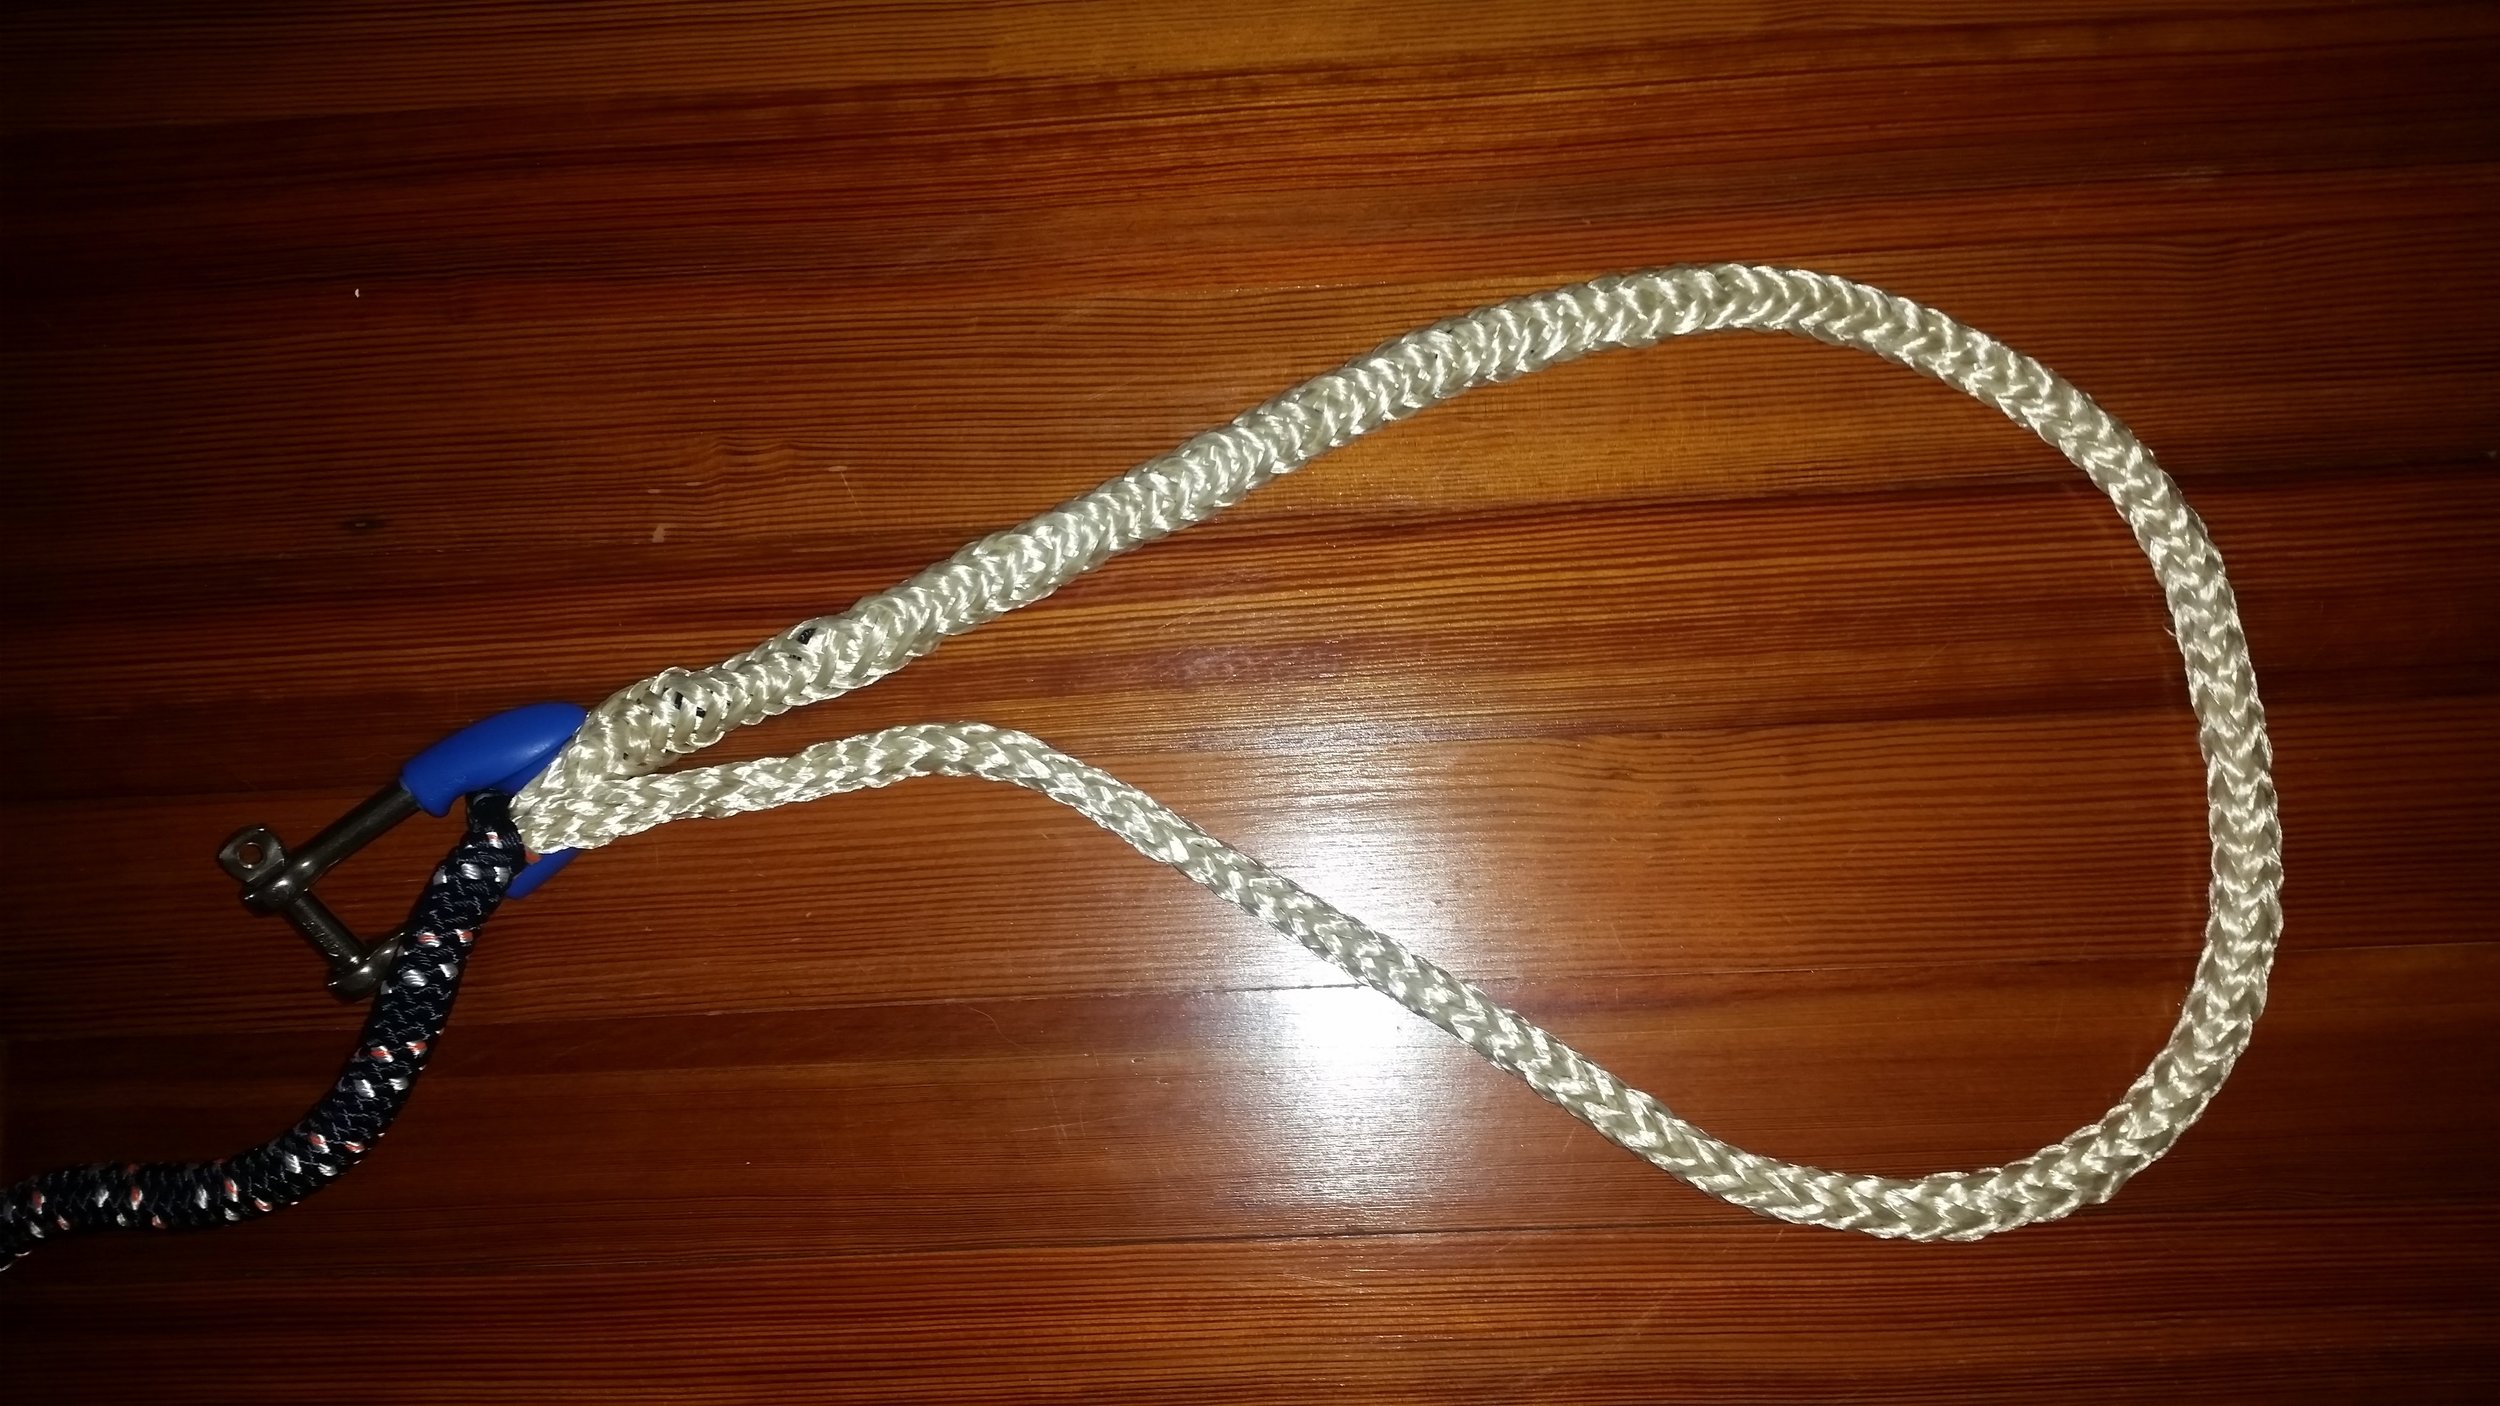
Whipping helps to secure the splice and make everything look pretty. You can see the tight eye splice wrapping around the shackle as it turns back to bury in the line. You shouldn't worry about the tight radius turn over the shackle because making the eye larger will not change the radius of the shackle that the line turns over.
The final test is to feel the halyard and see if you can feel a step inside the cover where the splice ends. If you did a proper taper, the line will gradually get smaller until you reach the end of the splice and are unable to positively locate the end of the buried tail. This very gradual change in size reduces the stress on the strands and that will maintain the strength and integrity of the splice.
