
With no set reference point to measure from, it might be considered a daunting task to measure the flare of the frames in relation to the floor. Where do you position the floor? How do you know the floor is straight? How do you know that anything is straight?
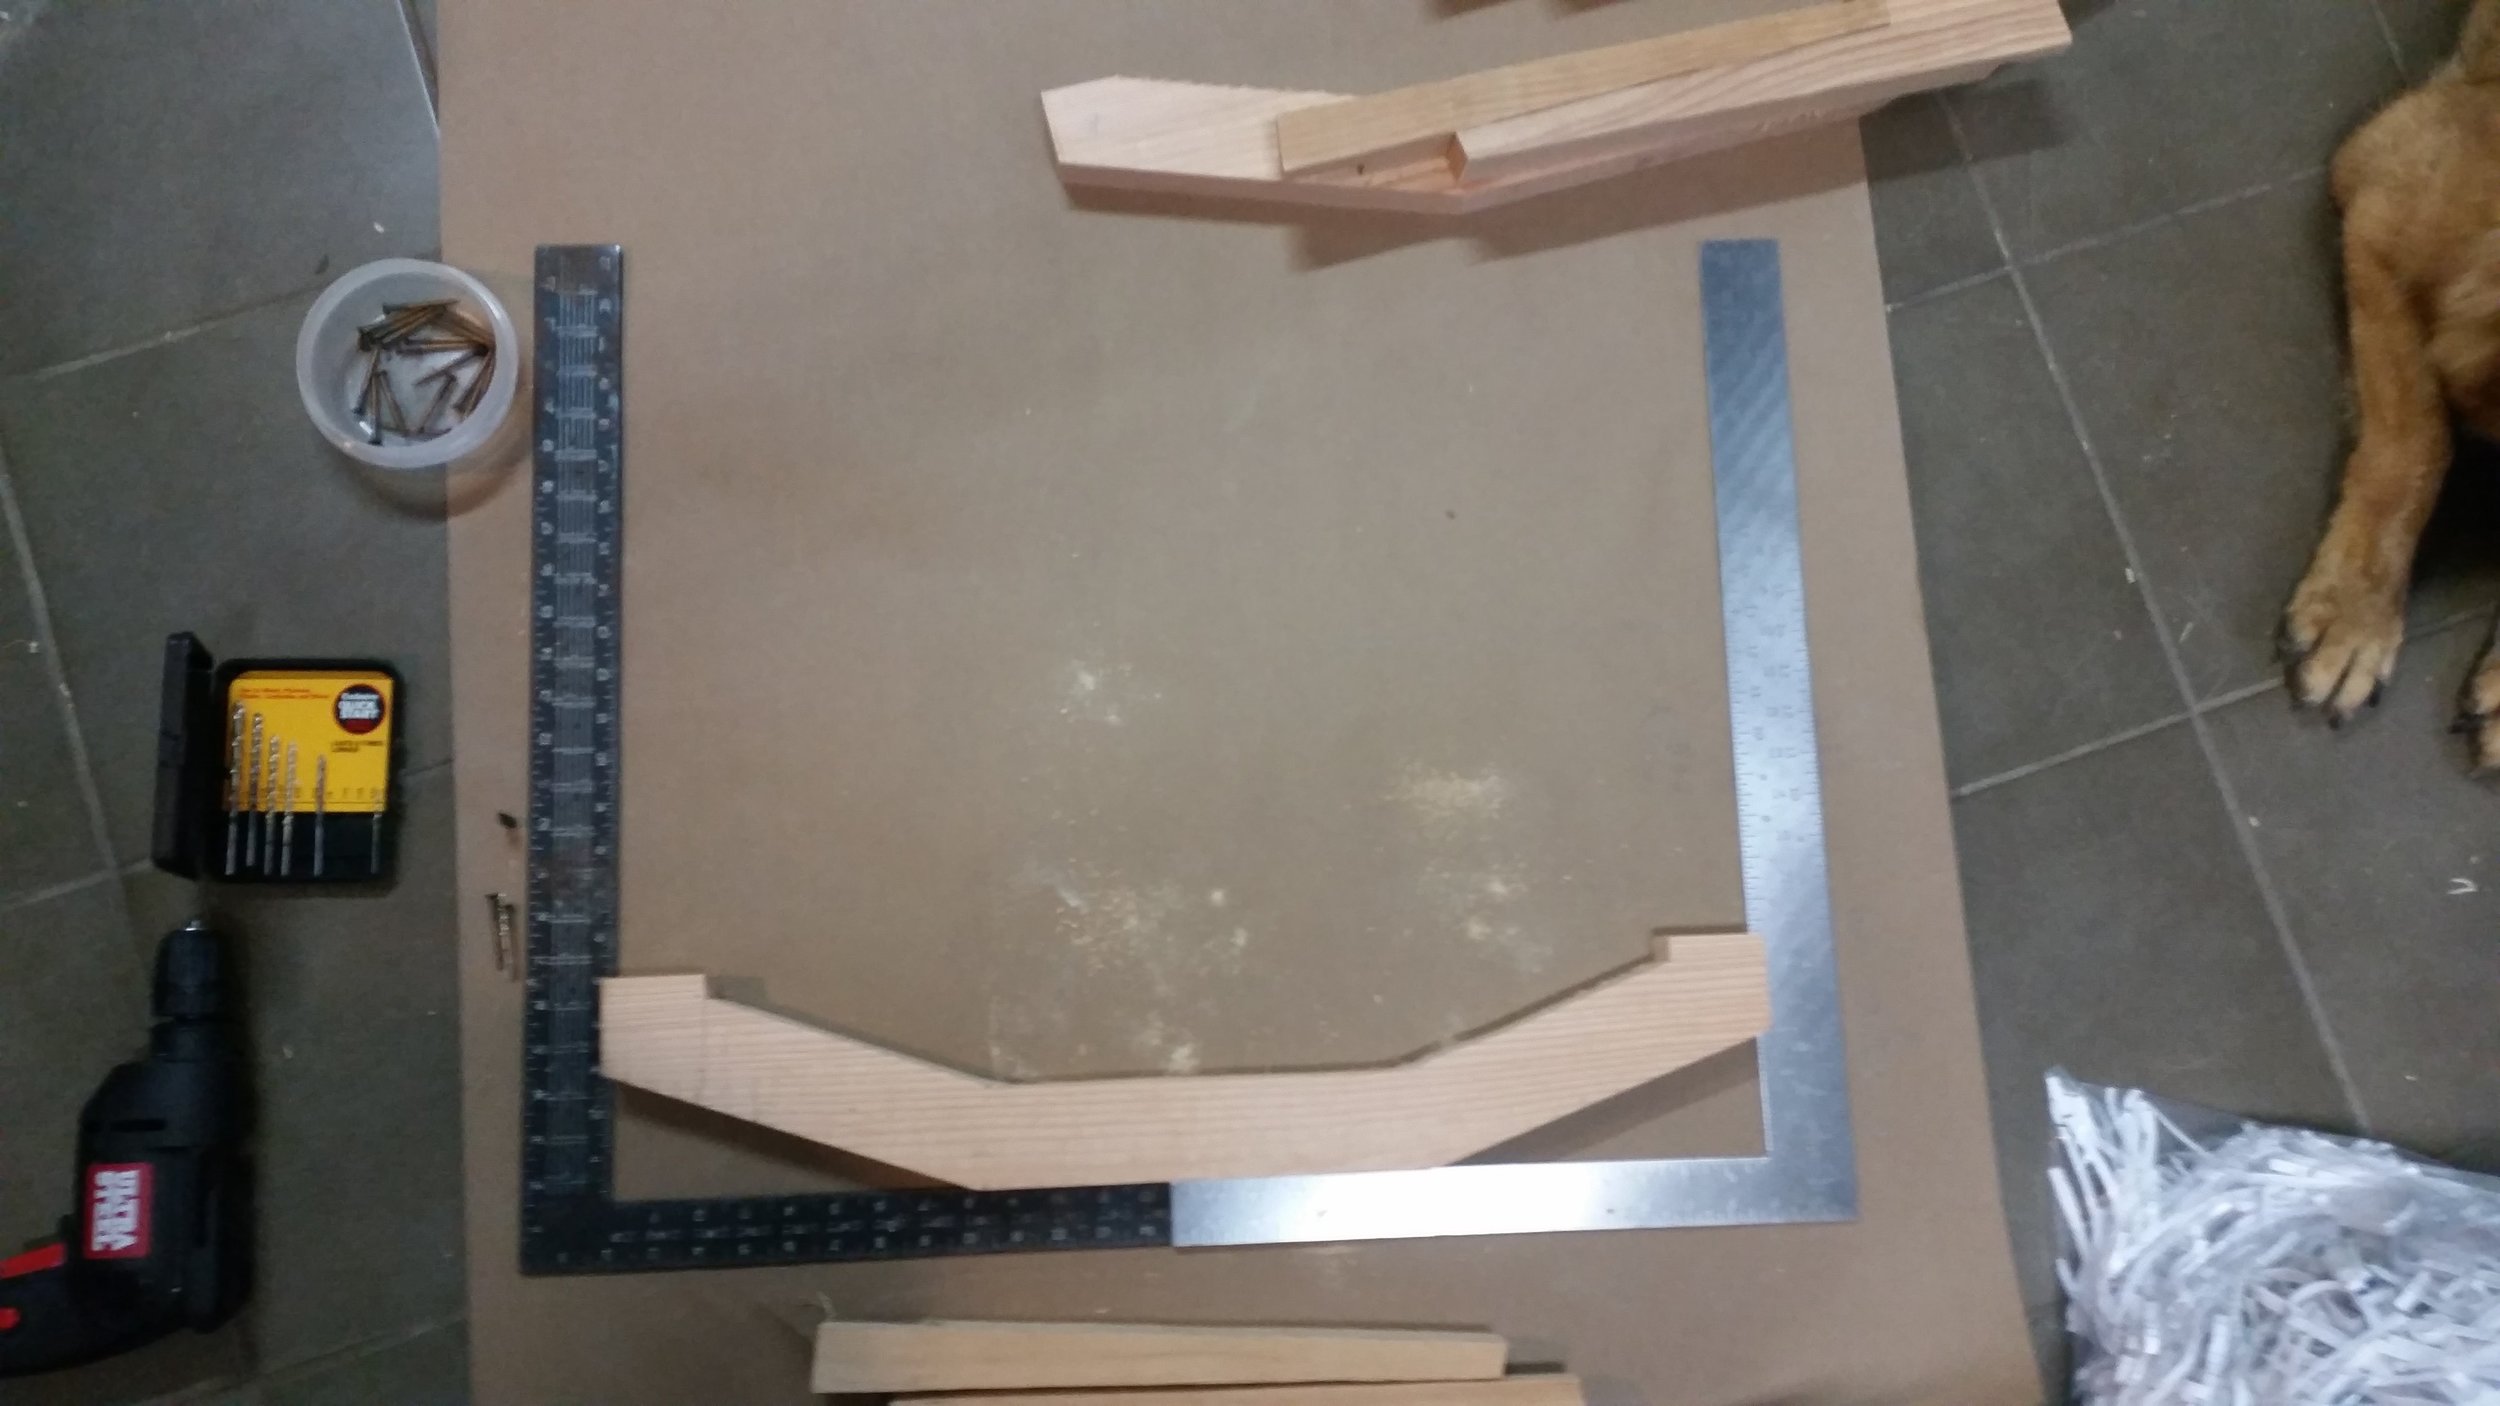
The answer is simple. The floors have two perpendicular surfaces on them, the bottom and the sides. By setting a square again these two sides, you have just created a plane of reference for the entire project!
A second square can be set over the first square, allowing you to verify both sides at the same time and verify the squareness of the entire floor.
If the sides are not parallel, the two squares will not line up on the bottom, but instead will deviate. Secondly, the measurements on the squares will not be identical. This builds a system for checking into the entire jig as well.
If you find that one side is not parallel, you can choose which side to favor, and adjust the squares from there. You can know that the final measurement is fine as long as you have the squares square to each other and contacting the floor on all three sides.
Now that the floor is properly oriented, you can set the frame onto the floor and adjust the proper amount of flare. In our case, the chine is 2 inches more narrow than the sheer, so the frames need to flare 2 inches on each side.

Placing the bottom of the frame on the floor in its corresponding position and keeping it fixed in that place will allow you to adjust the flare without altering the location of the chine.
In our case, the top of the frame is set 2 inches outboard of the frame. This is easily identified because I am using 2 inch thick squares. If my flare were any other measurement, a third square would be required to measure the distance atwarthship from the vertical square.
With all the pieces in their assumed positions, it is time to verify everything. The top of the frame needs to be at the height of the sheer, the frame needs to contact the floor at the chine, and the floor needs to be set square in the squares. Lastly, both frames need to be the same height, that way the sheer is even on both sides.

From this point forward, the frames are now to be considered unique. Each frame will be custom cut to fit a specific floor and a specific side of the floor. Creating a marking system for the parts is crucial.
I numbered the floors based on the station it is from and the sides of the floor A and B. Then the frames are labeled by station and letter side. For example: 3A, 3B, 4A, and so on. Keeping everything organized will reduce confusion during assembly and avoid simple errors that are easily avoided.
