
On our little dinghy, we are tying the frames together with stringers. The sheer and shelf clamp are being riveted to the frames. Copper rivets offer a lot of resistance to corrosion, offer the same benefits of through bolting, and are less bulky.
The head of the nail lays flush with the planking on the outside while the head of the rivet is pounded smooth with the inside of the hull. There are no hex heads or nuts to get hooked up on, instead only smooth rivet ends.

A pilot hole is drilled through the sheer, frame head, and shelf clamp. The strakes need to be in their perfect final location as there will be no moving once the hole is drilled.

The copper nail is tapped through the wood members until it projects out the other side. This nail will be used to create the final rivet that will connect these stringers.

The rove was driven over the copper nail using a modified clamp. As pressure is applied to the clamp, the rove is driven all the way down until the strakes compress over the frame head.

The copper nail is then cut short and the end of the nail is mushroomed.
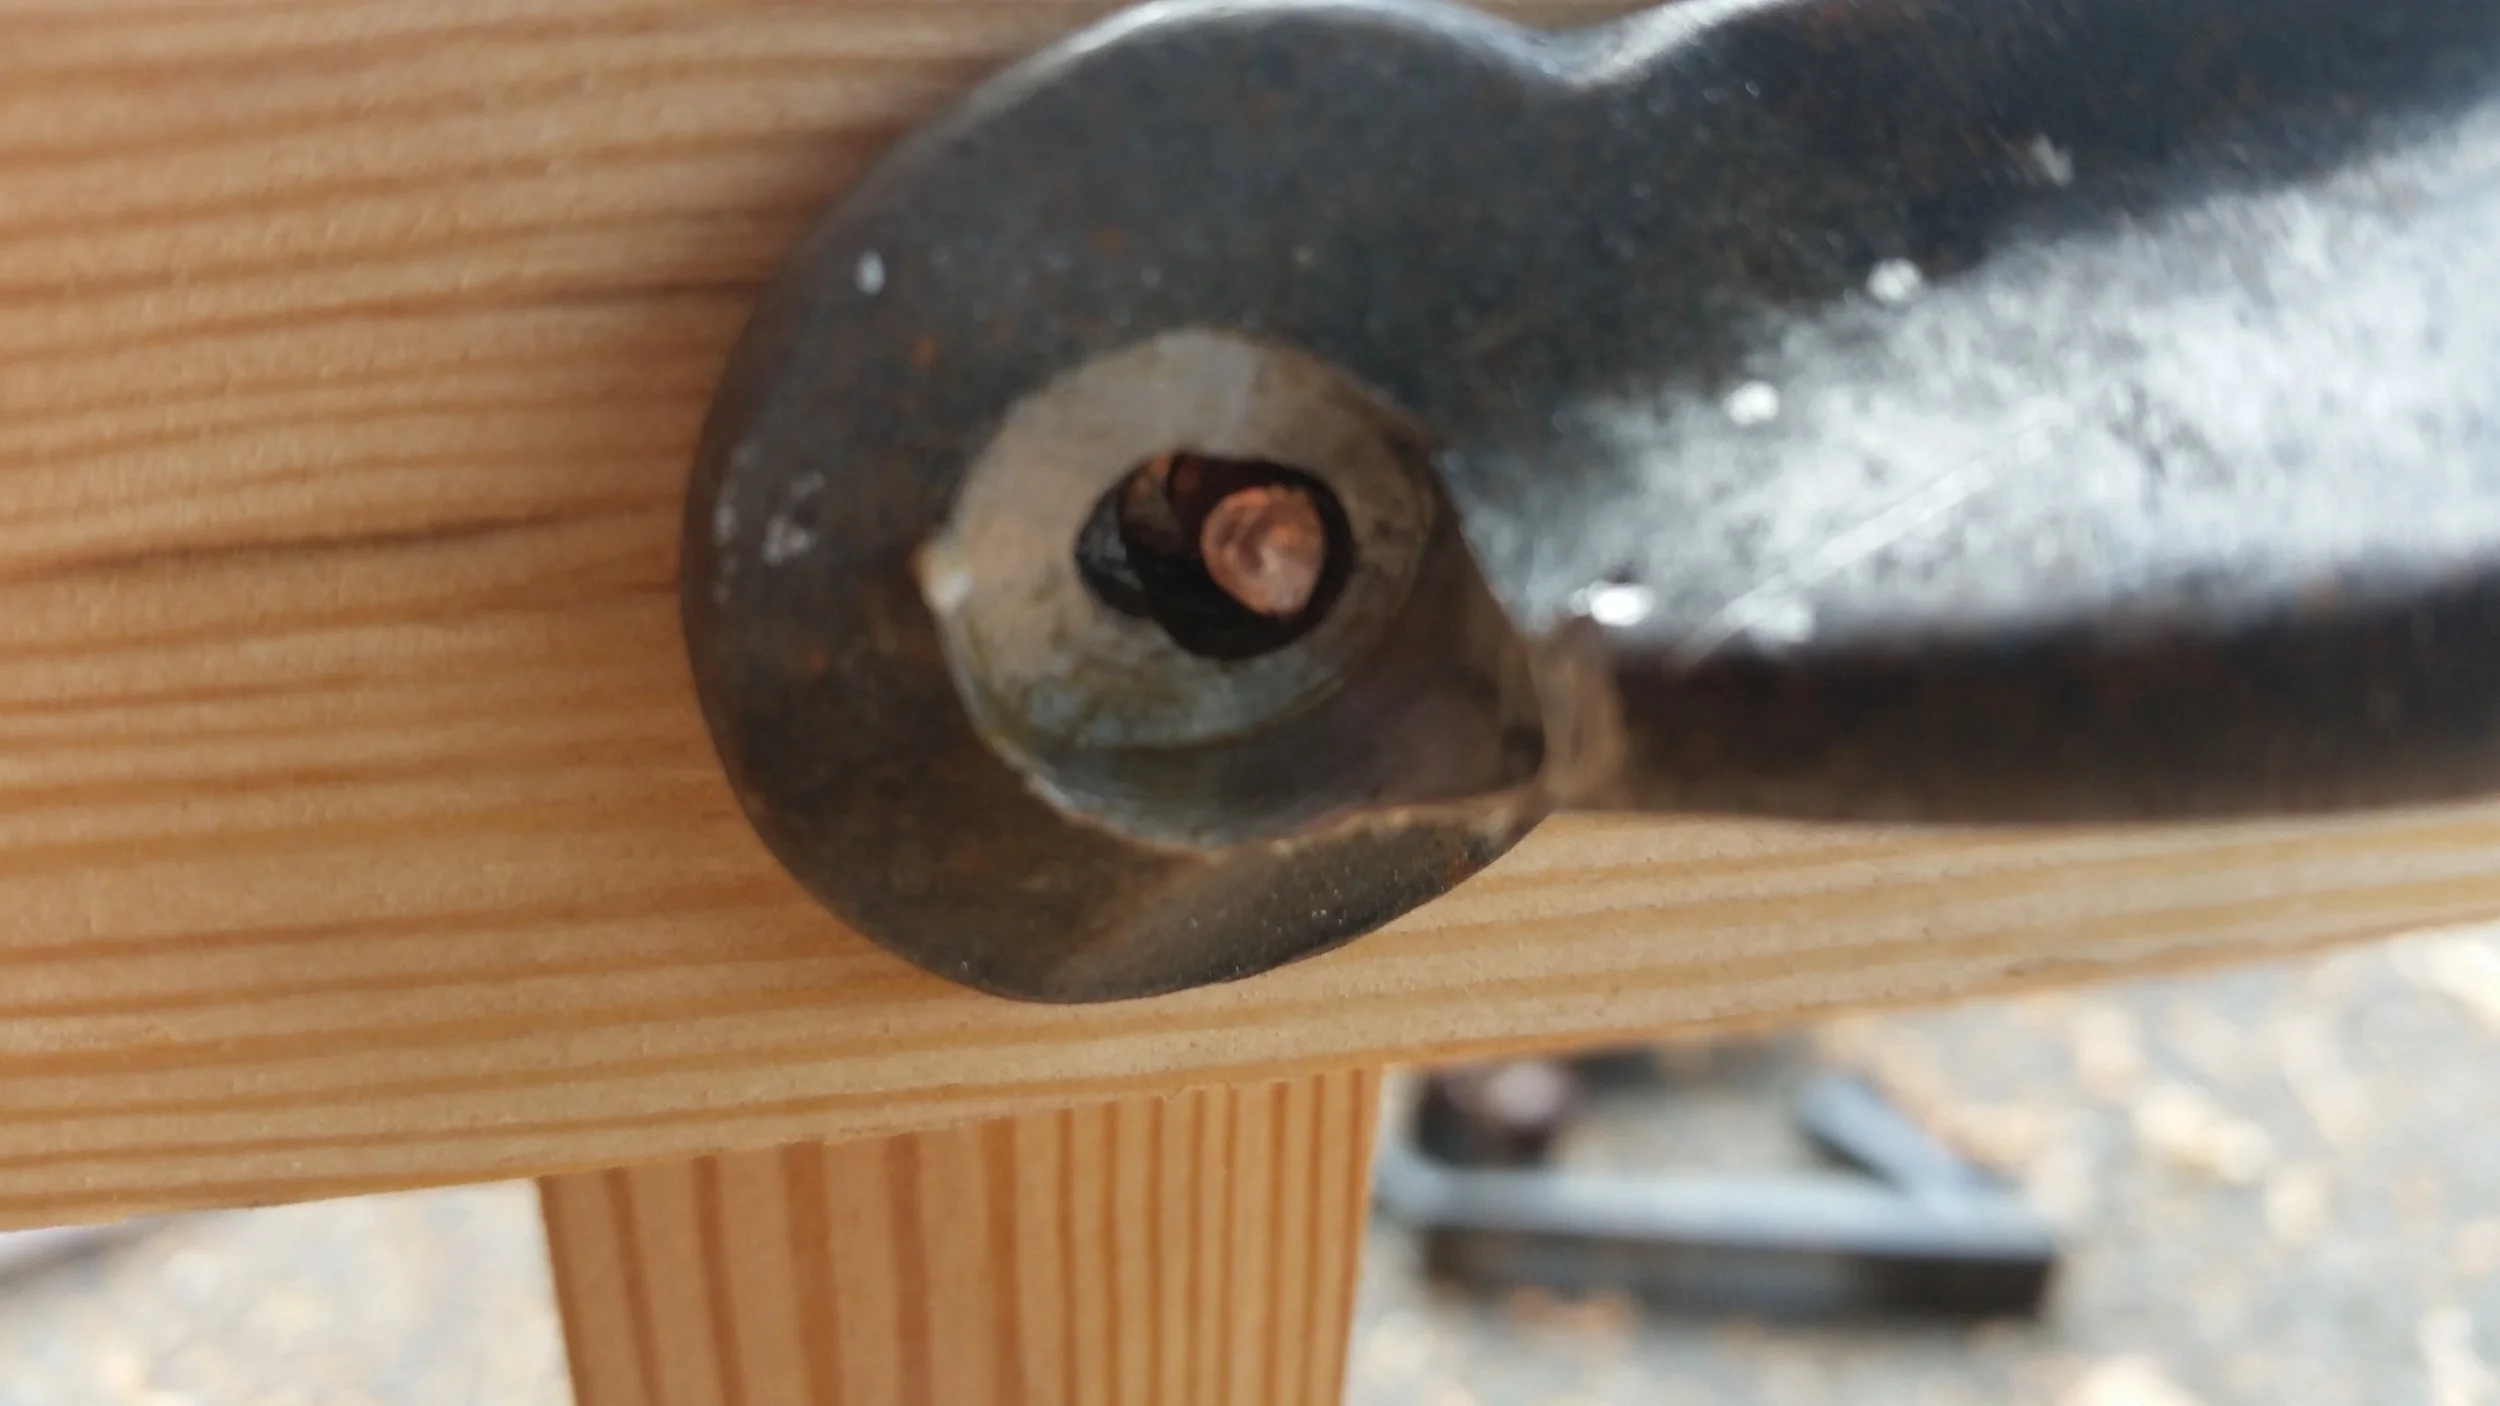
At this point, the clamp can be removed as there is no risk that the rove will slide off the nail. With the clamp off and out of the way, the end of the head can be mushroomed to tighten up and finish off the rivet. I like to secure another regular C-Clamp next to the rove and over the head of the nail. This will keep the nail from backing out while I shape the head and will tighten the boards together and produce a very strong connection between the frames and the stringers.
