
Whenever you make a hole in your deck, you need to seal it to avoid water intrusion. This is easy enough when you are repairing a hole in the deck with wood or fiberglass, but what about when you install hardware through the deck?
This is where bedding compound comes into play! Bedding compound will seal up any voids that may exist between the item and the deck. This seals out water and moisture, while adhering the item to the deck. Bedding compound also needs to be forgiving, allowing it to stretch and wiggle as the boat twists through the waves and expands during the heat of the day.
My preferred bedding compound for marine hardware is 4200, manufactured by 3M. While not as popular as 5200, 4200 does an excellent job and is much more forgiving. 5200 is considered a "permanent" adhesive. When 3M (a company famous for making things that stick) says its product is permanent, they mean it! I have seem the top layer of a deck be ripped up with deck hardware that was bedded with 5200.
4200, on the other hand is just a hare's breath less "permanent" than 5200. This means that it will still seal out all traces of water and firmly adhere the fitting to the deck, but it can be removed with enough persuasion in the future.
I like retrieve-ability in everything I do. The thought that something is now permanently installed and can never be removed irks me! Whether it be an implant crown that I place in my dental office or a chainplate, I want to have a method to remove it should the situation arise.
When you use bedding compound, the concept is simple: You want to fill all the voids so that it occupies all the space between the fitting and the deck. To ensure that you have enough compound in there, you need it to squeeze out. Bedding compound is very gooey and is rather hard to clean up; but if you follow a few easy steps, cleanup could be much easier.
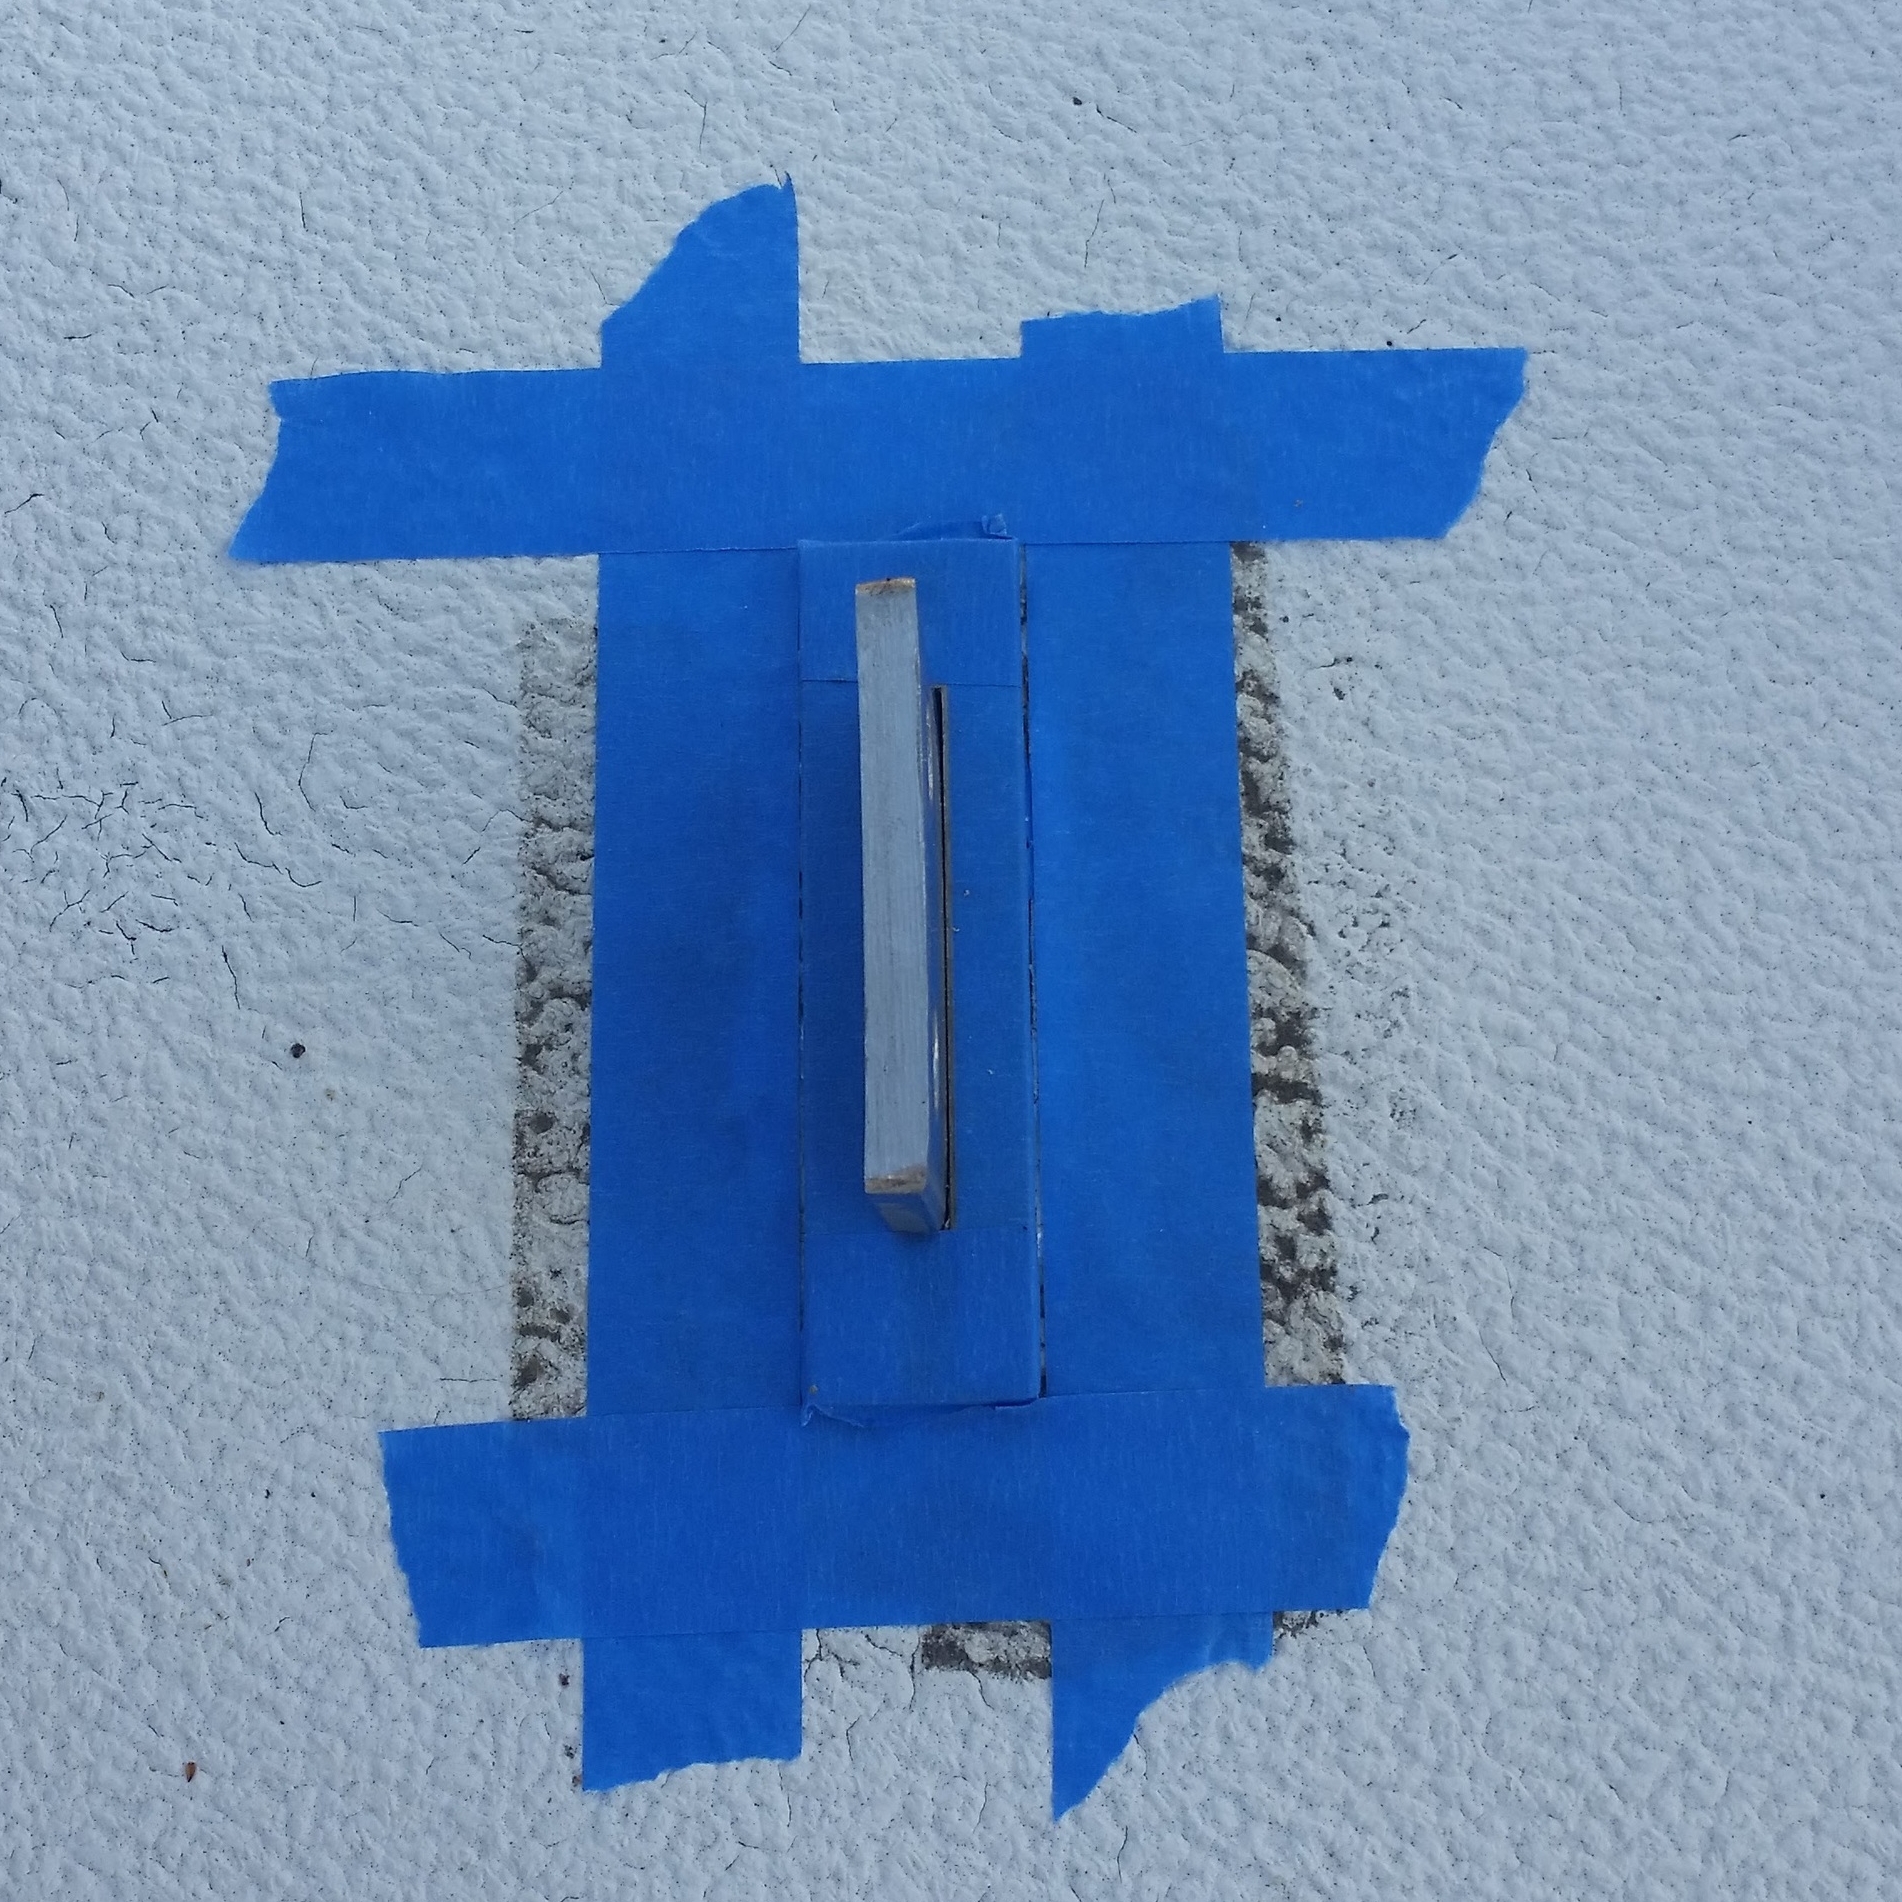
In this example, we will be bedding chainplates. The first step is to cover everything you don't want bedding on with tape. Then trim off all the excess tape with a sharp knife.


Next set the plate over the chainplate on the hull and outline it with tape as well.
When you load up the space around the chainplate with 4200, be sure to get some into the screw holes as well.
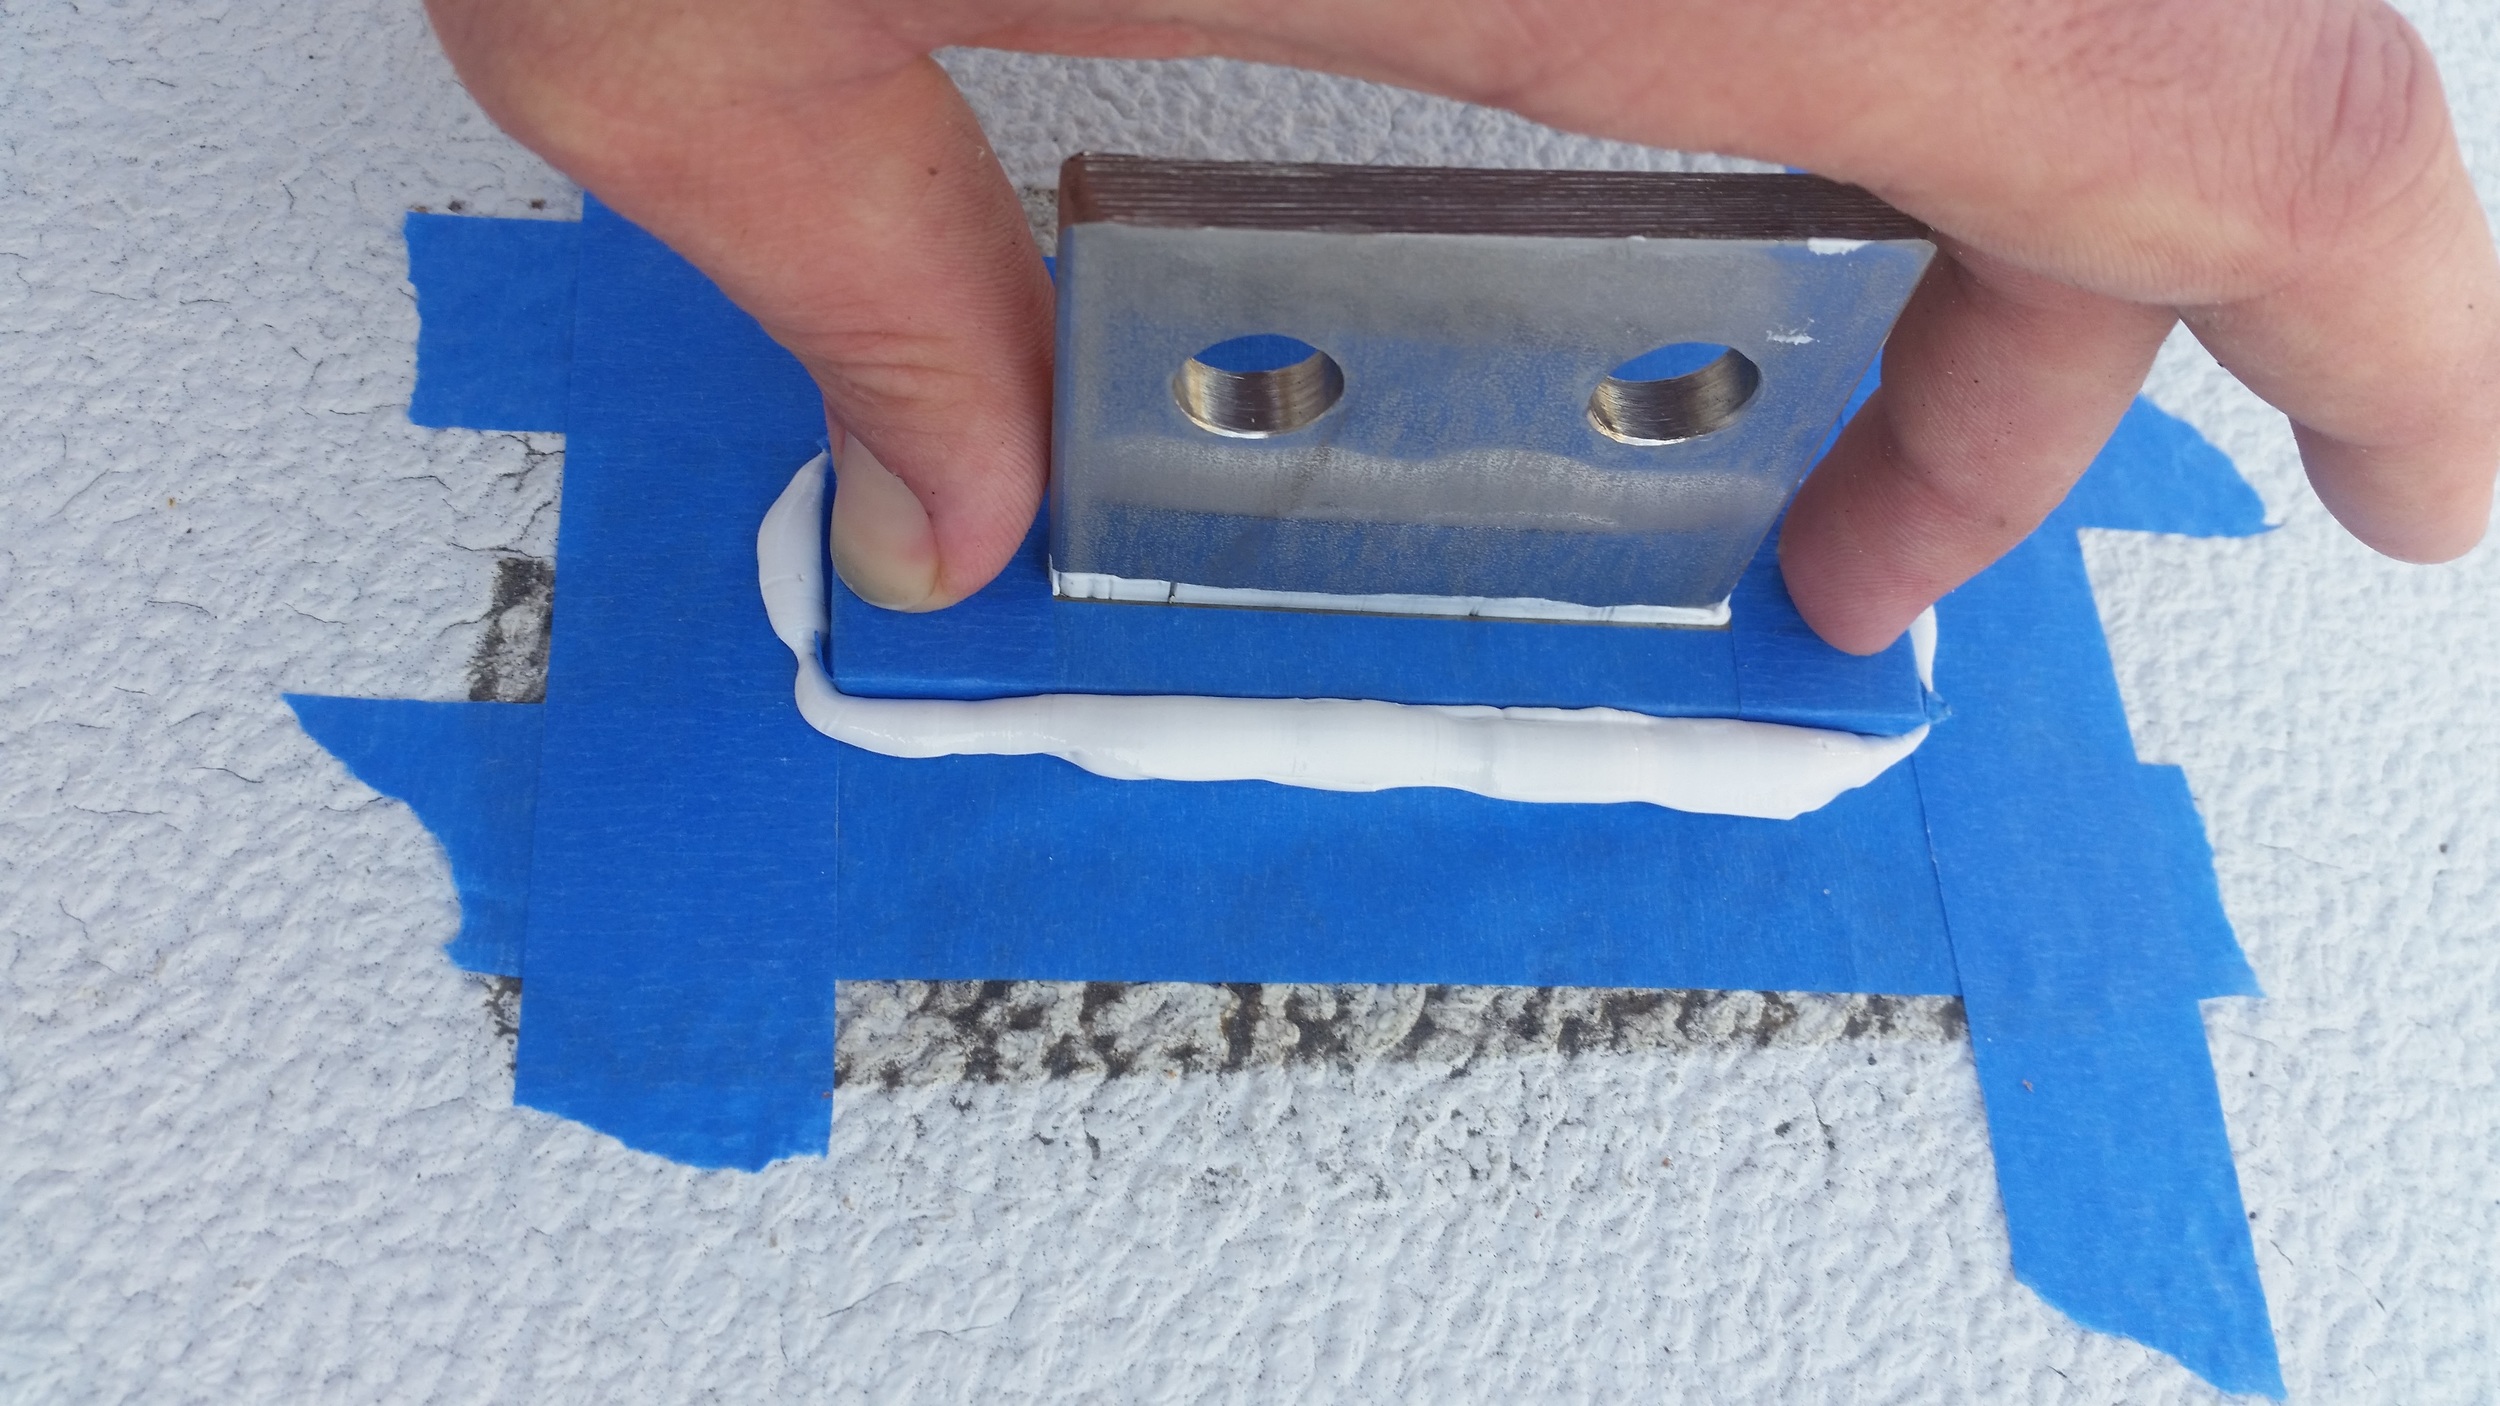
As you push down on the cover plate, you will see the excess ooze out of the space and onto the tape. You want to see excess ooze out of all the sides. If one area didn't ooze any, it means that there wasn't enough bedding compound in that area and it might be dry. It is strongly recommended to pull the fitting off and add extra compound to the lacking areas, although this will be very messy! This is why it is best to load it up with way more than you think it will need that way you only have to do this step once.

Once the excess has oozed out, simply peel the tape up and the majority of the excess will come off with it. Any extra squeeze out can be wiped off with a paper towel.
Be sure you see some squeezing out between the cover plate and the chainplate. Many people will focus on sealing the edges of the cover plate but forget to seal along the chainplate, resulting in a leaky deck that will rot out the deck core!
This is an easy process to do, it just takes some time and patience to get it done right.
