
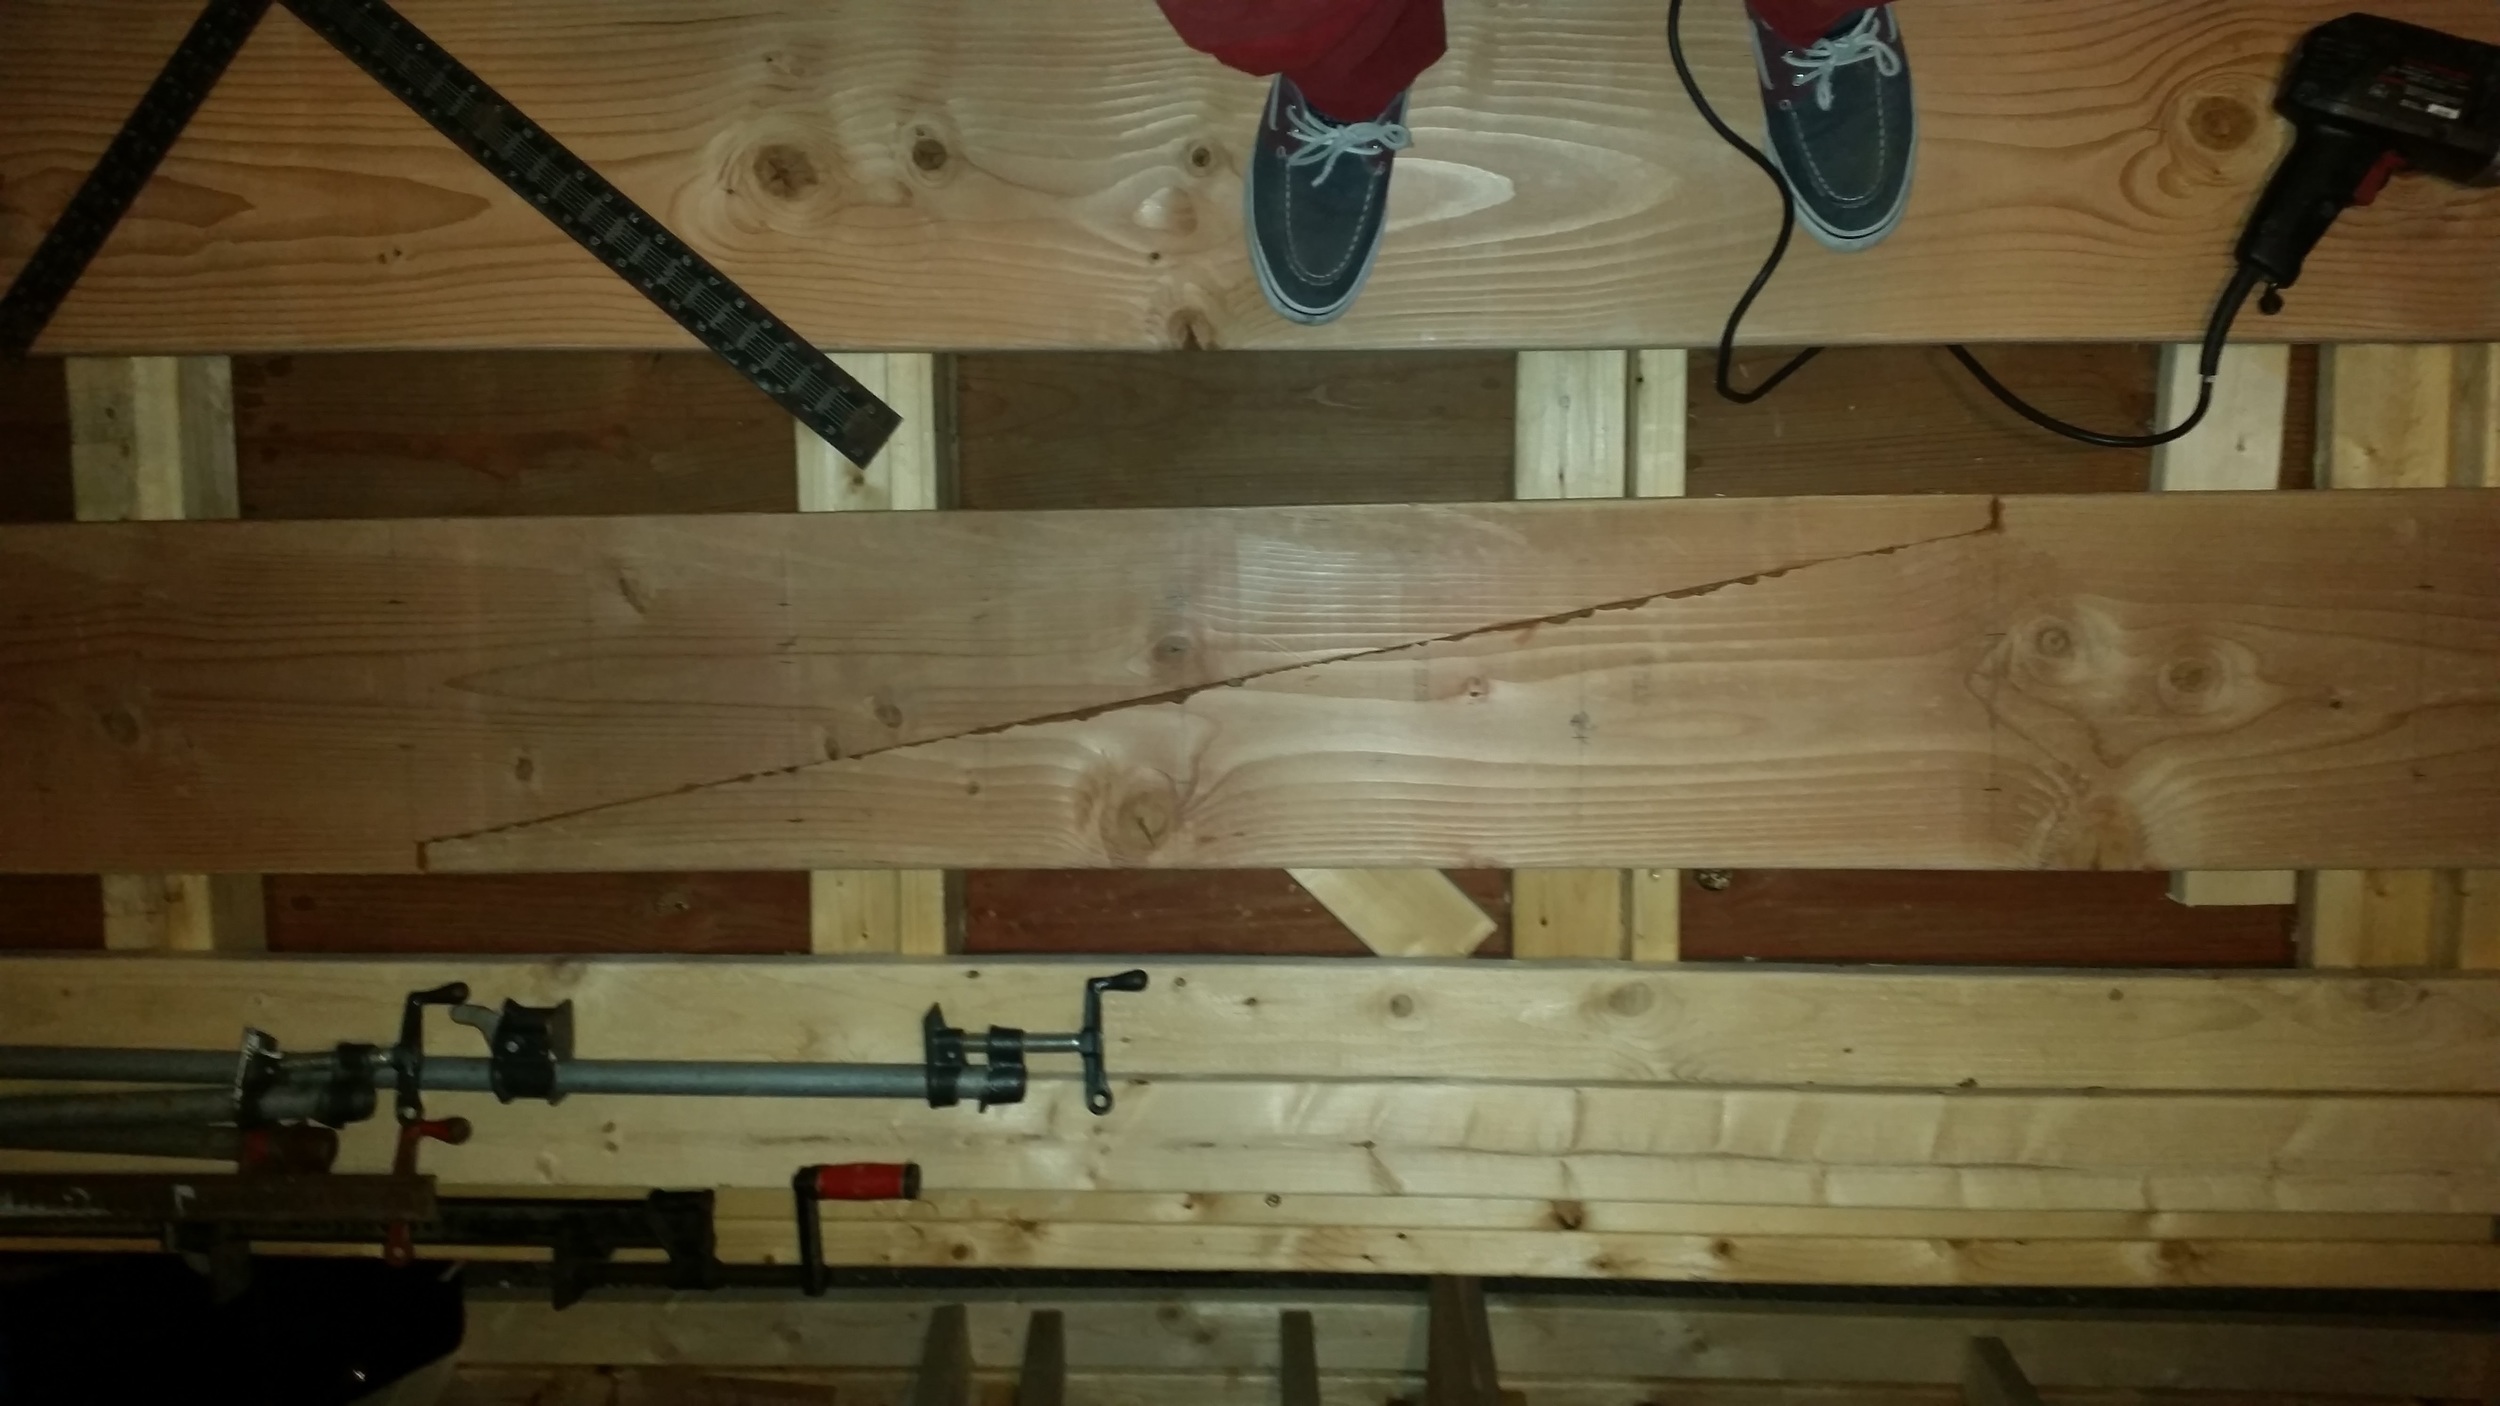
The scarf joint for the ridge beam has dried in the clamps for a full week, now it is time to prepare the butt blocks.
The butt blocks flank the sides of the joint and can hold both beams together without the scarf. Having the scarf and butt blocks is overkill and mental insurance for my peace of mind. If I overbuild that important structural member, I won't have to worry about it being strong enough for the task!
The butt blocks extend 2 feet past the scarf on each side of the joint to further support the whole structure. The boards are through bolted to apply pressure and keep everything close and tight.
The problem with the assembly is I am working alone and these boards are very heavy.
I decided to do each board individually and then assemble everything once. I started by measuring and drilling the holes on the scarfed board.
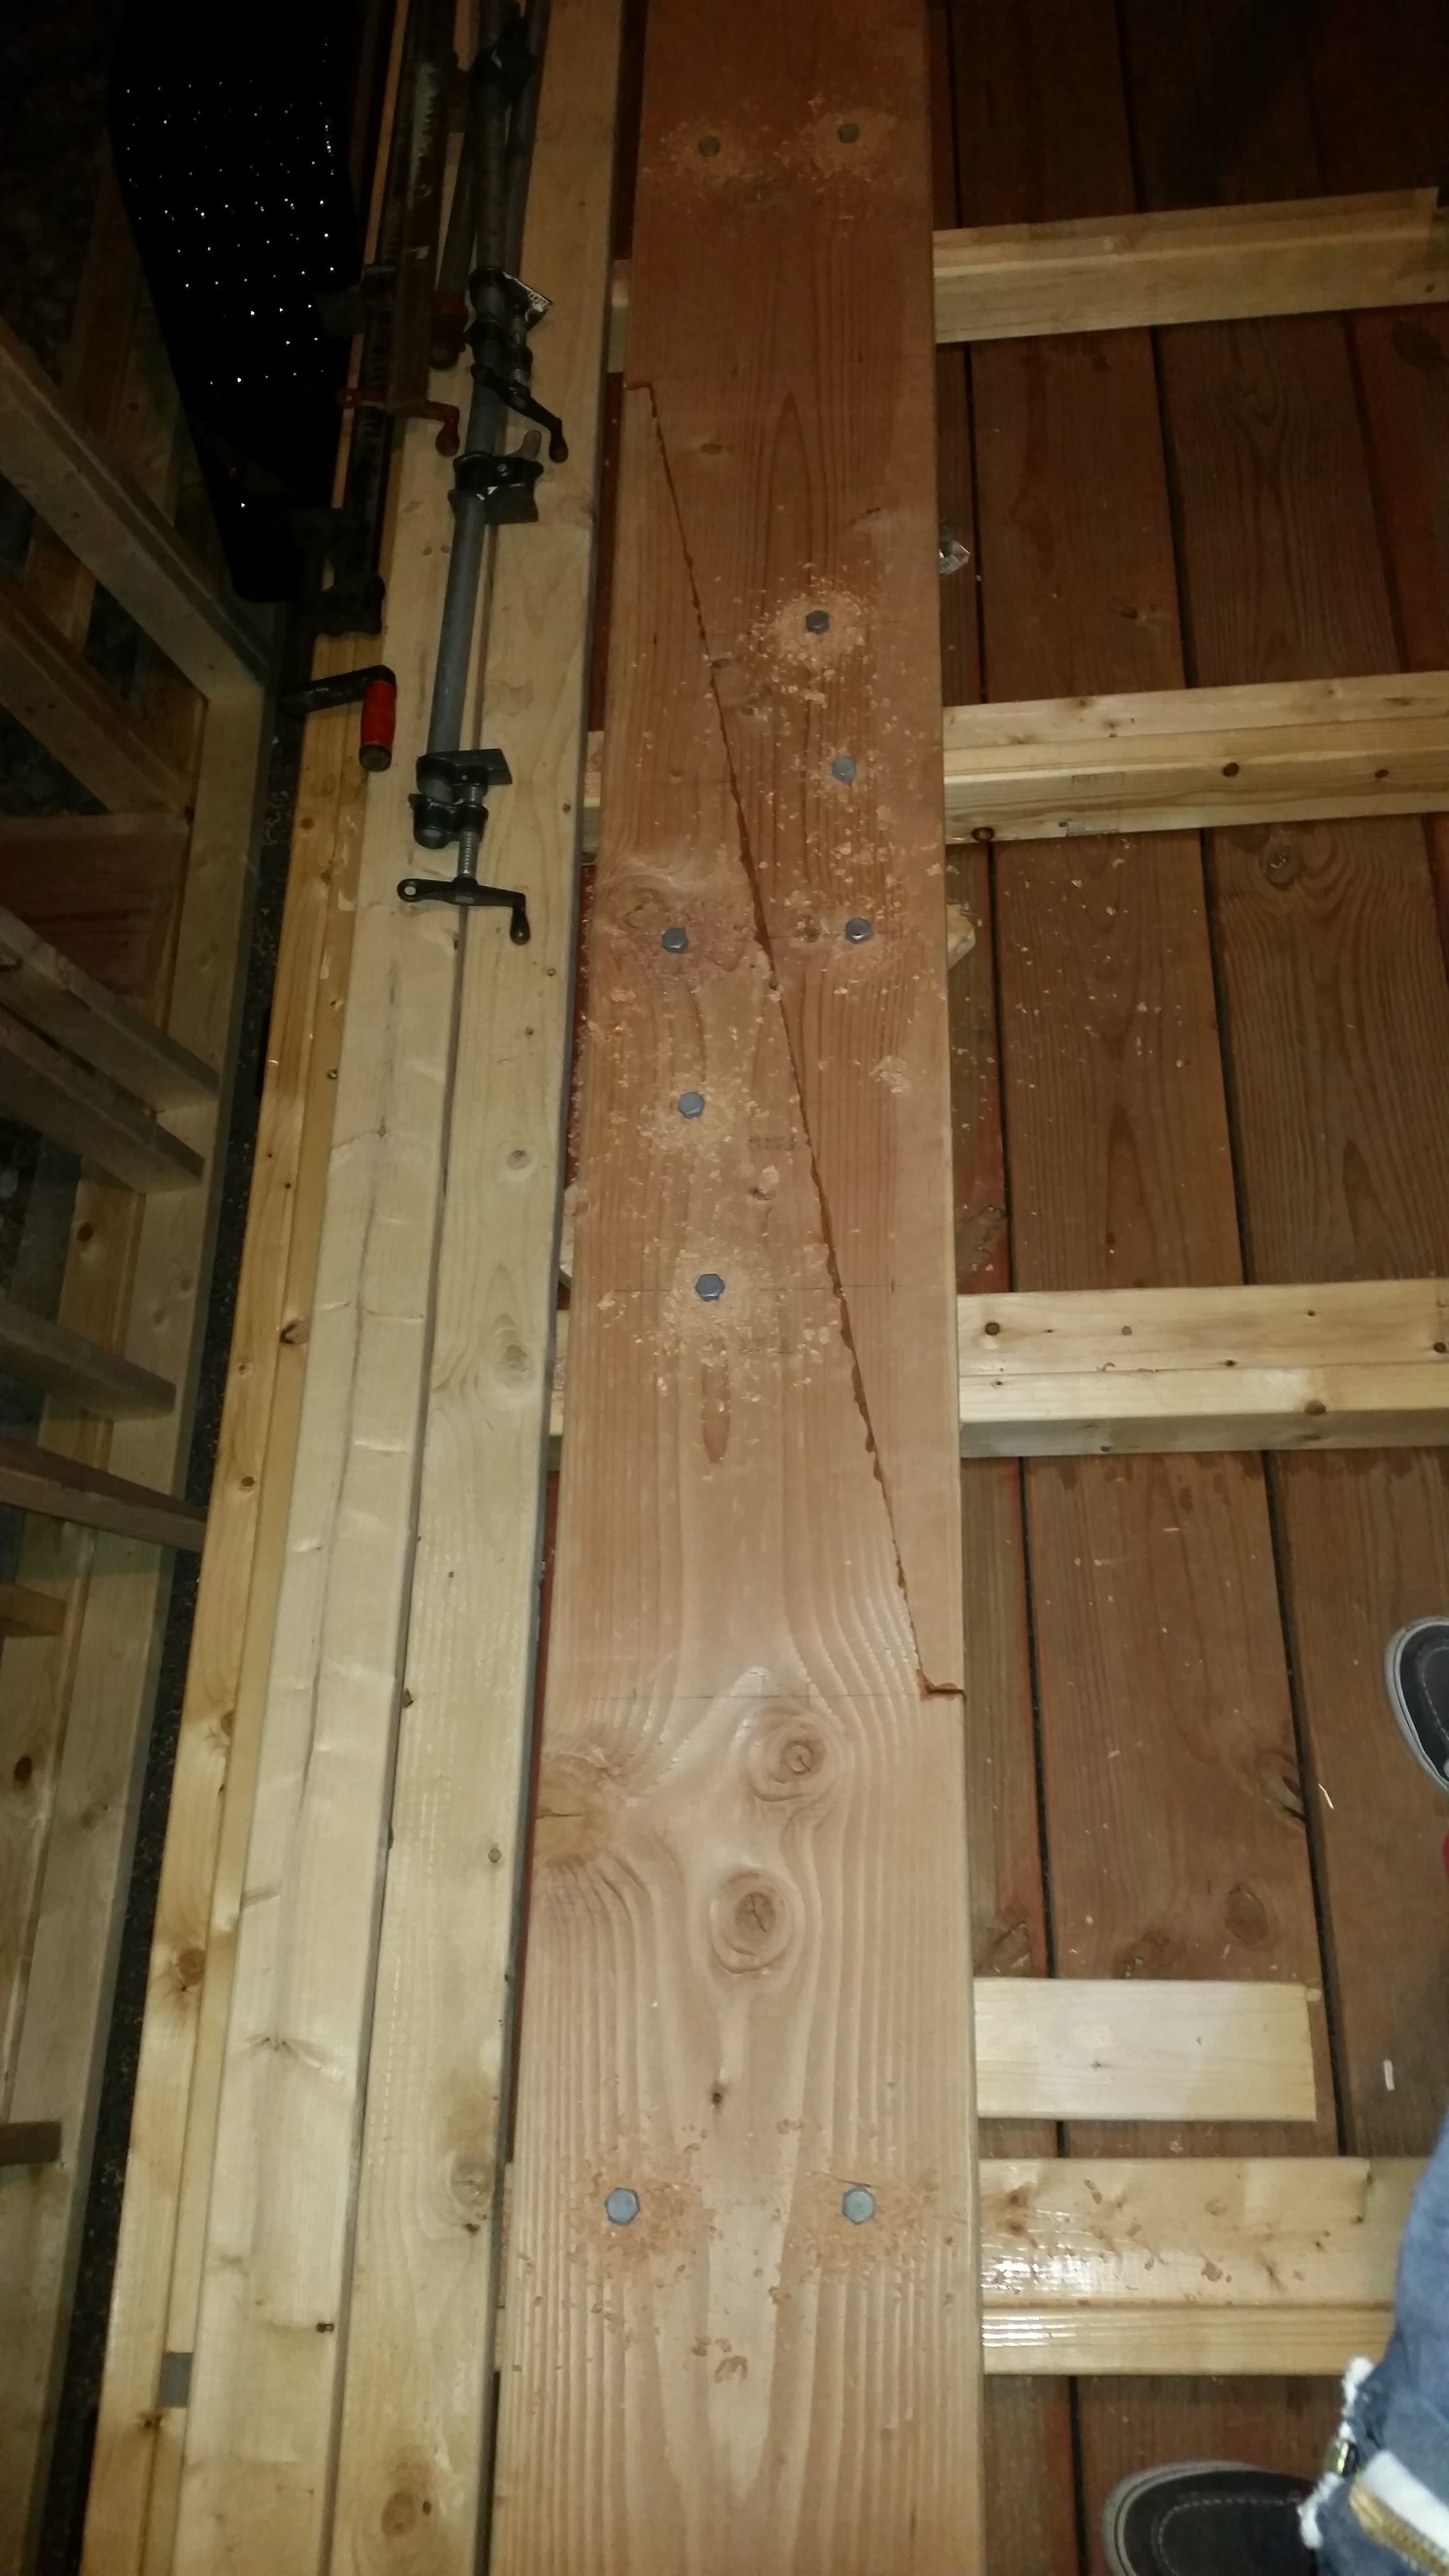
Then I set the first butt block under the scarfed board and drilled again. After each hole, I would put a bolt through it to hold it all in place and avoid the boards from squirming around. The bolts helped keep all the holes aligned for the further steps.

After this, I flipped the boards over onto the other butt block and drilled down through the bolt holes. I would pull the bolt, drill the hole all the way through, and then re-seat the bolt. This was a very slow and tedious process, but it resulted in a perfect fit where all the bolts lined up.

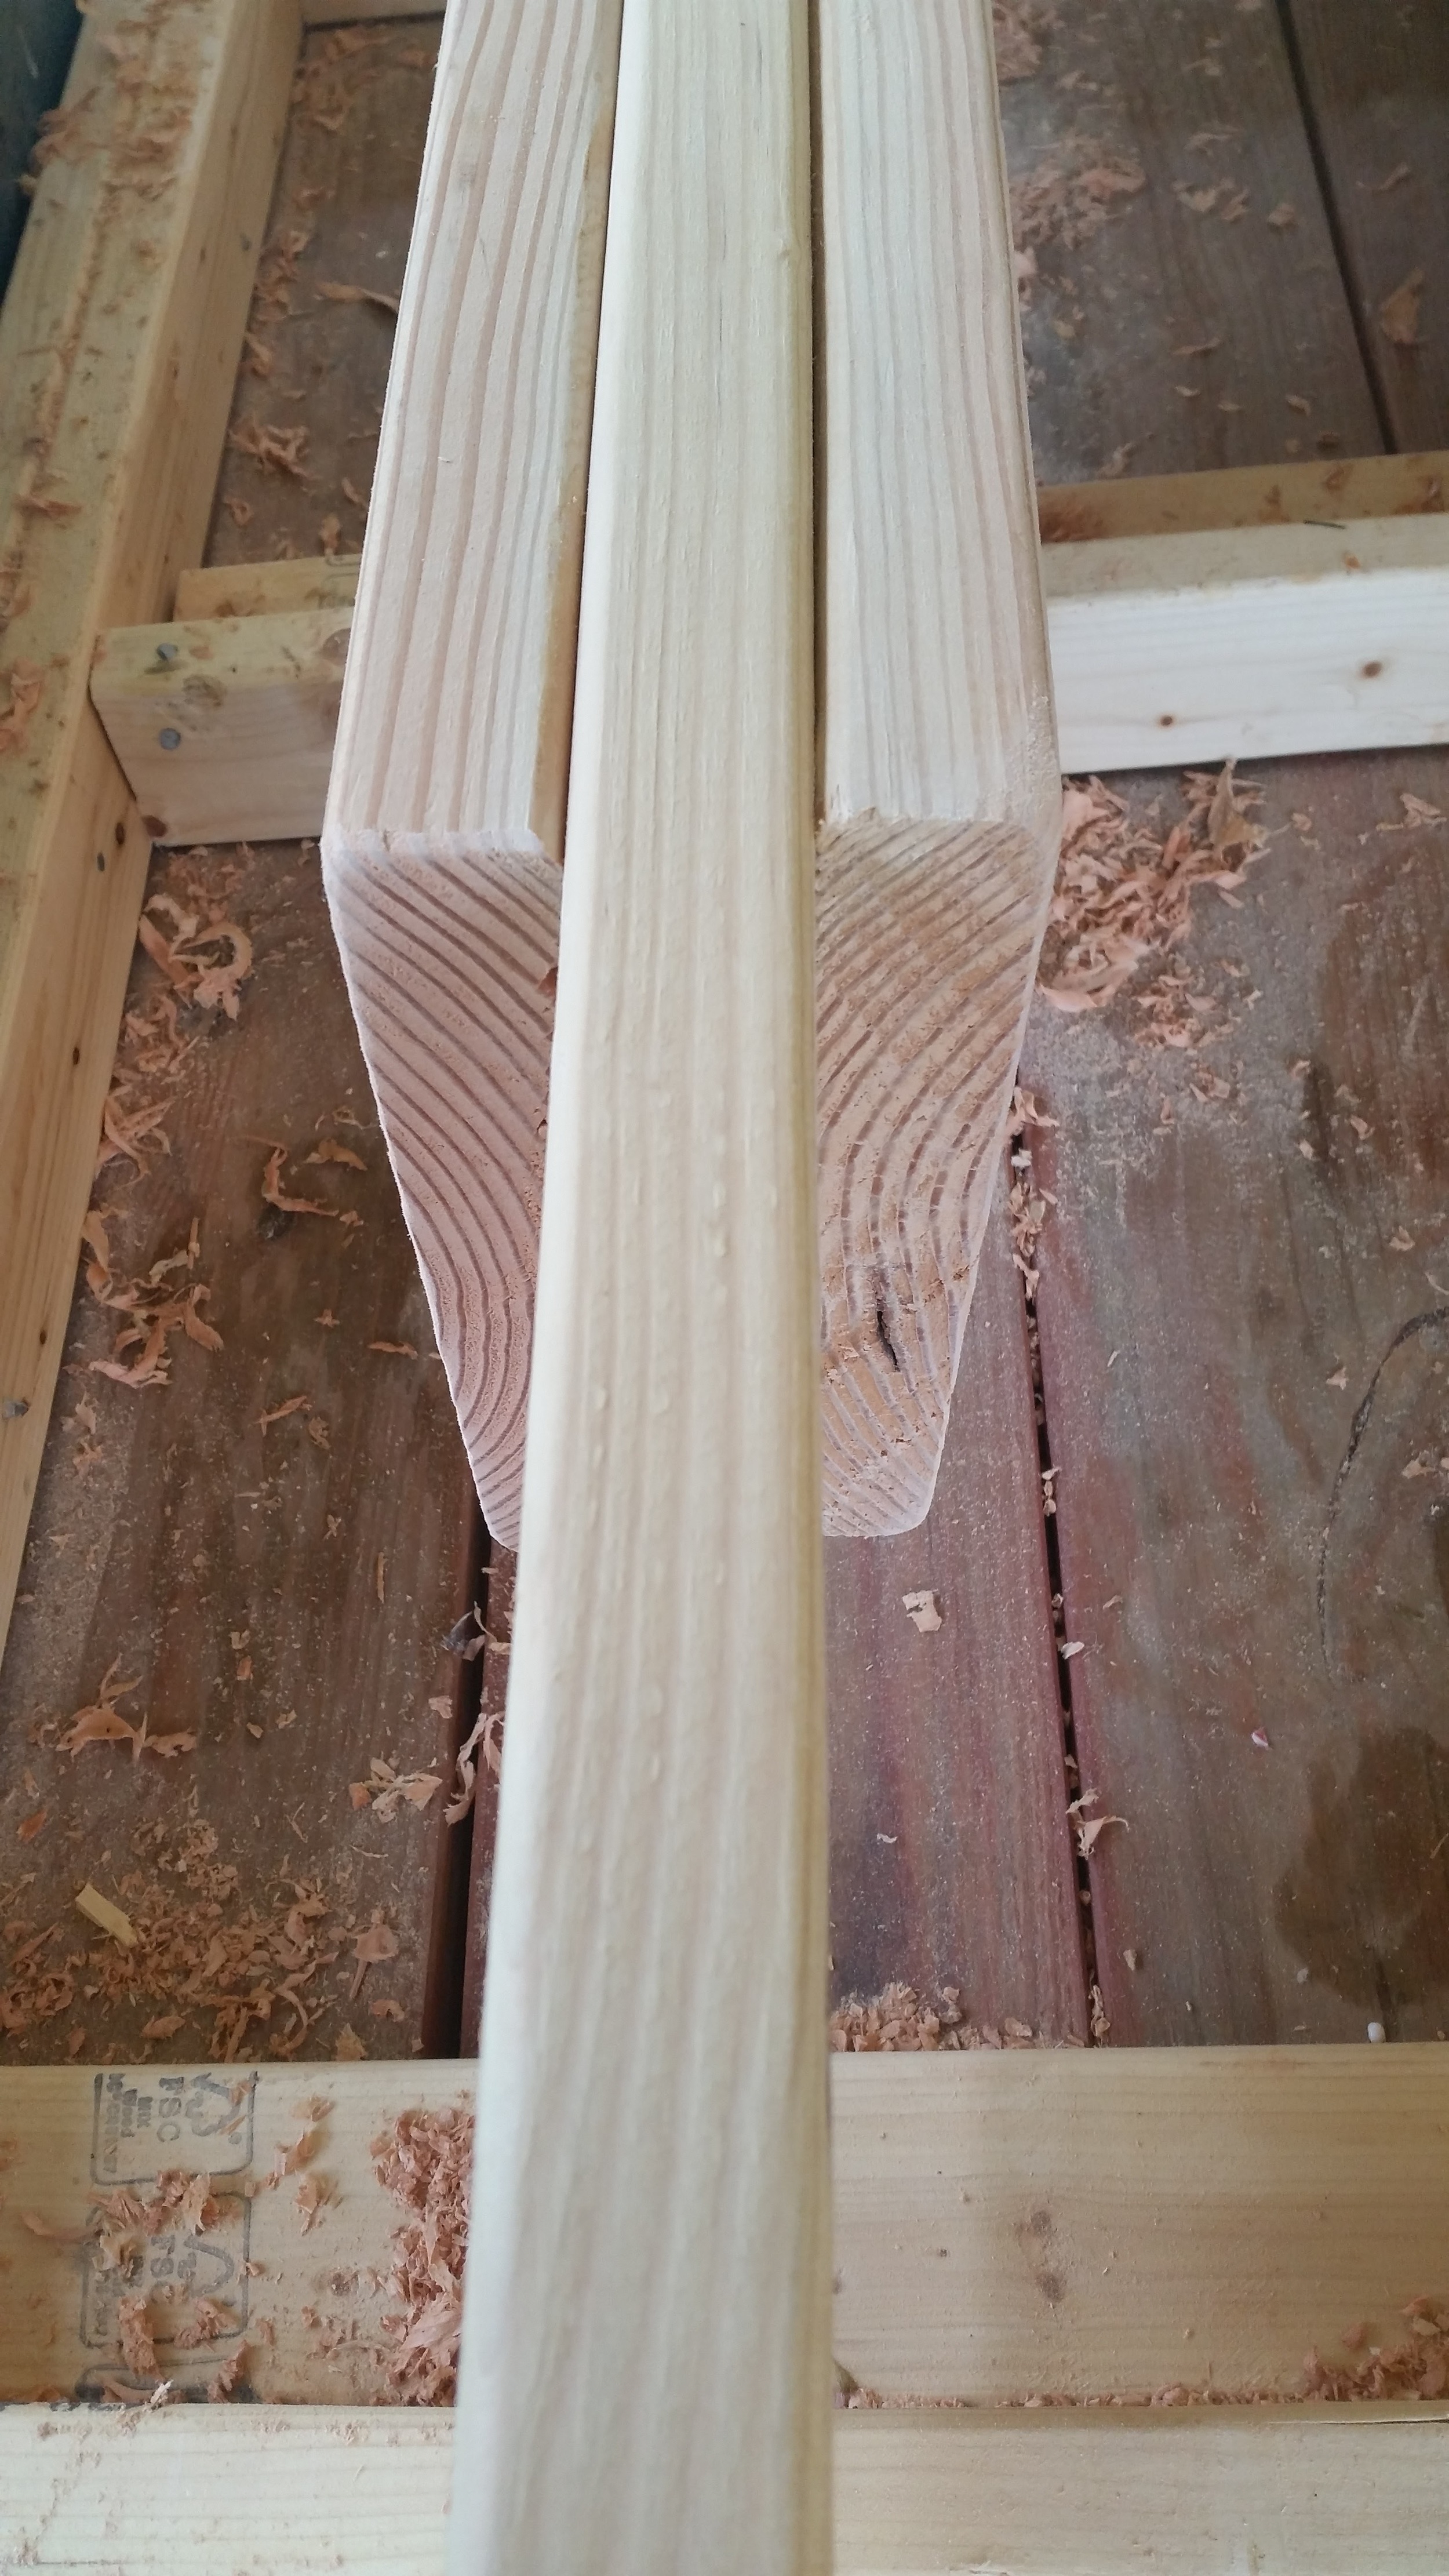
After all the holes were all drilled, I planed and sanded the faying surfaces of the boards and prepared them for the final glue-up.

I took this moment to sand all the other surfaces as well and to radius the corners of the butt blocks.

I then positioned the king beam in a vertical position and set the butt blocks next to it with the faying surfaces properly oriented. This was my last time to check that everything was in order, as the next step involved permanent glue!

I painted Titebond III wood glue onto the faying surfaces of the butt block and king beam with a paint brush. I set the glue-up upside down so that any drips will drip out onto the top of the beam and not be visible from inside the house.
I positioned the first butt block with the through bolts and mated it closely to the king beam. Then I painted glue on the second butt block and set it onto the bolts. With the bolts going all the way through the joint, I began tightening them down. I decided not to use washers since the bolts were not long enough to run all the way through the joint and fit the washers. Without the washers in place, they had just enough thread exposed to engage the nuts.

Tightening the bolts all the way only sank the heads and nuts into the wood a small amount. The glue and scarf joint will be plenty strong without washered bolts in place.
On a final note, the grain orientation is important when setting up a joint like this. The grain orientation in the scarf joint should be identical, that way any warping will not stress the joint.
The ideal grain orientation for any and all of these boards is called "Quarter sawn" where the grain runs diagonally across the end grain. The problem is this kind of wood is exceedingly expensive in these sizes. The next best grain is called flat sawn or rift sawn. These have grain running along the width of the end grain. These boards are easy to spot in a pile because the end grain looks like rainbows. The worst grain to use would be vertical grain because the fasteners would cause the board to split along the grain.
The reason Quarter sawn is ideal is because it will not warp. Vertical grain will warp very minimally, but the tendency to split makes it undesirable for such a beam.
Flat or Rift sawn boards tend to warp in all sorts of directions. They can twist, cup and bow! This may sound like the worst grain pattern to use for such a beam, but understanding what they are going to do helps you eliminate its ability to warp.
When you look at the end grain, keep in mind that the rings want to lay flat. This means that those rainbows will become flat lines and the board will cup on the side that the rainbow apexes. When you set your butt blocks on the beam, if you set them so that they arc in a ring around the beam, they will end up pulling off the beam and opening up the seams.
By setting the butt blocks like I have here, the apex of the rainbow faces the beam. As they warp, the edges of the beams will be smashed into the beam which will cause them to further tighten the seam while the middle of the board will pull off of the beam. The through bolts will counteract this action and keep the board smack up against the beam. The warping process will actually make the butt block junction even stronger since both sides are pushing in symmetrically.
As far as twisting goes, care must be taken to keep the beam dry until it can be coated in oil or varnish and be sure to keep it resting on a flat surface at all times. Once in place in the structure, the beam will be fastened to the walls and trusses, unable to twist or cup.
Understanding how the boards will try to warp can actually help you create the structure that you desire. Working with what the wood wants to do can make the whole building process go so much easier.
