
The lower bracket of the monitor is fixed, through bolted, and permanently mounted. Now it is time to establish and secure the top brackets. The midline of the transom was established and then 7.5 inches to each side was denoted. These locations are the ideal placements of the Monitor top bracket arms.
The second factor is the levelness of the unit. I know the unit is level when the height between the deck and the arms is the same.
These known factors are the desired goal while adjusting the unit to perfection. The trouble is achieving perfection in a timely fashion. Thanks to many ropes acting as control lines, this elusive state of perfection was achievable in a reasonable amount of time.
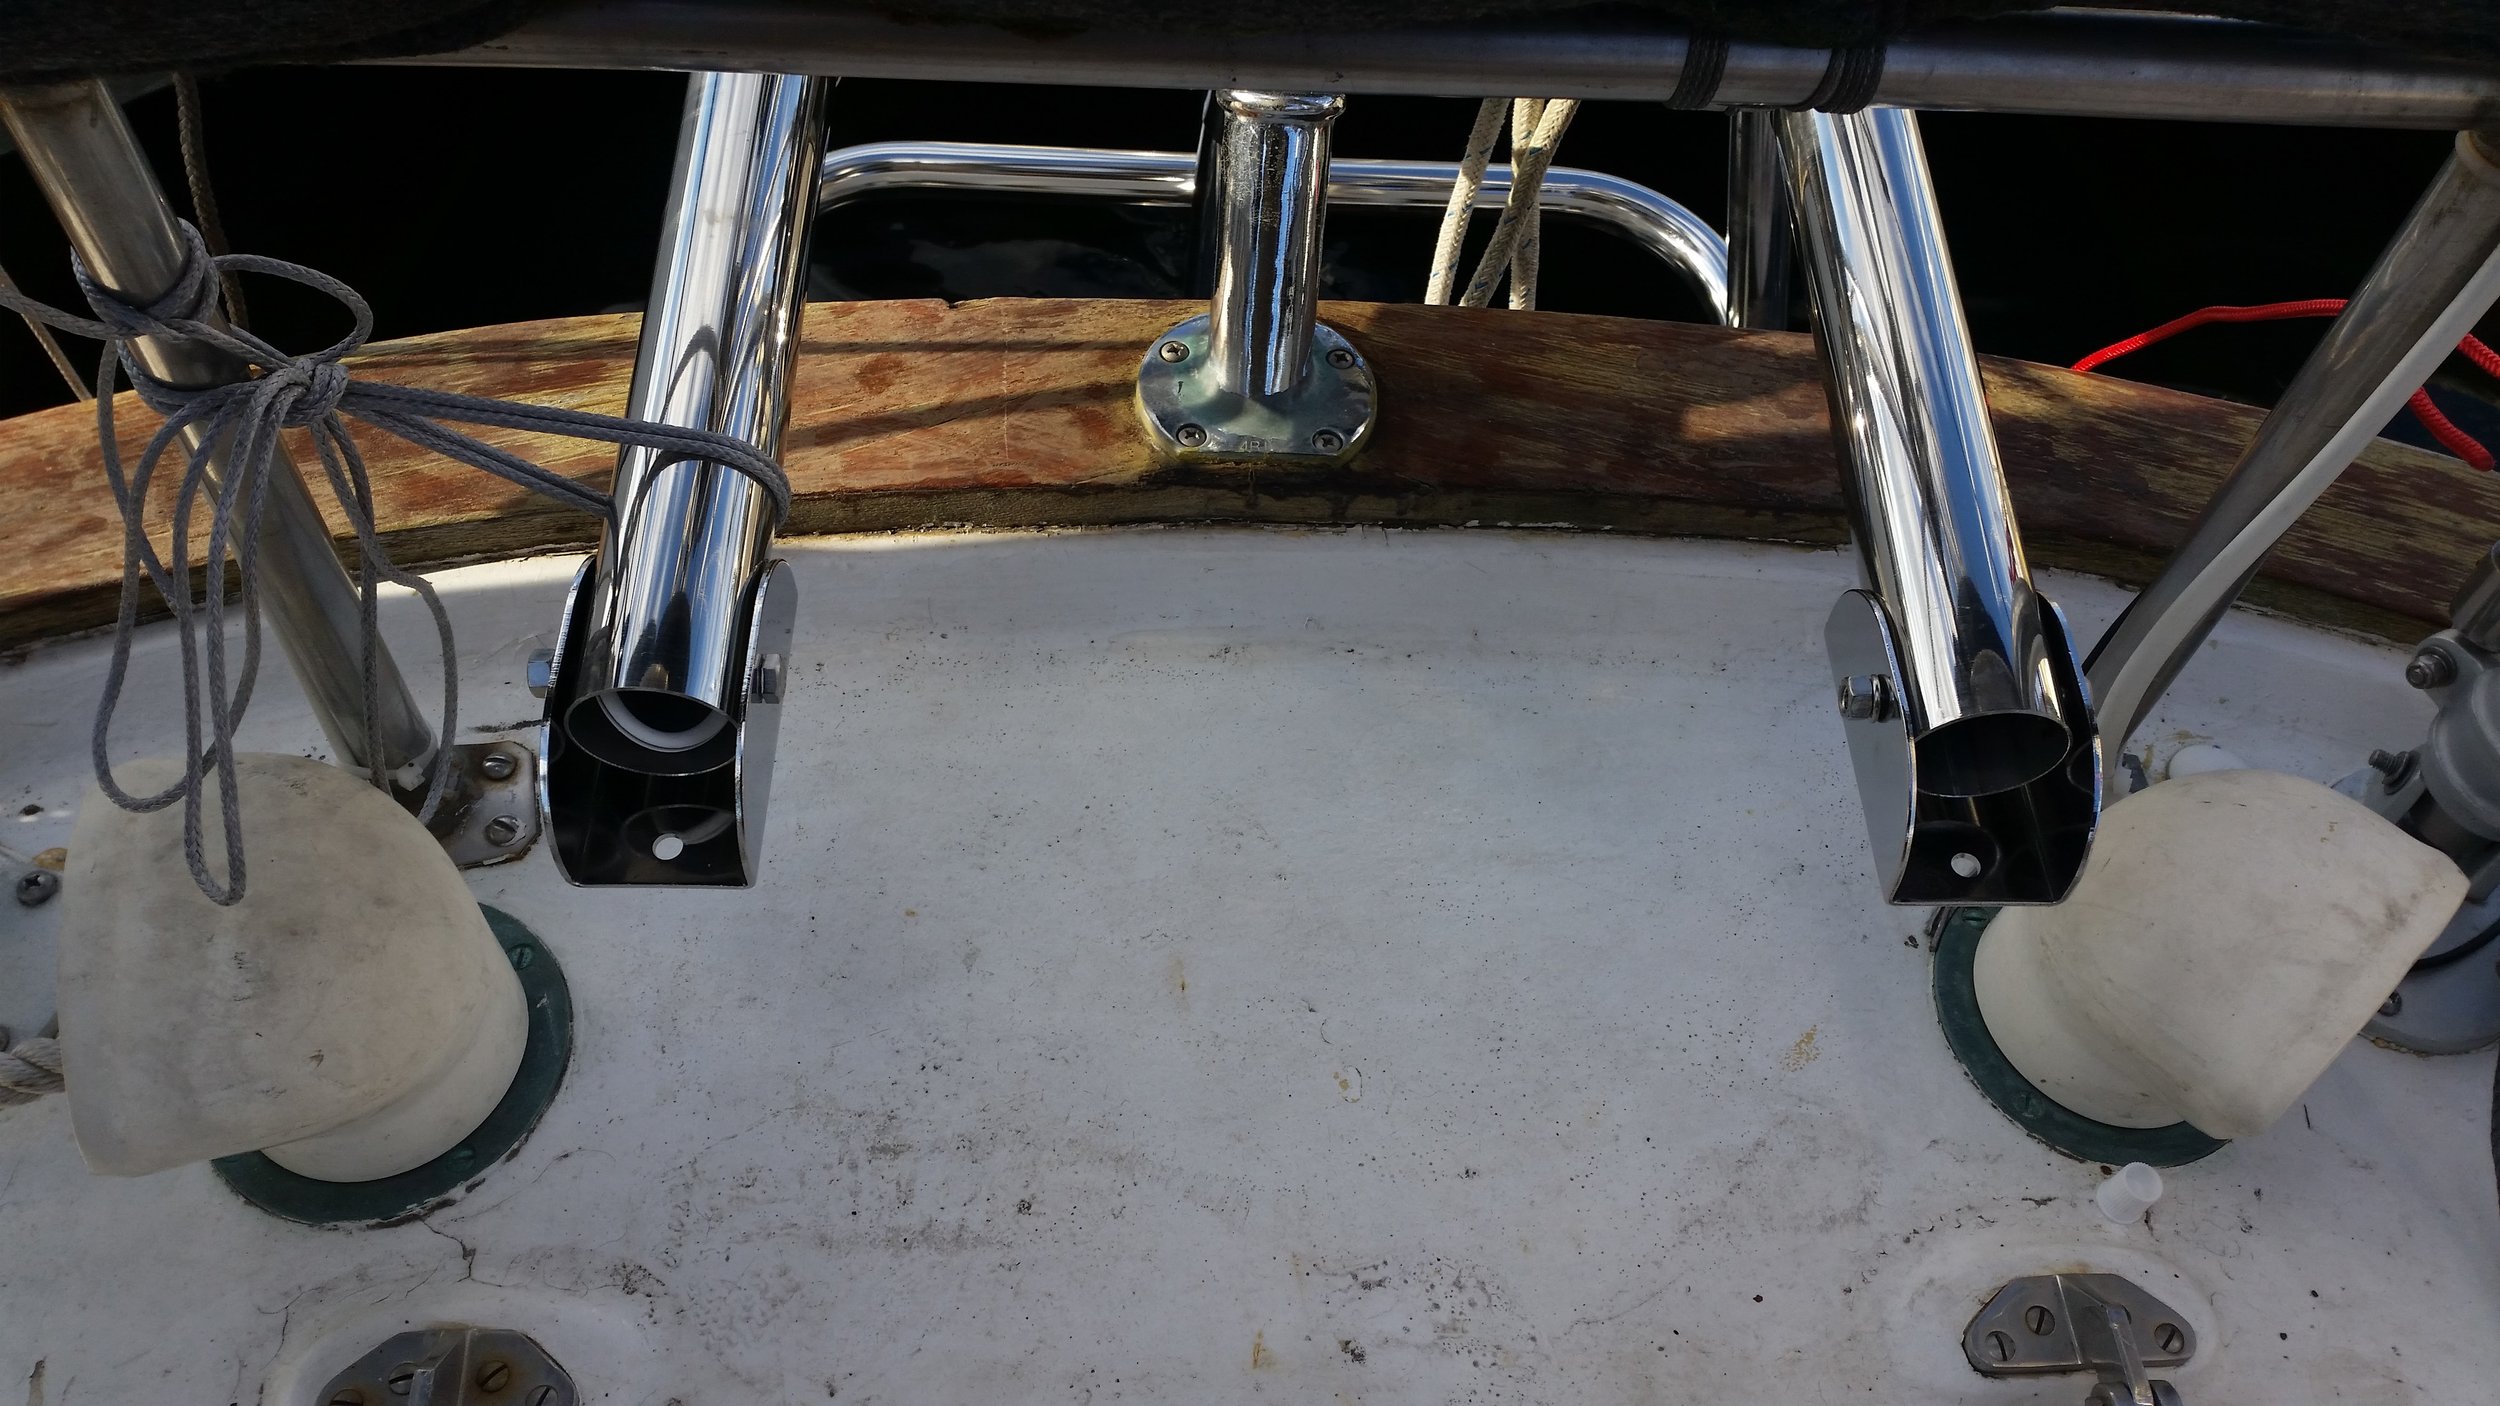
The space between the lower side of the top brackets and the deck was 4 3/4 inches on each side. This mean that "alignment nirvana" had been achieved and I was ready to fabricate the pillow blocks.
Pillow blocks are nothing more than wooden spacers that will act as a intermediary between the deck and the bracket. They will be through bolted, so they don't need to be the strongest of blocks in sheer or in tension. Pillow blocks do need to be strong in compression though, as they will be tightly through bolted.
To make pillow blocks, all you need to do is laminate pieces of wood to form a large enough block. I chose to use quarter sawn Douglas Fir as it is strong and easily attainable.
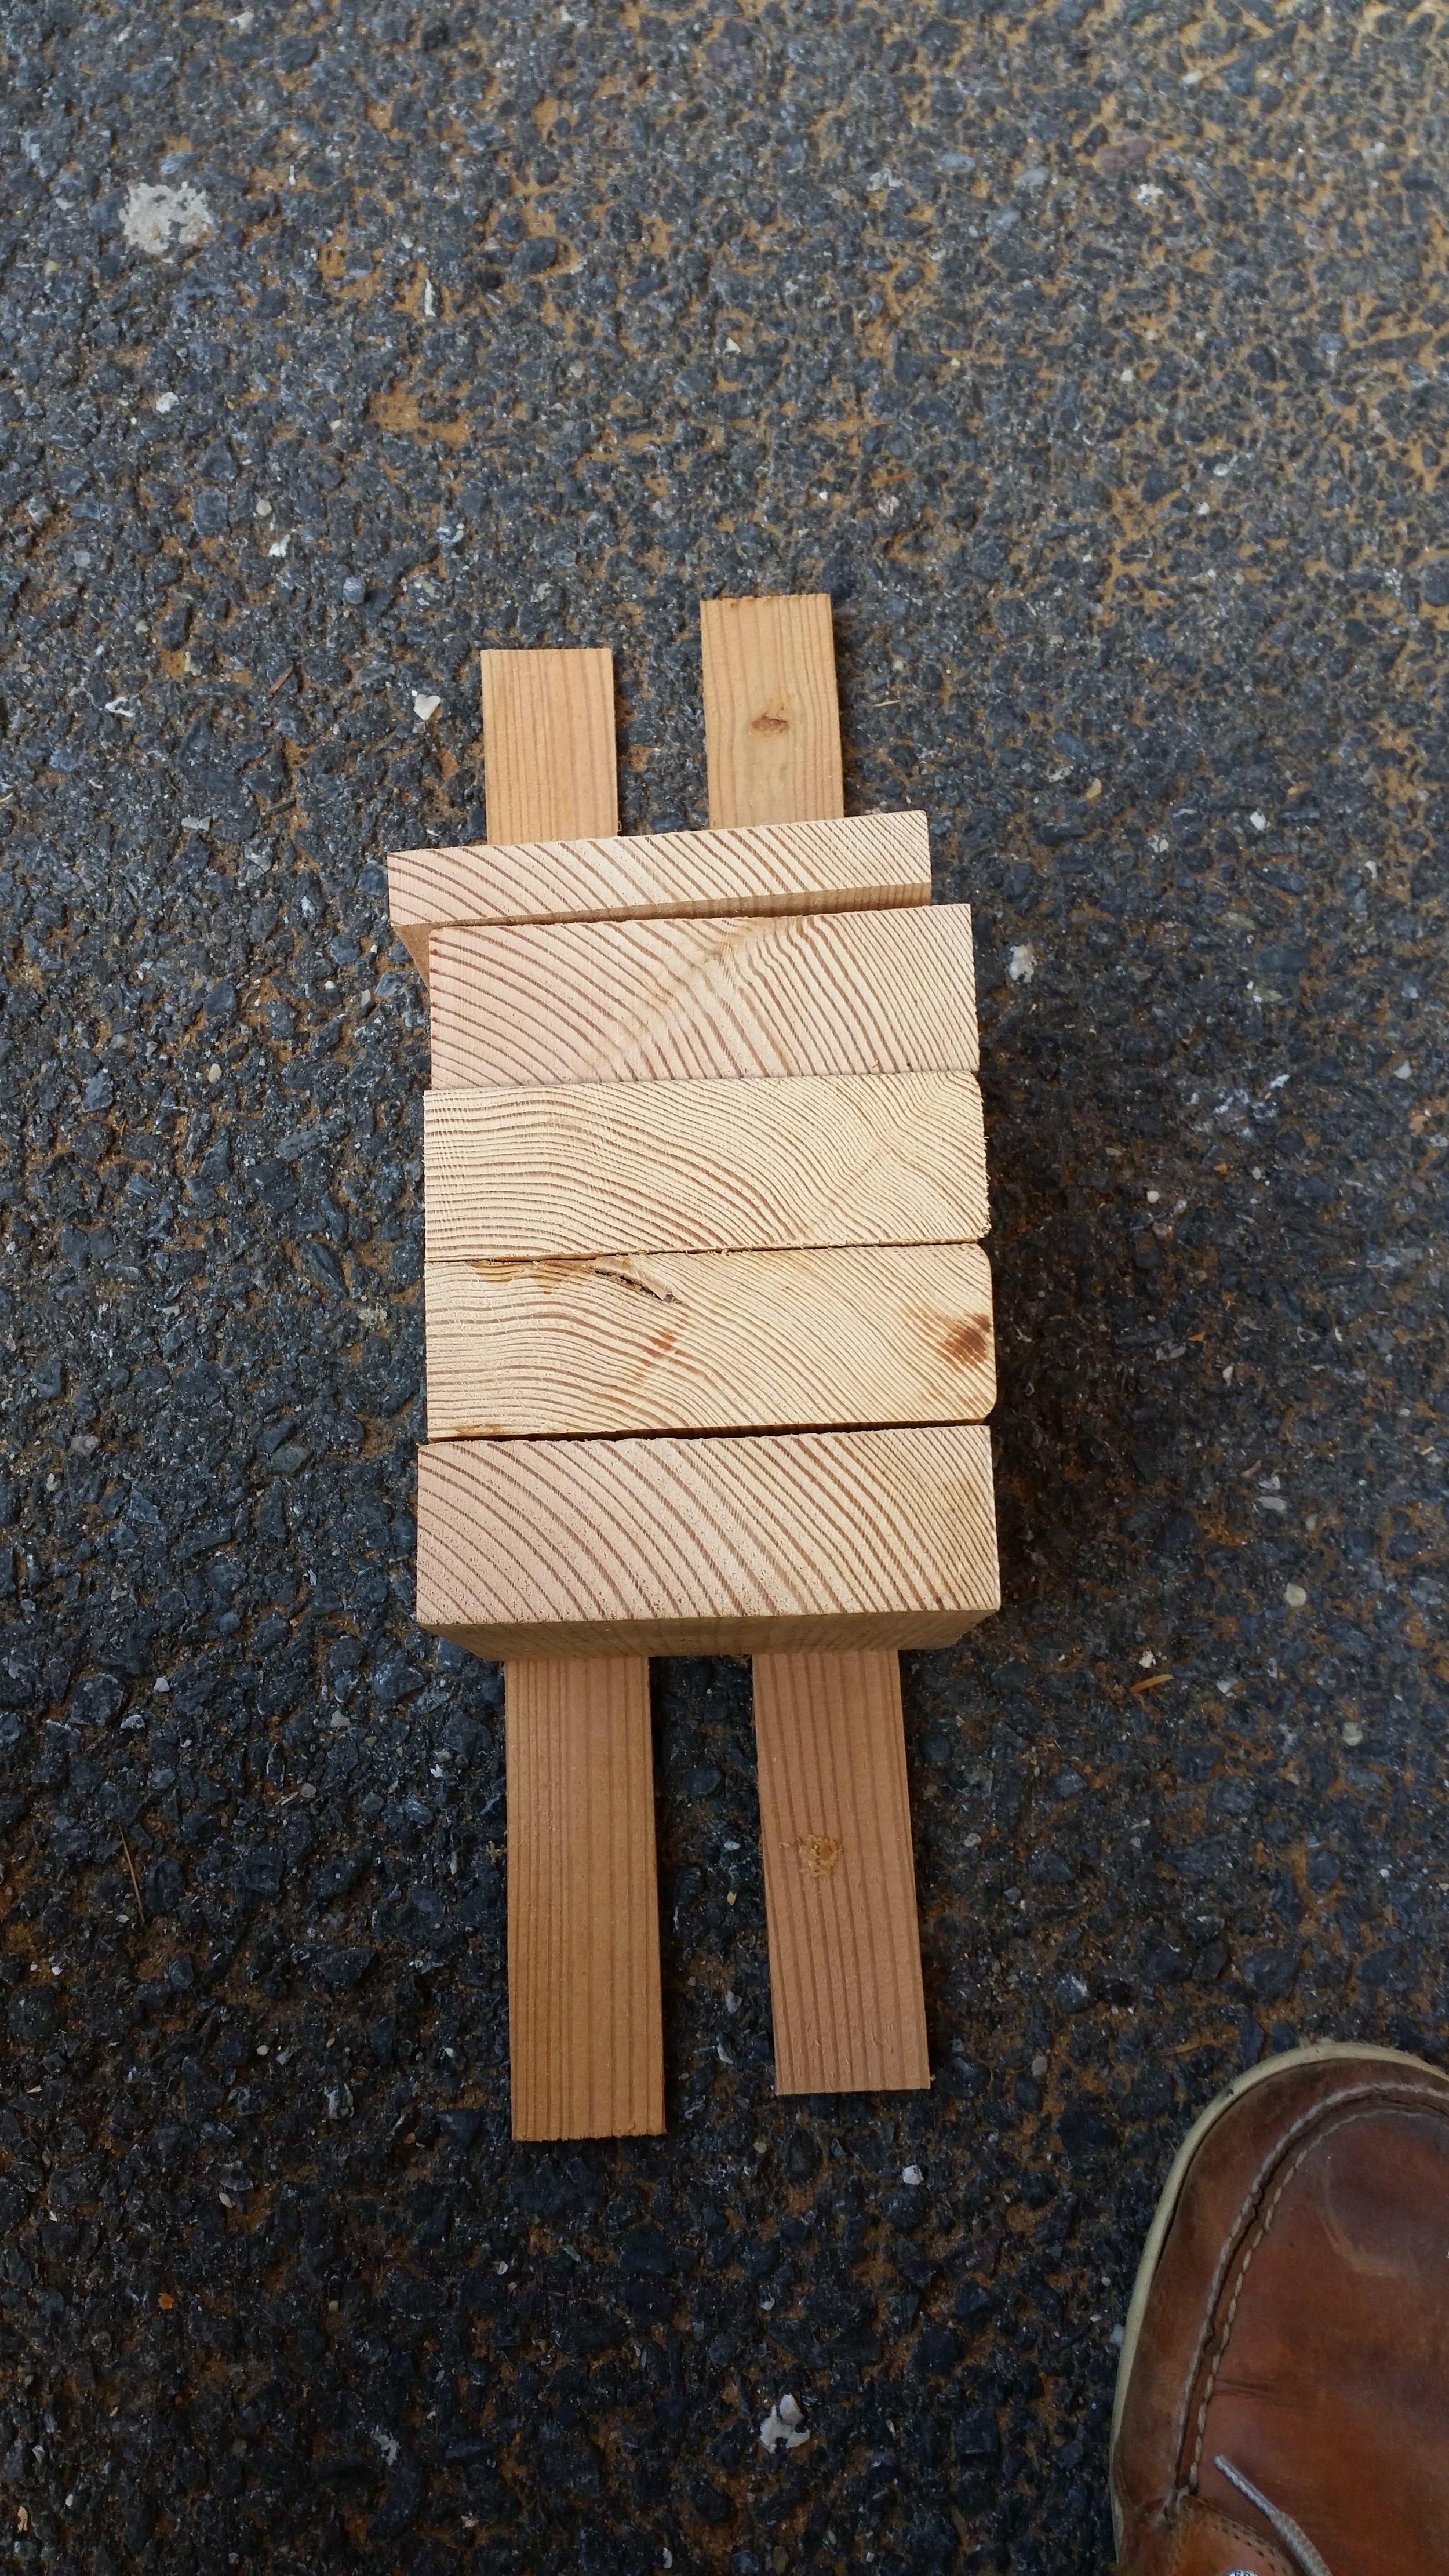
While the pillow blocks only need to be 4 3/4" tall, I decided to make the raw blocks much larger at 6 1/2" tall. This extra height will let me cut the blocks down to size on the bandsaw, giving me a perfect fit.
I organized the blocks so that the quarter sawn grain all ran the same direction. This serves a few purposes:
- It makes the grain line up so that working on the wood is more predictable.
- The grain lines will run in a similar direction on each side, making the wood look like a single piece instead of a chimera.
The blocks could have just as easily been arranged in any sort of pattern desired, as grain patterns are not as critical in pillow blocks since their only purpose is to not be crushed.

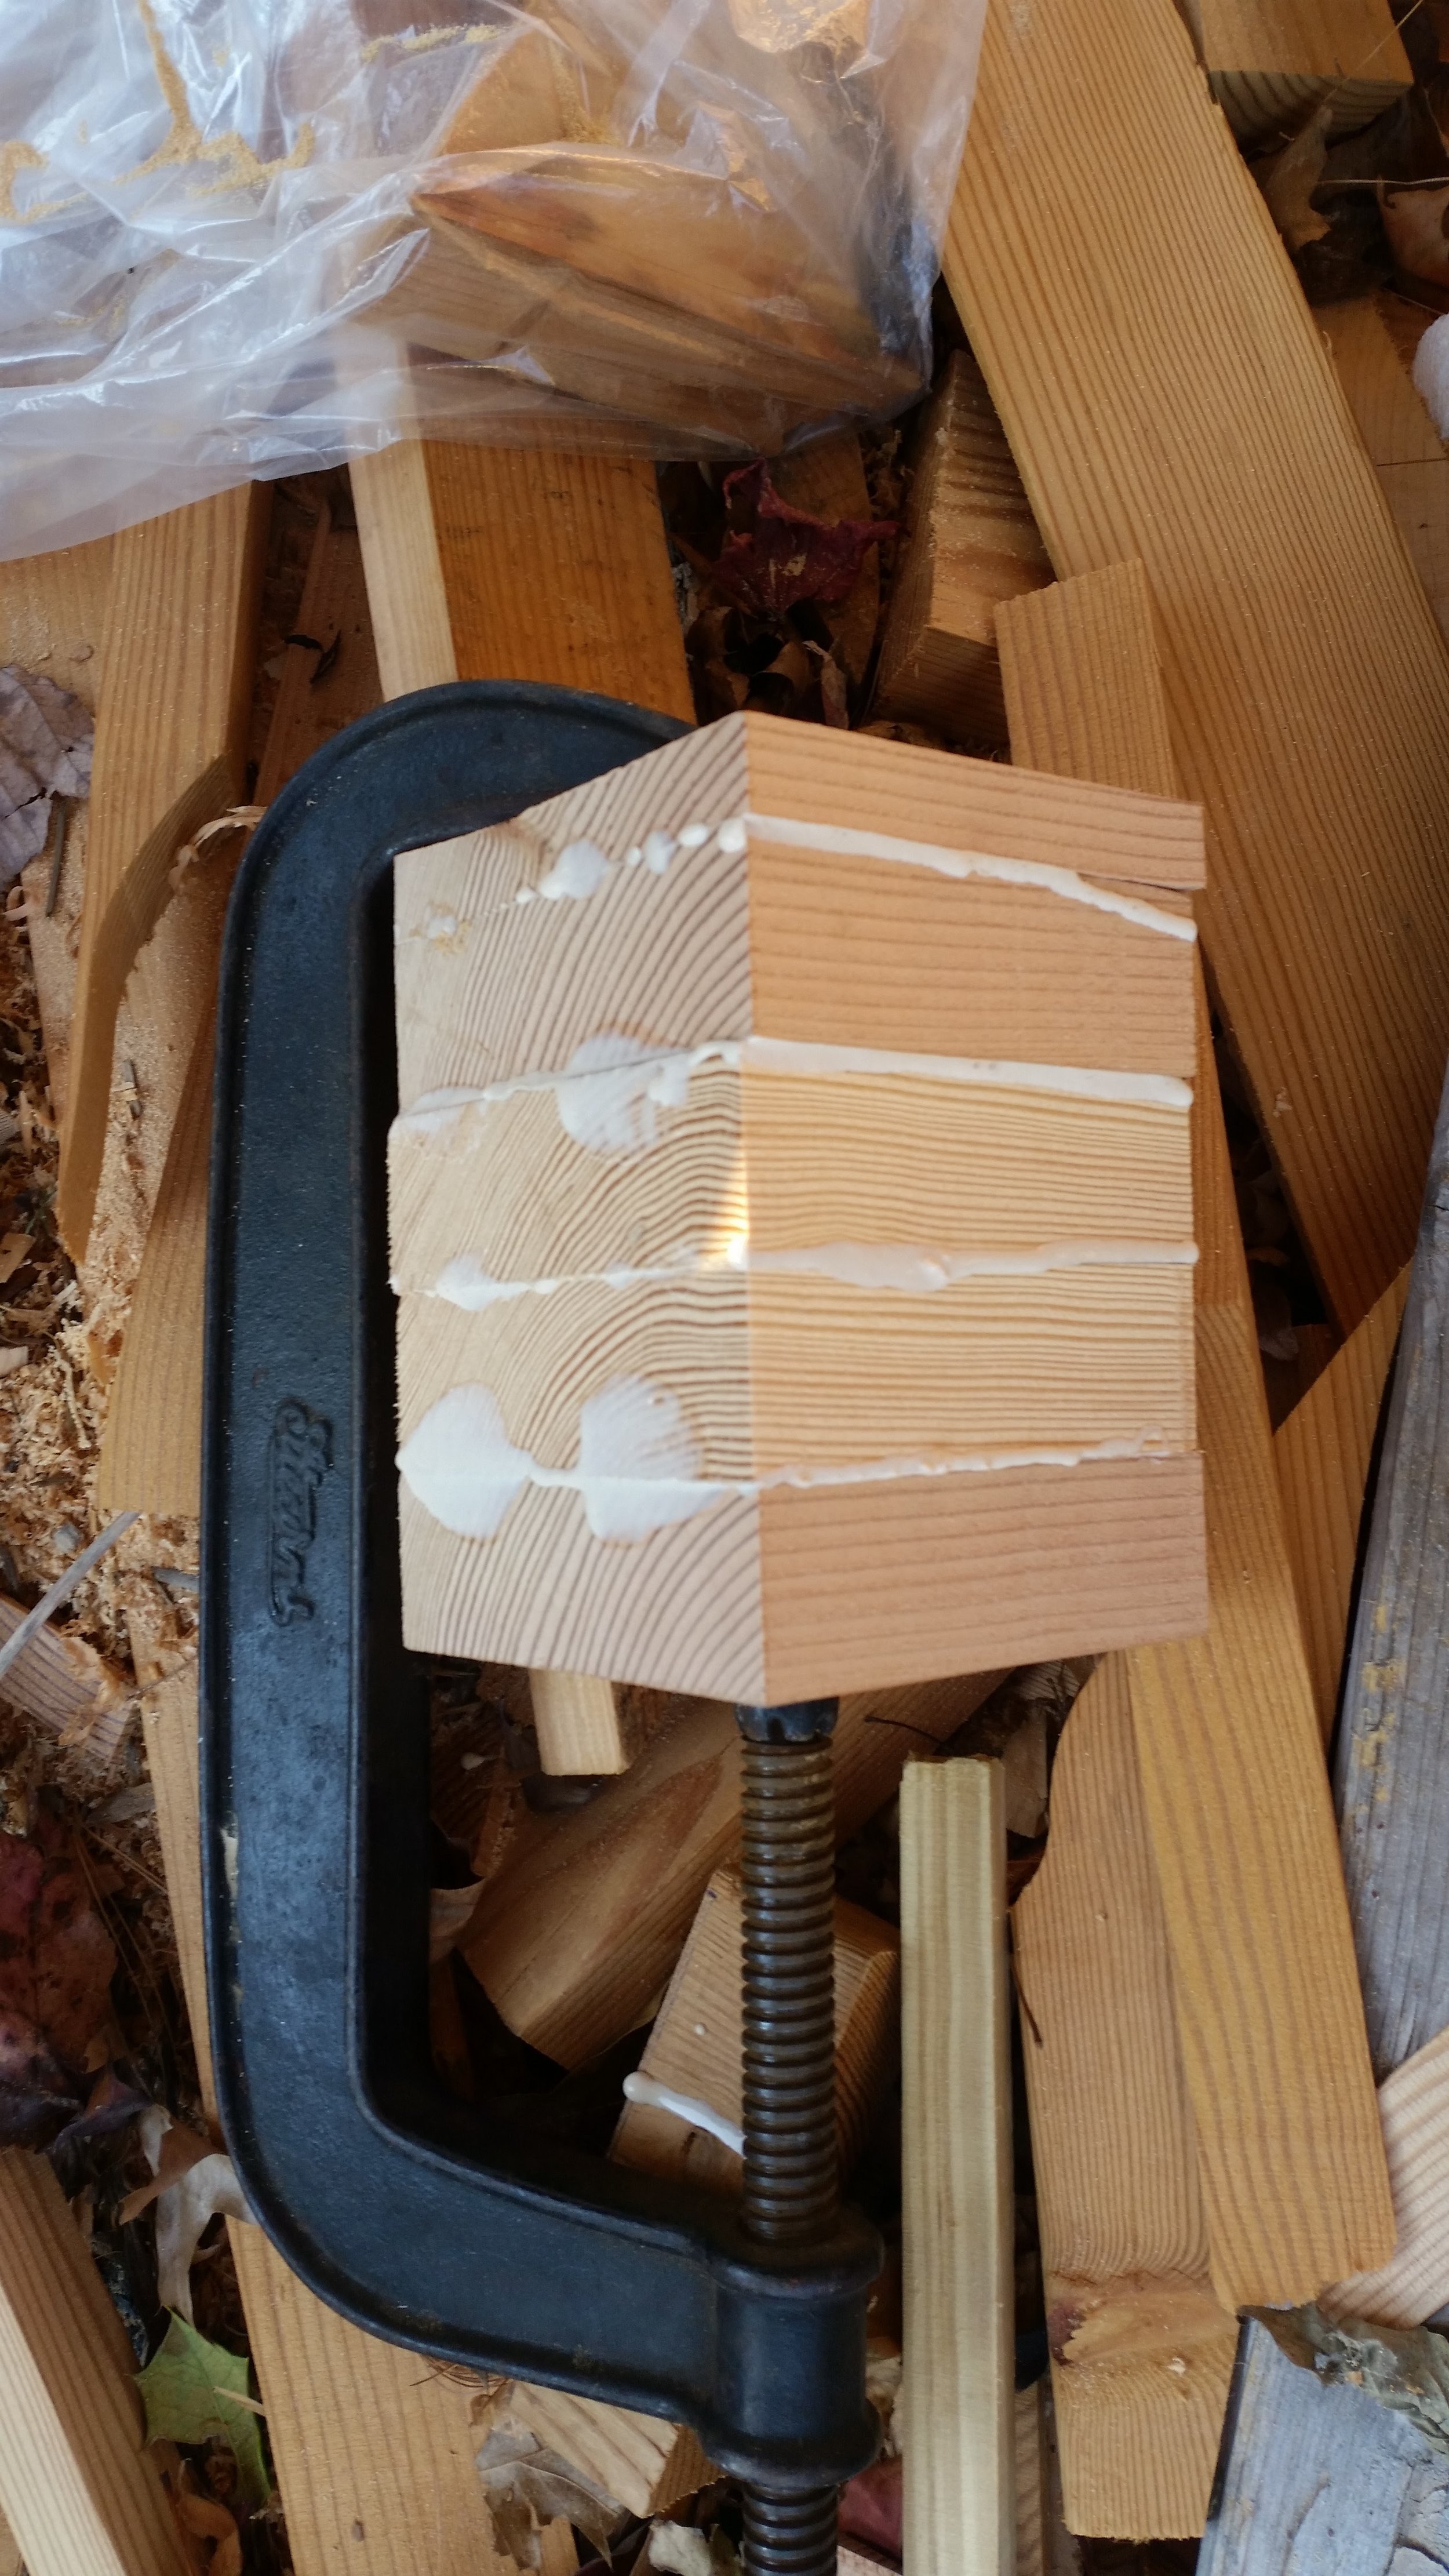
Excess glue spewed out of the seams as the laminated block was crushed under the clamping force. The glue was allowed time to cure in the clamp for a few days before the finishing could take place.

Once the glue had dried and cured, the clamps were removed and the over sized blocks were cleaned up. The first step is to cut off any excess overhangs that protrude from the blocks, then run them over the jointer a few times to square up the sides. This is all done with the blocks over-tall that way they can be trimmed down at the end. Over-tall blocks give the flexibility of absorbing damage that may occur when running end grain over the jointer (the jointer can turn into a wood splitter)
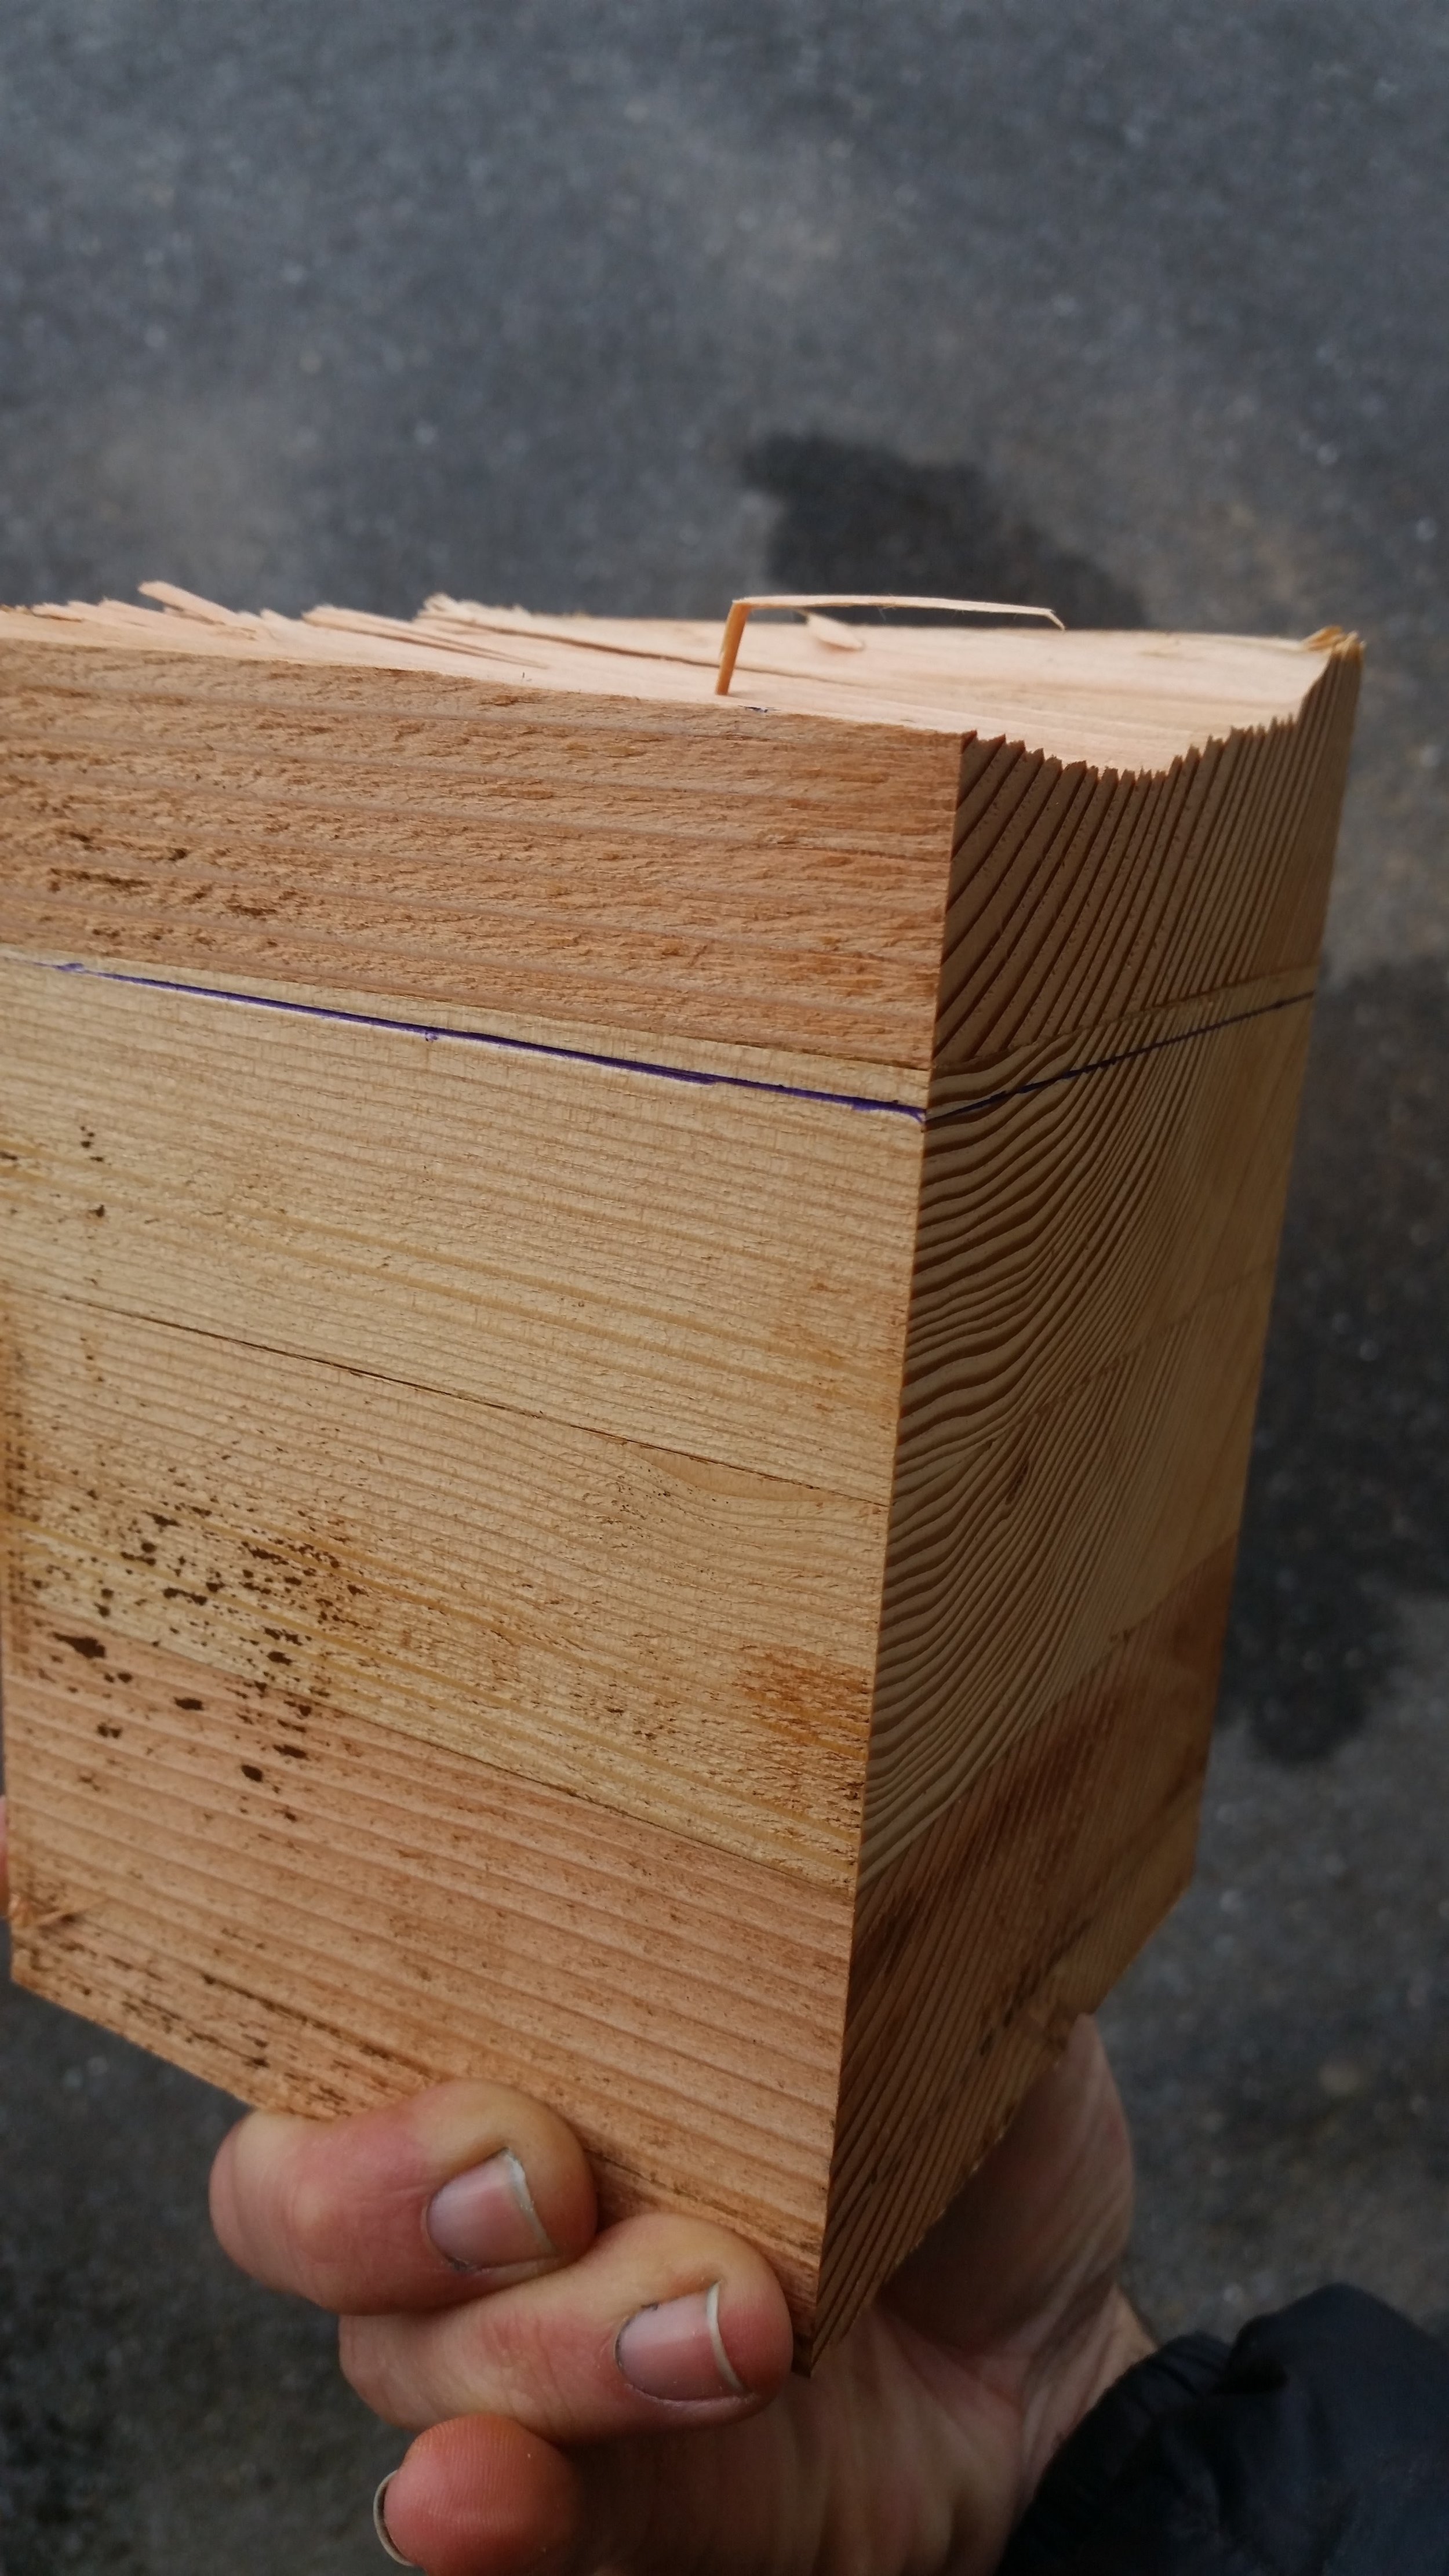
The jointer squared the pillow block right up, making it look like a nicely milled block of wood. The problem was the jointer also ripped off the top of the block, luckily this was above the cut-off line, so the loss of wood won't be an issue. The other block was not so lucky, as the block split in the middle, well below the cut-off line.
The block that split above the cut-off line was trimmed to the line on the bandsaw and then sanded to clean up the wood surface and round the corners off. Rounded corners will prevent any damage if someone or something were to fall against the pillow block. If the corners are sharp, then the wood could easily puncture whatever falls into it.

The other block needed to be clamped and glued again to repair the break. Luckily, the break was clean and the pieces fit back together perfectly. Being how it was especially cold when I glued and clamped the second block, I opted to take it home with me and let it cure faster with the heat of the boats interior.

The block was wrapped in paper towel to avoid any issues with wood glue seeping out of the joint, and to protect the assembly from contamination while it cured. I set the clamped block on the settee just above the baseboard heater to keep it plenty warm overnight. For added warmth, I covered the whole assembly in a blanket. The blanket was set over the baseboard heater to trap the warm rising air from the baseboard and hold it around the curing wood glue.

This setup was allowed to sit over night, and by morning it was completely cured and ready to take out of the clamps. The following morning, it was trimmed up the same way as the first block, resulting in two perfectly shaped and sized pillow blocks that are ready for installation!
