
With the support struts drilled, braced, and through bolted, it was time to test fit the unit onto the transom of the boat.
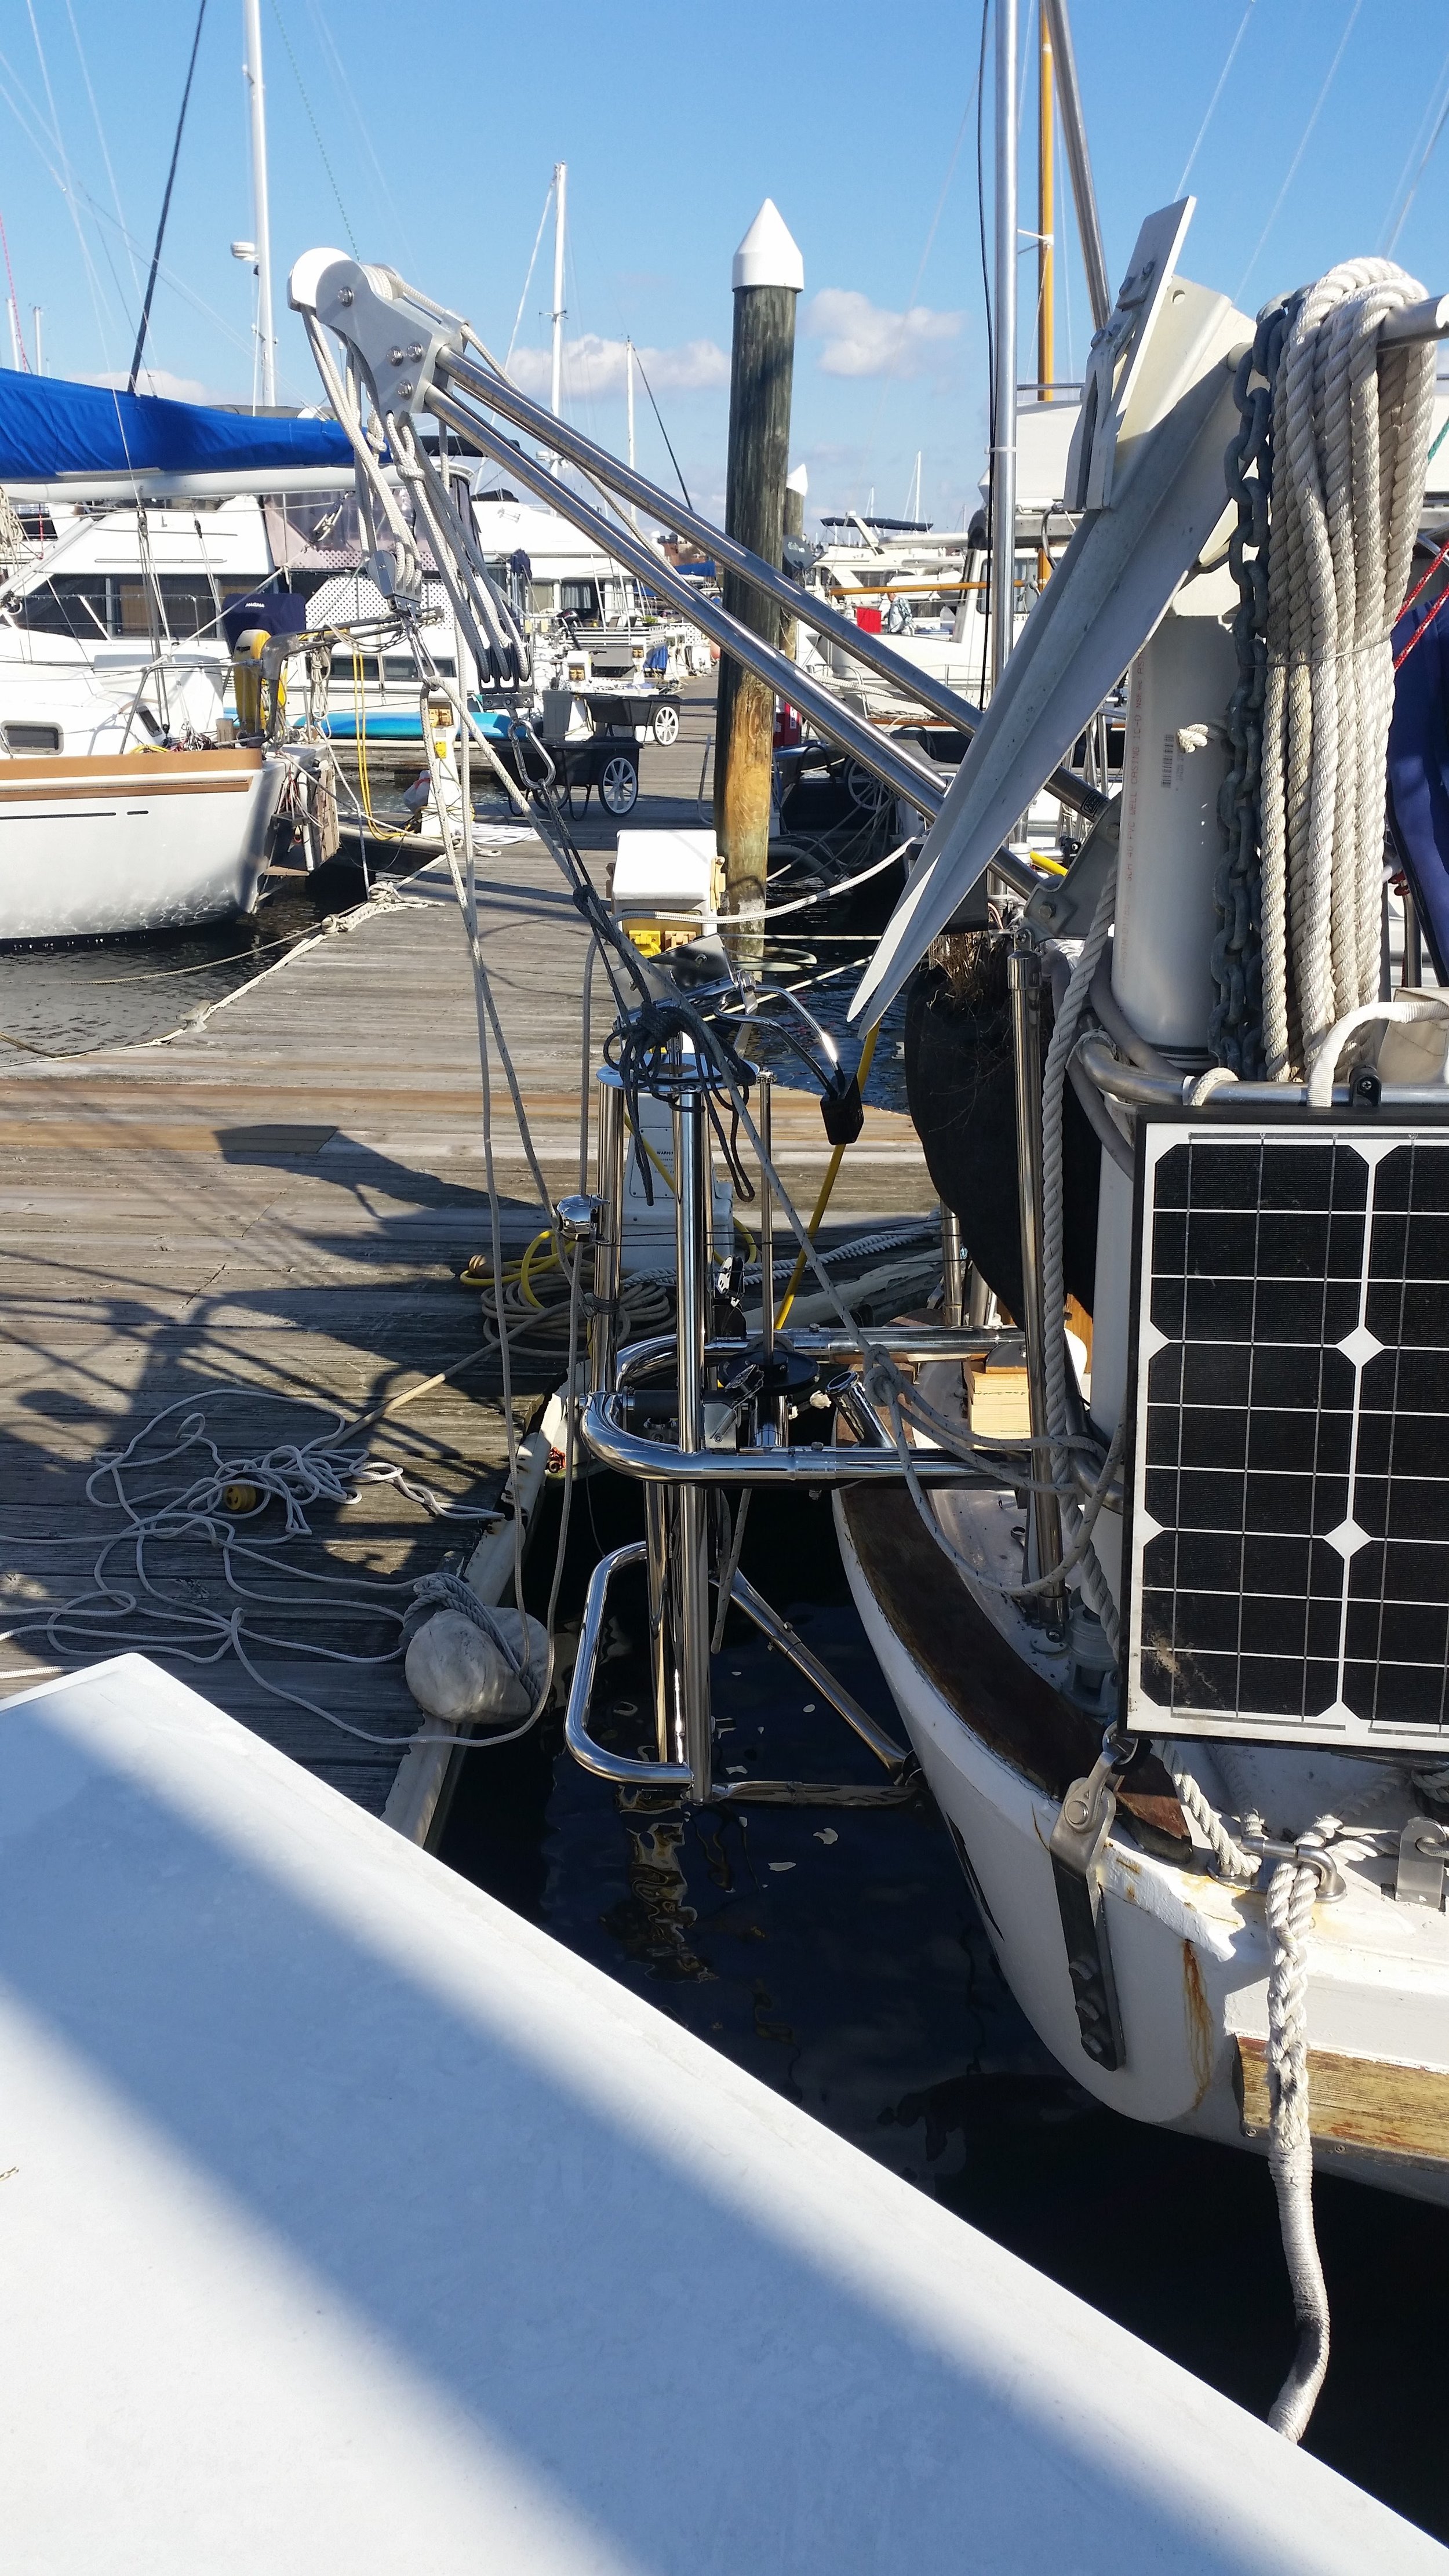
The unit looks good! I tied many lines to the frame, allowing me the ability to adjust the position of the Monitor on the stern of the boat. Positioning the Monitor was a very time consuming practice.
Each time I adjusted a line to re position the unit, I had to crawl out of the stern, walk over to the gangplank, down the pier, walk over to the stern of the boat, sit down on the dock, and sight the Monitor. This small simple task too hours to complete! Once everything was perfect, I was ready to drill the first pilot hole.

Wisdom is an old boat, and back in the 1960's they didn't know how strong fiberglass was. This led to the production of very thick hulls which weighed a ton! Racing boats always have thinner hulls than usual because weight is kept to a minimum, and why build the hull heavier than it needs to be? Assuming that the hull is much thicker than needed, we all figured that the thickness of the hull would be 1/2 of an inch (12mm) thick where it meets the transom.
This thickness is important because the lower bracket needs to be mounted as low as possible on the transom. The bottom through-bolt hole needs be located above the bottom of the hull with enough clearance for the large washer to distribute the forces on the inside of the transom.
Being how we are going on a guess that the hull is 1/2 an inch (12mm) thick, I decided to play it safe when drilling holes in the hull. If my first pilot hole was the bottom hole, and I needed to scoot the bracket up for any reason, the pilot hole would then be exposed below the bracket and would be a hole in the hull that would need to be closed up. On the other hand, if my first pilot hole were the top one, and if I needed to scoot the bracket up for any reason, the pilot hole would then be covered by the bracket and sealed by the bedding compound! My hull is not cored so I don't need to worry about sealing the internal portion of the hole to avoid core rot from occurring. Following this logic, I decided to drill the top pilot hole first, just in case the bracket needed to be scooted upwards.

The first pilot hole is the white dust that appears in between my fingers. The bracket is 3 inches long, so there is no way I would have space for the lower through bolt's washer to be located between the bottom of the hull and the bolt. It turns out that the hull is 1.5 inches (38mm) thick! This measurement was based on the difference between the internal hole and the bottom of the hull to the external hole to the bottom of the transom. The bracket was scooted up (and then re-centered with all the lines to the unit to position it) and a new pilot hole was drilled.
The new pilot hole is the dusty portion that is inside the top washer. Three inches down from the top washer would be the location of the bottom through bolt and its washer. With the knowledge that the bottom hole would come to be in the correct position, the bottom pilot hole was drilled.
With both pilot holes located in an appropriate location, the Monitor was removed from the transom and the real holes were drilled with a 5/16" drill bit. With the holes made in the hull, the inside of the bracket and the orifices of the bolt holes were covered in a liberal application of bedding compound. I used 3M 4200 since the bracket is so close to the waterline when we are sailing.
While the transom with its long overhang may look far from the water at rest, it actually rides down the stern wave while sailing. The boat rides in a trough between the bow and stern wave, and the stern wave comes all the way up to the transom when sailing heeled over at hull speed.
The other reason I used 4200 instead of a polysulfide is the 4200 is also an adhesive. I know that the through bolts are doing almost all of the "holding" but a little bit of help from an adhesive would be nice for peace of mind. I purposefully did not use 3M's 5200 because 5200 is permanent and will never let me remove the bracket (should I ever need to). 4200 will allow the removal of the bracket, but it will put up a fight!
Now that the lower bracket is installed and mounted, I just need to perfectly align the unit and measure for the pillow blocks which will act as spacers between the top arms and the deck.
