
With both rabbet lines cut into the stem and all the angles between it and the knee perfected, it was time to connect the components. The stem knee was positioned between the chine logs and dry fitted with the stem to identify its ideal location.

Pilot holes were then drilled through the stem and into the keel timber. The first pilot hole was drilled all the way through and into the keel, allowing me to place the bronze lag bolt that would hold the knee in place during the rest of the procedure. With the stem knee immobilized, I was able to safely drill the subsequent pilot holes.

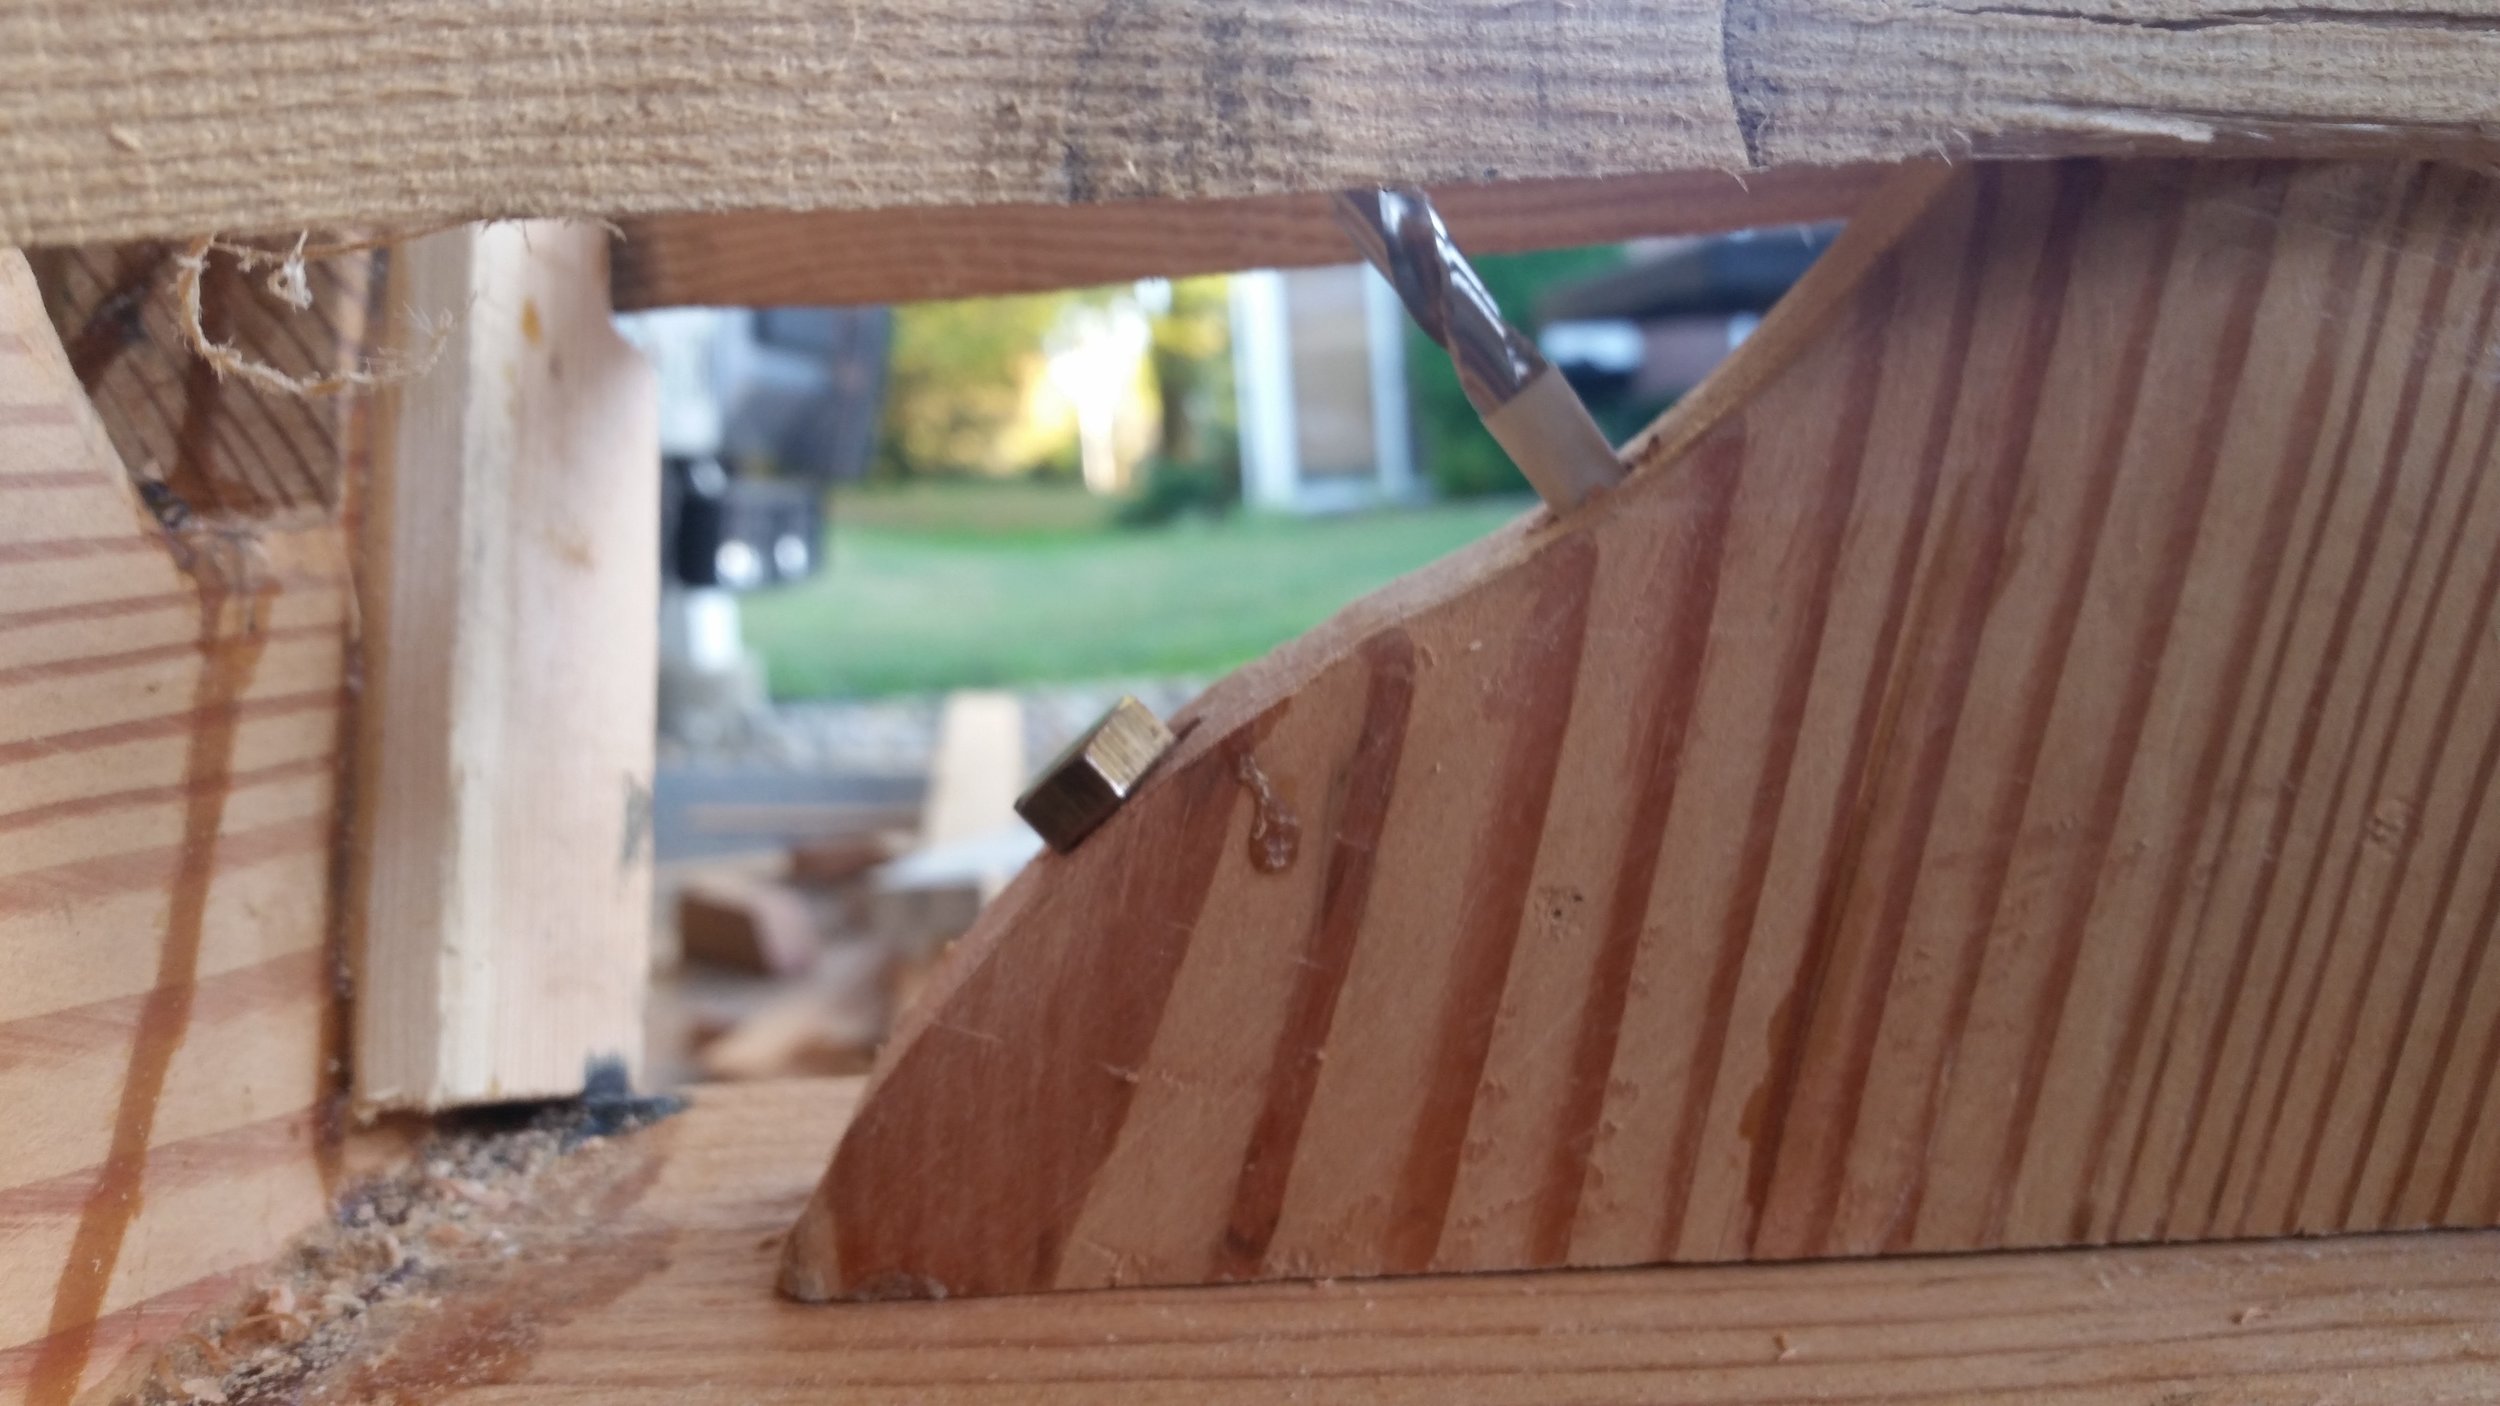
Drilling a pilot hole is a simple task, until you consider the length of wood you need to drill through. To allow the drill bit to reach the length at hand, I needed to use extra long drill bits. In my case, a 12 inch long drill bit did the task well. I placed tape on the drill bit to alert me that I have gone to the required depth.
The procedure was repeated on the stem, allowing me to dry fit and verify everything before glue and time constraints were introduced. Once I was certain that everything lined up perfectly and squarely, I disassembled the entire unit and applied wood glue and bedding compound in their appropriate places.

Wood glue was placed on surfaces that will not be exposed to the outside edge of the hull and bedding compound was placed where the edge would be exposed to the water. The stem received polysulfide bedding compound on its faying surface while the knee received wood glue on its faying surfaces. When the rabbet is cut into the keel the junction between the stem and keel will be exposed to the water outside of the hull, necessitating the need for polysulfide bedding compound here to prevent leaks in the future.
