

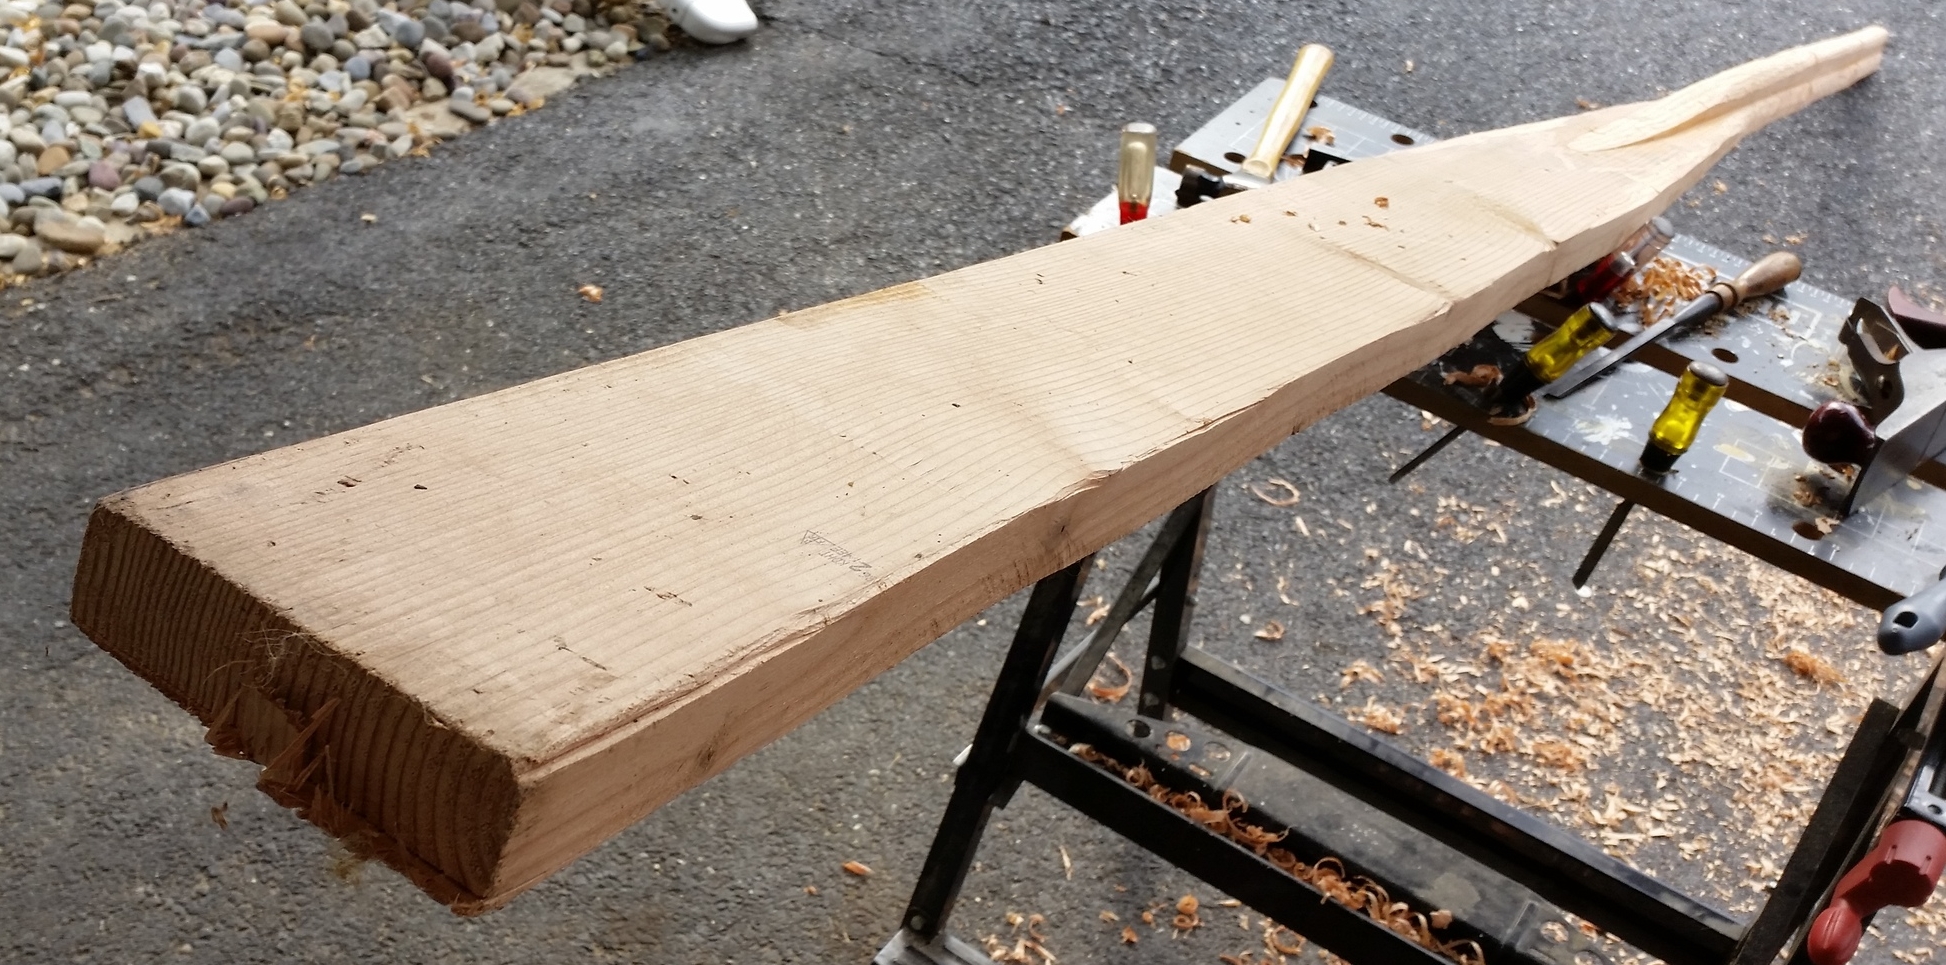
Today, the sculling oar for the Alberg came out of the clamps! I had it in clamps for 2 days to allow the glue to have plenty of cure time under pressure. I then began the process of shaping the oar handle and blade.

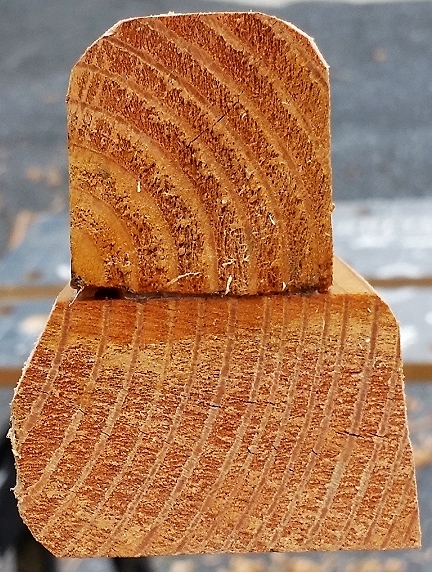
The oar handle is laminated for strength, tapering down to the oar blade. The bottom half is larger than the top laminate, so some shaping was needed to make it all smooth. To bring them in line with each other, I used a block plane and a jack plane to reduce the wood on the sides and taper them in together. A rabbet plane would have been really handy, but I do not have one. To get the very edge, I took a hand driven chisel and carefully worked the wood away.
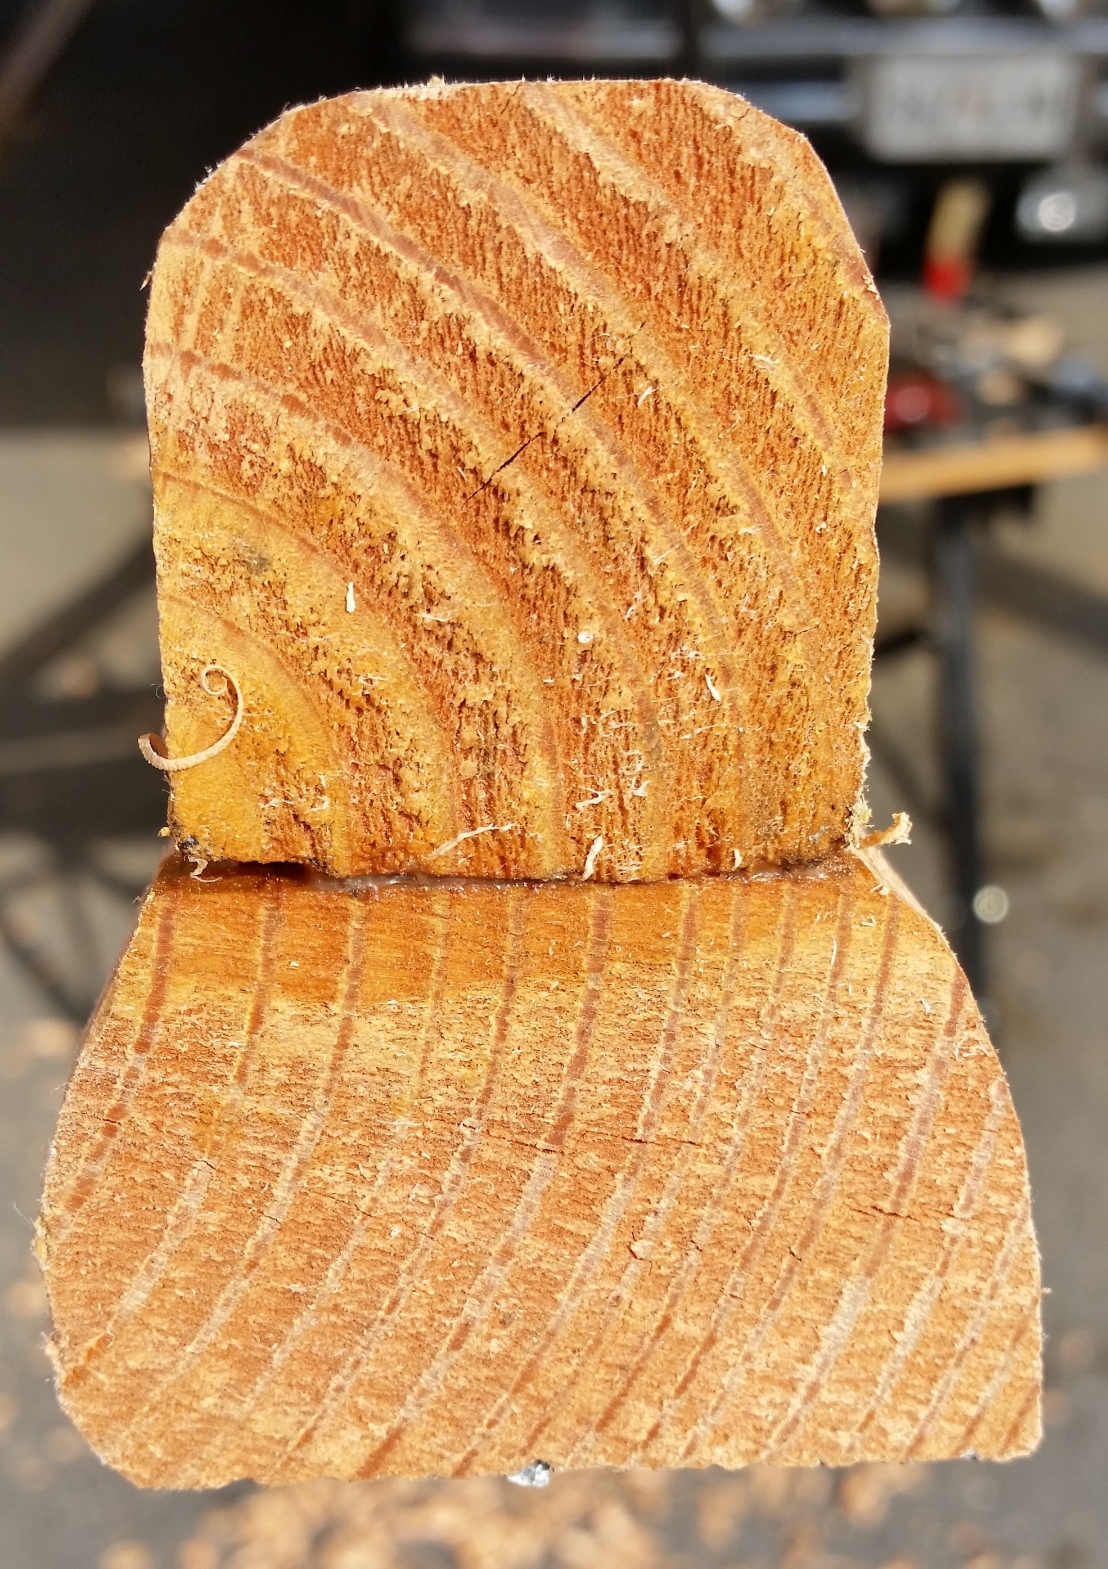
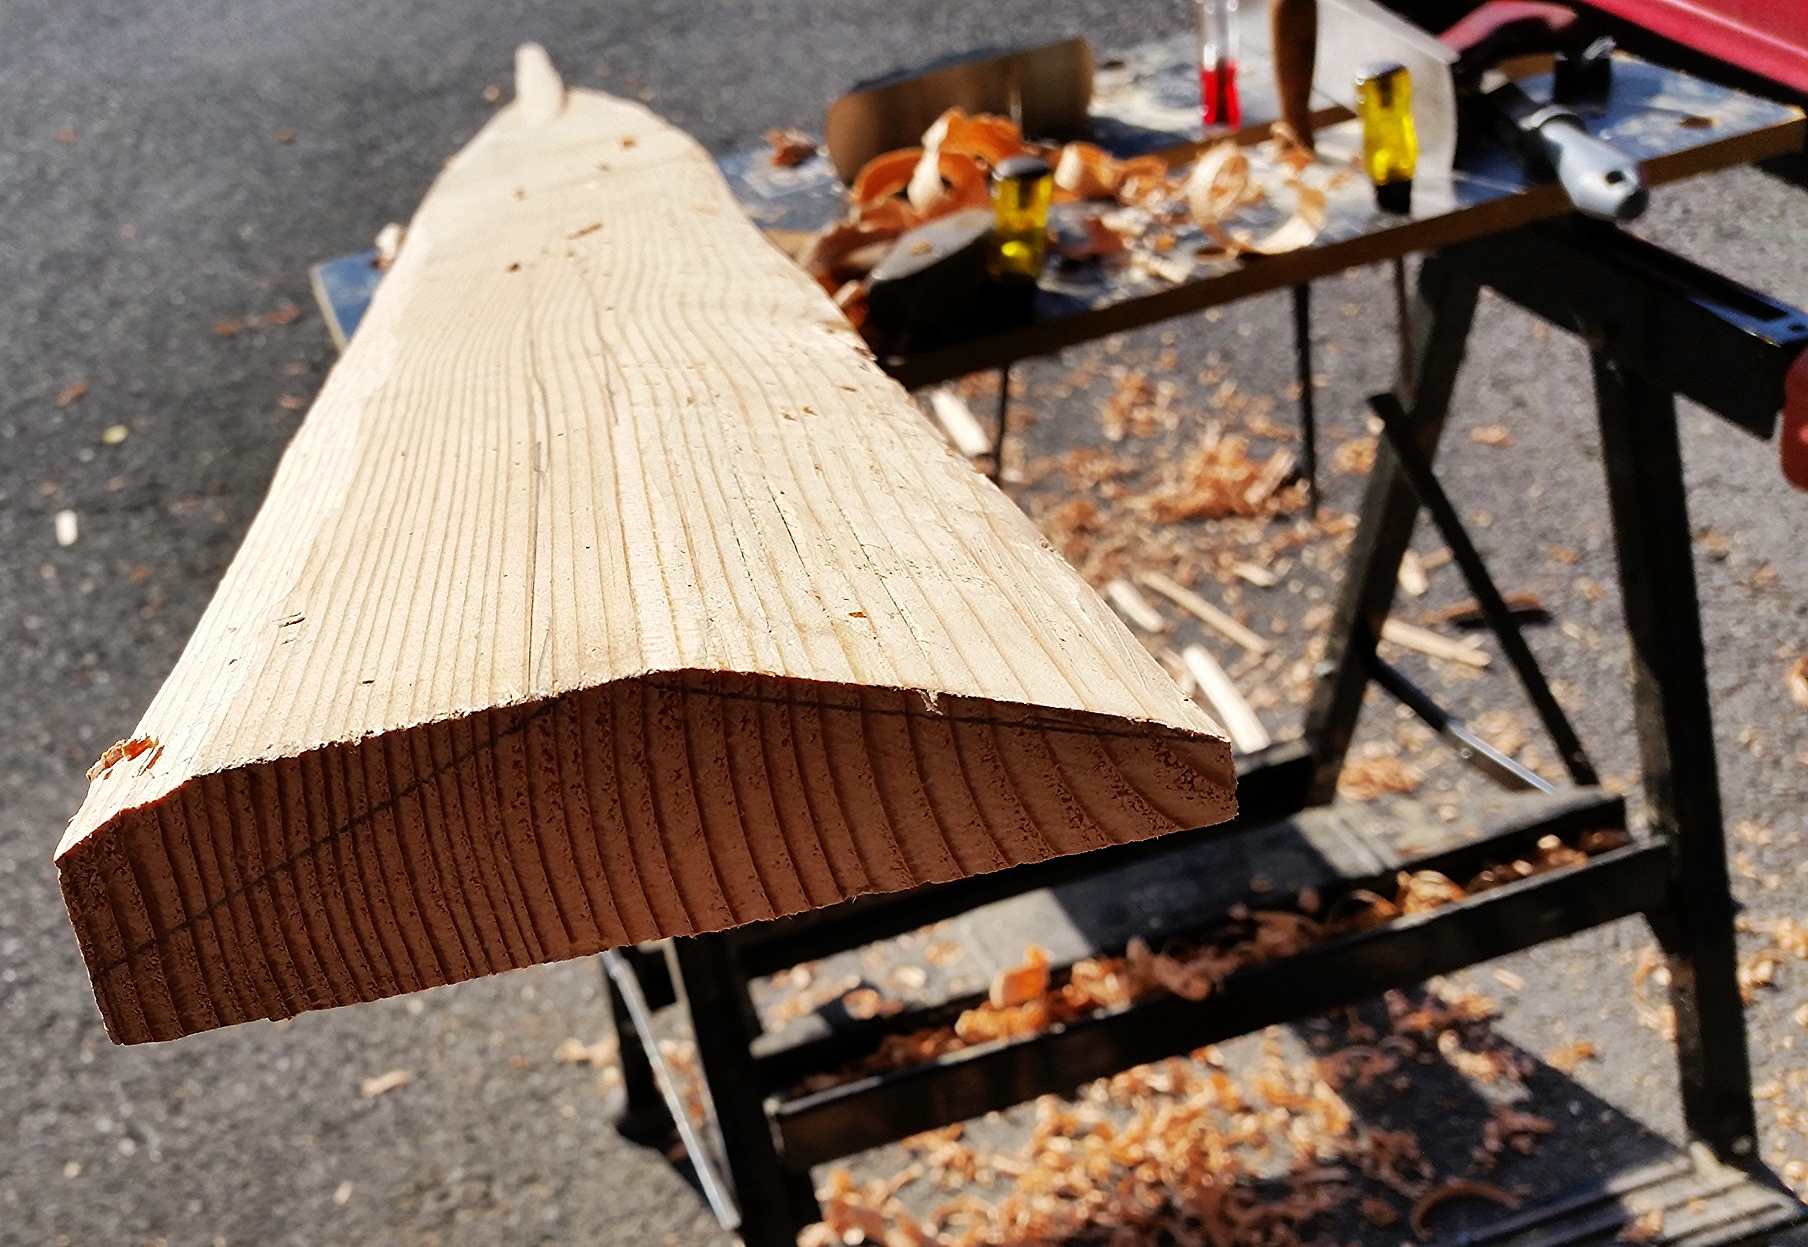
The blade at the moment looks like a 2x6 needing some major removal on the sides to give the oar its proper shape. Based on drawings I've seen, the blades should be tapered on the top to promote the oar turning onto its side as you scull. Basically, flat bottom with a pitched top.
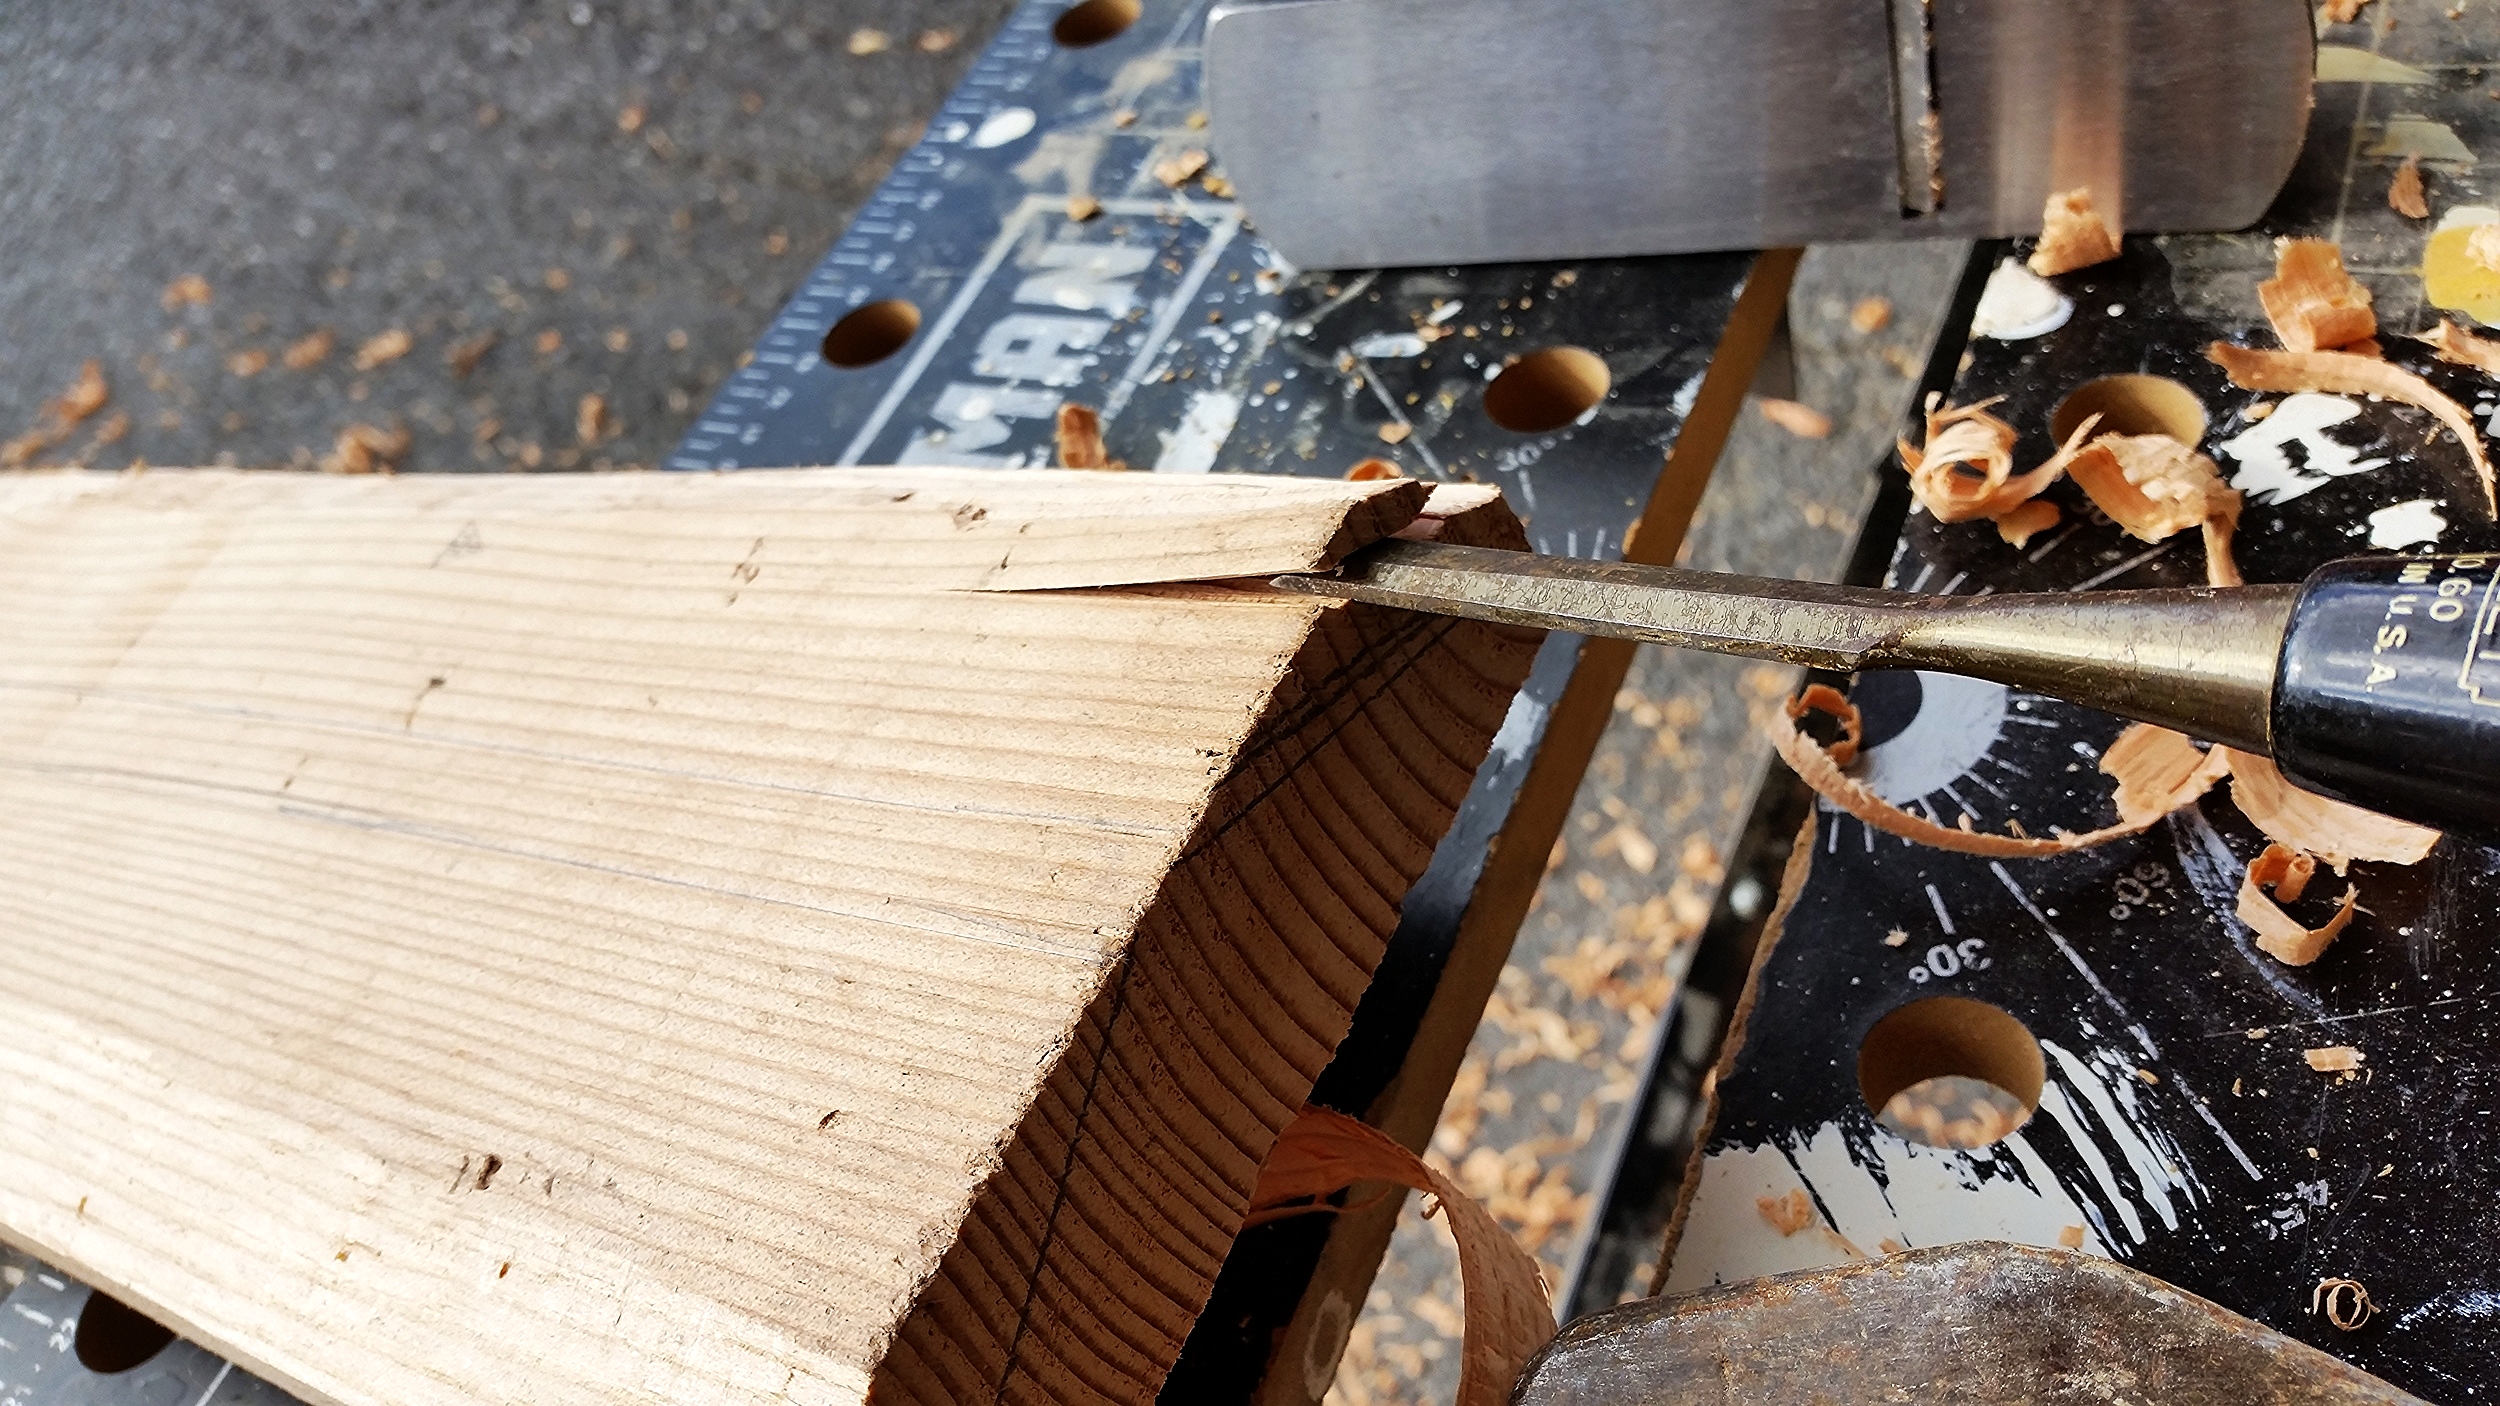
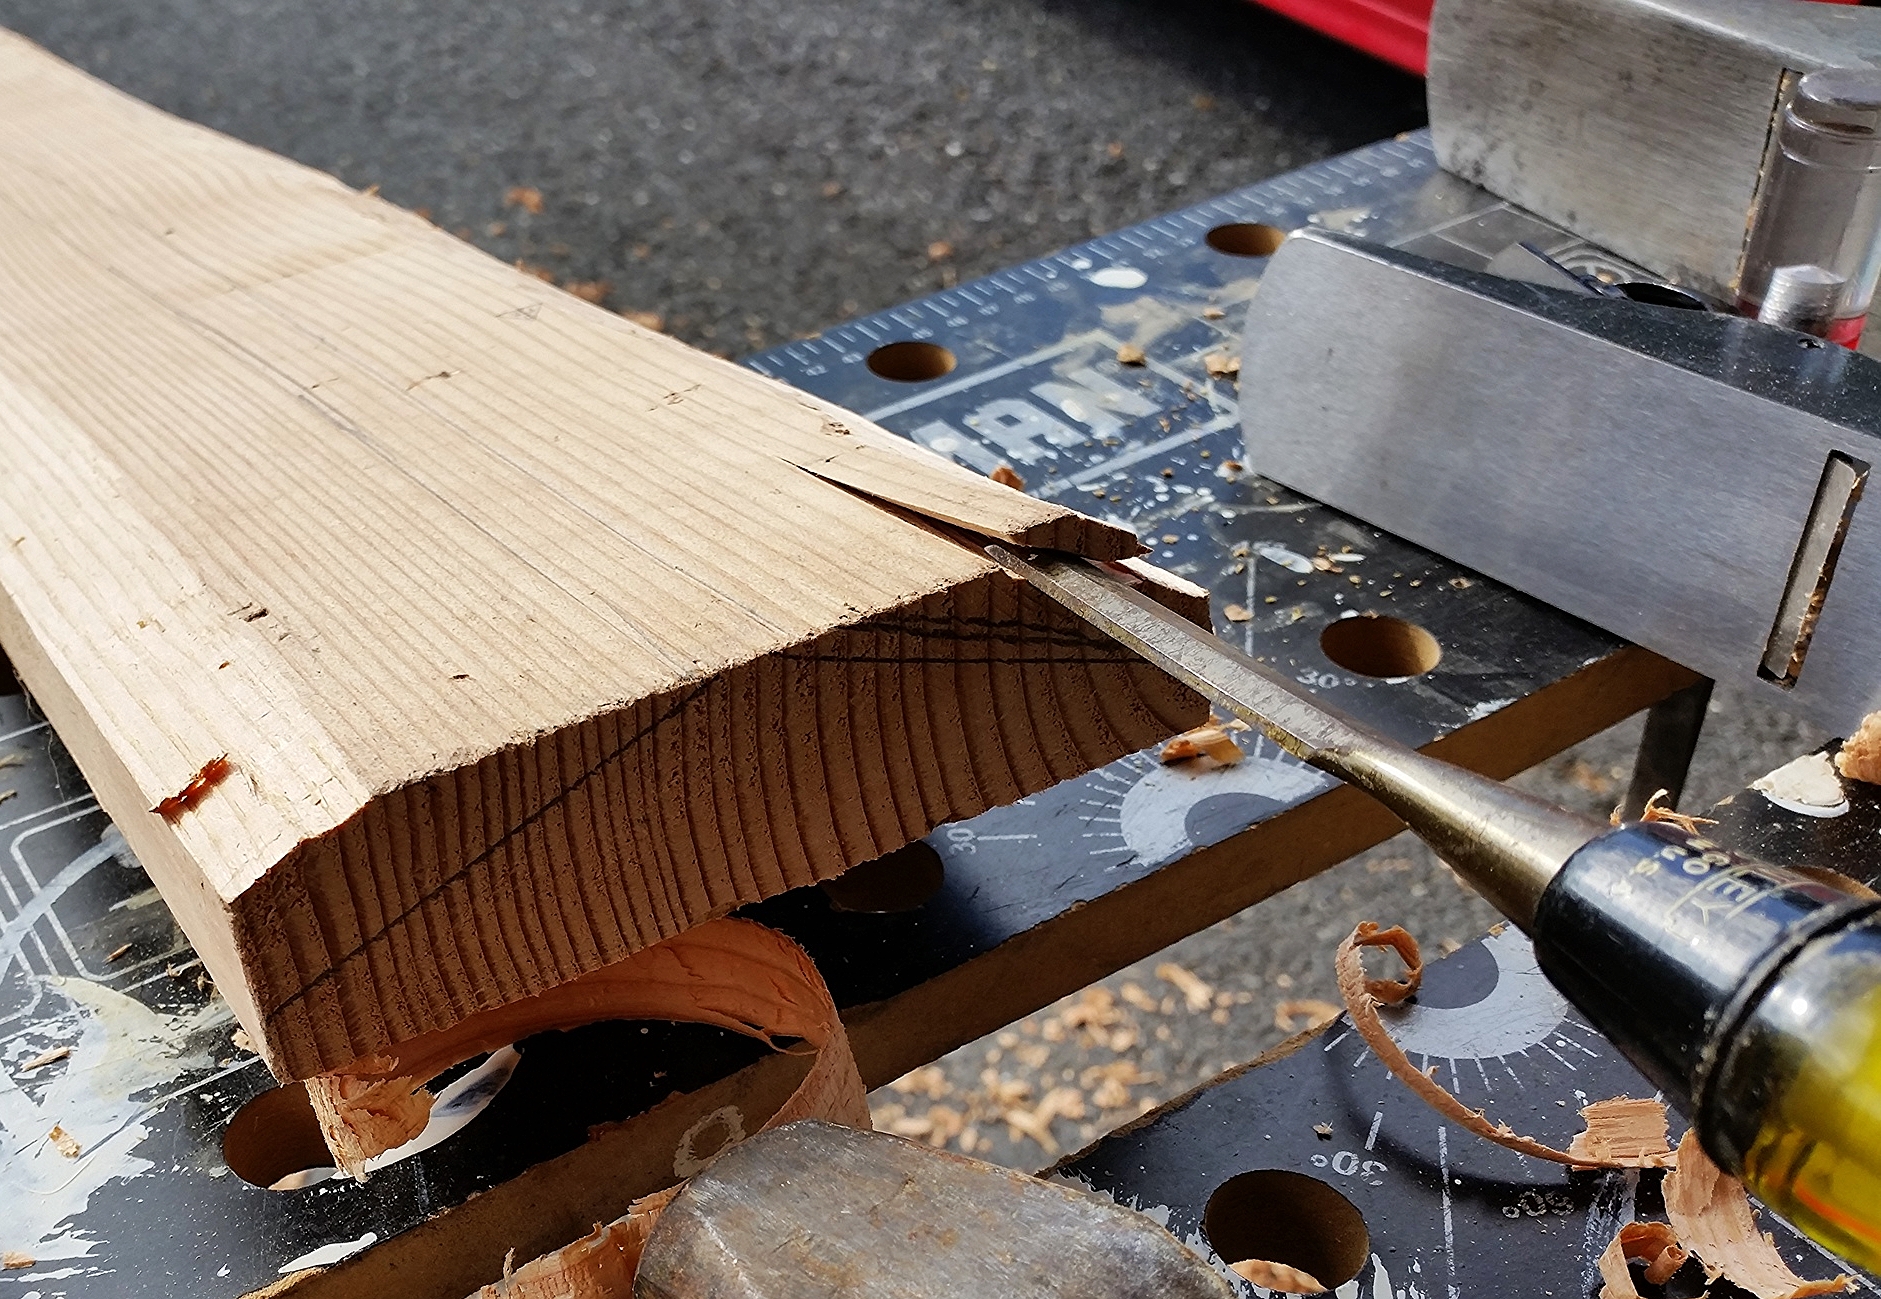
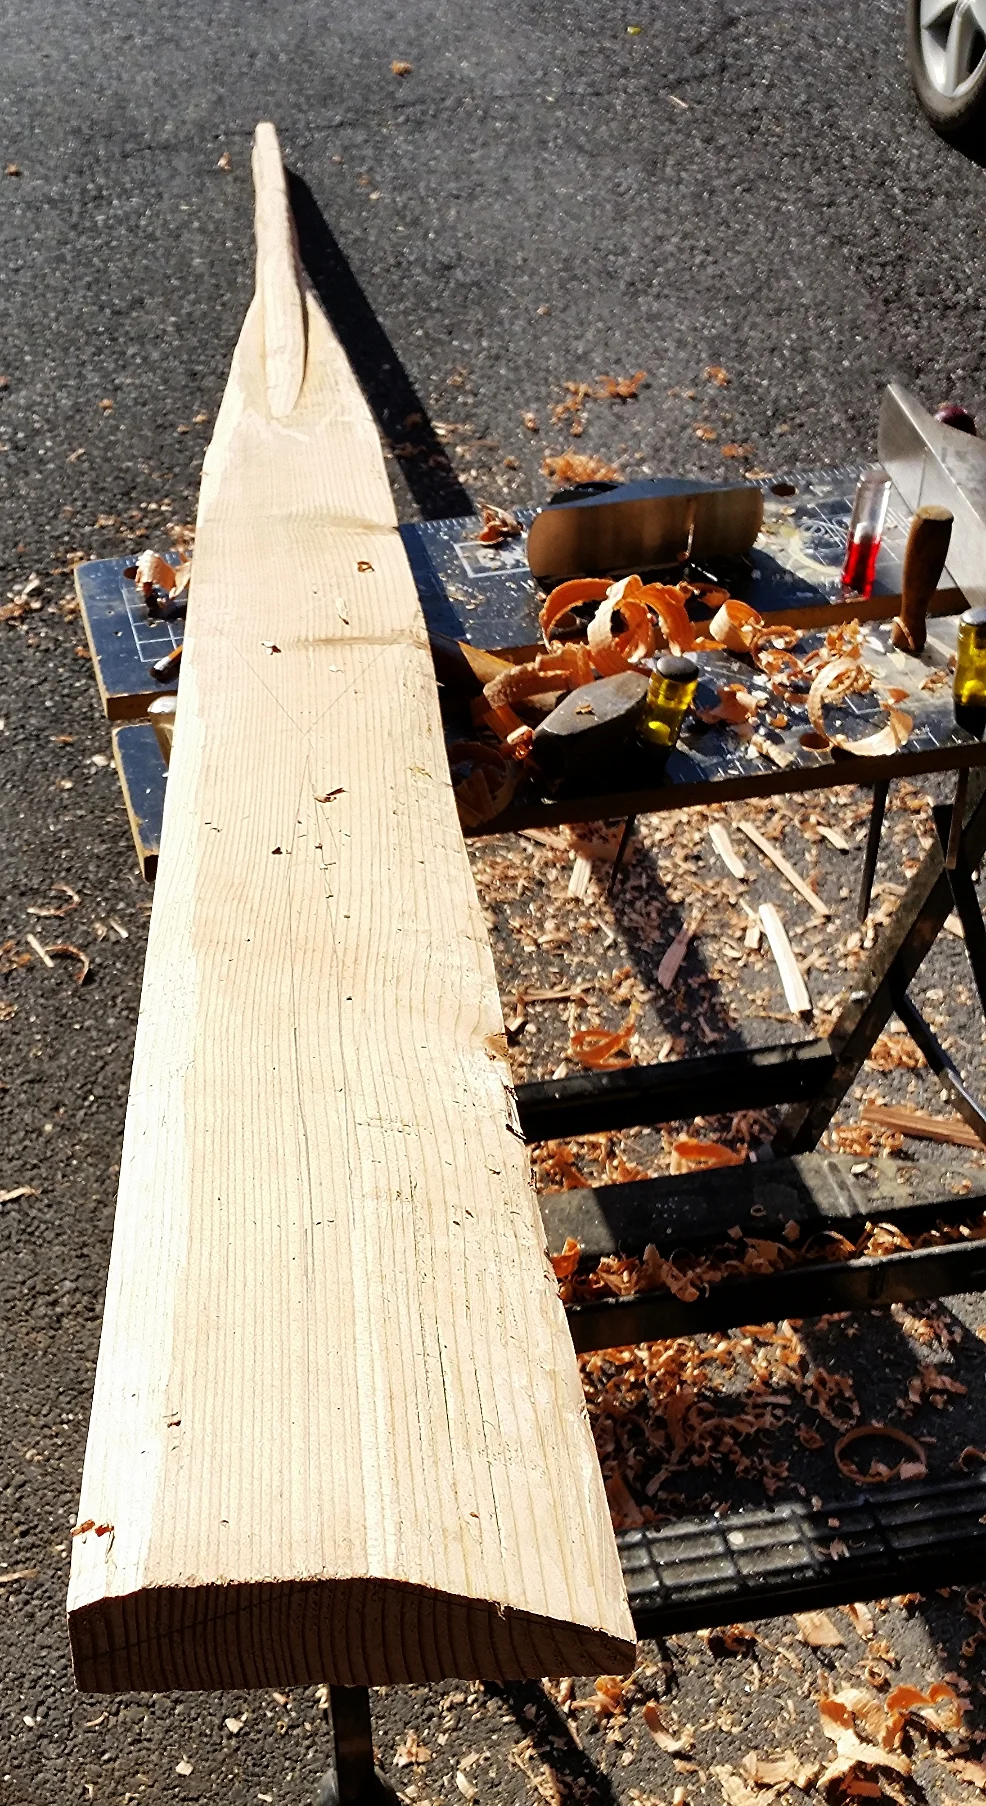
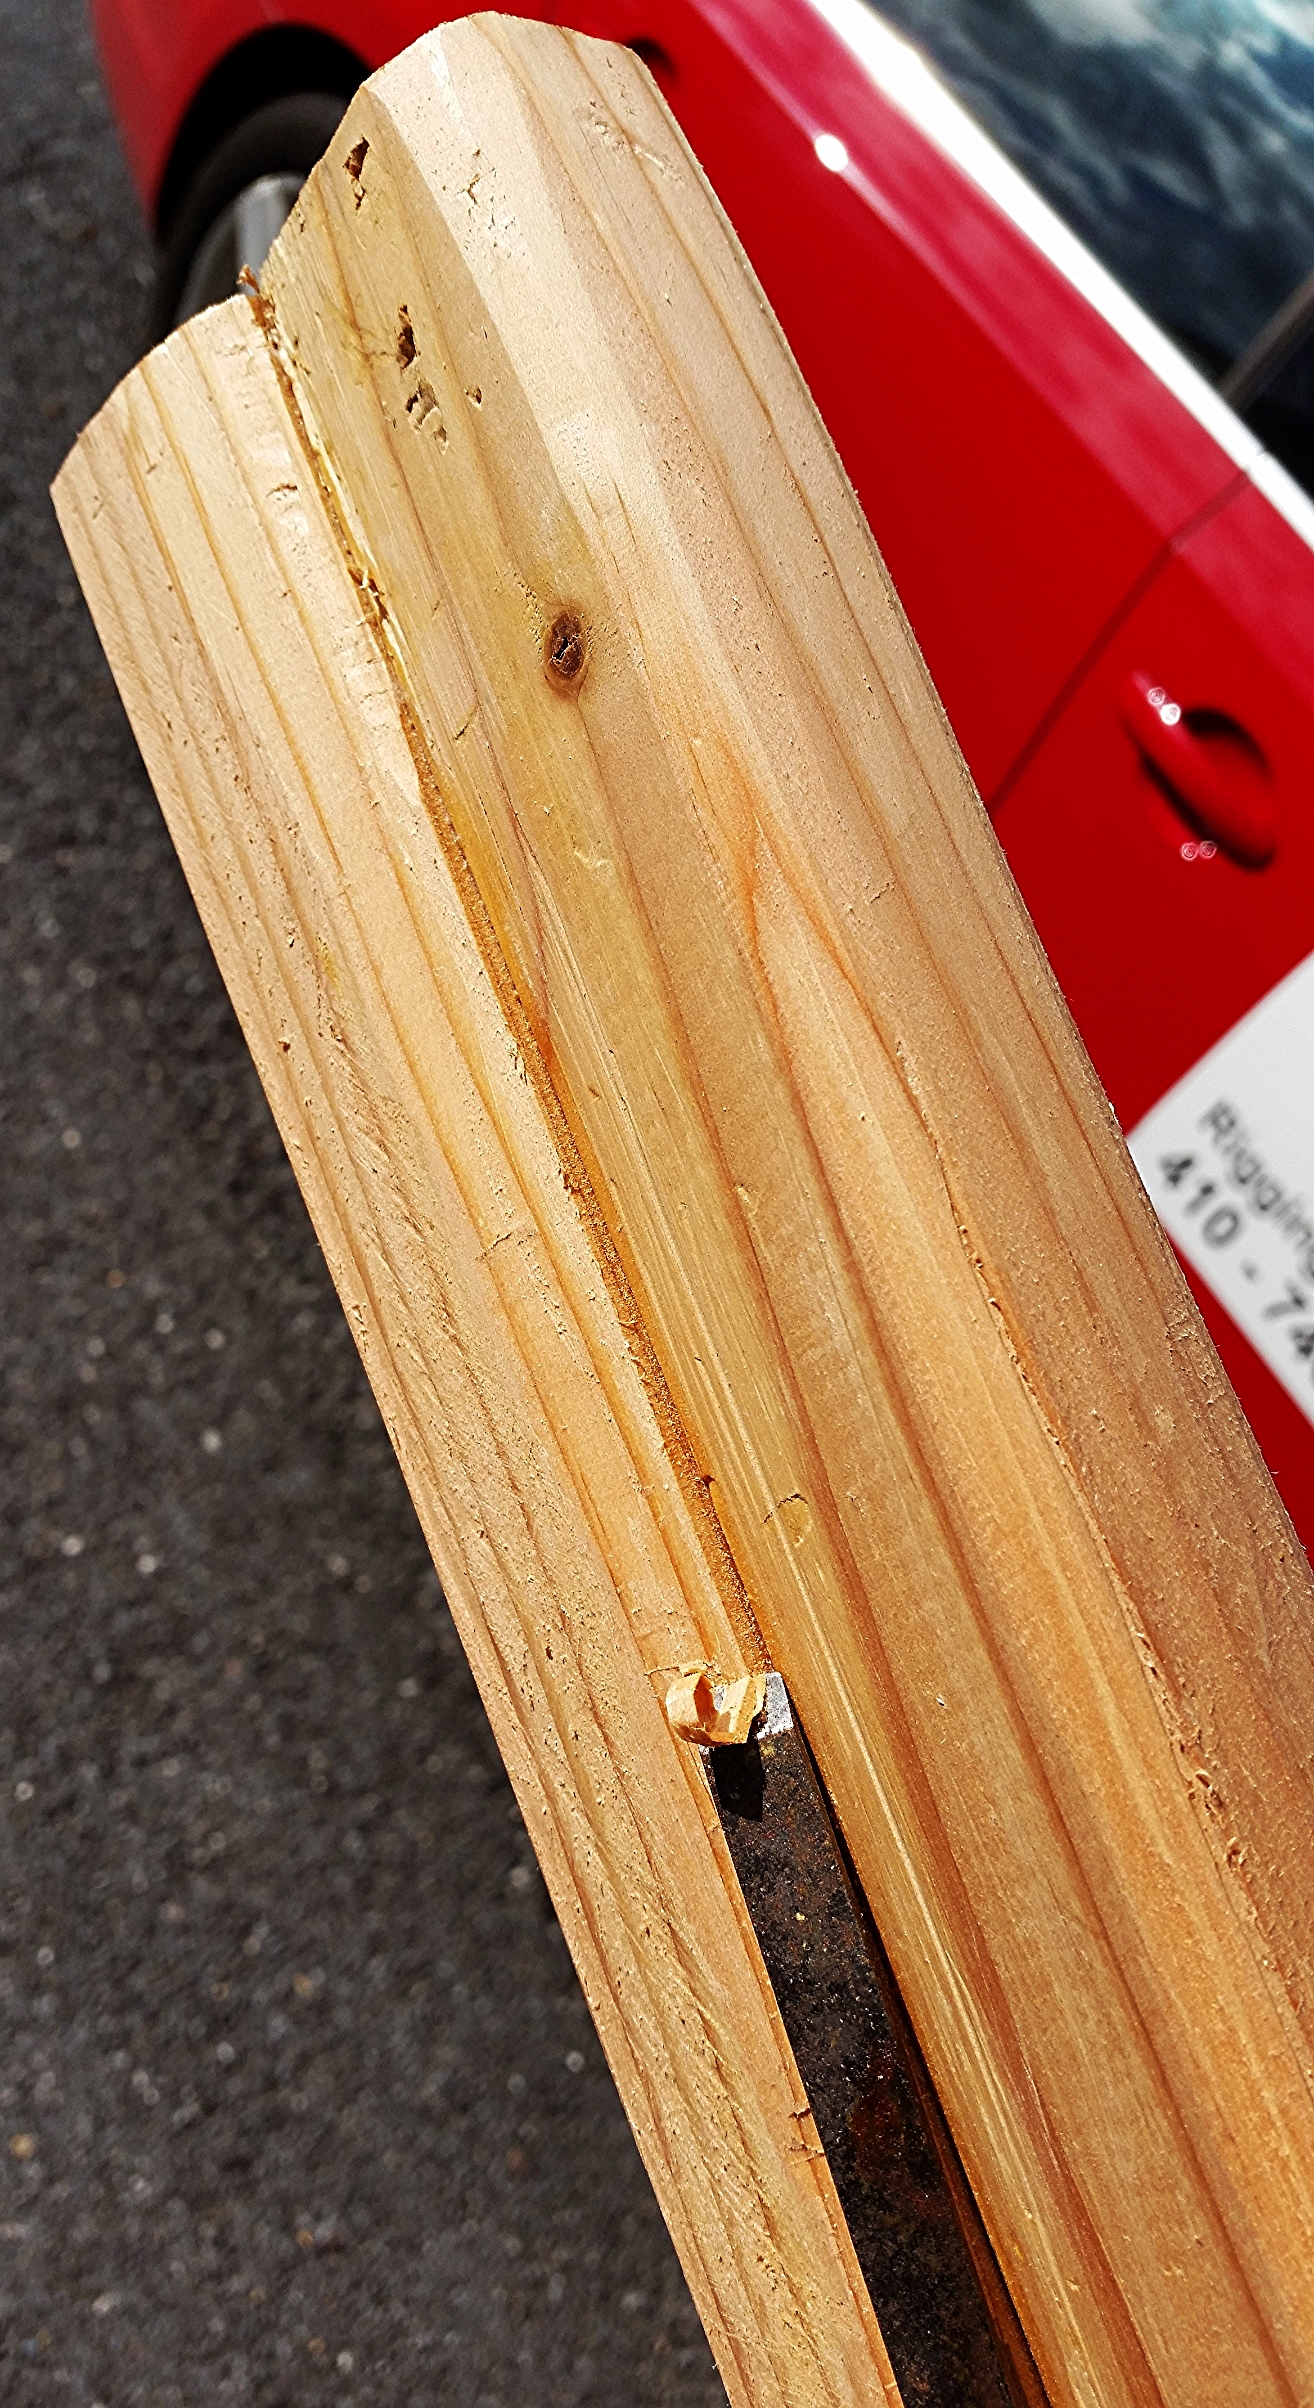
To remove the wood on the sides of the blade, I took a mallet driven chisel to split the wood along its grain. I removed around 3-4mm of wood with each pass. While it is not a fast method compared to working with power tools, it is a cautious one that keeps you in control of how much is removed.
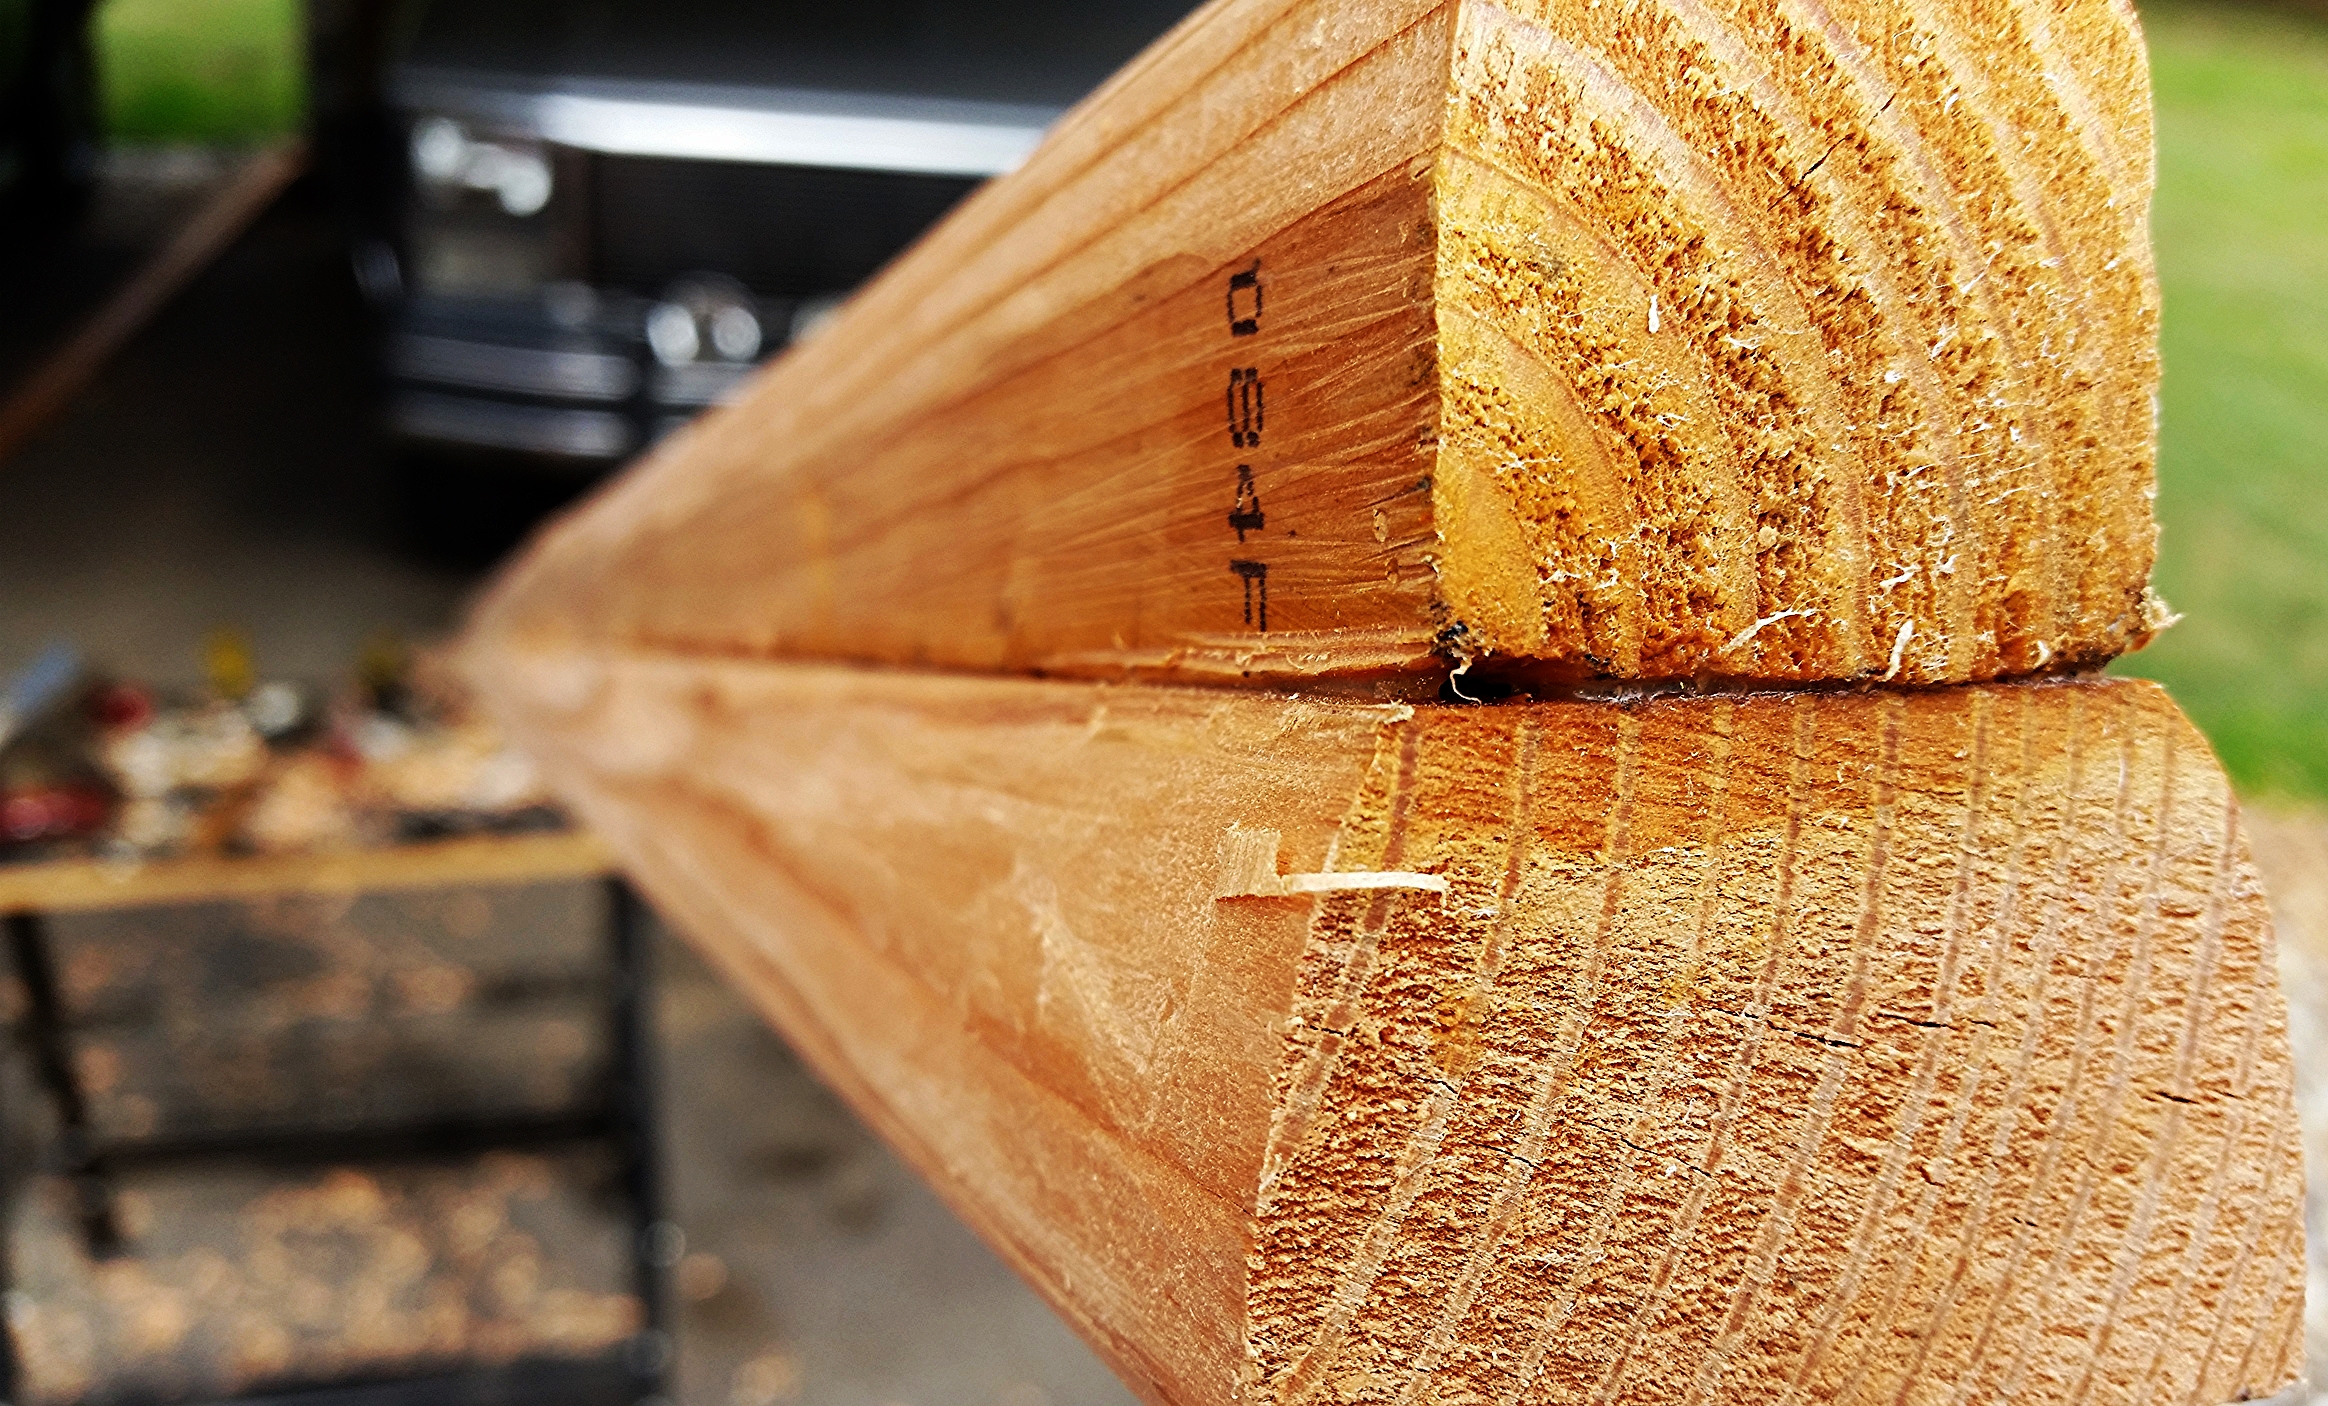
After I finished my work for the day on the oar for Windpuff (The Alberg 30), I glued up the oar for Wisdom (The Morgan 45). I put it in the clamps for the next few days and let the glue begin to cure.
